TL;DR
- Know your daily Wh: Sum all loads to find total daily energy consumption.
- Divide by PSH × efficiency: Use your location’s peak sun hours and a 0.70–0.80 system efficiency factor.
- Size for worst month: Use the lowest PSH value in your travel range, not the annual average.
Solar Sizing by Use Case
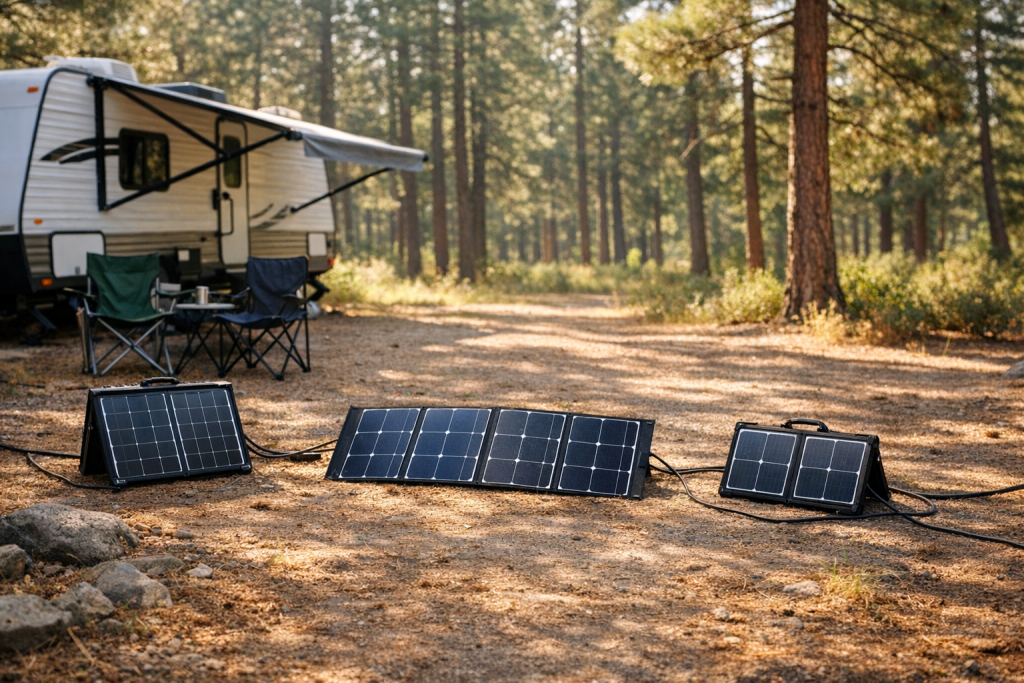
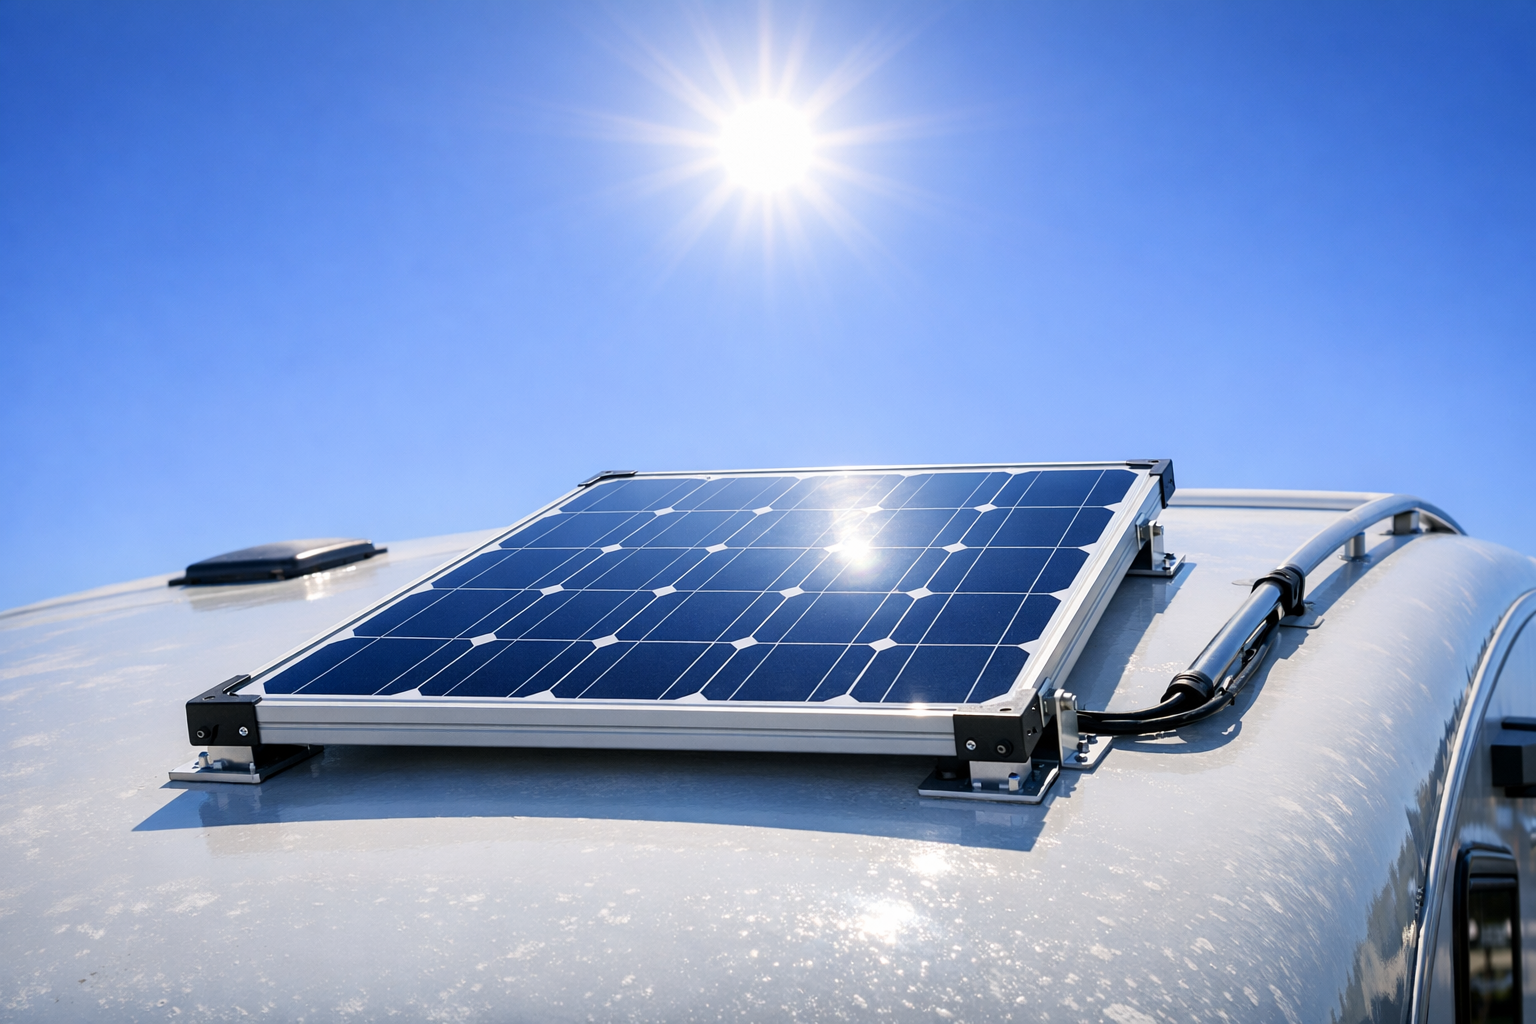
A 200 W solar panel on a clear Arizona afternoon delivers roughly 150 W of usable power to your battery — not 200 W. That gap between nameplate rating and real-world harvest is the central challenge of RV solar sizing. Mount too little and you drain your batteries by noon. Mount too much and you’ve spent money that could have gone toward lithium cells or a better inverter.
The only way to resolve this tension is to work backward from your daily consumption, adjust for the worst sunlight conditions you’ll realistically face, and then derate for the losses every real-world system suffers. This guide walks through that process with concrete numbers.
Before diving into formulas, it helps to see where common RV lifestyles land on the energy spectrum. The table below profiles four archetypes. Each assumes a different daily watt-hour budget, a range of peak sun hours (PSH), and a realistic system efficiency factor that accounts for combined losses in wiring, charge controller conversion, panel temperature derating, and partial shading. The recommended panel wattage covers the daily load at the lower end of the PSH range — because sizing for the best-case scenario is how people end up running generators at midnight.
| Profile | Daily Wh | PSH Range | Efficiency Factor | Panel Watts Needed |
|---|---|---|---|---|
| Minimalist Camper — LED lights, phone charging, small fan | 500 Wh | 4–6 PSH | 0.75 | ~170 W |
| Weekend Boondocker — 12 V compressor fridge, lights, laptop, phone | 1,000 Wh | 4–6 PSH | 0.75 | ~335 W |
| Full-Time Boondocker — fridge, laptop, TV, water pump, small inverter loads | 2,000 Wh | 3–5 PSH | 0.75 | ~535–890 W |
| Heavy Off-Grid — residential fridge, microwave, coffee maker, A/C assist, washer | 4,000+ Wh | 3–5 PSH | 0.75 | ~1,070–1,780 W |
The full-timer and heavy off-grid profiles show a wide wattage range. That spread comes directly from the PSH range: someone parked in southern Arizona in June needs far fewer panels than someone spending January in Oregon. Pin down your expected location and season before buying panels.
Peak Sun Hours Explained
A peak sun hour is not the same as an hour of daylight. One PSH equals one hour of solar irradiance at 1,000 W per square meter — the standard test condition (STC) under which manufacturers rate panel wattage. A location might enjoy 14 hours of daylight in summer, but early-morning and late-afternoon sun is too weak and too oblique to drive meaningful current. When you compress all that variable irradiance into equivalent hours at full intensity, you get the PSH figure.
Regional variation is dramatic:
- Desert Southwest (Phoenix, Tucson, Las Vegas) — averages 6–7 PSH annually, with summer peaks near 8.
- Southeast — 4–5.5 PSH, dampened by afternoon thunderstorms and humidity.
- Pacific Northwest — 3–4 PSH annually; winter months in Washington or Oregon can dip below 2 PSH.
- Upper Midwest and Northeast — 3.5–5 PSH depending on season.
You can look up PSH for any U.S. location using the NREL PVWatts calculator or the Global Solar Atlas. Enter your coordinates, select a tilt angle that approximates your roof pitch (typically 0° to 5° for flat-mounted RV panels), and read the monthly irradiance values. For sizing purposes, always use the lowest monthly PSH value you expect to encounter during your travel season. If you’re a snowbird who chases the sun, your worst-case month might be 4.5 PSH. If you’re a year-round full-timer who sometimes parks in the Pacific Northwest in December, your worst case could be 1.8 PSH — and that changes everything.
System Losses and Derating Factors
No solar installation delivers 100% of its rated wattage to your battery bank. Every component between the panel surface and the battery terminals introduces losses, and they compound.
Panel temperature derating. Solar panels are rated at 25 °C (77 °F) cell temperature. On a hot roof in direct sun, cell temperatures routinely reach 55–70 °C. Most crystalline silicon panels lose about 0.35–0.45% of their rated power per degree Celsius above 25 °C. At 65 °C, that’s a 14–18% loss. Flexible panels mounted flush against the roof without an air gap run even hotter, sometimes losing 20% or more.
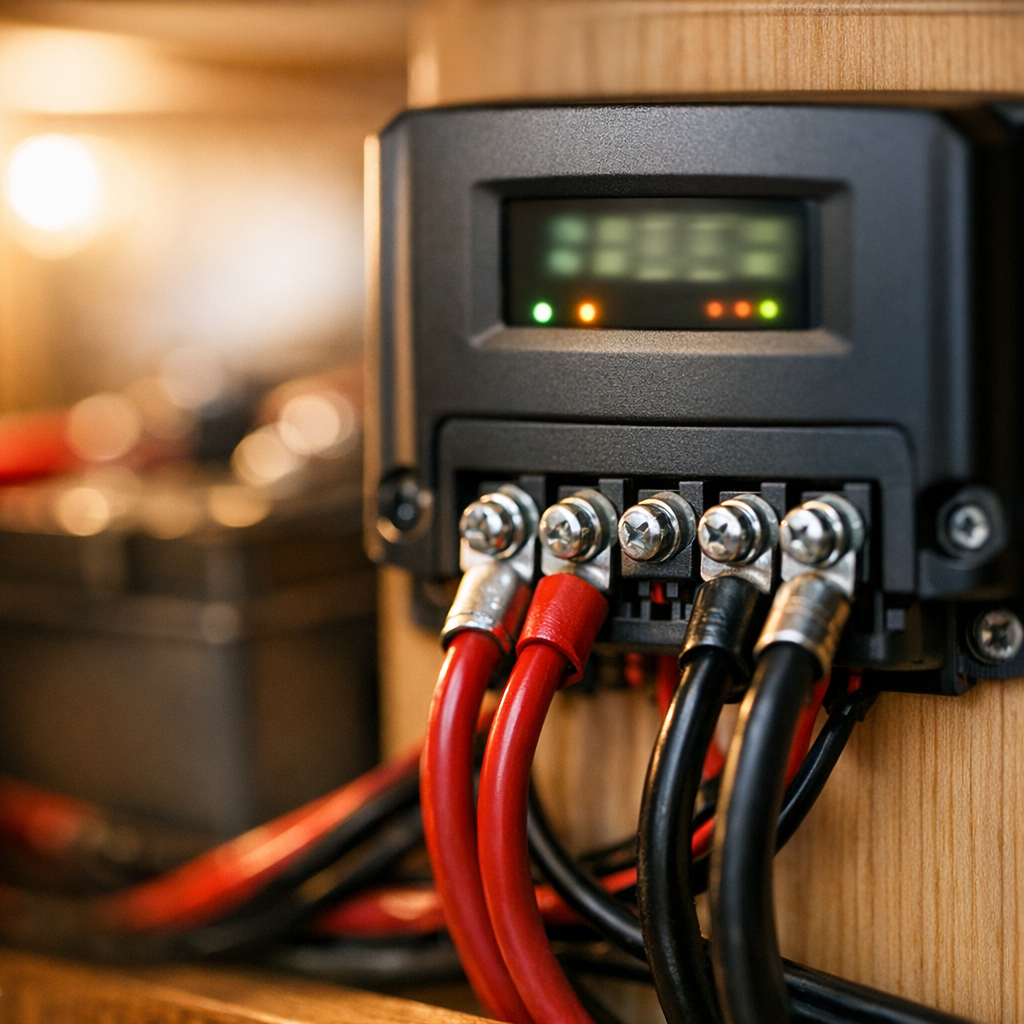
Charge controller conversion losses. An MPPT controller typically operates at 93–98% conversion efficiency under ideal conditions. PWM controllers waste any voltage above the battery’s absorption voltage as heat, resulting in effective efficiencies of 65–80% depending on the panel-to-battery voltage mismatch. For any serious boondocking setup, MPPT is the standard.
Wiring losses. Voltage drop across undersized cables, connectors, and junction boxes typically accounts for 2–5% of total energy. A well-designed system with appropriately sized cables keeps wiring losses under 3%.
Shading and soiling. Even partial shading from a roof-mounted air conditioner shroud, antenna, or vent can disproportionately reduce output — especially if panels are wired in series, where one shaded cell can bottleneck the entire string. Dust, pollen, and bird droppings add another 2–5% loss if panels aren’t cleaned regularly.
Battery charging inefficiency. Lithium iron phosphate (LiFePO4) cells are roughly 95–98% efficient in charge/discharge round-trip. Lead-acid batteries are closer to 80–85%, meaning 15–20% of the energy pushed in is lost as heat during absorption and equalization phases.
When you stack all of these factors, a combined derating of 20–30% is realistic for a well-designed MPPT-based system. That translates to a system efficiency factor of 0.70 to 0.80. Throughout this guide, we use 0.75 as a reasonable middle ground — acknowledging that a pristine lithium setup in cool weather might achieve 0.80, while a PWM system with lead-acid batteries on a hot day could drop to 0.65 or lower.
Array Sizing Formula
This is the core equation. Every variable matters:

Daily Wh — the total energy your loads consume in a 24-hour period. Measure this with a battery monitor or estimate it by listing every device, its wattage, and its hours of daily use, then summing the products.
Peak Sun Hours (PSH) — the equivalent hours of full-intensity sunlight at your location during your worst expected month of use.
System Efficiency Factor — the decimal fraction of rated panel output that actually reaches your battery, after all losses. Use 0.75 as a default; adjust to 0.70 for hot climates with PWM controllers and lead-acid batteries, or 0.80 for cool climates with MPPT and lithium.
The formula intentionally ignores days of autonomy. That’s a battery-bank sizing question, not a panel-sizing question. Your panels need to replace what you use each day; your batteries need to bridge the gap on cloudy days.
Safety and Common Mistakes
- Fuse every panel string. When panels are wired in parallel, a shaded or faulty panel can become a current sink, drawing reverse current from the other strings. A fuse or circuit breaker on each parallel string (rated 1.25 to 1.56 times the string’s short-circuit current, Isc) prevents damage or fire. A combiner box with individual string fuses is the cleanest approach.
- Do not exceed controller max input voltage. An MPPT controller exposed to voltage above its rated Voc max will suffer permanent damage — often instantly. Calculate your array’s Voc at the coldest temperature you’ll ever encounter (use the temperature coefficient on the panel datasheet and assume −10 °C or −20 °C for northern climates). If the result is within 10% of your controller’s limit, reconfigure the array — switch from series to parallel, or use fewer panels per string.
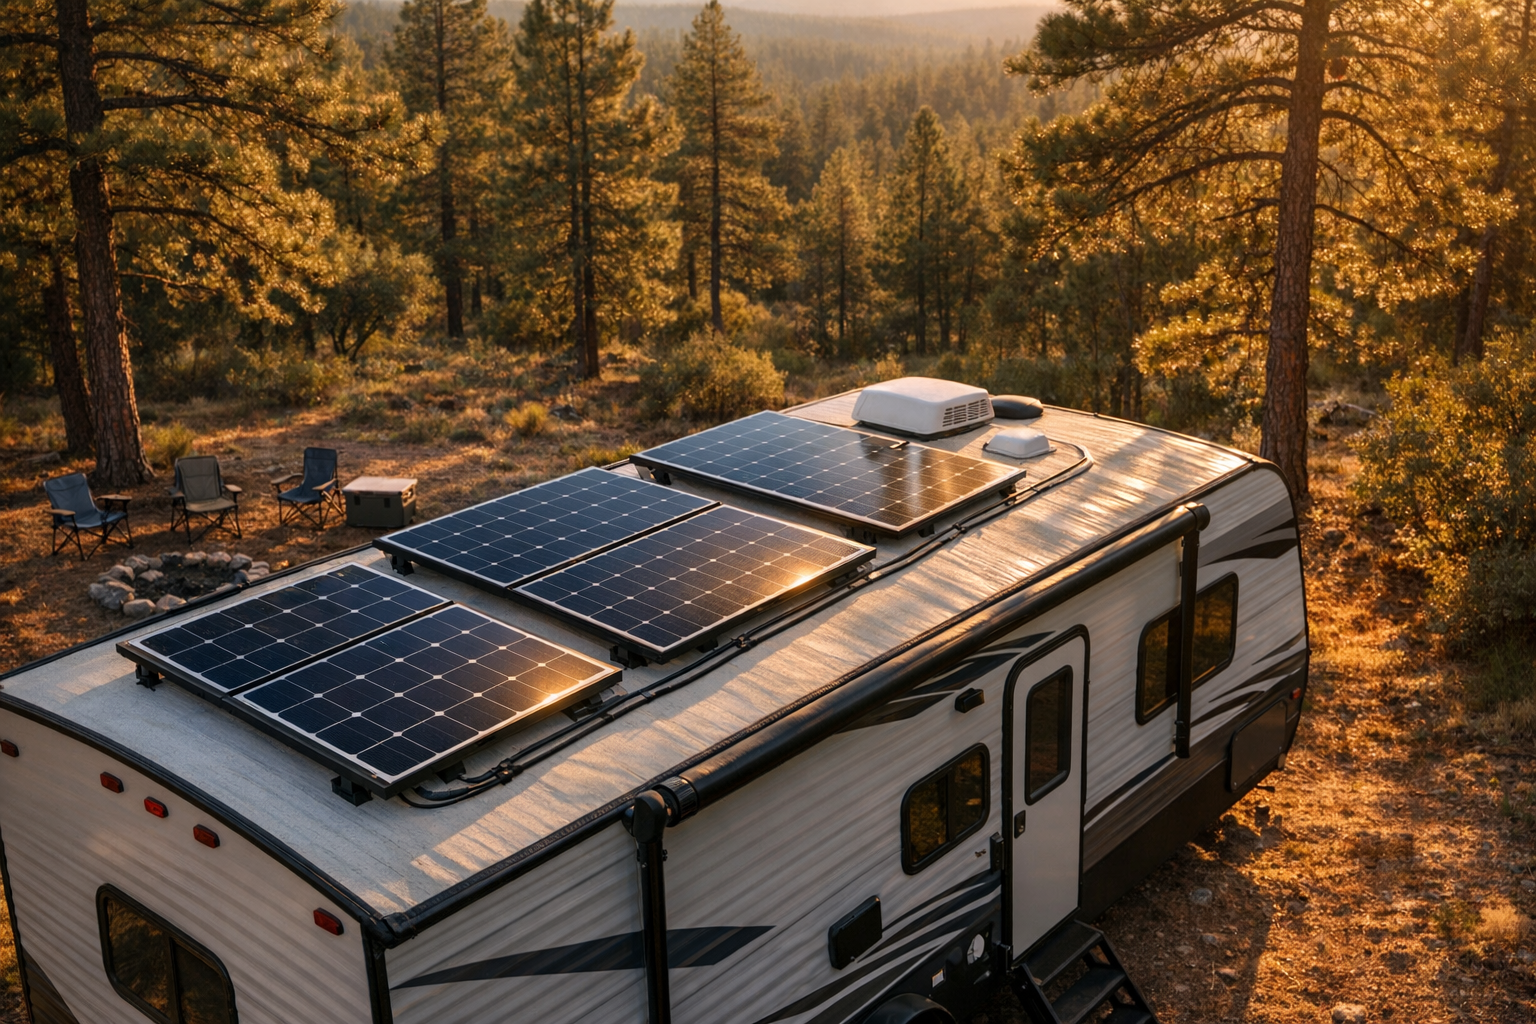
- Account for roof weight limits. A standard rigid 200 W panel weighs 25–30 lbs. Four of them add 100–120 lbs to your roof, plus mounting hardware. Most RV roofs can handle this, but some lightweight trailers and van conversions have lower structural limits. Check your manufacturer’s roof load rating. Distribute weight evenly and use through-bolted mounting feet with proper sealant — not just adhesive tape, which can fail in high winds or extreme heat.
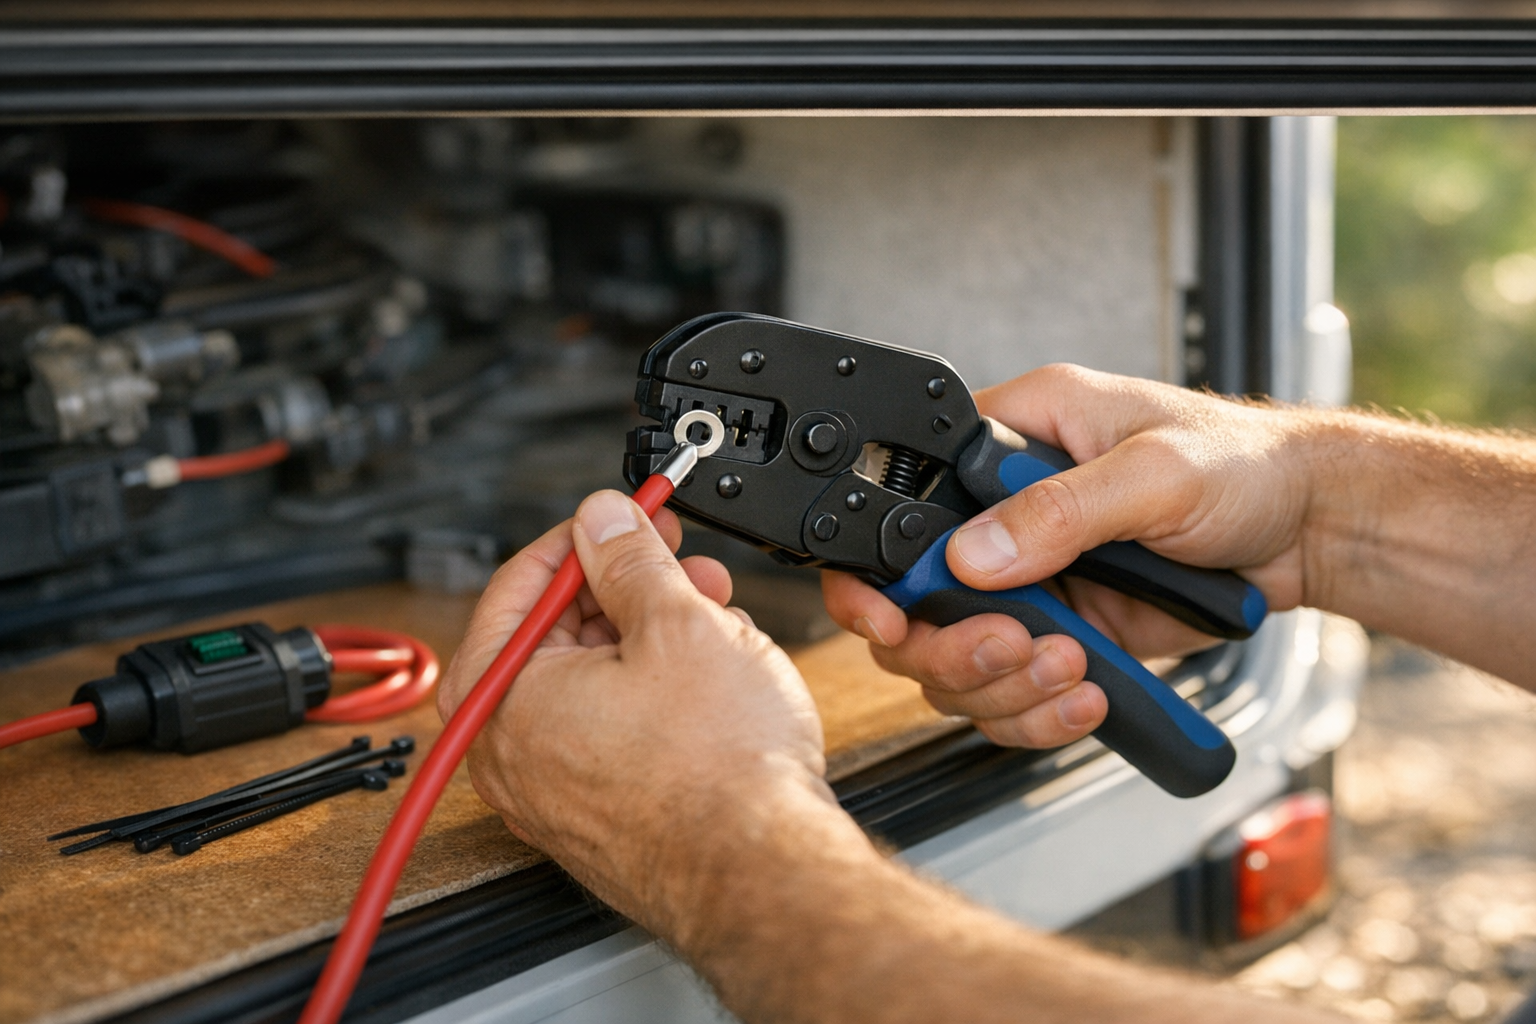
- Use appropriately sized wire. Undersized wire causes voltage drop, wastes energy as heat, and can create a fire hazard. For 12 V systems, even moderate current (20–30 A) requires 8 AWG or 6 AWG wire for runs longer than 10 feet. Use a voltage drop calculator and aim for less than 3% drop from panels to controller and from controller to battery. All connections should be crimped with marine-grade terminals and protected with heat shrink or split loom.
- Monitor actual harvest. Install a shunt-based battery monitor and track daily energy in and energy out. Compare actual solar harvest to your sizing estimate. If you’re consistently falling short, investigate shading, dirty panels, a failing controller, or loads you underestimated. Real data beats theoretical calculations every time.
- Disconnect panels before working on wiring. Solar panels produce voltage whenever light hits them — you cannot turn them off. Cover panels with opaque material before disconnecting any wiring. Even at 12 V nominal, a series string can produce 40–80 V open-circuit, enough to arc across a loose connection and cause burns or fire.
FAQs
- Is 400 W of solar enough for an RV? It depends on your consumption and location. For a weekender running a 12 V fridge, lights, and electronics (roughly 800–1,000 Wh/day) in a 4–5 PSH location, 400 W produces approximately 1,200–1,500 Wh after losses — enough with margin. For a full-timer consuming 2,000+ Wh/day or boondocking in winter with 2–3 PSH, 400 W will leave you in a daily deficit. Match the array to your actual load and worst-case sun, not to a generic recommendation.
- Can I add more panels later? Yes, and this is a smart strategy — start with what you need now and expand as your usage patterns become clear. The key constraint is your charge controller. Check its maximum input wattage and Voc rating. If you’re adding panels in parallel, Voc stays the same but current increases; make sure the controller’s battery-side amperage rating can handle the additional current. If you’re adding panels in series, voltage increases; verify the new string Voc at cold temperatures stays below the controller’s maximum. It’s often worth buying a slightly oversized controller upfront to leave room for expansion.
- Rigid or flexible panels — which should I choose? Rigid monocrystalline panels with aluminum frames are the industry standard: they’re durable, run cooler (especially when mounted with a gap above the roof), resist hail, and typically last 25+ years with minimal degradation. Flexible panels are lighter (4–6 lbs vs. 25–30 lbs for a 200 W panel) and conform to curved roofs, making them attractive for vans and pop-ups. However, flexible panels bonded directly to the roof have no air gap, which increases cell temperature and accelerates degradation. Many users report noticeable output decline within 3–5 years. If weight is your primary constraint, flexible panels work — just plan on replacing them sooner and accept lower output on hot days.
- Do I need an MPPT controller, or is PWM fine? For any system over 200 W, MPPT is strongly recommended. A PWM controller clamps the panel voltage down to the battery voltage, wasting the difference as heat. If your 12 V panel has a Vmp of 18 V and your battery is at 12.4 V, a PWM controller throws away roughly 30% of the panel’s potential power. An MPPT controller converts that higher voltage into additional current, capturing 15–30% more energy from the same panel. The price premium (typically $50–$150 more for a quality unit) pays for itself quickly. PWM controllers are acceptable only for very small systems — a single small panel maintaining a battery on a stored RV, for example — where simplicity and cost matter more than efficiency.
- How do I figure out my actual daily watt-hour consumption? The most accurate method is to install a shunt-based battery monitor and measure energy out over several typical days of boondocking. If you don’t have a monitor yet, build a load audit: list every device, find its wattage (check the label or measure with a Kill-A-Watt meter for AC devices), estimate daily hours of use, and multiply. Don’t forget phantom loads — inverters draw 10–25 W even with no load, CO detectors and LP gas detectors run 24/7, and some stereo head units draw power when “off.” These small loads add up to 50–150 Wh/day in many rigs.
Conclusion
Sizing an RV solar array is a four-variable equation: your daily watt-hour consumption, the peak sun hours available at your location during your worst expected travel month, a realistic system efficiency factor (0.70–0.80, with 0.75 as a practical default), and the resulting panel wattage calculated by dividing daily Wh by the product of PSH and efficiency. A weekender consuming 700 Wh/day in a 6-PSH desert needs only 150–200 W of panels. A full-timer consuming 1,500 Wh/day in a 2-PSH Pacific Northwest winter needs 1,000 W — and probably a generator for the darkest weeks.
Size for the worst-case month you intend to boondock through, not the annual average and certainly not the summer peak. An array sized for July in Colorado will produce barely half its rated harvest in January. If you size for January and find yourself with surplus power in July, that’s a feature — your batteries reach full charge earlier in the day, your controller throttles gracefully, and you have headroom for unexpected loads.
Once you’ve determined the panel wattage, verify that your charge controller can handle the array’s cold-weather Voc and the battery-side current. Confirm your battery bank has enough usable capacity (80–90% depth of discharge for LiFePO4, 50% for lead-acid) to absorb a full day’s harvest and bridge at least one to two cloudy days. Fuse every parallel string, size your wiring for less than 3% voltage drop, and monitor your actual harvest against your estimates. Solar sizing is not a one-time calculation — it’s a system you validate and refine with real-world data.