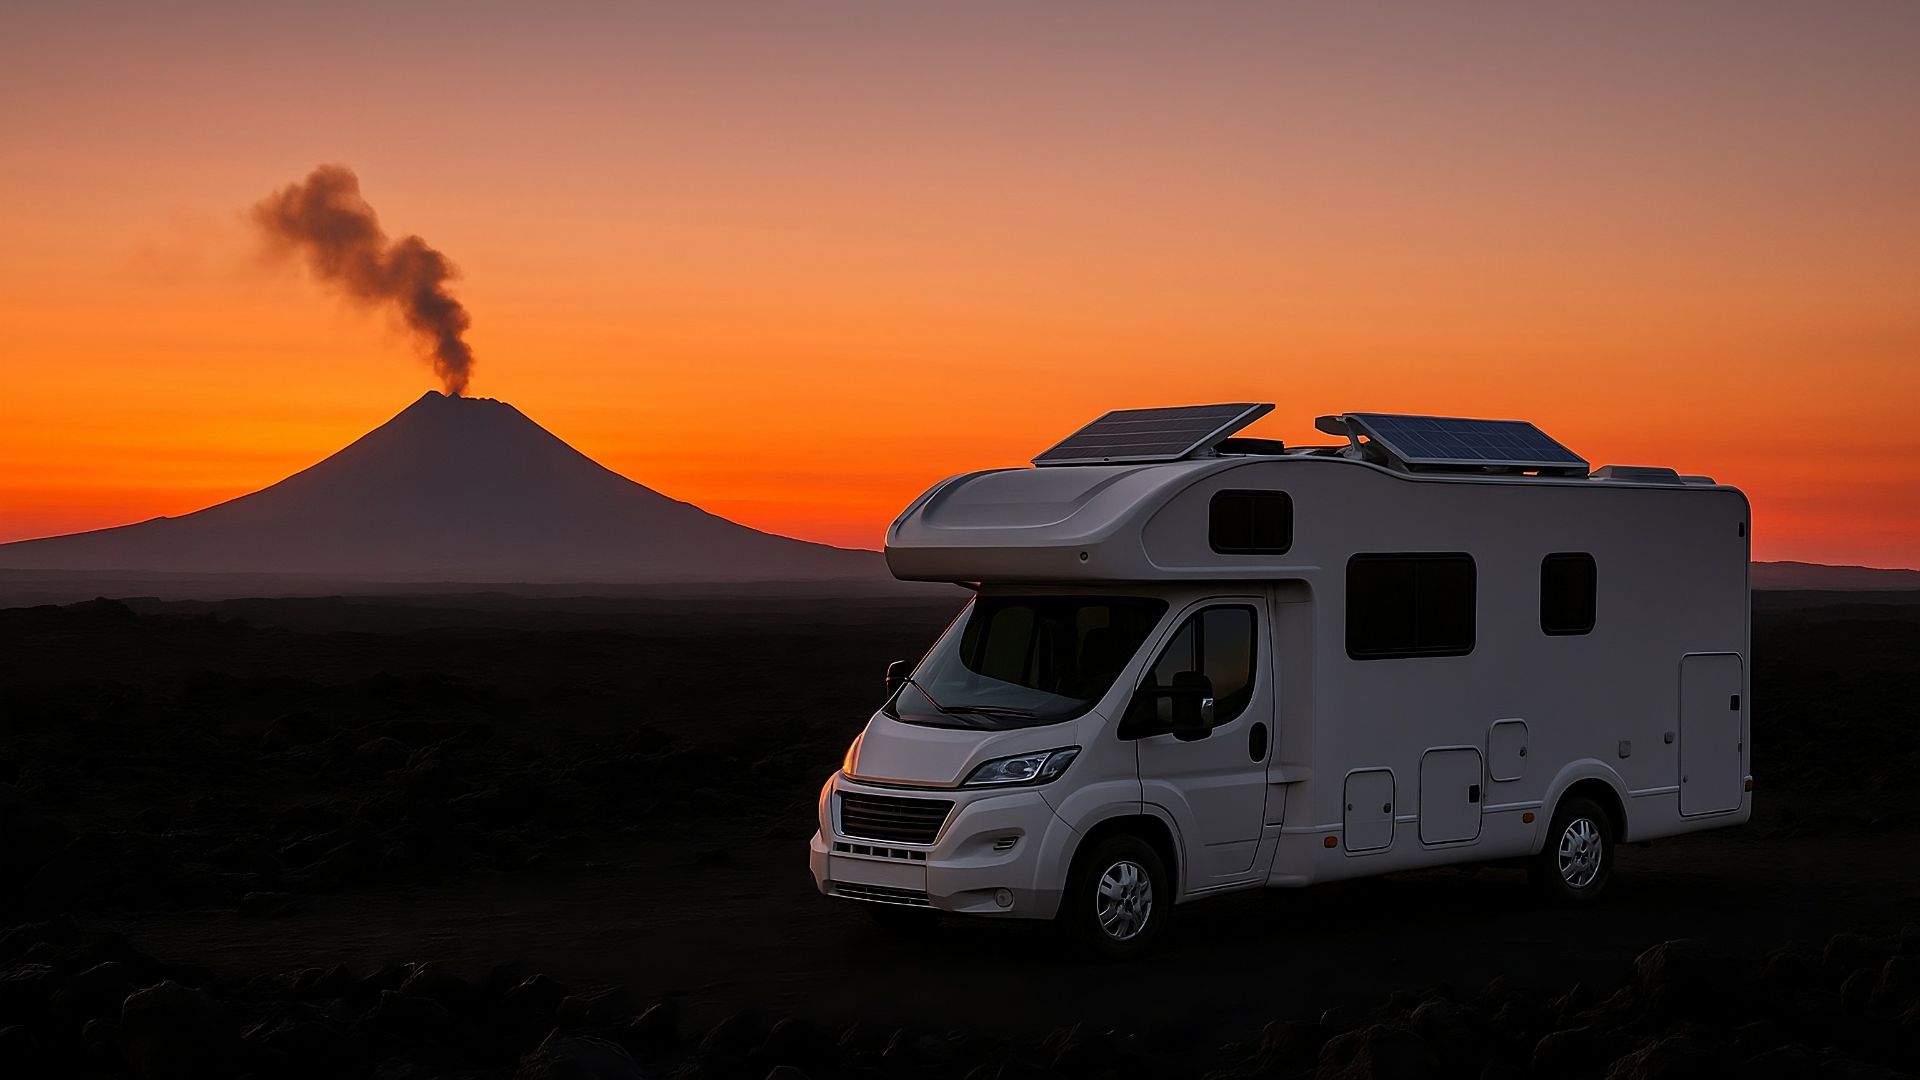
Harnessing solar power on the road is a game-changer for RV enthusiasts. It provides a sustainable and reliable energy source, allowing you to enjoy off-grid adventures without worrying about depleting your resources. If you’re looking for a portable RV solar kit that won’t break the bank, this guide will help you find the best options under $500.
Why Choose a Portable RV Solar Kit?
Portable RV solar kits offer several advantages, especially for those who frequently travel or camp in remote locations. These kits are easy to install, transport, and store when not in use. They allow you to power essential appliances, charge electronic devices, and keep your RV batteries topped up, ensuring that you have power whenever and wherever you need it.
Top Portable RV Solar Kits Under $500
Finding a high-quality solar kit within your budget is possible. Here are some of the top options:

- Renogy Solar Panel Kit: The Renogy 100 W Foldable Solar Suitcase Kit offers excellent performance at an affordable price. It’s perfect for beginners who want a reliable and easy-to-use system.
- HQST Solar Panel Kit: The HQST 100 W Folding Solar Suitcase Kit provides robust power output with durable construction, ensuring long-lasting performance.
- BougeRV Solar Panels: With BougeRV Yuma 200 W CIGS Flexible Solar Panel, you get efficiency and portability. These panels are lightweight, making them easy to position for optimal sunlight exposure.
- Zamp Solar Portable Kit: The Zamp Solar 140 W Folding Portable Kit is known for its plug-and-play design, making it straightforward to set up and use.
- Jackery Portable Power Station: Pair the Jackery Explorer 300 Plus + SolarSaga 100 W Panel with solar panels for a complete power solution, offering energy storage and output versatility.
How to Install a Portable RV Solar Kit
Installing a solar kit might seem daunting, but it’s quite manageable. Follow these steps to get your system up and running:

Step 1: Assess Your Power Needs
Determine the energy requirements for your RV by listing all the devices and appliances you plan to use. This will help you choose a solar kit that meets your needs.
Step 2: Choose the Right Solar Kit
Select a kit based on your power needs and budget. Consider factors like panel size, wattage, and portability.
Step 3: Position the Solar Panels
Find a location on your RV roof or another suitable surface where the panels can receive maximum sunlight. Ensure the area is clear of obstructions.
Step 4: Connect the Charge Controller
Use a charge controller to manage the power flowing from the panels to your battery. This prevents overcharging and prolongs battery life. Consider a reliable option like the Victron SmartSolar MPPT 100/30 Charge Controller.
Step 5: Connect to the Battery
Use appropriate cables to connect the charge controller to your RV’s battery. Ensure all connections are secure to prevent power loss.
Step 6: Test the System
Once everything is connected, test the system to ensure it’s working correctly. Monitor the charge controller to verify that the battery is charging properly.
Maintenance Tips for Your Solar Kit
Maintaining your solar kit is crucial for optimal performance. Regularly clean the panels to remove dust and debris, inspect connections for wear and tear, and monitor the charge controller for any errors.
Conclusion
Investing in a portable RV solar kit under $500 is a smart move for anyone looking to embrace off-grid living. With options like the Renogy 100 W Folding Solar Suitcase and Zamp Solar 140 W Folding Portable Kit, you can enjoy the freedom and convenience of renewable energy on your travels.
Whether you’re a weekend camper or a full-time traveler, a portable solar kit will enhance your RV experience, providing you with the energy independence you need.
