

Upgrading your RV with lithium batteries is a smart move for extended energy efficiency and reliability on the road. This guide will walk you through the process of installing an RV lithium battery with detailed steps and recommended products to optimize your setup.
Why Choose Lithium Batteries for Your RV?
Lithium batteries offer numerous benefits over traditional lead-acid batteries. They’re lighter, have a longer lifespan, and provide more usable capacity. This makes them ideal for RV enthusiasts looking to enhance their travel experience with dependable power.
Tools and Materials Needed
Before starting, gather the necessary tools and materials:
– Lithium batteries
– Battery management system (BMS)
– Wire cutters and crimpers
– Screwdrivers
– Insulating tape
– Solar panels (optional)
– Charge controller

Step-by-Step Installation Guide
Follow these steps to install your RV lithium battery safely and effectively:
1. Choose the Right Lithium Battery
Select a battery that fits your power needs and space requirements. The Battle Born 100 Ah 12 V LiFePO4 Battery offers excellent performance and reliability.
2. Prepare Your RV
Ensure your RV is parked on a level surface and disconnected from any power source. Remove any existing batteries and clean the battery compartment.
3. Install the Battery Management System
A BMS is crucial for monitoring and protecting your lithium battery. Install it according to the manufacturer’s instructions, ensuring secure connections.
4. Connect the Battery
Position the lithium battery in the compartment. Connect the positive and negative terminals securely, using appropriate gauge cables.
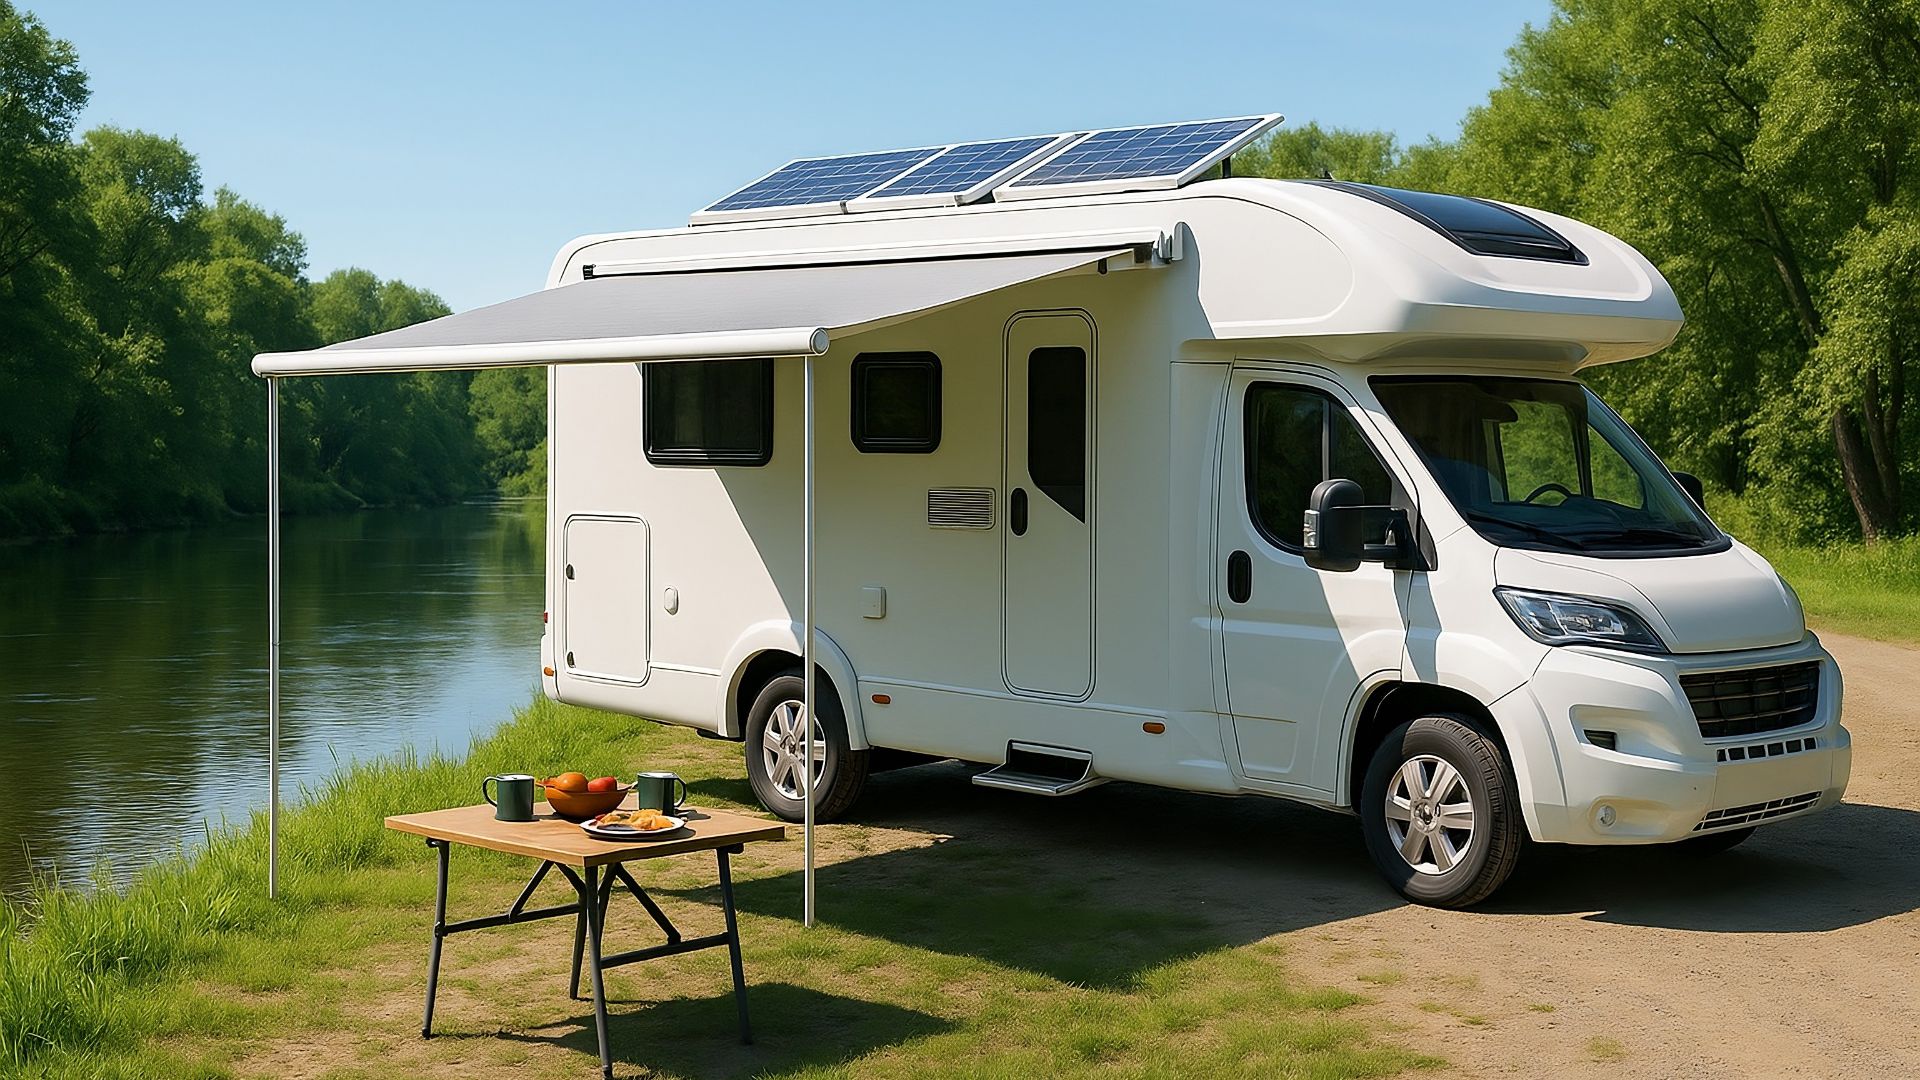
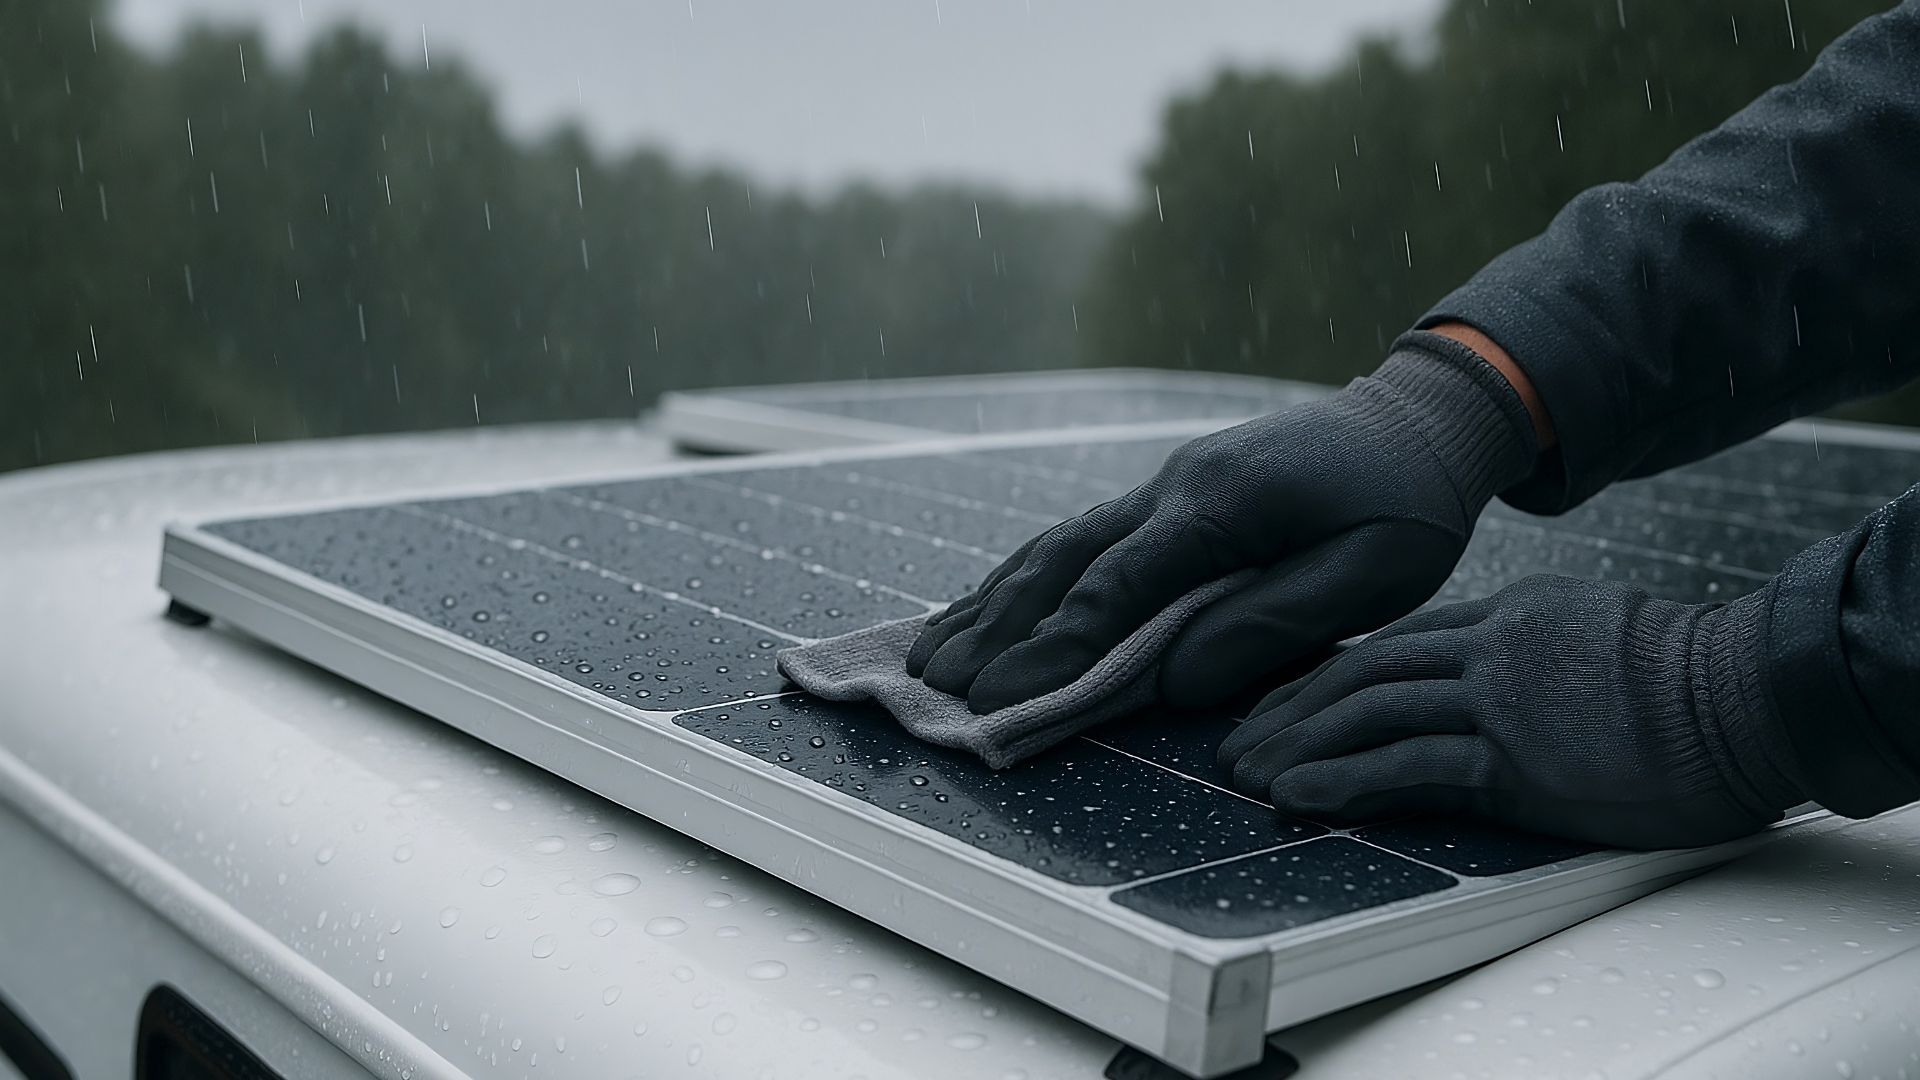
5. Integrate Solar Panels (Optional)
Enhance your setup with solar power. The Renogy 200 W Monocrystalline Solar Starter Kit is a reliable option. Install the panels on the roof and connect them to the battery via a charge controller.
6. Install a Charge Controller
A charge controller regulates the voltage and current from solar panels to the battery. The Victron MPPT 100 V 30 A SmartSolar Controller is an excellent choice for efficient energy management.
7. Test the System
Once everything is connected, test the system by turning on your RV appliances. Ensure the battery is charging correctly and the BMS is functioning.
Recommended Products for Your Setup
- For portable power, consider the Jackery Explorer 1000 Plus Power Station.
- If you prefer a compact solar solution, the Zamp 140 W Folding Solar Kit is ideal.
- For additional solar panel options, the BougeRV Yuma 200 W CIGS Flexible Solar Panel offer flexibility.
Conclusion
Installing a lithium battery in your RV is a worthwhile investment that enhances your freedom and reliability on the road. By following these steps and choosing quality products, you can enjoy a seamless and efficient power system.
Transform your RV’s power capabilities today and experience the benefits of lithium technology on your next adventure!