
Best by Use-Case
Boondocking Power Station
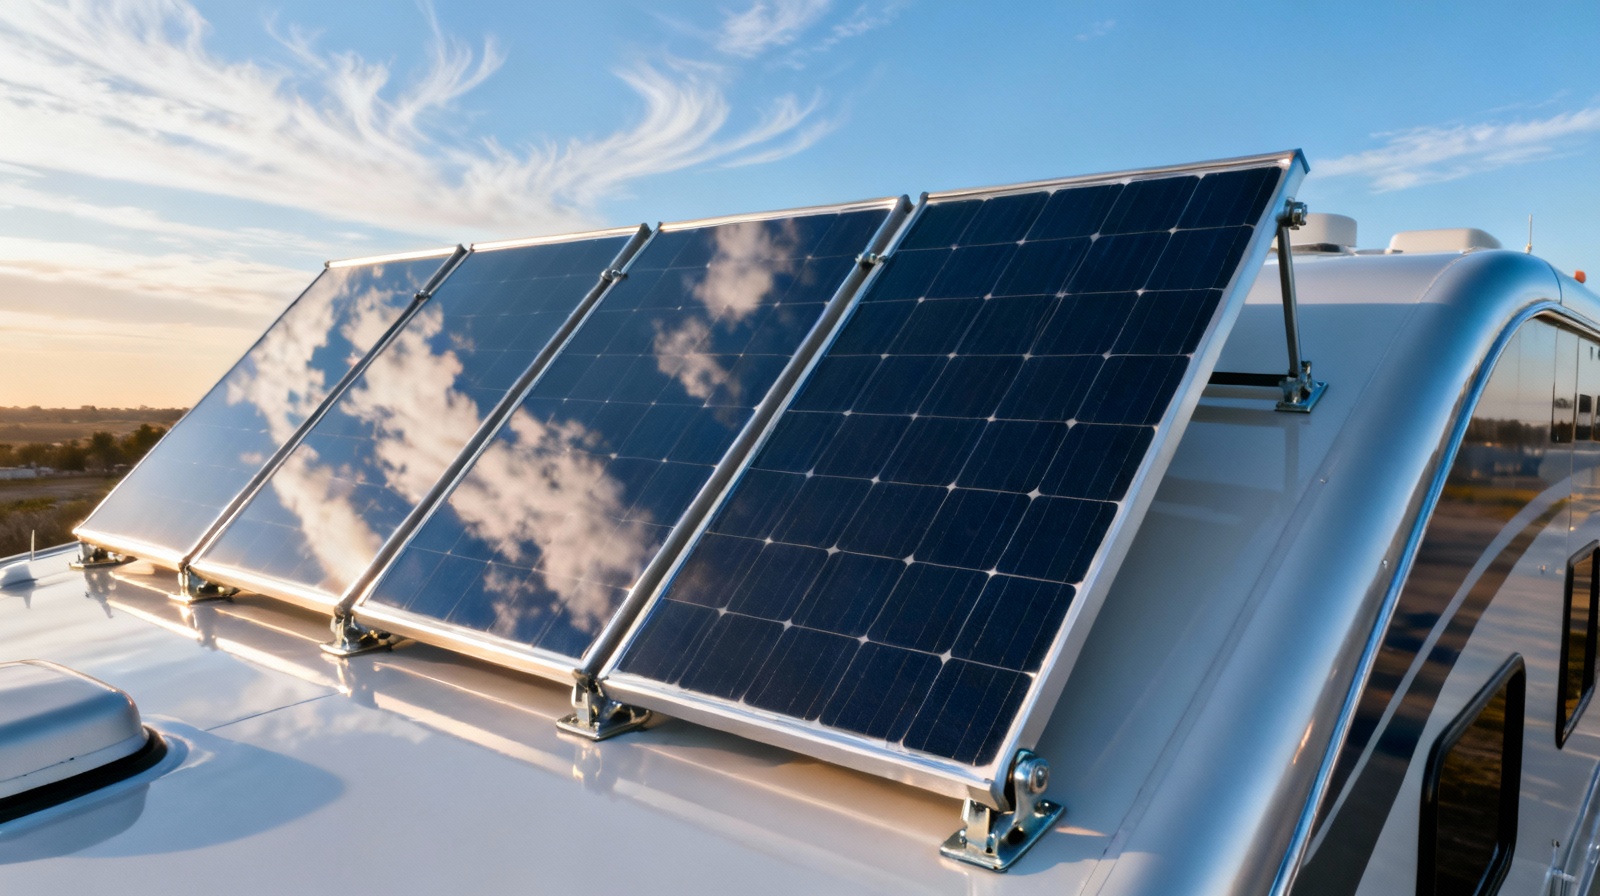
For serious off-grid camping lasting 7+ days, the Renogy 400W monocrystalline kit delivers the raw power needed to run refrigerators, water pumps, and multiple device charging stations simultaneously. This setup pairs four 100W panels with a 40A MPPT controller, providing up to 1,600Wh daily in optimal conditions—enough to sustain a 12V compressor fridge (40-60Ah/day), LED lighting system (10-15Ah/day), and electronics charging (20-30Ah/day) without generator backup.
The four-panel configuration offers redundancy advantages over single large panels. If one panel fails or becomes heavily shaded, the remaining three continue operating at 75% capacity. This distributed approach also allows creative mounting solutions around roof obstacles—two panels forward of the air conditioner, two behind—maximizing available space. The included Z-brackets and mounting hardware accommodate both flat and curved RV roofs, with adjustable tilt angles from 15-45 degrees for seasonal optimization.
- Pros: 22.5% efficiency rating outperforms most competitors; IP65 waterproof junction boxes handle extreme weather; included 40A MPPT controller maximizes harvest in partial shade conditions; pre-wired MC4 branch connectors reduce installation time by 2-3 hours
- Cons: Four-panel array requires 28 square feet of unobstructed roof space; 64-pound total weight may exceed some RV roof load ratings; initial investment of $800-1,000 exceeds casual camping budgets; multiple roof penetrations increase potential leak points
Alternative pick: The EcoFlow 400W rigid panel achieves 23% efficiency in a single-panel design, simplifying installation while delivering 1,500Wh daily. Its N-type cells maintain 88% capacity after 25 years versus 80% for standard P-type cells.
- Pros: Single panel reduces roof penetrations and wiring complexity; premium N-type cells resist light-induced degradation; integrated junction box with IP68 rating survives complete submersion; anti-reflective coating increases light absorption by 3-4%
- Cons: $1,200 price point for single panel; requires separate MPPT controller purchase; 48-pound weight concentrated in one location; large 77″ x 39″ footprint may not fit smaller RV roofs
Budget Weekender
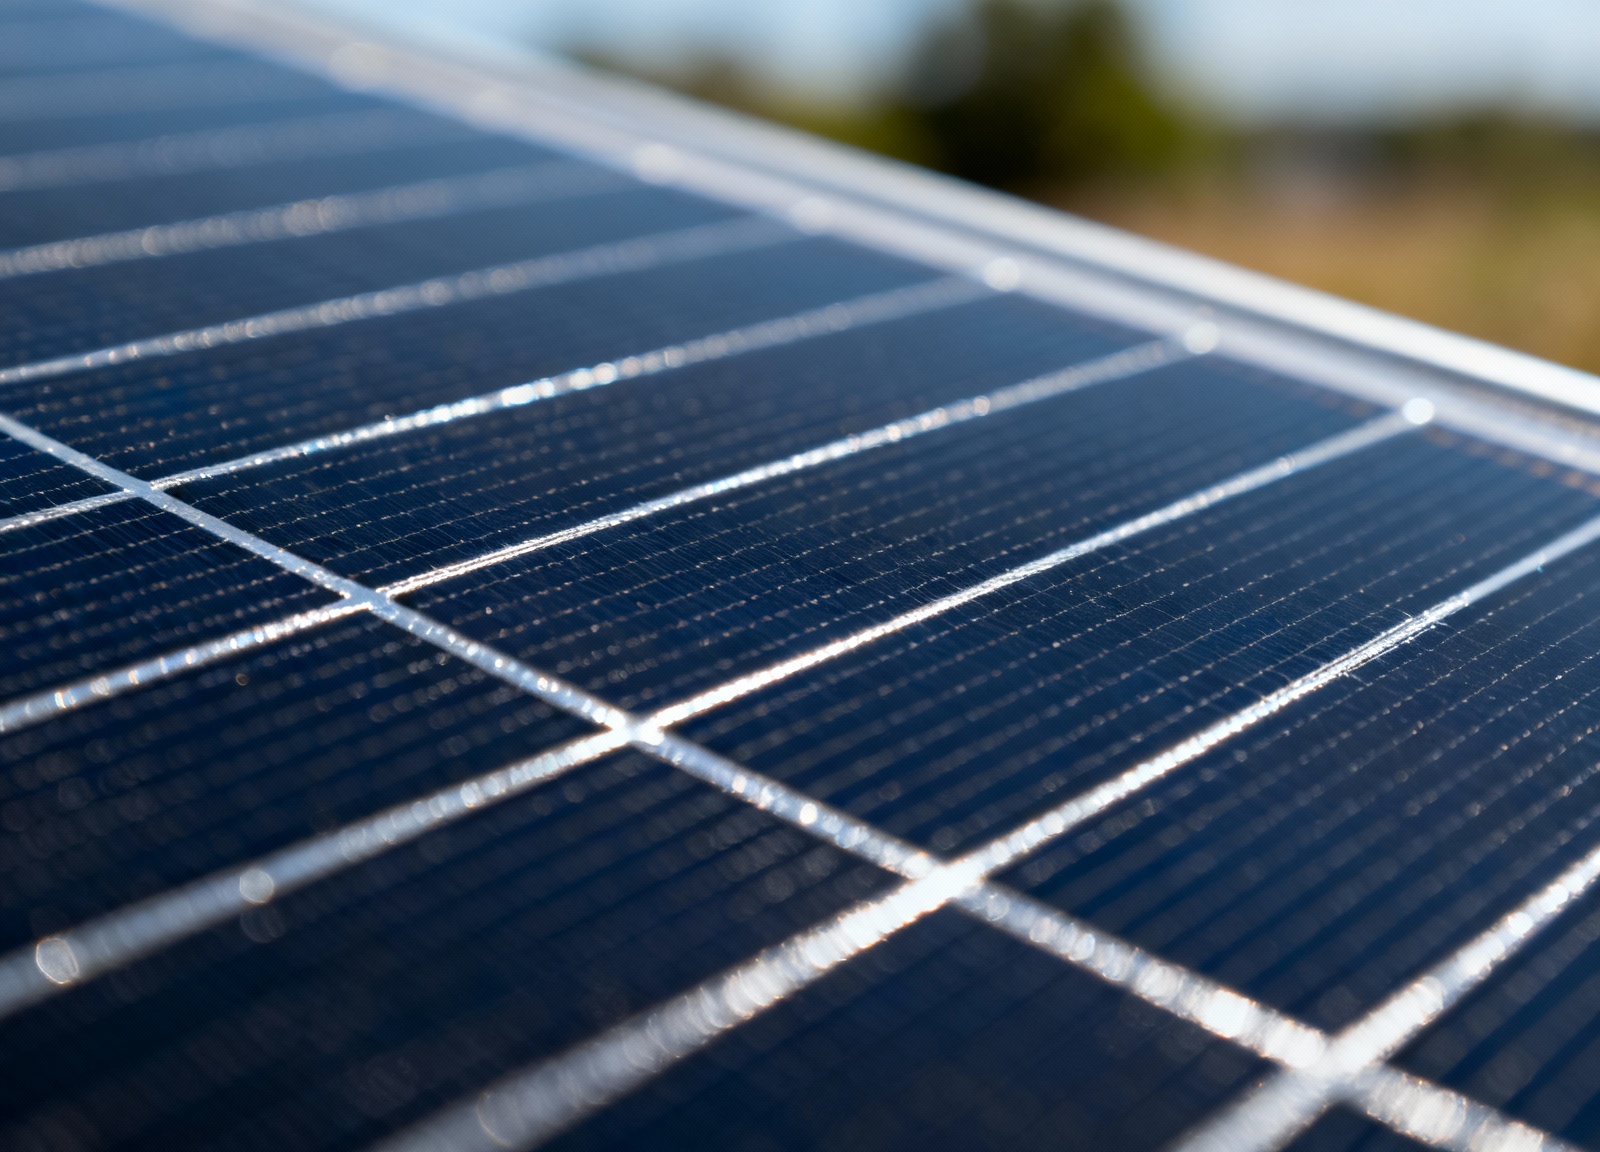
The HQST 100W polycrystalline panel kit offers weekend warriors reliable power at $0.80 per watt—half the cost of premium monocrystalline options.
This entry-level system generates 400-500Wh daily, sufficient for LED lights, phone charging, and a portable 12V cooler during 2-3 day trips. The included 10A PWM controller and pre-crimped MC4 connectors enable DIY installation in under two hours. Despite its budget positioning, HQST includes quality components like corrosion-resistant aluminum frames and tempered glass rated for golf ball-sized hail impacts.
The polycrystalline technology offers surprising durability advantages. The random crystal structure creates natural micro-fracture resistance, reducing catastrophic failure risk from vibration and thermal cycling during travel. Weekend users who store their RVs for extended periods benefit from polycrystalline panels’ superior performance recovery after prolonged inactivity—these panels reach full output within minutes of sun exposure, while some monocrystalline designs require 30-60 minutes to overcome surface oxidation effects.
- Pros: Complete kit under $150 includes mounting brackets and 20ft cable; aluminum frame withstands 2400Pa wind loads and 5400Pa snow loads; 5-year warranty covers manufacturing defects; pre-drilled grounding holes simplify electrical safety compliance
- Cons: 15-17% efficiency requires more roof space per watt; PWM controller loses 20-30% potential harvest compared to MPPT; polycrystalline cells degrade faster in high temperatures above 85°F; blue speckled appearance less aesthetically pleasing
Winter Camper
Cold-weather RVing demands the Victron SmartSolar MPPT controller paired with BougeRV’s 200W 9BB monocrystalline panels, engineered specifically for low-light performance. The 9-busbar design reduces resistance by 30% compared to standard 5BB panels, maintaining 92% efficiency even at -40°F when conventional panels drop to 75-80%.
This combination harvests 15-20% more energy during short winter days with frequent cloud cover.
Winter camping presents unique solar challenges beyond temperature coefficients. Snow accumulation reduces output to near zero, but the 9BB design’s lower operating temperature actually melts snow faster than traditional panels once even small portions become exposed. The dark panel surface reaches 20-30°F above ambient temperature in direct sunlight, creating natural snow-shedding capability. Victron’s temperature compensation feature adjusts charging voltages automatically, preventing battery damage from cold-weather overcharging.
- Pros: Victron’s adaptive three-stage charging algorithm prevents temperature-induced voltage damage; Bluetooth monitoring tracks real-time performance; panels maintain output in diffused light; reinforced frame handles 5400Pa snow loads; specialized anti-reflective coating optimized for low sun angles
- Cons: Premium components push total system cost above $600 for 200W capacity; MPPT controller requires programming for optimal winter settings; snow accumulation still requires manual clearing; specialized mounting required for 60-degree winter tilt angle
Lightweight Setup
Van lifers and popup camper owners benefit from the Jackery SolarSaga 100W portable rigid panel, weighing just 10.3 pounds with integrated kickstand.
Unlike roof-mounted systems, this ground-deployable design allows optimal sun tracking throughout the day, increasing daily harvest by 25-40% compared to fixed installations. The tempered glass surface resists scratches from repeated setup/breakdown cycles. The panel’s magnetic mounting system enables temporary attachment to metal van roofs without drilling, preserving vehicle resale value.
Portable rigid panels excel where permanent installation proves impractical. Rental RV users can bring their own power generation without modification. Seasonal campers store panels indoors during off-season, eliminating weather-related degradation. The adjustable kickstand accommodates uneven terrain, maintaining optimal angle despite parking surface irregularities. Integrated USB-A and USB-C ports provide direct device charging without requiring a separate battery bank.
- Pros: No roof modifications preserve vehicle warranty; adjustable angle captures morning and evening sun; pairs directly with Jackery power stations; folds flat for storage in 23″ x 14″ x 1.5″ space; IP65 weatherproofing handles unexpected rain
- Cons: Manual positioning required 2-3 times daily; ground placement vulnerable to theft; $299 price for 100W capacity exceeds fixed panel alternatives; 15-foot cable length limits placement; wind susceptibility requires staking
Full-Time Living
Full-timers require the Go Power 570W Overlander kit, featuring three 190W monocrystalline panels with 30A MPPT controller and remote monitoring. This professional-grade system generates 2,200-2,800Wh daily—enough to power residential refrigerators, microwave ovens, and air conditioning for 2-3 hours daily.
The three-panel configuration offers installation flexibility uncommon in high-wattage systems. Unlike massive single panels requiring crane assistance, each 190W panel measures a manageable 58″ x 27″ and weighs 26 pounds—allowing single-person roof transport. The included combiner box accepts different amperage inputs, enabling mixed panel additions as budget allows. Go Power’s proprietary mounting system uses industrial-grade adhesive combined with mechanical fasteners, distributing load across the entire panel perimeter.
- Pros: Digital remote display shows real-time power generation and battery voltage; pre-wired combiner box simplifies multi-panel installations; 25-year power warranty guarantees 80% output; included battery temperature sensor prevents thermal runaway; expandable to 1140W with controller upgrade
- Cons: $1,800 investment before installation costs; requires 42 square feet of roof space; professional installation recommended for warranty compliance; remote display requires interior wall modification; 30A controller bottlenecks full array potential in peak conditions
Quick Comparison
| Model | Type | Key Specs | Best for |
|---|---|---|---|
| Renogy 400W Kit | Monocrystalline | 22.5% efficiency, 40A MPPT included | Extended boondocking |
| HQST 100W | Polycrystalline | 15-17% efficiency, PWM controller | Budget weekend trips |
| BougeRV 200W 9BB | Monocrystalline 9-busbar | 21% efficiency, -40°F operation | Winter camping |
| Jackery SolarSaga 100W | Portable rigid | 23% efficiency, 10.3 lbs | Van life/popup campers |
| Go Power 570W Overlander | Monocrystalline kit | Three 190W panels, 30A MPPT | Full-time RV living |
| EcoFlow 400W | N-type monocrystalline | 23% efficiency, 88% capacity at 25 years | Premium boondocking |
Buyer’s Notes
Rigid solar panels represent a 20-30 year investment that fundamentally changes your RV’s energy independence.
The efficiency gap between monocrystalline (18-25%) and polycrystalline (15-20%) panels becomes critical when roof space is limited. A typical 24-foot Class C motorhome offers just 80-100 square feet of usable mounting area. Factor in roof obstacles like air conditioners, vents, and satellite dishes, and you’re often working with 40-60 square feet of actual panel space. This spatial constraint makes efficiency paramount; a 20% efficient panel generates 200W per square meter, while a 15% efficient panel produces only 150W in the same space.
Temperature coefficients dramatically impact real-world performance. Standard panels lose 0.4-0.5% efficiency per degree Celsius above 25°C (77°F). In Arizona summer conditions where roof temperatures reach 65°C (149°F), your 100W panel outputs just 75-80W. Premium panels with -0.3% coefficients maintain 85-90W under identical conditions. This 10-15W difference per panel adds up to 40-60W in a typical 400W array. The cumulative effect over a full day represents 200-300Wh of lost generation, equivalent to running a residential refrigerator for 4-6 hours.
MPPT controllers become mandatory once your array voltage exceeds 40V (typically 200W+ in series).
These smart controllers perform maximum power point tracking 10-30 times per second, adjusting input voltage to extract maximum available power regardless of temperature, shading, or battery state. In partial shade conditions common at wooded campsites, MPPT controllers harvest 15-30% more energy than PWM alternatives. The $100-200 premium for MPPT technology pays for itself within 6-12 months of regular use.
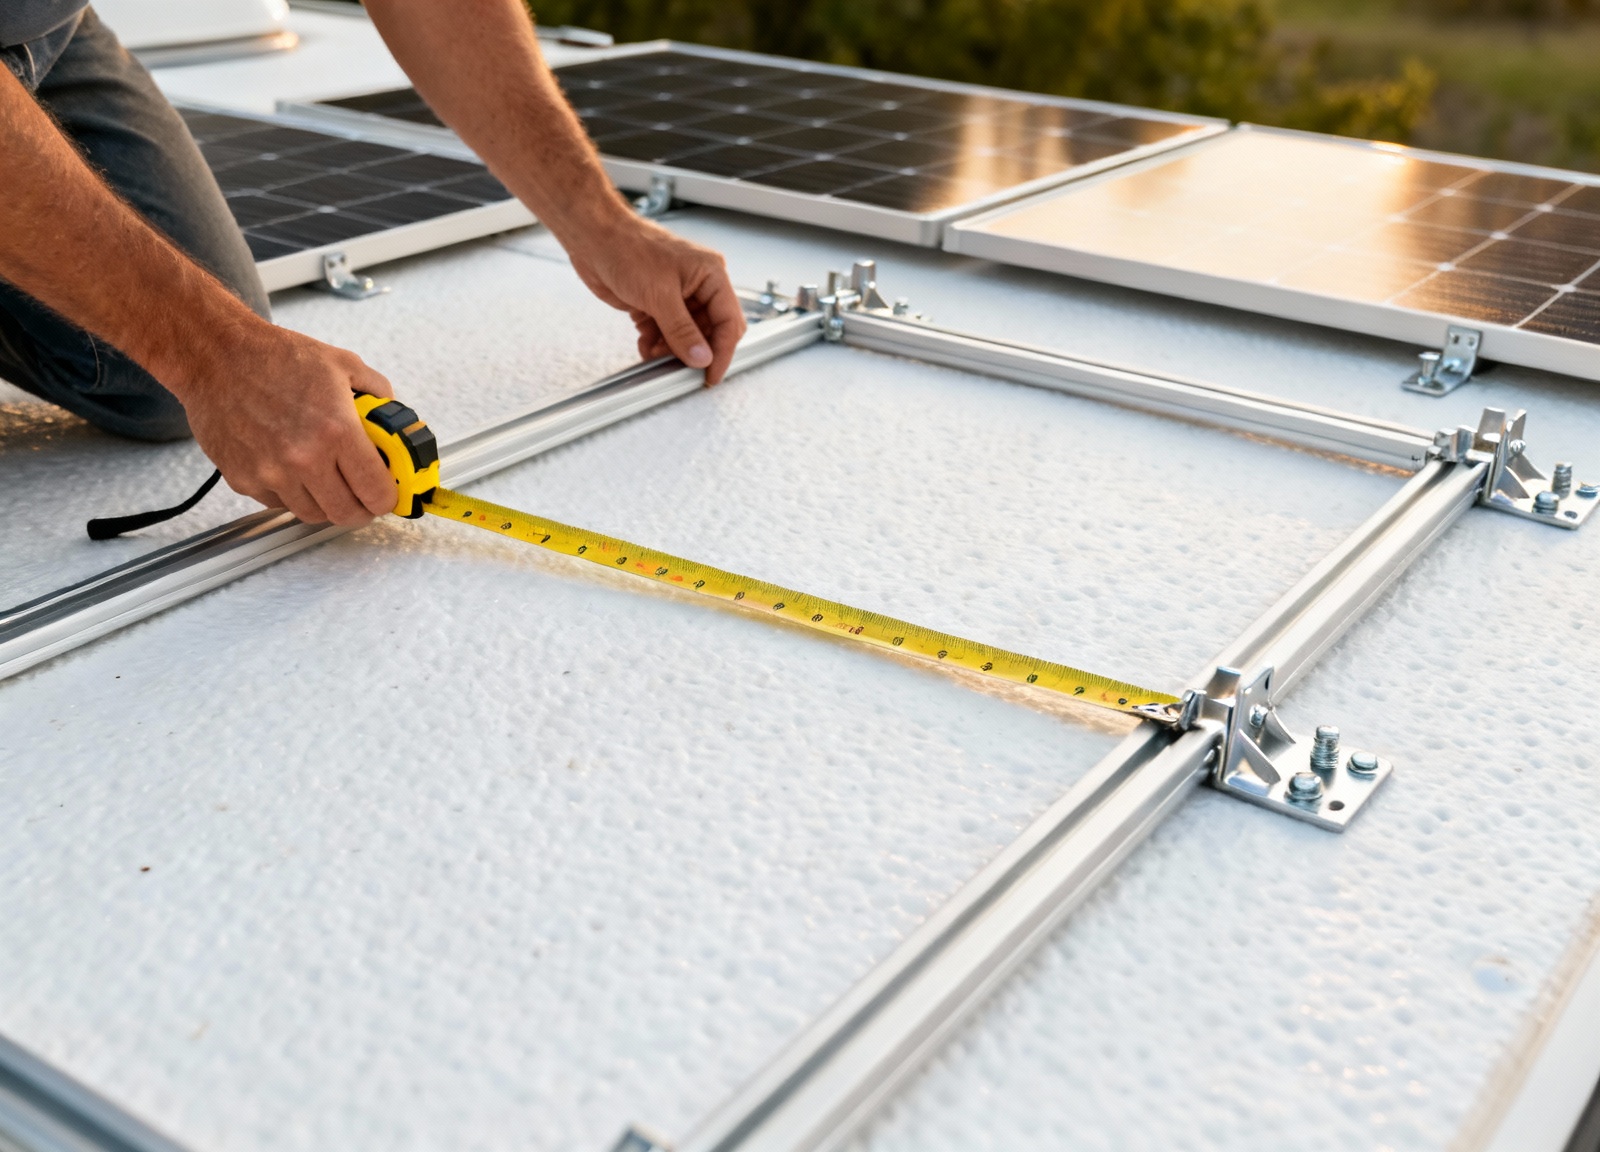
Installation costs vary dramatically based on complexity. DIY installations of single 100W panels take 2-3 hours and require basic tools: drill, wire strippers, multimeter, and torque wrench. Professional installation of multi-panel arrays with combiner boxes, disconnect switches, and monitoring systems runs $500-1,500 beyond equipment costs.
Many RV manufacturers void roof warranties for owner-installed penetrations, making professional installation worthwhile for newer rigs. Certified installers carry liability insurance covering damage during installation and often provide workmanship warranties extending 2-5 years beyond manufacturer coverage. They also ensure code compliance with RVIA standards, critical for insurance claims involving electrical fires or storm damage.
Safety Considerations
Rigid panel installations involve both electrical and structural hazards requiring careful attention.
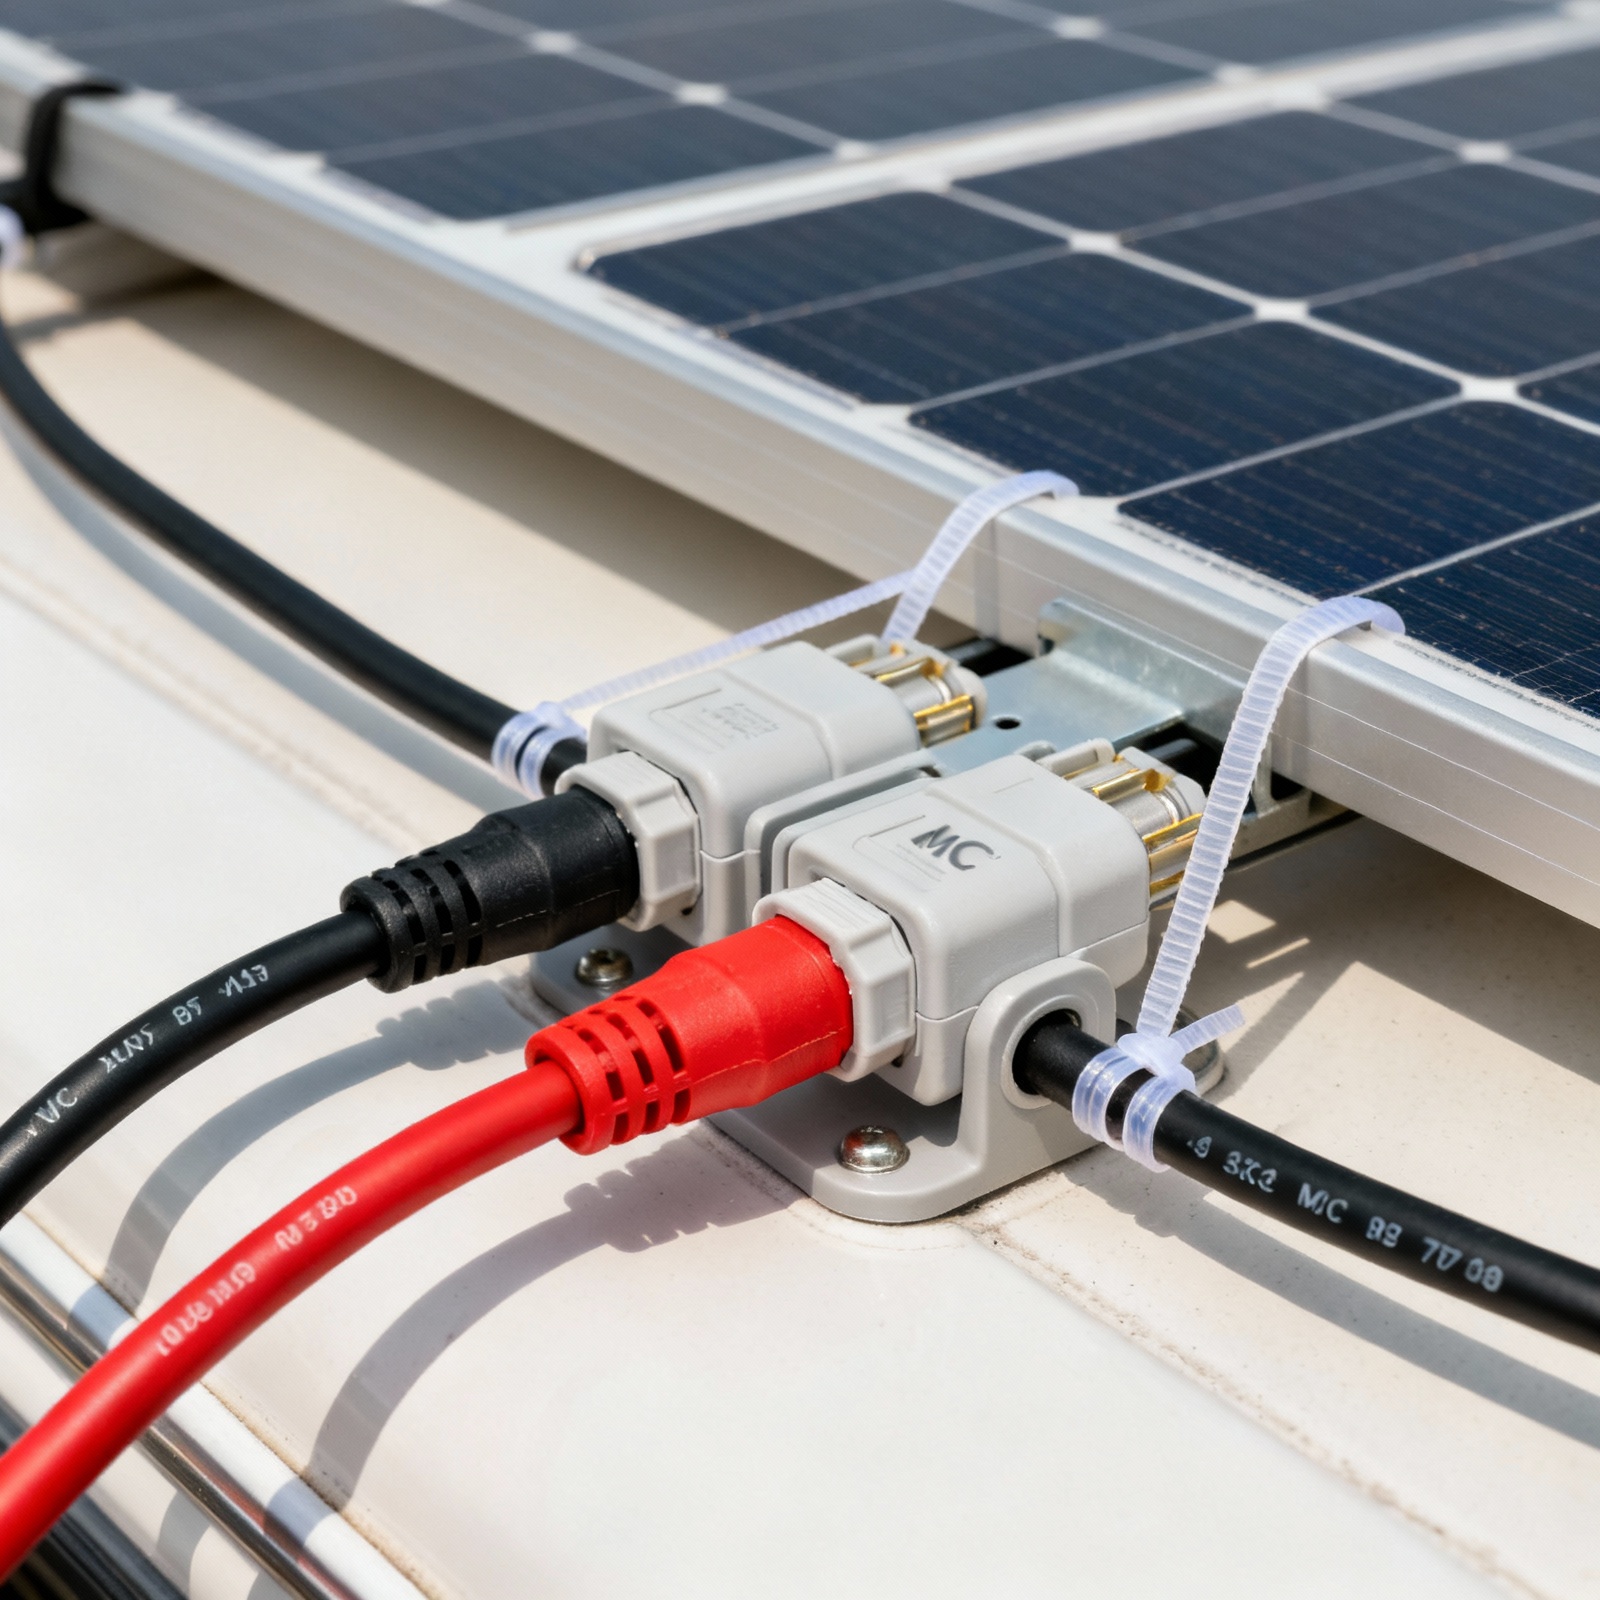
DC arc faults cause most RV solar fires, occurring when loose connections create sustained electrical arcs reaching 3,000°F. Use only MC4 connectors rated for 1,000V DC and torque all terminal connections to manufacturer specifications (typically 2.5-3.5 Nm). Install DC-rated circuit breakers between panels and charge controller, sized at 125% of maximum current. Arc fault circuit interrupters designed for DC solar applications provide additional protection, automatically disconnecting power when detecting characteristic arc signatures.
Roof loading presents often-overlooked structural risks. Most RV roofs support 20-30 pounds per square foot in distributed loads. A 400W rigid panel array with mounting hardware adds 80-100 pounds concentrated in 4-6 mounting points. Rubber roofs require backing plates to distribute weight across larger areas, preventing membrane tears and water infiltration. Never mount panels spanning unsupported roof sections between rafters—flexing during travel creates stress cracks in both panels and roof structure.
Grounding protects against lightning strikes and electrical faults.
Connect panel frames to RV chassis ground using 10AWG copper wire and approved grounding lugs. Install surge protection devices rated for DC solar applications between charge controller and battery bank. During thunderstorms, disconnect shore power and avoid touching metal surfaces connected to the solar system. Lightning arrestors installed at the combiner box provide first-stage protection, shunting high-voltage transients to ground before reaching sensitive charge controllers and inverters.
Recommended Gear
- Victron SmartSolar MPPT 100/30 — Bluetooth monitoring, 30A capacity handles up to 440W at 12V — View on Amazon
- Renogy 100W Monocrystalline Panel — 22.5% efficiency, bypass diodes minimize shading losses — View on Amazon
- Battle Born 100Ah LiFePO4 Battery — 3,000-5,000 cycle lifespan, built-in BMS, 10-year warranty — View on Amazon
- AIMS 2000W Pure Sine Inverter — Clean power for sensitive electronics, 4000W surge capacity — View on Amazon
- Victron BMV-712 Battery Monitor — Bluetooth connectivity, tracks state of charge and time remaining — View on Amazon
FAQs
- How do rigid panels perform in partial shade versus flexible panels? Both rigid and flexible panels suffer 50-75% power loss when partially shaded, but rigid panels with bypass diodes limit shade impact to affected cells only. A rigid panel with three bypass diodes maintains 66% output when one-third is shaded, while flexible panels without bypass diodes may drop to near-zero output. Rigid panels’ aluminum frames conduct heat away from shaded cells, preventing hot spot formation that permanently damages flexible panels’ plastic substrates.
- Can I mix different wattage rigid panels in the same array? Mixing wattages works only in parallel configurations where each panel operates independently. Series connections force all panels to match the lowest performer’s current, wasting 20-40% of potential power. If mixing is unavoidable, use separate charge controllers for different panel groups. Power optimizers offer another solution, allowing mixed panels in series by performing panel-level MPPT, though adding $50-75 per panel.
- Why do rigid panels develop hot spots over time? Hot spots form when individual cells fail or become shaded long-term, forcing current through reduced pathways that generate excessive heat. Quality rigid panels include bypass diodes every 20-24 cells to route current around damaged sections. Environmental factors accelerate hot spot formation: bird droppings create localized shading, micro-cracks from hail impacts increase cell resistance, and corrosion at solder joints creates high-resistance connections.
- Should I choose 12V or 24V rigid panels for my RV? Choose 24V panels for arrays exceeding 400W to reduce wire gauge requirements and voltage drop. A 400W array at 12V requires 4AWG wire for 20-foot runs, while 24V configuration uses less expensive 8AWG wire. However, 24V requires MPPT controllers, adding $100-200 to system cost. Wire cost savings become significant in larger installations where 12V systems might require expensive 2/0 or 4/0 cables.