
As an Amazon Associate, we earn from qualifying purchases.
Best RV Solar Picks for 2025
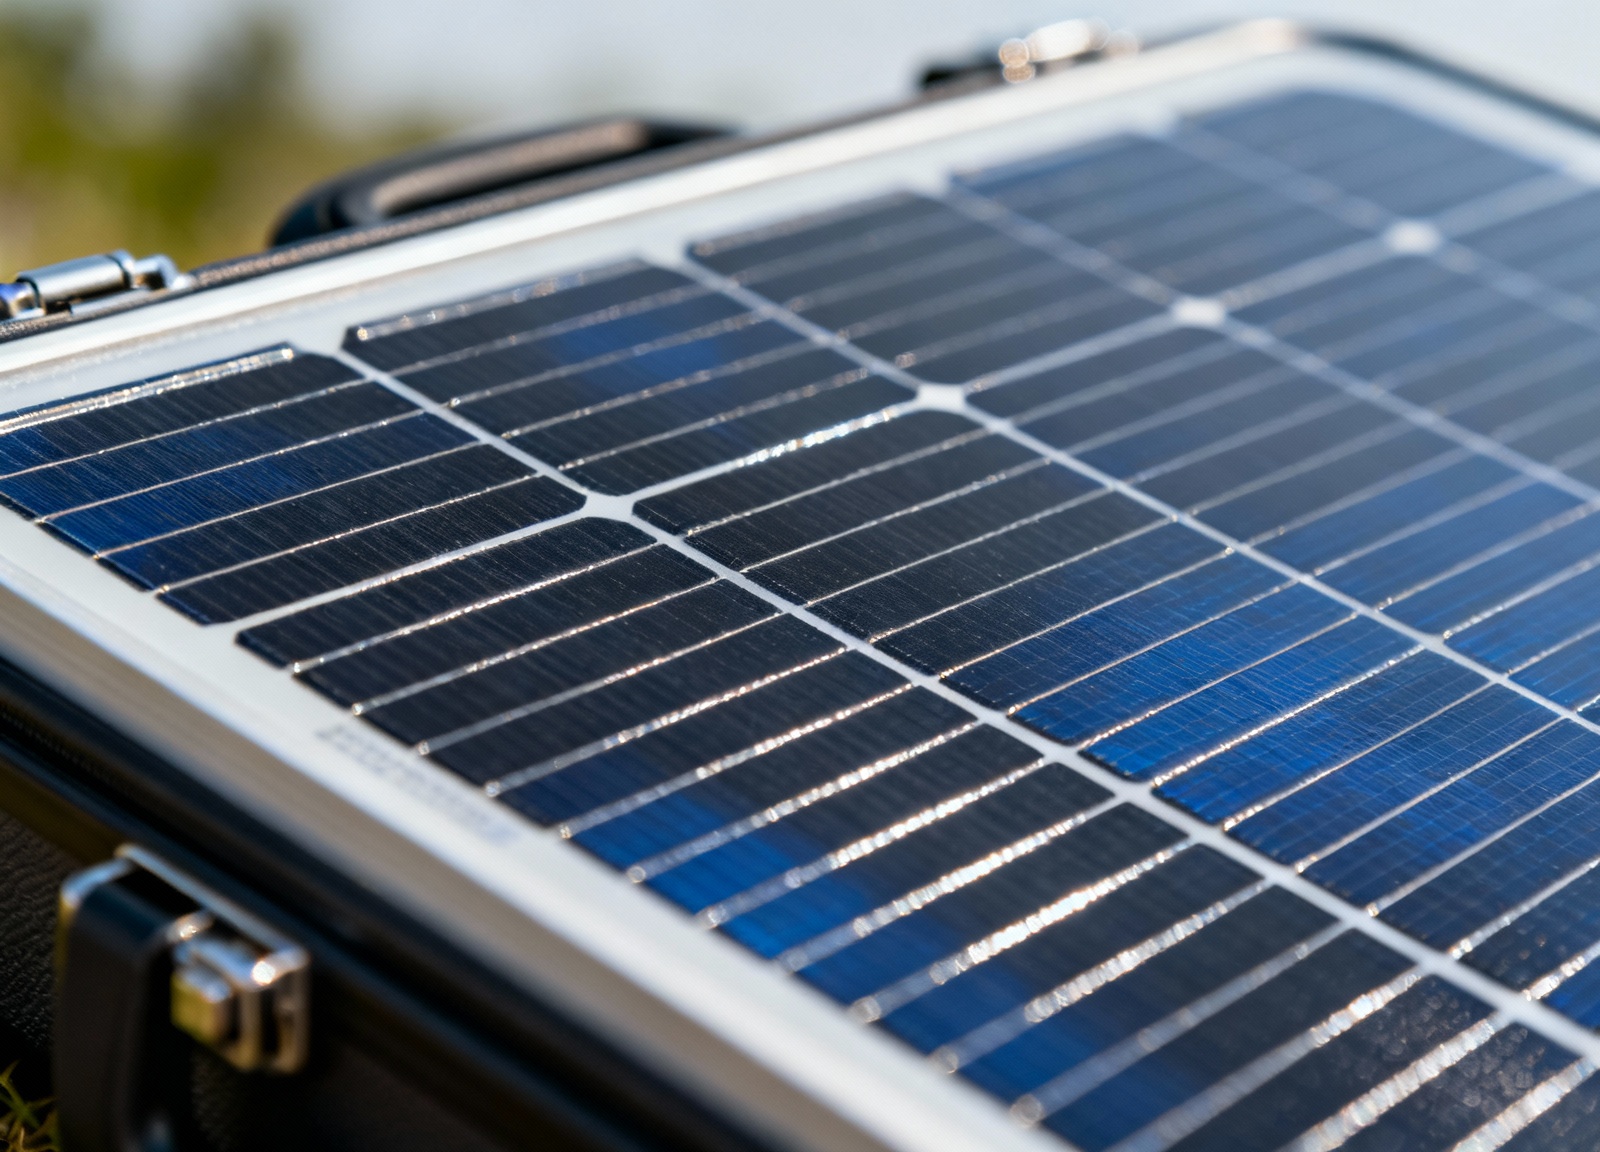
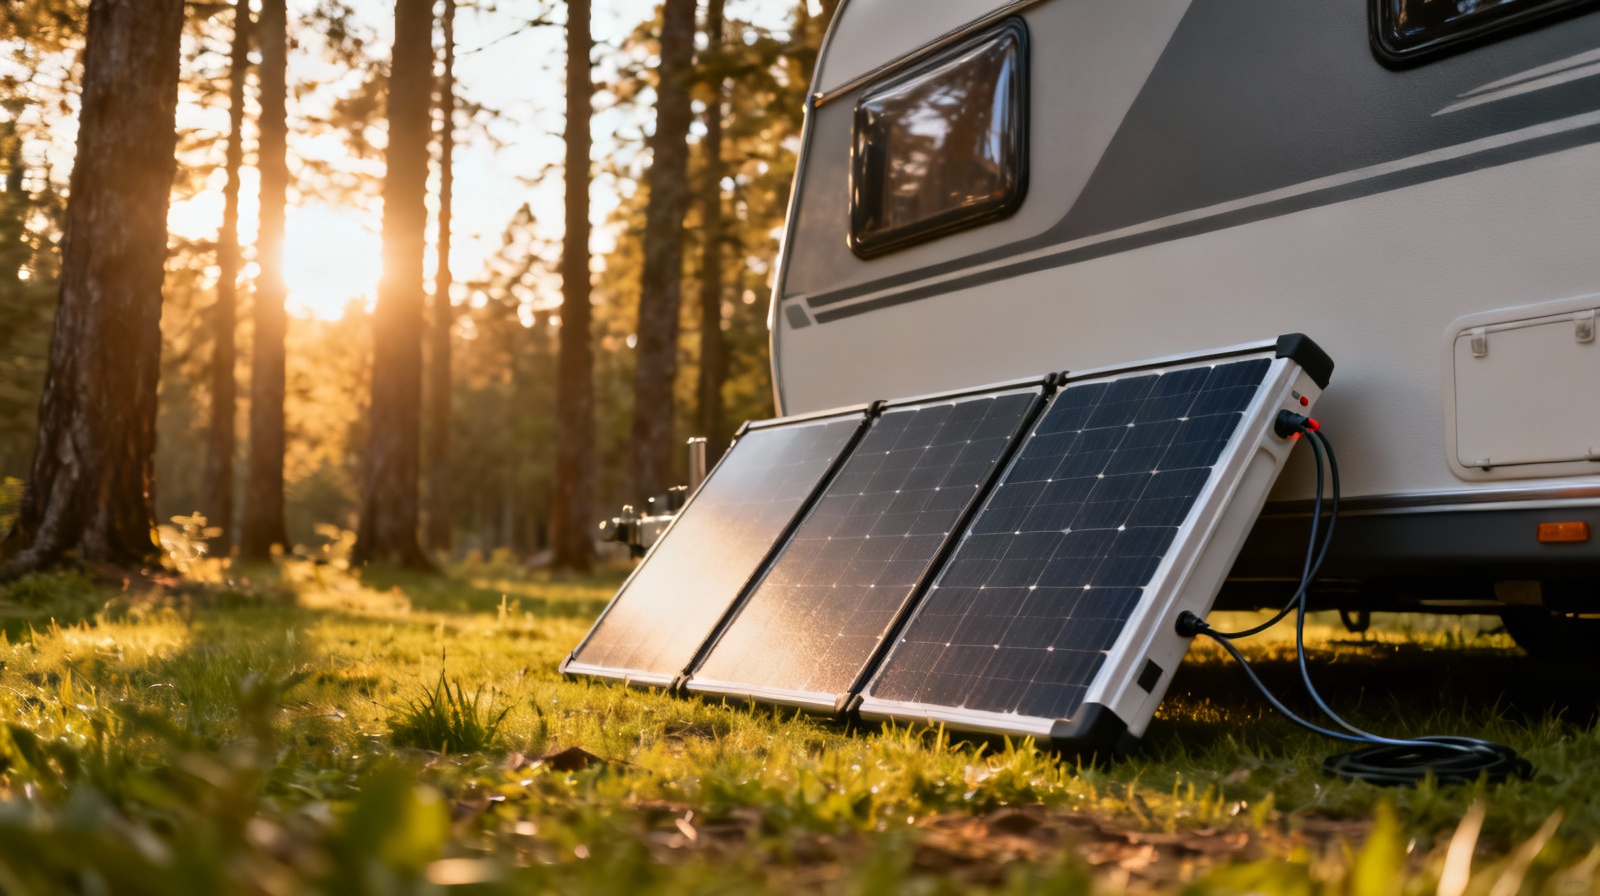
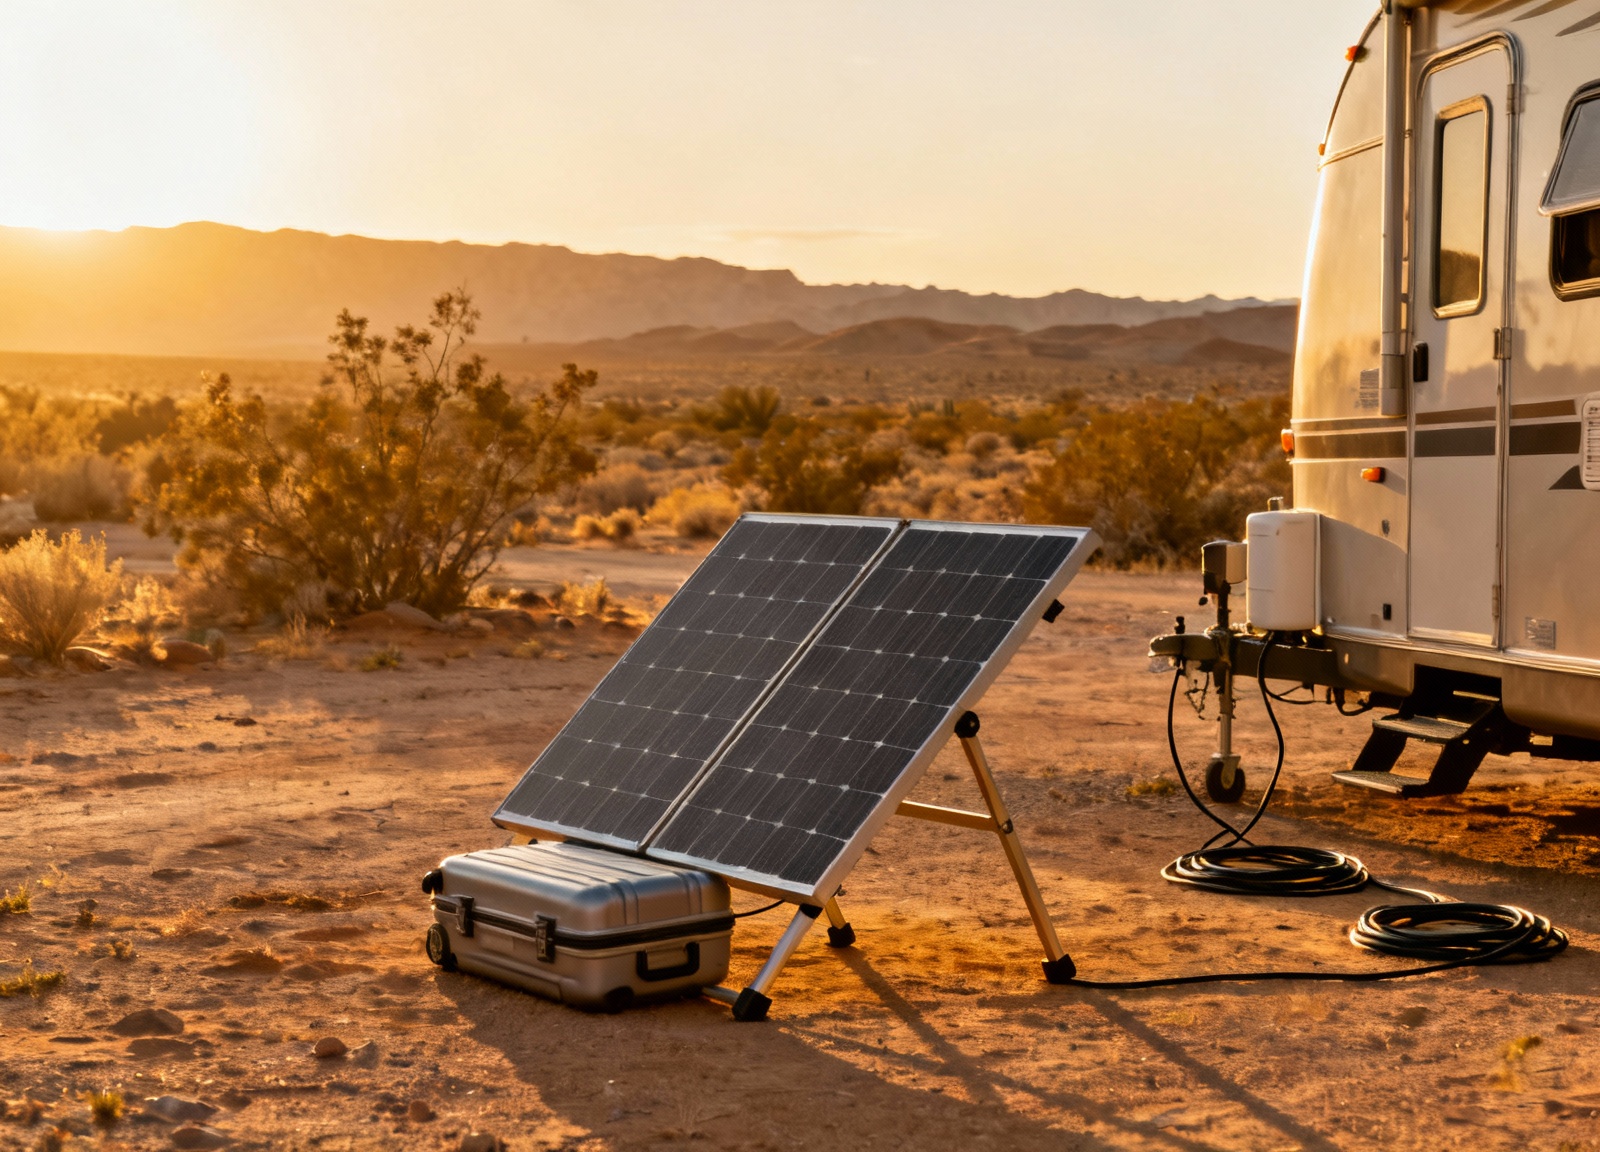
#1 Renogy 200W Monocrystalline Suitcase
Key Specs: 200W output, 20A PWM controller included, 39.7 lbs folded, IP65 junction box. View on Amazon
- Pros: Pre-wired with Anderson connectors and alligator clips
- Pros: Adjustable aluminum stand with corrosion-resistant coating
- Pros: 25-year power output warranty
- Cons: PWM controller less efficient than MPPT in partial shade
- Cons: Heavy for frequent setup/teardown
#2 BougeRV 130W CIGS Thin-Film Portable
Key Specs: 130W flexible panel, 2.86 lbs weight, 360-degree bendable up to 30°, ETFE coating.
- Pros: Ultra-lightweight for roof mounting without reinforcement
- Pros: Performs better in high temperatures than crystalline panels
- Pros: Can conform to curved Airstream roofs
- Cons: Lower efficiency requires more surface area for same output
- Cons: Shorter lifespan (10-15 years vs 25+ for rigid panels)
#3 Zamp Solar 140W Portable Kit
Key Specs: 140W monocrystalline, 10A weatherproof controller, 15ft cable with SAE connector, 35 lbs. View on Amazon
- Pros: Plug-and-play with most RV solar prep packages
- Pros: Made in USA with robust aluminum frame
- Pros: Integrated charge controller prevents overcharging
- Cons: Premium pricing (40-50% more than comparable imports)
- Cons: SAE connectors may need adapters for non-Zamp systems
#4 HQST 100W Polycrystalline Fixed Panel
Key Specs: 100W poly panel, 21.3V open circuit, bypass diodes, 16.5 lbs, budget-friendly. View on Amazon
- Pros: Excellent value at under $1 per watt
- Pros: Pre-drilled mounting holes with grounding points
- Pros: Good low-light performance for cloudy regions
- Cons: Polycrystalline less efficient than mono (requires more roof space)
- Cons: Blue speckled appearance less aesthetically pleasing
#5 Goal Zero Boulder 100 Briefcase
Key Specs: 100W monocrystalline, tempered glass, kickstand case, 26.4 lbs, 8mm connectors. View on Amazon
- Pros: Extremely durable tempered glass and aluminum construction
- Pros: Chain multiple panels for up to 600W arrays
- Pros: Integrated kickstand optimizes angle without separate legs
- Cons: Proprietary 8mm connectors require adapters
- Cons: No built-in controller (must purchase separately)
#6 Rich Solar 200W CIGS Flexible
Key Specs: 200W thin-film, 4.4 lbs, walkable design, peel-and-stick backing, 248° flexibility.
- Pros: Can be walked on without damage (great for boat decks)
- Pros: Adhesive backing eliminates drilling holes
- Pros: Shadow-tolerant technology maintains output with partial shading
- Cons: Adhesive installation is permanent (difficult to remove)
- Cons: Heat buildup without air gap reduces efficiency by 10-15%
#7 DOKIO 220W Foldable Kit
Key Specs: 220W foldable fabric design, 9 lbs total, PWM controller included, carrying case. View on Amazon
- Pros: Lightest high-wattage option for backpackers
- Pros: Folds to laptop size for storage under RV dinette
- Pros: Includes USB outputs for direct device charging
- Cons: Fabric backing prone to moisture damage if not dried properly
- Cons: Lower efficiency (18%) compared to rigid panels (21-22%)
#8 Victron Energy 175W Monocrystalline
Key Specs: 175W mono panel, 22.5% cell efficiency, 36-cell configuration, marine-grade junction box, 35.3 lbs.
- Pros: Industry-leading efficiency and low-light performance
- Pros: Exceptional build quality with 25-year linear warranty
- Pros: Pairs perfectly with Victron MPPT controllers for system monitoring
- Cons: Premium pricing (2x cost of budget panels)
- Cons: Heavier than comparable wattage panels
Which Solar Setup Should You Buy?
The right solar solution depends entirely on your camping style and power needs.
For occasional dry camping (2-3 nights): Start with a 100-140W portable suitcase panel like the Zamp Solar kit. These plug directly into your RV’s battery compartment and store easily when not needed. You’ll generate 30-40Ah daily in good sun—enough to run LED lights, water pump, and charge devices. The built-in controller protects your batteries while you park your RV in shade and position panels in sun.
For regular boondocking (5-7 days): Consider 200-300W of fixed rooftop panels paired with an MPPT controller. The HQST polycrystalline panels offer excellent value here. Fixed mounting eliminates daily setup, and MPPT controllers squeeze 20-30% more power from your panels, especially important during shoulder seasons. Add a portable 100W suitcase for cloudy days or when parked under trees. This combination provides 60-80Ah daily, supporting moderate furnace use, a residential fridge on propane, and occasional inverter loads.
For full-time RV living: You need 400W minimum, ideally 600-800W.
Mix high-efficiency panels like Victron with flexible panels for curved surfaces. Full-timers run residential fridges, work from their RVs, and use electric cooking appliances. A 600W system with lithium batteries and a 40A MPPT controller generates 150-200Ah daily in summer, 80-100Ah in winter. This supports most household conveniences except air conditioning.
For van lifers and small trailers: Space constraints demand creative solutions. The BougeRV or Rich Solar flexible panels mount to curved roofs without adding height. Combine a 200W flexible roof panel with the DOKIO foldable kit for ground deployment—400W capacity in minimal space. The lightweight DOKIO stores under a mattress, while flexible panels add just inches to roof height, crucial for garage parking or low bridges.
Budget-conscious buyers should understand solar’s diminishing returns curve. A basic 200W system with PWM controller costs around $400 and meets 80% of typical needs. Doubling to 400W with MPPT might cost $1,200 but only adds 50% more usable power due to real-world inefficiencies.
The sweet spot for most RVers sits between 200-400W, providing energy independence without overspending.
Climate matters tremendously. Desert campers see 5-6 peak sun hours daily, while Pacific Northwest explorers get 2-3 hours even in summer. Flat-mounted panels lose 20-30% efficiency compared to tilted panels, but tilting requires daily adjustment and isn’t practical while driving. Temperature coefficients mean panels produce 10-25% less power in extreme heat despite abundant sunshine. Plan your system for worst-case scenarios, not ideal conditions.
Safety Considerations & Common Mistakes
Solar installations seem straightforward until something goes wrong.
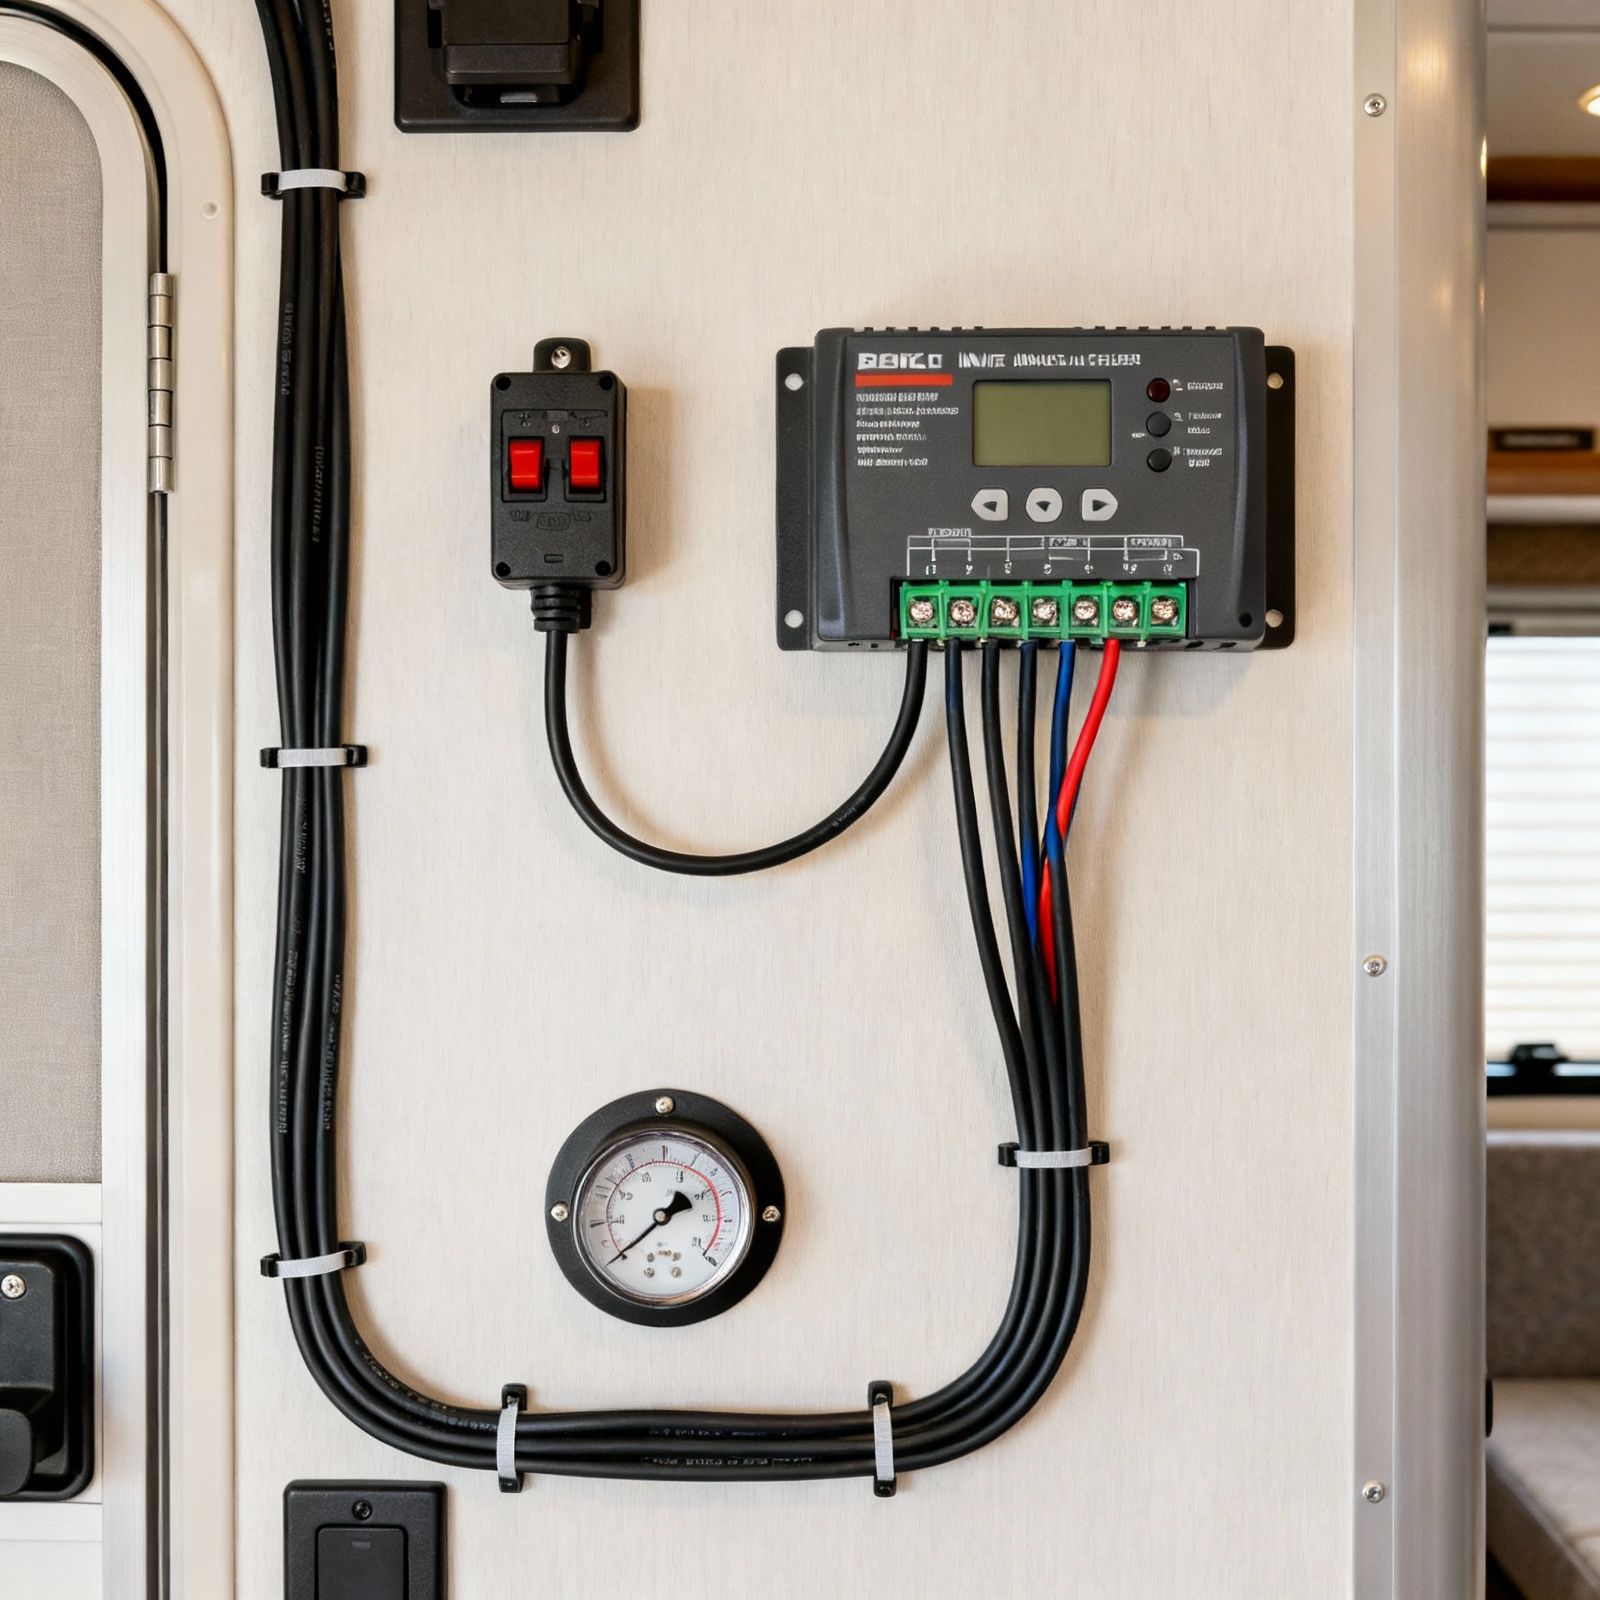
The most dangerous mistake is connecting panels directly to batteries without a charge controller. Even a 100W panel can overcharge and destroy expensive batteries in days. Lead-acid batteries release explosive hydrogen gas when overcharged, while lithium batteries can enter thermal runaway. Always use a properly-sized charge controller—PWM for simple systems or MPPT for maximum efficiency.
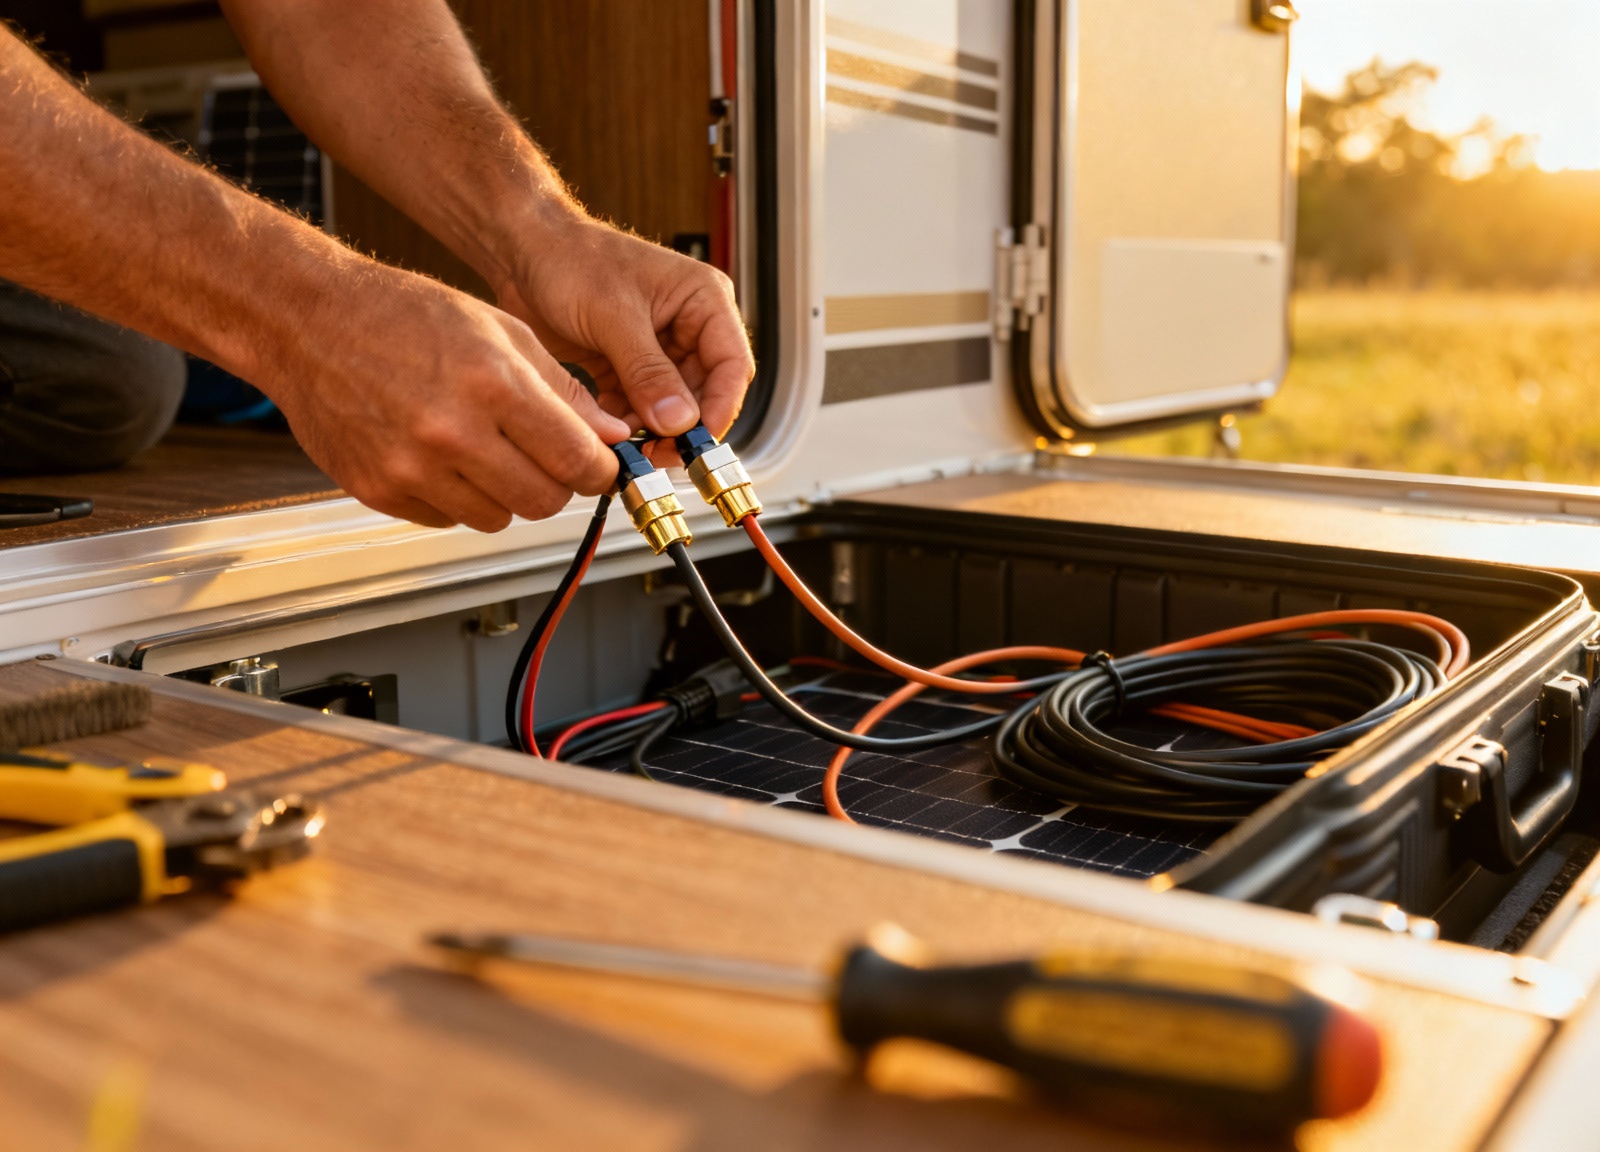
Wire gauge is critical and often undersized. A 200W system needs 10AWG wire for runs over 20 feet to prevent voltage drop and heat buildup. Undersized wiring causes fires, especially when running through walls or compartments. Use marine-grade tinned copper wire, not solid core household wire which breaks from vibration. Every connection needs proper MC4 connectors or sealed junction boxes.
RV roofs flex constantly. Water intrusion through poorly-sealed penetrations causes extensive damage.
Mixing panel types creates problems. Connecting mismatched panels in series limits output to the weakest panel’s current. Parallel connections require identical voltage ratings or blocking diodes. Never combine 12V and 24V panels without separate controllers. Shading affects entire strings when wired in series—even a small shadow from an antenna can cut output by 50%. Wire panels in parallel when partial shading is unavoidable, though this requires heavier gauge wiring.
Ground fault protection saves lives but gets overlooked.
RV electrical systems combine 12V DC, 120V AC, and chassis grounds in confined metal boxes. A damaged panel or pinched wire can energize the entire RV frame. Install DC-rated breakers between panels and controllers, and between controllers and batteries. Size breakers at 125% of maximum current. A 200W system producing 11A needs a 15A breaker minimum.
Portable panel security is essential. Thieves target expensive suitcase panels left unattended. Cable locks deter casual theft but determined criminals bring bolt cutters. When boondocking, position panels visible from your RV windows. Some RVers install motion alarms or GPS trackers in panel cases. Insurance typically doesn’t cover portable panels unless specifically listed—document serial numbers and keep receipts.
Maintenance extends panel life significantly. Dirt and bird droppings reduce output by 5-25%. Clean panels monthly with water and soft brushes, never abrasive cleaners that scratch protective coatings. Check mounting hardware quarterly as vibration loosens connections.
Flexible panels glued directly to roofs trap heat and moisture, reducing lifespan from 20 years to 5-7 years. Use VHB tape spacers to create airflow channels under flexible panels.
Installation Tips and Best Practices
Proper installation makes the difference between a reliable system and constant headaches. Start by mapping your roof layout, accounting for vents, air conditioners, and satellite dishes that create shadows. Panels need at least 3 inches clearance from roof edges for mounting hardware and to prevent wind lift.
Use a non-penetrating mounting system when possible. Many RVers prefer tilt mounts with adhesive feet reinforced by Dicor lap sealant. These avoid roof penetrations while allowing seasonal angle adjustments. If you must drill, use stainless steel lag bolts with butyl tape and cover with self-leveling sealant. Never use silicone—it doesn’t adhere properly to EPDM or TPO roofing.
Run wiring through existing roof penetrations when available, such as refrigerator vents or plumbing stacks. Use UV-resistant cable entry glands for new penetrations. Inside the RV, secure wires every 18 inches with cushioned clamps to prevent chafing. Label everything clearly—future troubleshooting becomes much easier when you can identify each wire’s purpose.
Controller placement affects performance. Mount MPPT controllers within 10 feet of batteries to minimize voltage drop on the output side. Ensure adequate ventilation as controllers generate heat proportional to current flow. Never install controllers inside battery compartments where hydrogen gas accumulates. Program controller settings correctly for your battery type—incorrect charging voltages dramatically shorten battery life.
Recommended Gear
- Victron SmartSolar MPPT 100/30 — Bluetooth monitoring and 30A capacity perfect for 400W systems — View on Amazon
- Renogy 100W Monocrystalline Panel — Best value rigid panel with 21% efficiency — View on Amazon
- Battle Born 100Ah LiFePO4 — Drop-in lithium replacement with 10-year warranty — View on Amazon
- AIMS 2000W Pure Sine Inverter — Clean power for sensitive electronics — View on Amazon
- Victron BMV-712 Battery Monitor — Bluetooth monitoring shows real consumption data — View on Amazon
FAQs
- How many watts do I need for RV solar? Weekend camping needs 100-200W for basic lights and charging. Full-timers running residential fridges and working remotely need 400-800W minimum. Calculate your daily amp-hour consumption, then size panels to replace 120% of that usage accounting for inefficiencies.
- Are flexible solar panels worth it for RVs? Flexible panels excel on curved roofs and where height matters, but cost more per watt and last 10-15 years versus 25+ for rigid panels. The adhesive mounting makes removal difficult, and without airflow underneath, heat reduces output by 10-15%. They’re ideal for vans and vintage trailers but unnecessary for standard RV roofs.
- Why are RVers removing rooftop solar panels? Some remove panels due to roof leaks from improper installation, inadequate power from undersized systems, or damage from low branches. Others upgrade from older PWM systems to modern MPPT setups. Portable panels offer more flexibility for seasonal RVers who store their rigs. However, properly-installed fixed panels remain the most convenient option for regular use.