
As an Amazon Associate, we earn from qualifying purchases.
TL;DR: Best Picks
- Best Overall: Victron SmartSolar MPPT 100/30 — Superior efficiency with Bluetooth monitoring and multi-stage charging View on Amazon
- Best Budget: Renogy 100W Monocrystalline Panel — Reliable performance at an accessible price point with 21% efficiency View on Amazon
- Best Battery: Battle Born 100Ah LiFePO4 — Deep cycle lithium with 3000-5000 cycles and built-in BMS View on Amazon
Comparison Table
| Model | Type | Key Specs | Best for | Pros | Cons |
|---|---|---|---|---|---|
| Renogy 100W Mono View | Rigid Monocrystalline | 100W, 21% efficiency, 22.5V Voc, 5.29A Isc | Budget-conscious weekend warriors | Affordable, corrosion-resistant frame, 25-year warranty | Lower efficiency than premium panels, basic junction box |
| Rich Solar MEGA 100W View | Rigid Monocrystalline | 100W, 22% efficiency, 24.3V Voc, 5.21A Isc | Full-timers needing durability | 9-busbar design, excellent low-light performance | Heavier than competitors, premium pricing |
| BougeRV 200W Bifacial View | Rigid Bifacial | 200W front + 30% rear gain, 23% efficiency | Maximum power generation | Up to 260W total output, transparent backsheet | Requires reflective mounting surface, higher cost |
| Jackery SolarSaga 100W View | Portable Foldable | 100W, 24% efficiency, IP65 rated | Portable setups and boondocking | Lightweight at 9.1 lbs, kickstand included | Not suitable for permanent mounting, expensive per watt |
| Victron SmartSolar MPPT 100/30 View | Charge Controller | 30A, 440W@12V, Bluetooth, programmable | Professional installations | 98% peak efficiency, app monitoring, lithium profiles | Premium price point, overkill for small systems |
Buyer’s Guide
Power Requirements and System Sizing
Start by calculating your daily amp-hour consumption. Basic RV needs—LED lights, water pump, phone charging—typically consume 30-75Ah daily. Full-timers running residential refrigerators, laptops, and entertainment systems often use 150-200Ah or more.
The 33% rule provides a reliable sizing baseline: your solar array should generate at least one-third of your battery bank’s total capacity each day. For a 300Ah battery bank, target 100Ah of daily solar generation. This typically requires 300-400W of panels when accounting for real-world inefficiencies, weather variations, and the fact that panels rarely produce their rated output—expect 70-80% in optimal conditions.
Seasonal variations demand attention. Winter camping requires 20-40% additional capacity due to shorter days and lower sun angles. Northern latitude campers should size systems based on December production rather than summer peaks to ensure year-round functionality.
Fixed vs. Portable Installation
Fixed rooftop installations deliver convenience and security—ideal for full-timers wanting automatic power generation.
Installation requires drilling through your RV roof, applying proper sealants like Dicor or EternaBond, and respecting weight limits (typically 2-3 pounds per square foot). Fixed panels suffer from suboptimal angles when parked and can’t adjust for seasonal sun positions. They’re also vulnerable to shade from trees when you park for comfort rather than solar exposure.
Portable panels excel in flexibility. Park your RV in shade while positioning panels in full sun up to 30 feet away using appropriate gauge wiring. They’re easier to clean, require no roof penetrations, and allow angle optimization throughout the day. The trade-offs include setup time, theft risk, and storage space. Portable systems need weatherproof MC4 connectors and may require ground stakes in windy conditions.
Many RVers combine approaches—a modest fixed array provides baseline power while portable panels supplement during extended stays.
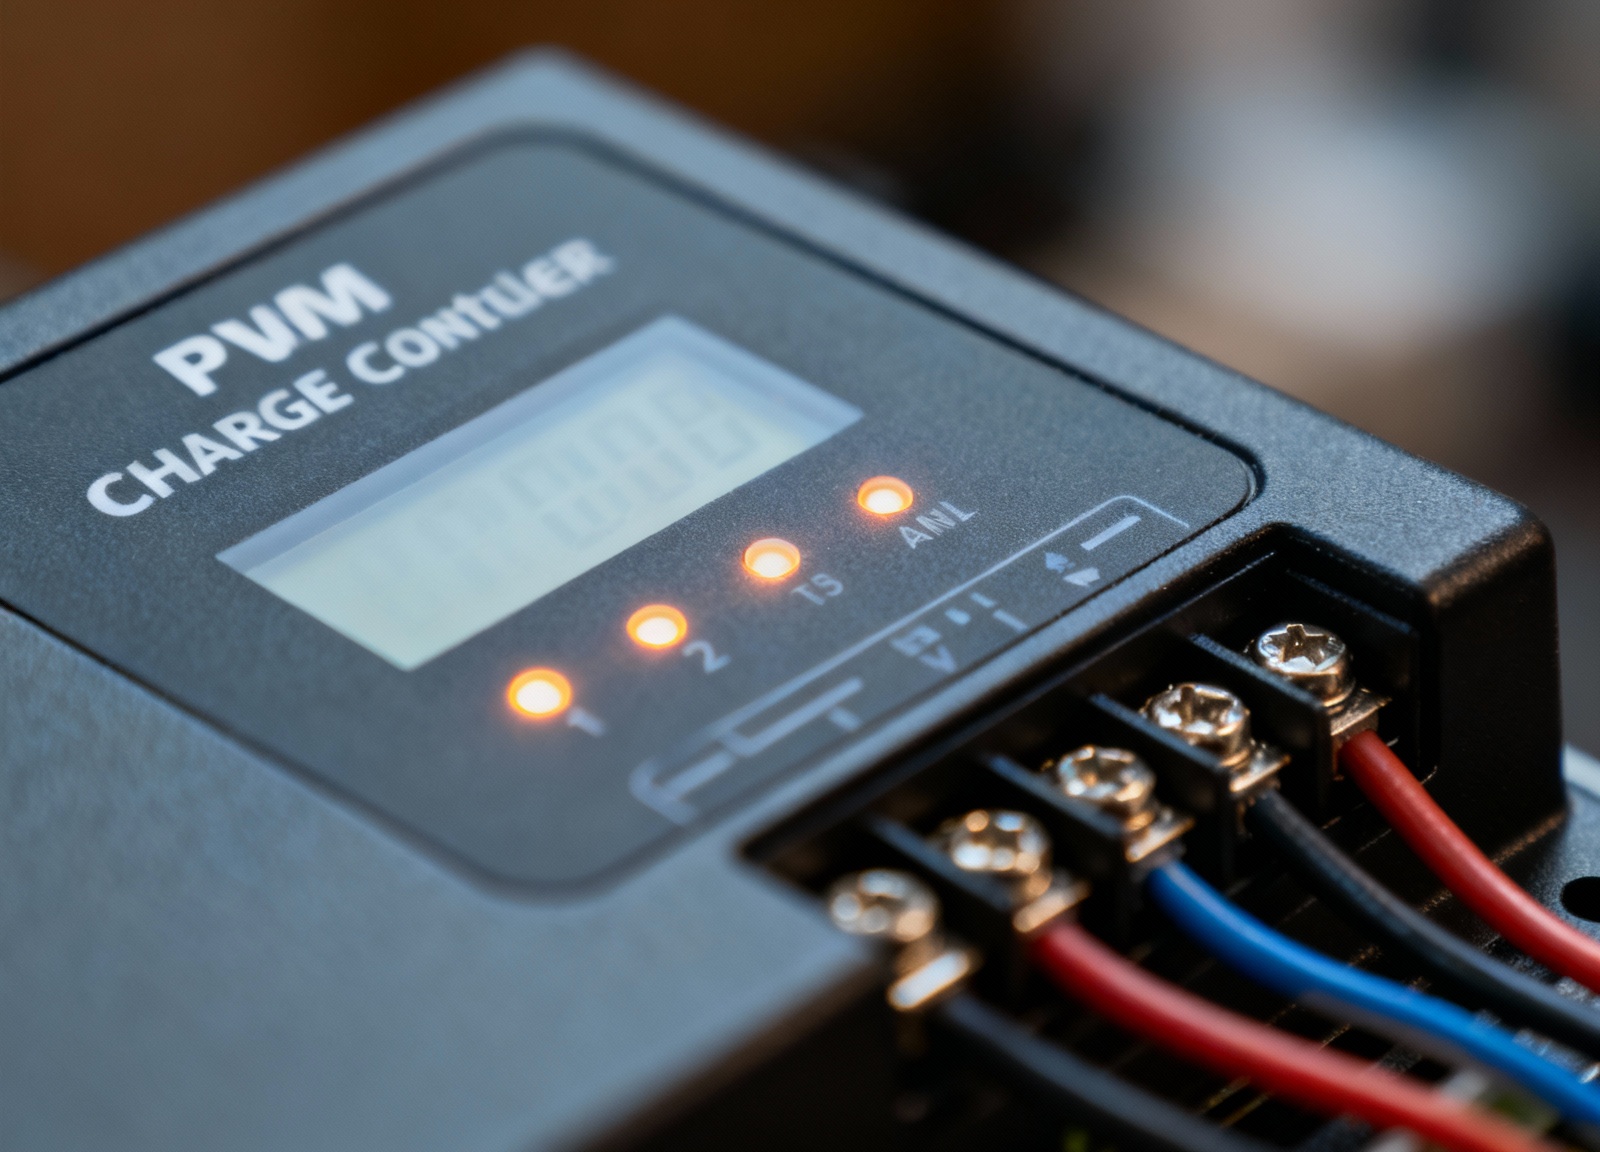
Controller and Inverter Compatibility
MPPT controllers outperform PWM units by 15-30%, particularly during temperature variations and partial shading.
They’re essential when panel voltage significantly exceeds battery voltage—common with 24V panels charging 12V banks. MPPT technology harvests maximum power by converting excess voltage into additional charging current, while PWM controllers simply clip the voltage, wasting potential energy.
Size your controller with 25% headroom above peak panel output. A 400W array on a 12V system produces roughly 33A peak current, requiring at least a 40A controller. Verify your controller supports your battery chemistry—lithium batteries need specific charging profiles with lower absorption voltages (14.4-14.6V for LiFePO4 versus 14.8V for AGM).
Inverter selection depends on your largest loads and surge requirements. A 2000W pure sine wave inverter handles most RV appliances including microwaves and coffee makers. Modified sine wave inverters cost less but can damage sensitive electronics, cause buzzing in audio equipment, and reduce motor efficiency. Remember surge ratings—many appliances draw 2-3x their running wattage during startup.
Installation Essentials
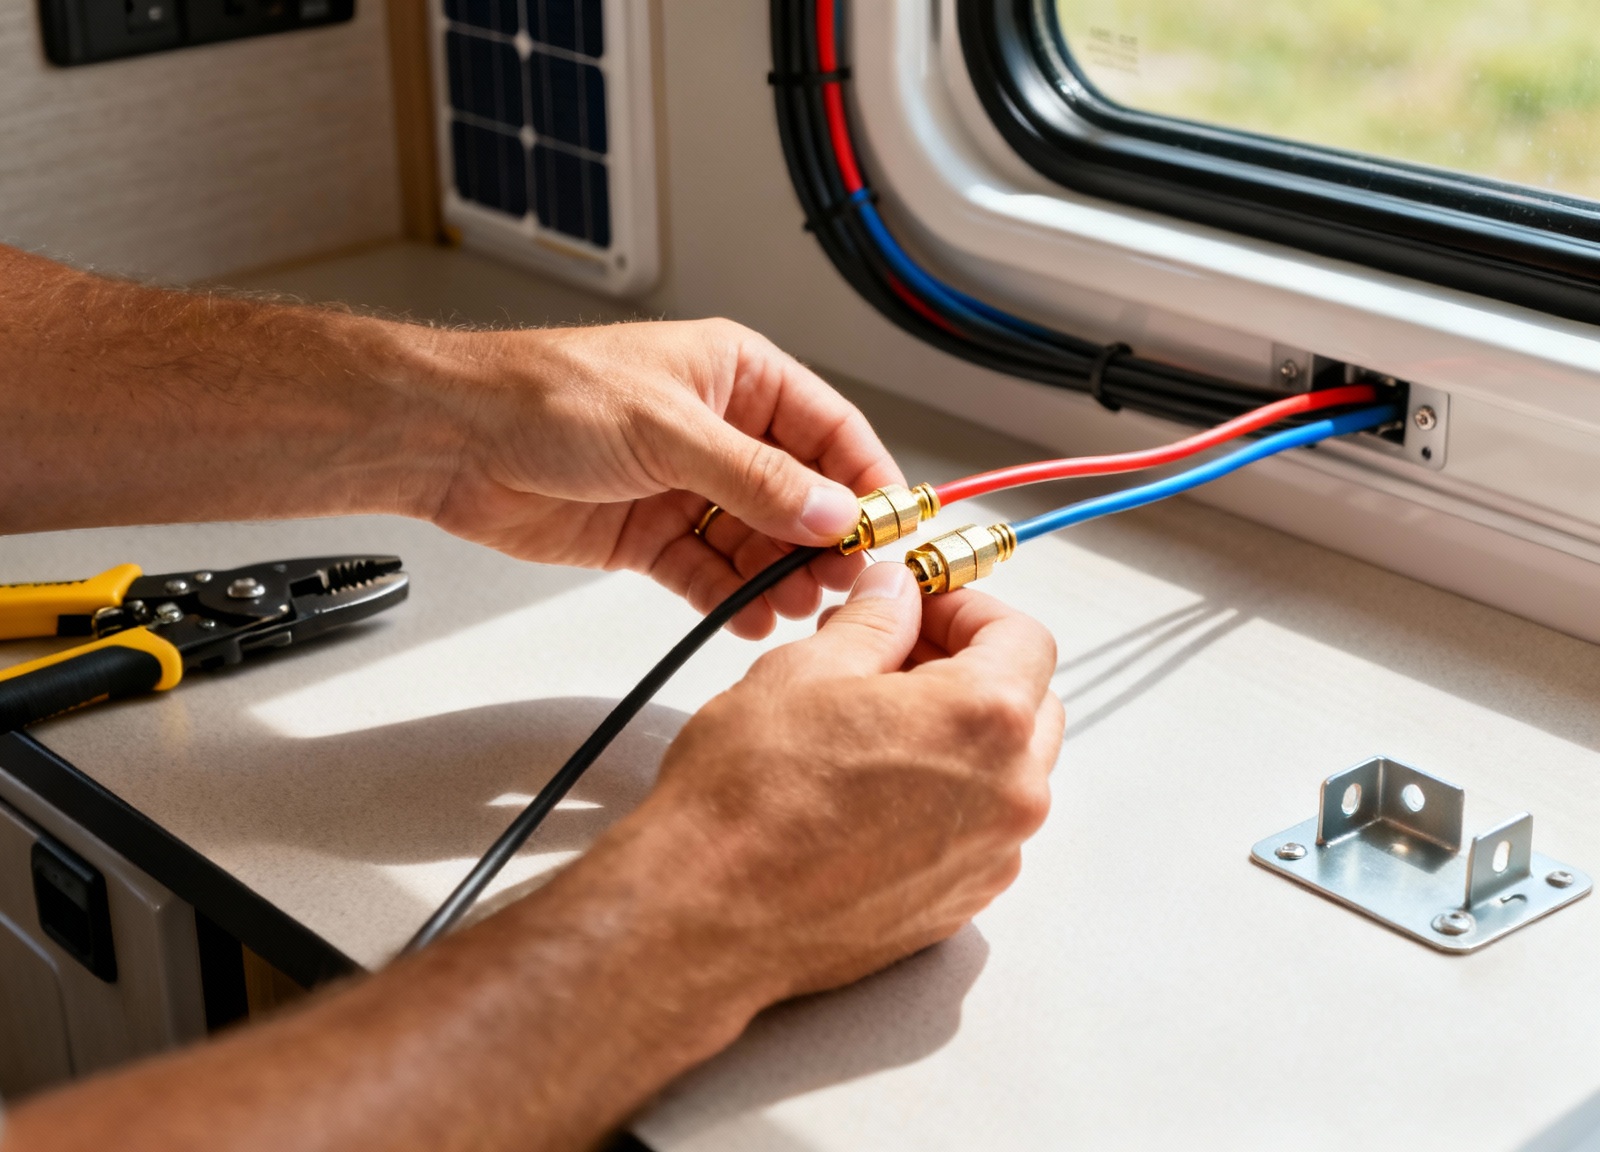
Proper wire sizing prevents dangerous voltage drop and fire hazards.
Follow the 3% rule: total voltage drop from panels to batteries shouldn’t exceed 3% of system voltage. For a 25-foot run at 20A in a 12V system, you need 10AWG wire minimum. Use online voltage drop calculators for precise sizing. MC4 connectors remain the industry standard for panel connections, while battery terminals require properly crimped ring terminals with adhesive-lined heat shrink for vibration resistance.
Fusing and circuit protection safeguard your investment. Install DC-rated breakers between panels and controller (rated at 1.25x panel current), and between controller and battery (1.25x controller rating). Add a catastrophic fuse within 18 inches of the battery positive terminal—typically 1.25x your inverter’s maximum draw. Use MRBF or ANL fuses for battery protection, as they’re designed for high-current DC applications.
Ground fault protection prevents electrical fires and shock hazards. Bond all metallic components including panel frames, controller chassis, and inverter housing to your RV chassis using 8AWG wire minimum. Some controllers include built-in ground fault detection that alerts you to insulation failures before they become dangerous. This feature is particularly valuable in mobile environments where vibration can damage wiring over time.
Battery Selection Deep Dive
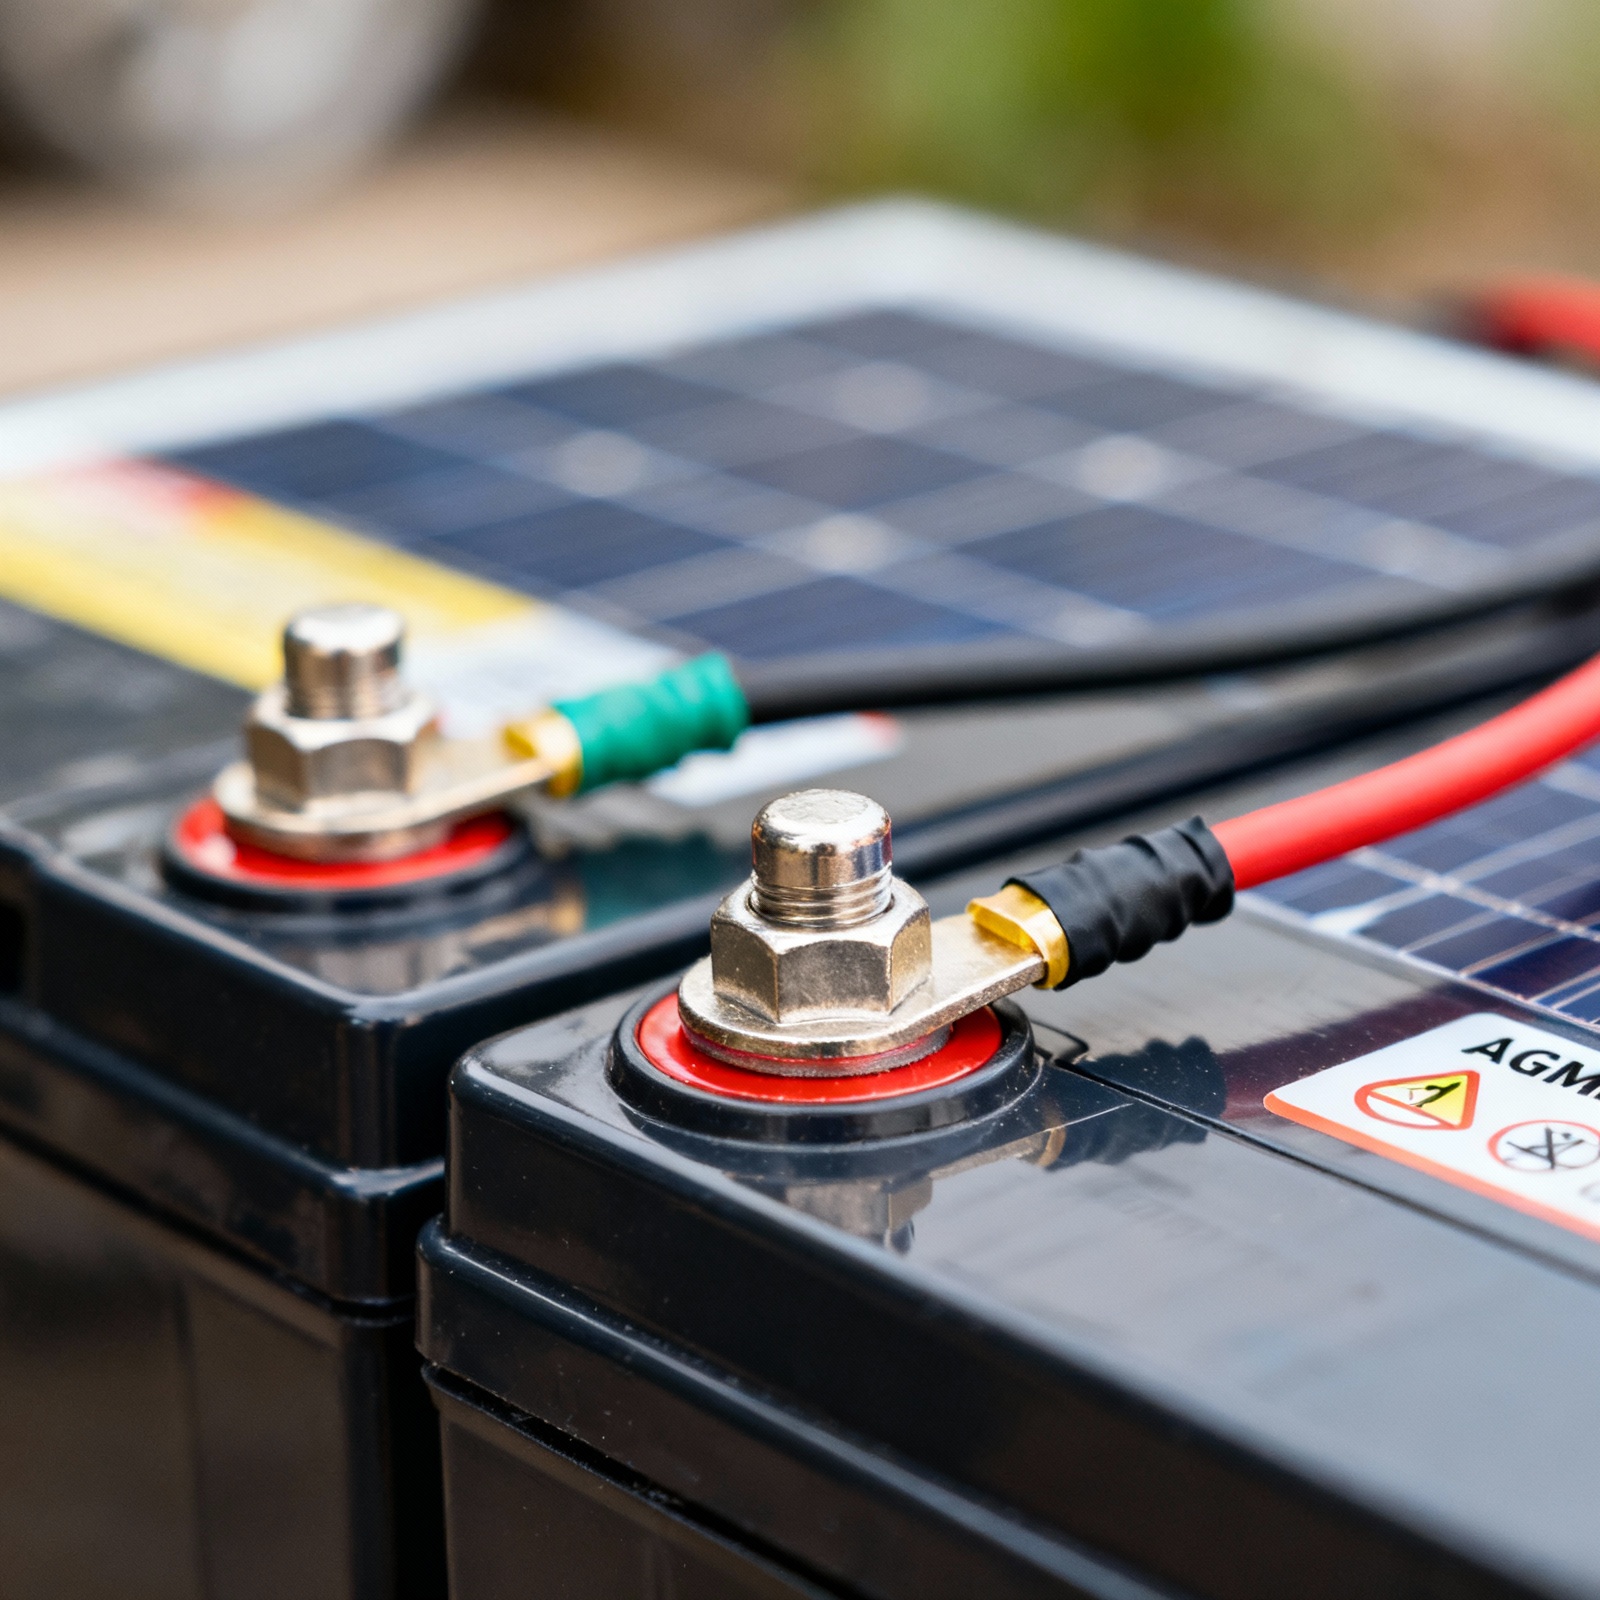
Lithium iron phosphate batteries transformed RV solar despite higher upfront costs.
They deliver 3000-5000 cycles versus 300-500 for lead-acid, weigh 60% less, and provide usable capacity down to 20% state of charge compared to 50% for AGM. Built-in battery management systems prevent overcharging, balance cells, and disconnect loads before damage occurs. The weight savings alone—often 100+ pounds for a 400Ah bank—improves fuel economy and handling.
AGM batteries remain viable for budget-conscious builders. They’re maintenance-free, handle high discharge rates well, and function in cold weather without auxiliary heating. However, they’re sensitive to overcharging, suffer permanent capacity loss if repeatedly discharged below 50%, and typically last 3-5 years with careful management. Their sealed construction eliminates acid spills and hydrogen venting concerns.
Flooded lead-acid batteries offer the lowest cost per amp-hour but demand regular maintenance. Monthly watering, equalization charging every 30-60 days, and adequate ventilation for hydrogen gas make them best suited for stationary RVs with easy battery access. They tolerate abuse better than AGM but require dedicated maintenance schedules.
Temperature dramatically affects all battery types. Lithium batteries won’t accept charge below 32°F without internal heaters—some models include built-in heating elements that activate automatically. Lead-acid batteries lose 50% capacity at 0°F but can still charge slowly. Install batteries in conditioned spaces when possible, or invest in battery heating pads and insulation for winter camping. Temperature sensors enable controllers to adjust charging voltages automatically, preventing over or undercharging in extreme conditions.
Monitoring and Maintenance
Battery monitors provide crucial system insights beyond basic voltage readings.
Devices like the Victron BMV-712 or Renogy 500A track true state of charge using cumulative current counting, display real-time power flow, and estimate time until battery depletion. Bluetooth models enable monitoring from your RV’s comfort, particularly valuable during storms or extreme temperatures. Accurate monitoring prevents deep discharge damage and helps optimize charging cycles for maximum battery life.
Panel maintenance is minimal but critical for performance. Clean panels monthly using water and a soft brush or squeegee—accumulated dirt, pollen, and bird droppings can reduce output by 25% or more. Avoid harsh chemicals that might damage anti-reflective coatings. Check MC4 connections annually for corrosion or loosening, and inspect roof sealants for flexibility and crack development. Re-seal any questionable areas before water infiltration occurs.
Seasonal adjustments can boost production significantly. Tilt kits add 15-25% winter generation by optimizing panel angle relative to the sun’s lower path. Adjust fixed mounts to latitude plus 15° in winter, latitude minus 15° in summer, or leave at your latitude year-round for simplicity. Even manual adjustment twice yearly yields noticeable improvements in shoulder seasons.
Common System Configurations
Weekend warriors typically thrive with 100-200W panels paired with 100-200Ah AGM batteries.
This configuration handles LED lighting, device charging, water pump operation, and occasional laptop use for 2-3 days without shore power. Budget approximately $800-1500 for a complete DIY system including panels, controller, batteries, wiring, and basic monitoring.
Extended boondockers benefit from 300-400W arrays with 200-300Ah batteries, preferably lithium for weight savings and deeper discharge capability. This setup supports residential refrigerators, CPAP machines, coffee makers, and moderate inverter use throughout the day. Expect a $2000-3500 investment for quality components that will last years of regular use.
Full-timers often install 600-800W arrays with 400-600Ah lithium banks to achieve near-normal electrical usage excluding air conditioning. With efficient appliances, LED lighting, and conservative habits, many full-timers achieve complete energy independence. Systems at this scale cost $4000-7000 installed, but eliminate campground fees and provide location flexibility that quickly offsets the investment.
Safety Considerations and Common Mistakes
Never connect panels directly to batteries—this fundamental error destroys batteries through uncontrolled overcharging.
Similarly, mixing different panel types or wattages in the same string causes the entire array to perform at the weakest panel’s level. Wire identical panels in series for higher voltage (staying within controller limits), or parallel for higher current.
Reverse polarity connections instantly damage controllers and inverters, often voiding warranties. Double-check all connections with a multimeter before energizing circuits. While most quality components include reverse polarity protection, it’s not universal and shouldn’t be relied upon. Mark positive and negative cables clearly with red and black tape or heat shrink.
Undersized wiring creates multiple hazards: voltage drop reduces charging efficiency, connections overheat, and insulation can melt, causing fires. When uncertain, size up—the minimal added wire cost pales compared to potential system damage or safety risks. Use marine-grade tinned copper wiring for superior corrosion resistance in mobile environments.
Shade impacts production more than most people realize. A single shaded cell can reduce an entire panel’s output by 75% due to how cells are wired internally. Even partial shade from vent covers, air conditioners, or tree branches significantly affects performance. Use bypass diodes or power optimizers to minimize shade impact, position panels to avoid obstructions, and consider separate controllers for panels that experience different shading patterns.
Recommended Gear
- Victron SmartSolar MPPT 100/30 — Professional-grade controller with Bluetooth monitoring and programmable settings View on Amazon
- Renogy 100W Monocrystalline Panel — Reliable entry-level panel with solid warranty and corrosion-resistant frame View on Amazon
- Battle Born 100Ah LiFePO4 — Premium lithium battery with integrated BMS and 10-year warranty View on Amazon
FAQs
- MPPT vs PWM for RVs? MPPT controllers are 15-30% more efficient, especially in cold weather or with mismatched panel/battery voltages. PWM only makes sense for small systems under 200W where cost savings outweigh efficiency gains.
- Do I need lithium-compatible settings? Yes—LiFePO4 batteries require specific charging voltages (14.4-14.6V absorption) and temperature compensation. Using AGM settings will undercharge lithium batteries, reducing capacity and lifespan.
- Can I mix old and new panels? Technically yes, but it’s not recommended. Mismatched panels should be wired to separate controllers for optimal performance. Different wattages or voltages in the same string will limit output to the weakest panel’s specifications.