
As an Amazon Associate, we earn from qualifying purchases.
Best by Use-Case
Boondocking
For extended off-grid camping, the Renogy 800W kit with four 200W monocrystalline panels delivers reliable power generation even in partial shade conditions. This setup pairs perfectly with dual Battle Born 100Ah lithium batteries for 2,400Wh of usable storage, enough to run a 12V refrigerator, LED lights, water pump, and device charging for 3-5 days without sun.
The included 40A MPPT controller maximizes harvest efficiency by 15-30% compared to PWM controllers, crucial when camping under tree cover. MPPT technology adjusts voltage and current to find the optimal power point, particularly valuable during morning and evening hours when sun angles are low. This intelligent tracking system continuously monitors panel output and adjusts the operating point every few minutes, ensuring you capture every available watt even as clouds pass overhead or shadows shift throughout the day.
Monocrystalline panels excel in boondocking scenarios due to their superior low-light performance and higher efficiency ratings of 19-21% compared to polycrystalline’s 15-17%. The darker, uniform appearance of monocrystalline cells indicates higher silicon purity, translating to better electron flow and power generation. When parked under partial tree cover, these efficiency gains become critical for maintaining battery charge.
Each 200W panel measures approximately 65 x 39 inches and weighs 40 pounds, requiring sturdy mounting brackets capable of withstanding highway speeds and severe weather.
- Pros: 95% depth of discharge allows full battery capacity use; 3,000+ cycle lifespan outlasts AGM by 5x; lightweight at 31 lbs per battery versus 65 lbs for comparable AGM
- Cons: Higher upfront cost at $900-1,000 per battery; requires compatible BMS-aware charger; performance drops below 32°F without heating
Budget Weekender
The Rich Solar 800W kit offers exceptional value at $1,200-1,400, including eight 100W polycrystalline panels, 30A PWM controller, and basic mounting hardware. While polycrystalline panels are 2-3% less efficient than monocrystalline, weekend warriors parking in full sun won’t notice the difference.
Pair with two 100Ah AGM batteries ($400 total) for a complete system under $1,800 that handles lights, fans, phone charging, and a portable cooler for 2-3 day trips.
Polycrystalline technology uses multiple silicon crystals melted together, creating the characteristic blue, speckled appearance. Manufacturing costs are lower because the process wastes less silicon and requires less energy than monocrystalline production. These savings pass directly to consumers without significantly compromising performance in ideal conditions. The eight-panel configuration offers installation flexibility, allowing creative arrangements around roof obstacles. You can wire panels in various series-parallel combinations to optimize voltage for your specific controller and battery bank.
PWM controllers work adequately for budget systems where panels and batteries share similar voltages. The controller essentially acts as a switch, rapidly connecting and disconnecting panels to maintain proper charging voltage. While less sophisticated than MPPT technology, PWM controllers prove reliable and simple to troubleshoot. Their lower cost frees budget for additional batteries or upgraded wiring, often providing better overall value for occasional users.
- Pros: Complete kit pricing 40% below premium brands; panels carry 25-year warranty; PWM controller adequate for basic loads
- Cons: Bulkier panel footprint requires more roof space; PWM controller loses 20-30% potential harvest versus MPPT; polycrystalline efficiency drops faster in heat
Winter Camper
Cold-weather camping demands the Victron SmartSolar MPPT 100/50 controller paired with 800W of monocrystalline panels for maximum low-light performance.
MPPT technology captures up to 30% more energy during short winter days with low sun angles. The Victron’s temperature compensation and programmable charging profiles protect batteries from cold-weather damage while its Bluetooth monitoring lets you track performance from inside your warm RV. Add heated lithium batteries or insulated AGM banks to maintain capacity below freezing.
Winter sun sits lower on the horizon, creating longer shadows and reducing panel exposure time to just 4-6 hours of productive charging compared to summer’s 8-10 hours.
Temperature significantly impacts both panel efficiency and battery capacity. Solar panels actually perform better in cold weather, with efficiency increasing 0.5% for every degree Celsius below 25°C (77°F). However, batteries suffer in cold, with AGM losing 50% capacity at 0°F and lithium batteries refusing to charge below 32°F without internal heating. The Victron controller’s temperature sensor adjusts charging voltages automatically, preventing overcharging as battery chemistry changes with temperature. This feature alone can extend battery life by years in extreme climates.
Snow presents unique challenges and opportunities. Fresh snow reflects additional light onto panels, potentially increasing output by 10-15% on clear days. However, even a thin layer of snow blocks all production. Install panels at steep angles (45-60 degrees) to encourage snow shedding, or invest in adjustable tilt mounts for seasonal optimization. Some winter campers use soft-bristle brushes on telescoping poles to clear panels safely from the ground.
- Pros: Bluetooth app shows real-time harvest data and 30-day history; temperature sensor prevents overcharging in cold; works with all battery chemistries
- Cons: Controller alone costs $300-400; requires separate display for non-smartphone users; complex programming may overwhelm beginners
Lightweight Setup
Van lifers and small trailer owners benefit from flexible solar panels that conform to curved roofs while adding minimal weight. Four 200W flexible monocrystalline panels weigh just 16 lbs total versus 64 lbs for rigid glass panels.
The thin 2.5mm profile reduces wind resistance and eliminates the need for heavy mounting rails. Combine with a compact 30A MPPT controller and single 100Ah lithium battery for a complete system under 50 lbs that powers essential electronics without compromising payload capacity.
Flexible panels use the same high-efficiency monocrystalline cells as rigid panels but laminate them between polymer sheets instead of tempered glass. This construction allows up to 30-degree flexing to match curved Sprinter van roofs or Airstream trailers.
Installation simplicity makes flexible panels attractive for DIY installers. Quality panels include strong adhesive backing that bonds permanently to clean, prepared surfaces. No drilling means no potential leaks, and removal leaves minimal trace for lease returns or resale. The low profile adds just inches to vehicle height, maintaining clearance for parking garages and drive-throughs that might challenge rigid panel installations. Wind noise virtually disappears compared to raised rigid panels, improving highway driving comfort.
Heat dissipation remains flexible panels’ primary weakness. Without air circulation beneath, panel temperatures can exceed 160°F in summer, reducing efficiency by 20-25%. Some installers add thin spacers creating minimal air gaps, but this partially defeats the low-profile advantage. Consider flexible panels for moderate climates or supplement with portable ground-deployed panels during hot weather camping.
- Pros: Walkable surface won’t crack under foot traffic; installs with adhesive instead of drilling; removes easily for vehicle resale
- Cons: 10-15% less efficient than rigid panels; 10-year lifespan versus 25 years for glass; prone to overheating without air gap beneath
Quick Comparison

| Model | Type | Key Specs | Best for |
|---|---|---|---|
| Renogy 800W Kit | Rigid Mono | 4x200W panels, 40A MPPT, mounting Z-brackets | Full-time boondocking |
| Rich Solar 800W | Rigid Poly | 8x100W panels, 30A PWM, basic hardware | Budget weekend trips |
| BougeRV Flexible 800W | Flexible Mono | 4x200W bendable, 40A MPPT, adhesive mount | Curved roofs, vans |
| Go Power 800W Elite | Rigid Mono | 4x200W panels, 30A PWM, tilt mounts | Seasonal RV parks |
| HQST 800W Marine | Rigid Mono | 8x100W corrosion-resistant, 40A MPPT | Coastal camping |
Buyer’s Notes
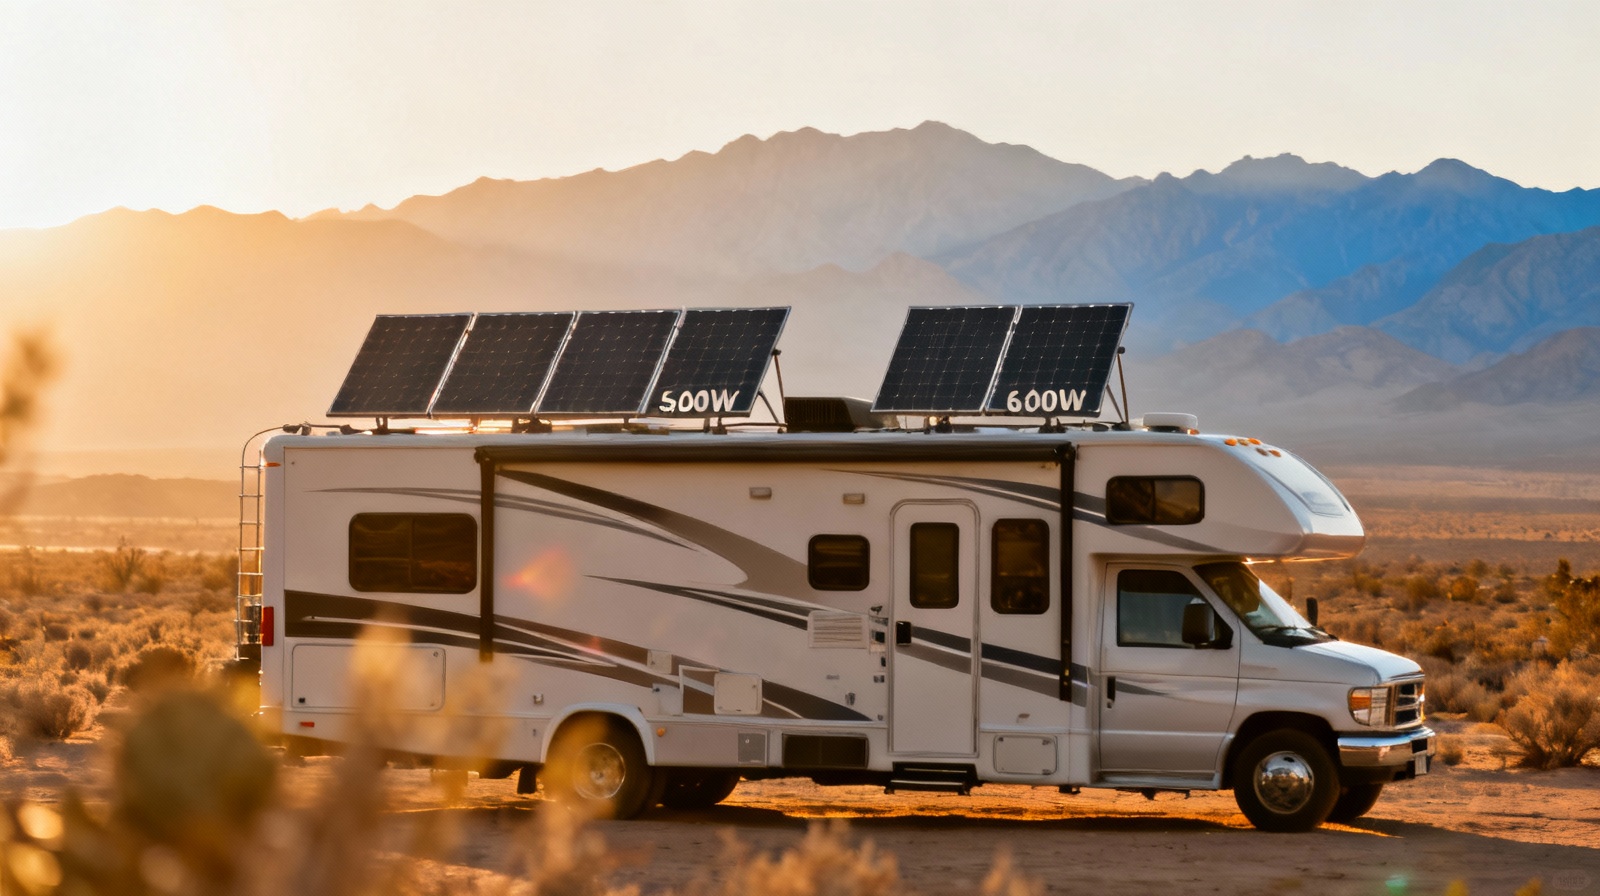
An 800-watt solar system represents the sweet spot for serious RV solar, generating 3,200-4,000 watt-hours daily in good conditions—enough to run most 12V appliances without generator backup.
This capacity typically requires 400-500 square feet of unshaded roof space for rigid panels or creative mounting solutions for smaller RVs. Consider your roof’s actual usable space after accounting for air conditioners, vents, and antennas. Measure carefully, remembering to leave 2-3 inch gaps between panels for expansion and maintenance access. Many RVers discover their 35-foot motorhome has less usable solar space than a 25-foot travel trailer due to rooftop clutter.
Real-world performance varies significantly by season and location. Summer desert camping might yield 4,500Wh daily, while Pacific Northwest winters could drop to 1,500Wh.
Plan your battery bank accordingly: 400Ah minimum for full-timers, 200Ah adequate for weekend use.
Most 800W kits include either 30A PWM or 40A MPPT controllers. MPPT controllers cost $150-300 more but deliver 15-30% better charging efficiency, especially valuable in partial shade or winter conditions. They also handle higher voltage panel configurations, allowing longer wire runs with less voltage drop.
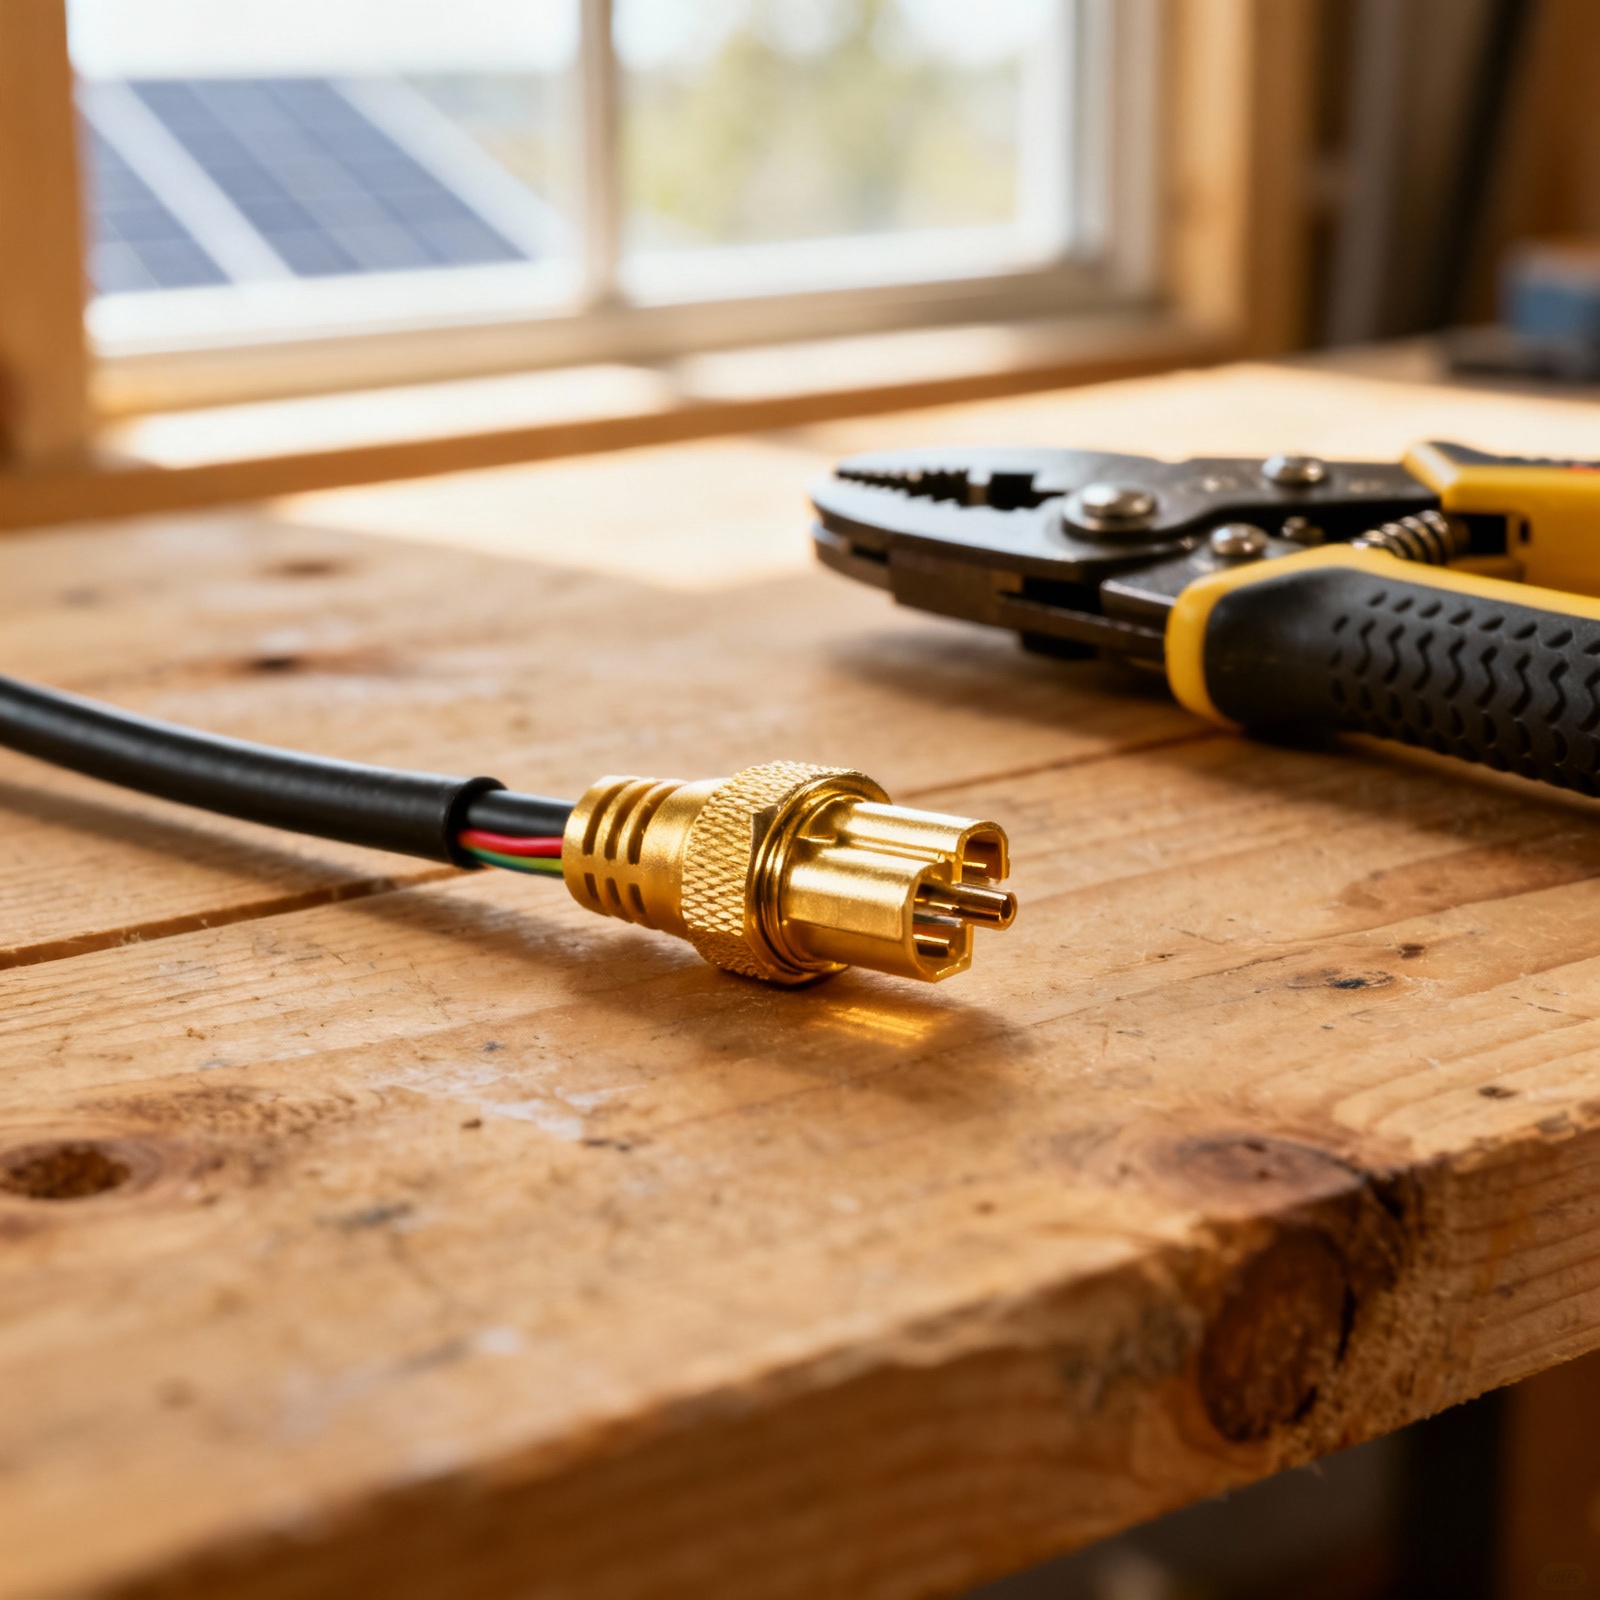
Installation complexity depends on your kit choice. Basic PWM kits provide minimal hardware, requiring separate purchases of MC4 connectors, branch connectors, fuses, and battery cables that can add $200-400 to your budget. Premium kits include these components plus monitoring displays and temperature sensors.
Professional installation runs $1,000-2,000 but ensures proper grounding, weatherproofing, and code compliance—critical for insurance coverage. Many RV dealers now offer solar installation services with warranty protection. Certified installers understand RV-specific challenges like rubber roof compatibility, proper sealant selection, and integration with existing converter-chargers. They also handle permit requirements for campgrounds that restrict DIY electrical work.
Consider your RV’s electrical system before purchasing. Older RVs with modified sine wave inverters may require upgrading to pure sine wave models ($400-800) to prevent damage to sensitive electronics. Similarly, single-stage converters should be replaced with multi-stage smart chargers to properly maintain solar-charged batteries.
Factor these potential upgrades into your total budget, which realistically ranges from $2,000 for DIY basic systems to $6,000 for professionally installed premium setups with lithium batteries.
Hidden costs often surprise buyers: heavy-gauge battery cables ($100-150), inline fuses and holders ($50-75), battery monitor systems ($150-300), and remote controller displays ($100-200) quickly add up. Budget an extra 20-30% beyond kit price for these essentials.
Safety
Solar installations involve both electrical and structural risks requiring careful attention.
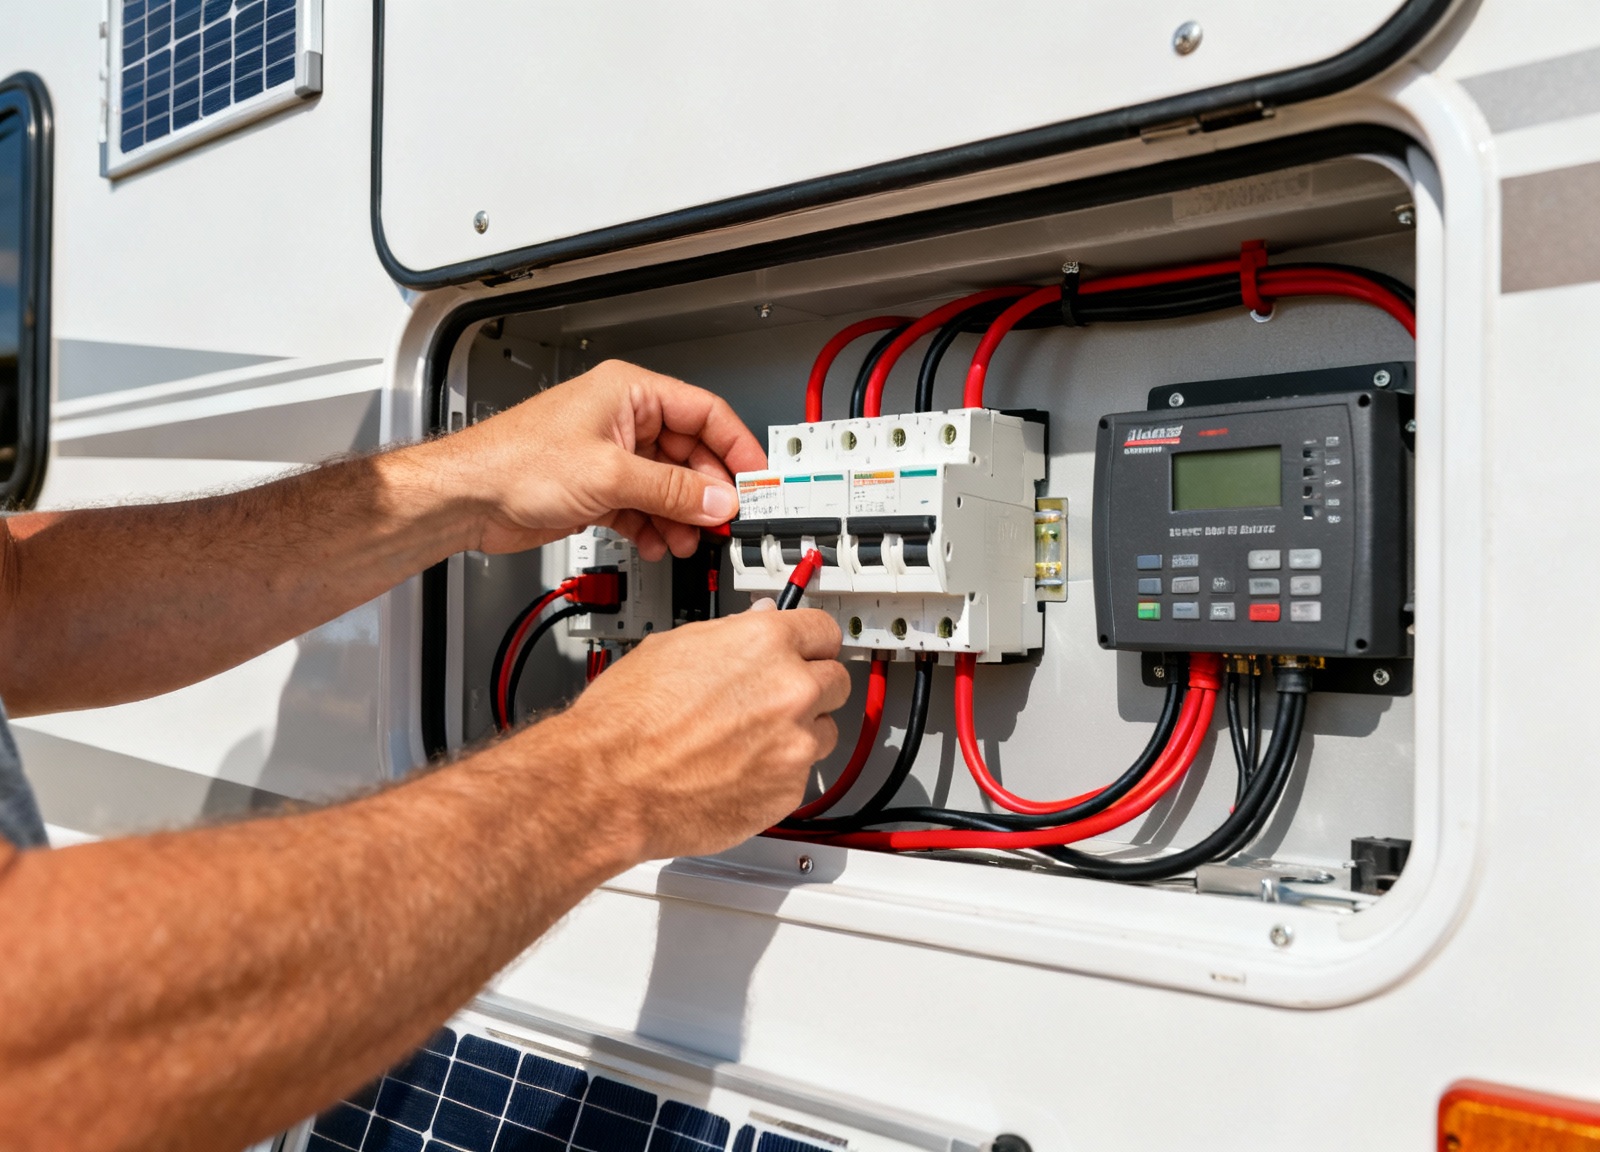
Always disconnect shore power and batteries before beginning work. Install DC-rated breakers between panels and controller (60-80A for 800W systems) and between controller and batteries (50-60A). These protect against short circuits that could cause fires.
Use 10AWG wire minimum for panel-to-controller runs under 30 feet; upgrade to 8AWG for longer distances to prevent dangerous overheating. Wire gauge calculations should account for both current capacity and voltage drop over distance. Undersized wiring creates resistance that generates heat and wastes power, potentially melting insulation and causing fires.
Roof work presents fall hazards and potential for expensive damage. Test your RV roof’s weight capacity before walking—many can only support 250 lbs distributed weight. Use EPDM-safe sealants like Dicor self-leveling lap sealant around all penetrations. Apply liberally and inspect annually, as small leaks cause extensive hidden damage.
Flexible panels adhered with VHB tape eliminate drilling but require thorough surface preparation with isopropyl alcohol for proper adhesion. Allow 72 hours cure time before exposure to rain or highway speeds.
Temperature during installation matters significantly—adhesive bonds poorly below 50°F or above 90°F. Spring and fall provide ideal installation conditions with moderate temperatures and low humidity.
Battery safety varies by chemistry. AGM batteries produce hydrogen gas during charging, requiring ventilation to prevent explosion risk. Install in compartments with passive vents or active fans. Lithium batteries need protection from freezing and overheating—internal BMS systems disconnect at temperature extremes, but this leaves you without power.
Mount charge controllers away from heat sources and ensure adequate airflow around heatsinks. Controllers generate significant heat during bulk charging, with internal temperatures reaching 140°F on hot days. Inadequate ventilation causes premature failure and potential fire hazards.
Ground all metal components to the RV chassis using 8AWG wire to prevent shock hazards. Label all DC circuits clearly and maintain an electrical diagram for troubleshooting and emergency response. Include disconnect procedures in your RV manual for emergency responders who may need to quickly isolate electrical systems. Consider installing a clearly marked emergency disconnect switch accessible from outside the RV.
Recommended Gear
- Victron SmartSolar MPPT 100/50 — Premium controller with Bluetooth monitoring and temperature compensation for maximum harvest efficiency — View on Amazon
- Renogy 200W Monocrystalline Panel — High-efficiency cells with 25-year warranty and corrosion-resistant frame for long-term reliability — View on Amazon
- Battle Born 100Ah LiFePO4 Battery — Drop-in lithium replacement with integrated BMS, 3000+ cycles, and 10-year warranty — View on Amazon
FAQs
- Can I mix different wattage panels in an 800W system? Yes with proper wiring, but mismatched panels reduce overall efficiency by 10-20%. Series connections force all panels to operate at the lowest panel’s current, while parallel connections are limited by voltage differences. Use identical panels when possible for optimal performance.
- How much can 800W actually run in my RV? Daily generation of 3,200-4,000Wh supports a 12V compressor fridge (600-800Wh), LED lights (100Wh), water pump (50Wh), fans (200Wh), and device charging (200Wh) with power to spare. Add an inverter for 120V needs but expect 10-15% conversion losses.
- Should I ground mount panels for better winter angle? Ground mounting captures 20-40% more winter energy through optimal tilt adjustment but requires setup time and secure anchoring against wind. Portable setups work well for extended stays but prove impractical for overnight stops.