
As an Amazon Associate, we earn from qualifying purchases.
Best RV Solar Picks
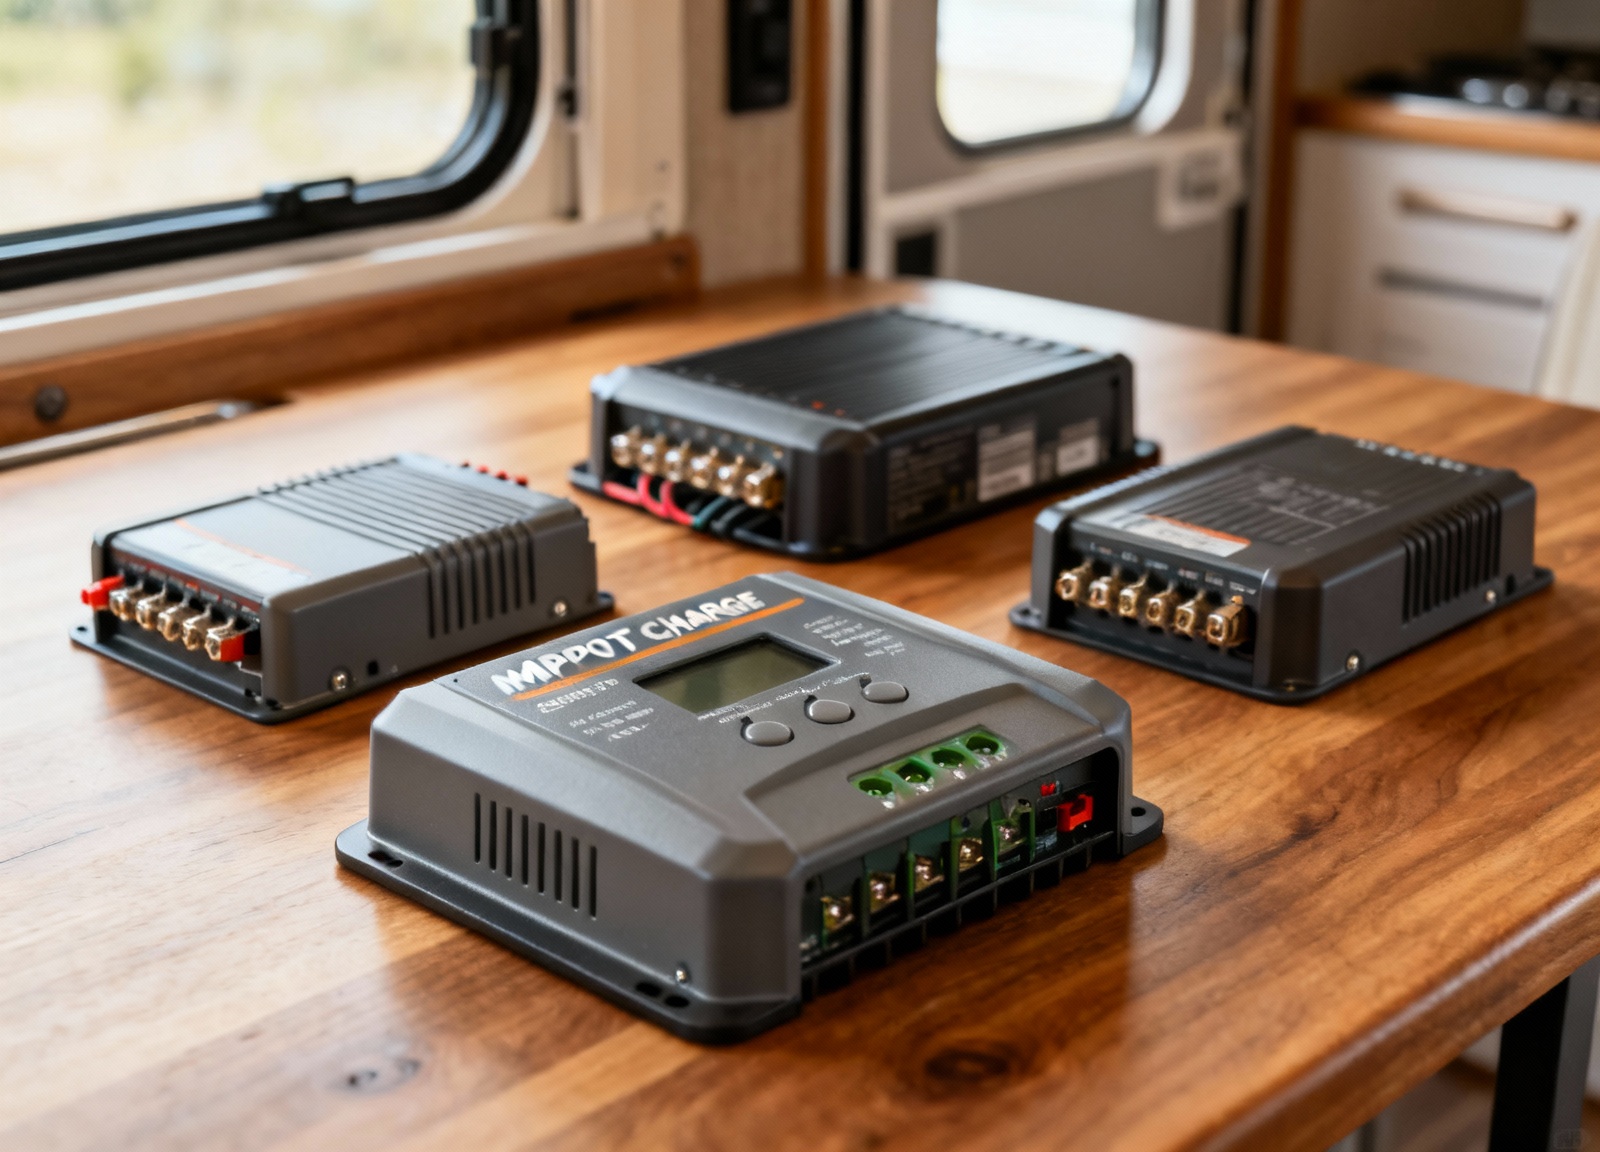
#1 Victron SmartSolar MPPT 100/30
Key Specs: 30A output, 440W (12V) / 880W (24V) capacity, Bluetooth monitoring, 98% peak efficiency. View on Amazon
- Pros: Industry-leading MPPT efficiency up to 98%, built-in Bluetooth for real-time monitoring without extra dongles, extremely reliable with 5-year warranty
- Pros: Temperature compensation extends battery life, works with all battery types including lithium, VictronConnect app provides detailed historical data and remote programming
- Cons: Premium pricing ($200-250 range), overkill for small 100W systems
- Cons: No display on unit itself (app-only monitoring)
#2 Renogy Rover 40A MPPT
Key Specs: 40A output, 520W (12V) / 1040W (24V) capacity, LCD display, 99% tracking efficiency. View on Amazon
- Pros: Excellent value at $150-180, clear backlit LCD shows real-time data without phone
- Pros: Handles larger arrays up to 1040W, automatic battery type detection, RS232 port for optional Bluetooth module, temperature sensor included
- Cons: Bluetooth costs extra $25, some users report fan noise in hot conditions
- Cons: Manual could be clearer for beginners
#3 EPEVER Tracer 30A MPPT
Key Specs: 30A output, 390W (12V) / 780W (24V) capacity, MT50 remote meter compatible, 98% efficiency. View on Amazon
- Pros: Budget champion at $90-120, solid MPPT performance rivals controllers twice the price
- Pros: Die-cast aluminum housing dissipates heat well, negative ground design safer for RVs, optional MT50 display shows detailed system stats
- Cons: Basic LCD hard to read in sunlight, WiFi/Bluetooth modules feel cheap
- Cons: Customer support can be slow, documentation assumes electrical knowledge
#4 BougeRV 200W Portable Solar Suitcase
Key Specs: 200W monocrystalline panels, 20A PWM controller included, 45 lbs folded, kickstand legs. View on Amazon
- Pros: Complete plug-and-play solution under $400, folds to 26.4″ x 19.9″ for storage
- Pros: Adjustable kickstand maximizes sun angle, 16ft cable reaches batteries from shade, waterproof controller pre-wired with alligator clips
- Cons: PWM controller wastes 20-30% potential power versus MPPT
- Cons: Heavy for frequent moving, not expandable like modular systems
#5 Rich Solar 100W Flexible Panel Kit
Key Specs: 100W CIGS thin-film, 2.4 lbs weight, 248° flexibility, includes 10A controller and mounting tape.
- Pros: Ultra-lightweight at 2.4 lbs, bends to match curved RV roofs without drilling
- Pros: Complete kit under $200, walkable surface won’t crack, low profile adds minimal height
- Cons: 15-20% less efficient than rigid panels, degrades faster in heat
- Cons: Adhesive mounting can fail in extreme temperatures, 3-year lifespan typical
#6 Goal Zero Yeti 400 Lithium Power Station
Key Specs: 428Wh capacity, 300W inverter, MPPT input, 16.3 lbs, WiFi monitoring.
- Pros: All-in-one solution perfect for RV beginners, no wiring required
- Pros: Multiple outputs (USB, 12V, AC), pass-through charging while in use, expandable with additional batteries
- Cons: Expensive per watt-hour ($700+), limited to 300W continuous draw
- Cons: Not suitable for high-draw appliances like microwaves or ACs
#7 Zamp Solar 170W Portable Kit
Key Specs: 170W monocrystalline, 10A 5-stage PWM controller, 39 lbs, weatherproof case.
- Pros: USA-made quality with 25-year panel warranty, proprietary plug works with many RV solar ports
- Pros: Heavy-duty case protects during transport, weatherproof integrated controller, excellent Oregon-based customer service
- Cons: Premium pricing ($600+), proprietary connectors may need adapters
- Cons: PWM controller limits efficiency, heavy for a portable solution
#8 HQST 100W Monocrystalline Panel
Key Specs: 100W output, 21.3V Voc, 5.57A Isc, 16.5 lbs, bypass diodes. View on Amazon
- Pros: Unbeatable value at $70-90 per panel, comparable performance to panels twice the price
- Pros: Corrosion-resistant aluminum frame, pre-drilled mounting holes, 25-year power output warranty
- Cons: Controller sold separately, basic MC4 connectors may need upgrading
- Cons: Heavier than premium panels, customer service primarily email-based
Which Setup Matches Your RV Lifestyle?
Weekend warriors face different solar needs than full-timers. If you mainly camp in developed campgrounds with hookups and only need backup power for occasional boondocking, portable systems make the most sense.
The BougeRV 200W suitcase or Zamp portable kit excel here. They store in your garage between trips, require zero installation, and can move between multiple RVs. Yes, you pay more per watt than permanent installations, but the convenience factor and lack of roof penetrations justify the premium for occasional users. These systems typically keep your batteries topped off for 3-4 days of moderate use without shore power.
Full-time RVers and extended boondockers need robust permanent installations. The Victron SmartSolar MPPT paired with 400-600W of quality panels delivers professional-grade performance that handles daily cycling for years. The 15-30% efficiency gain from MPPT technology over PWM controllers translates to real power when you’re off-grid for weeks. Bluetooth monitoring helps you understand consumption patterns and adjust habits accordingly. While the upfront investment stings, most full-timers recoup the cost within 12-18 months through reduced generator runtime and campground fees.
Budget-conscious buyers shouldn’t dismiss solar entirely. The EPEVER Tracer controller with HQST panels delivers surprising performance at half the cost of premium brands.
You sacrifice some convenience features and warranty length, but the core solar harvesting capability remains excellent. Many RVers run these budget setups for years without issues. Start with 200-300W and expand later if needed. The modular nature of solar makes gradual system building feasible.
Van lifers and small RV owners face unique challenges. Curved roofs on Sprinters and Promasters make rigid panel mounting difficult. The Rich Solar flexible panels solve this with adhesive mounting that conforms to roof contours. While they won’t last as long as traditional panels and suffer efficiency losses, the ability to install without drilling holes appeals to many. Pair them with a compact MPPT controller mounted inside for a nearly invisible installation that preserves your vehicle’s resale value.
Technology-averse RVers should consider all-in-one power stations. The Goal Zero Yeti eliminates wiring complexity entirely. Simply plug in a solar panel and you’re generating power. It’s expensive per watt and won’t run high-draw appliances, but think of it as solar training wheels. You can always add a traditional system later and repurpose the Yeti for tent camping or home emergency backup.
Safety Considerations and Common Mistakes
Mixing battery types creates genuine fire hazards.
Never connect lithium and lead-acid batteries in parallel, even temporarily. The voltage differences between these chemistries cause massive current flow that melts wires and destroys batteries. Similarly, ensure your charge controller voltage matches your battery bank. A 12V controller connected to a 24V system will fail catastrophically, potentially starting a fire. When upgrading batteries, replace the entire bank at once rather than mixing old and new units.
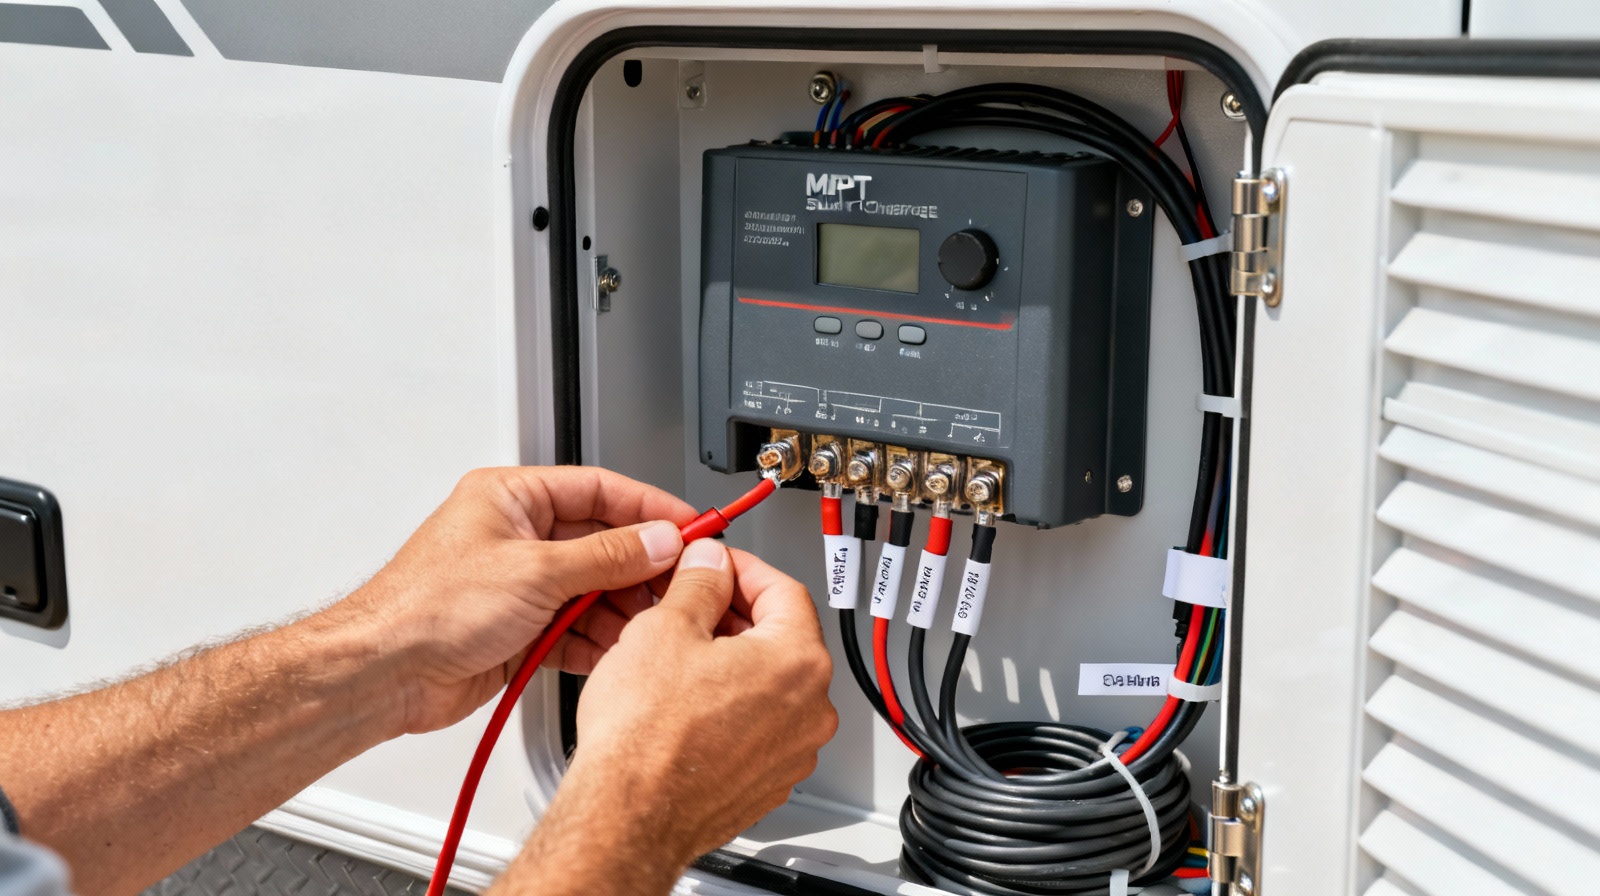
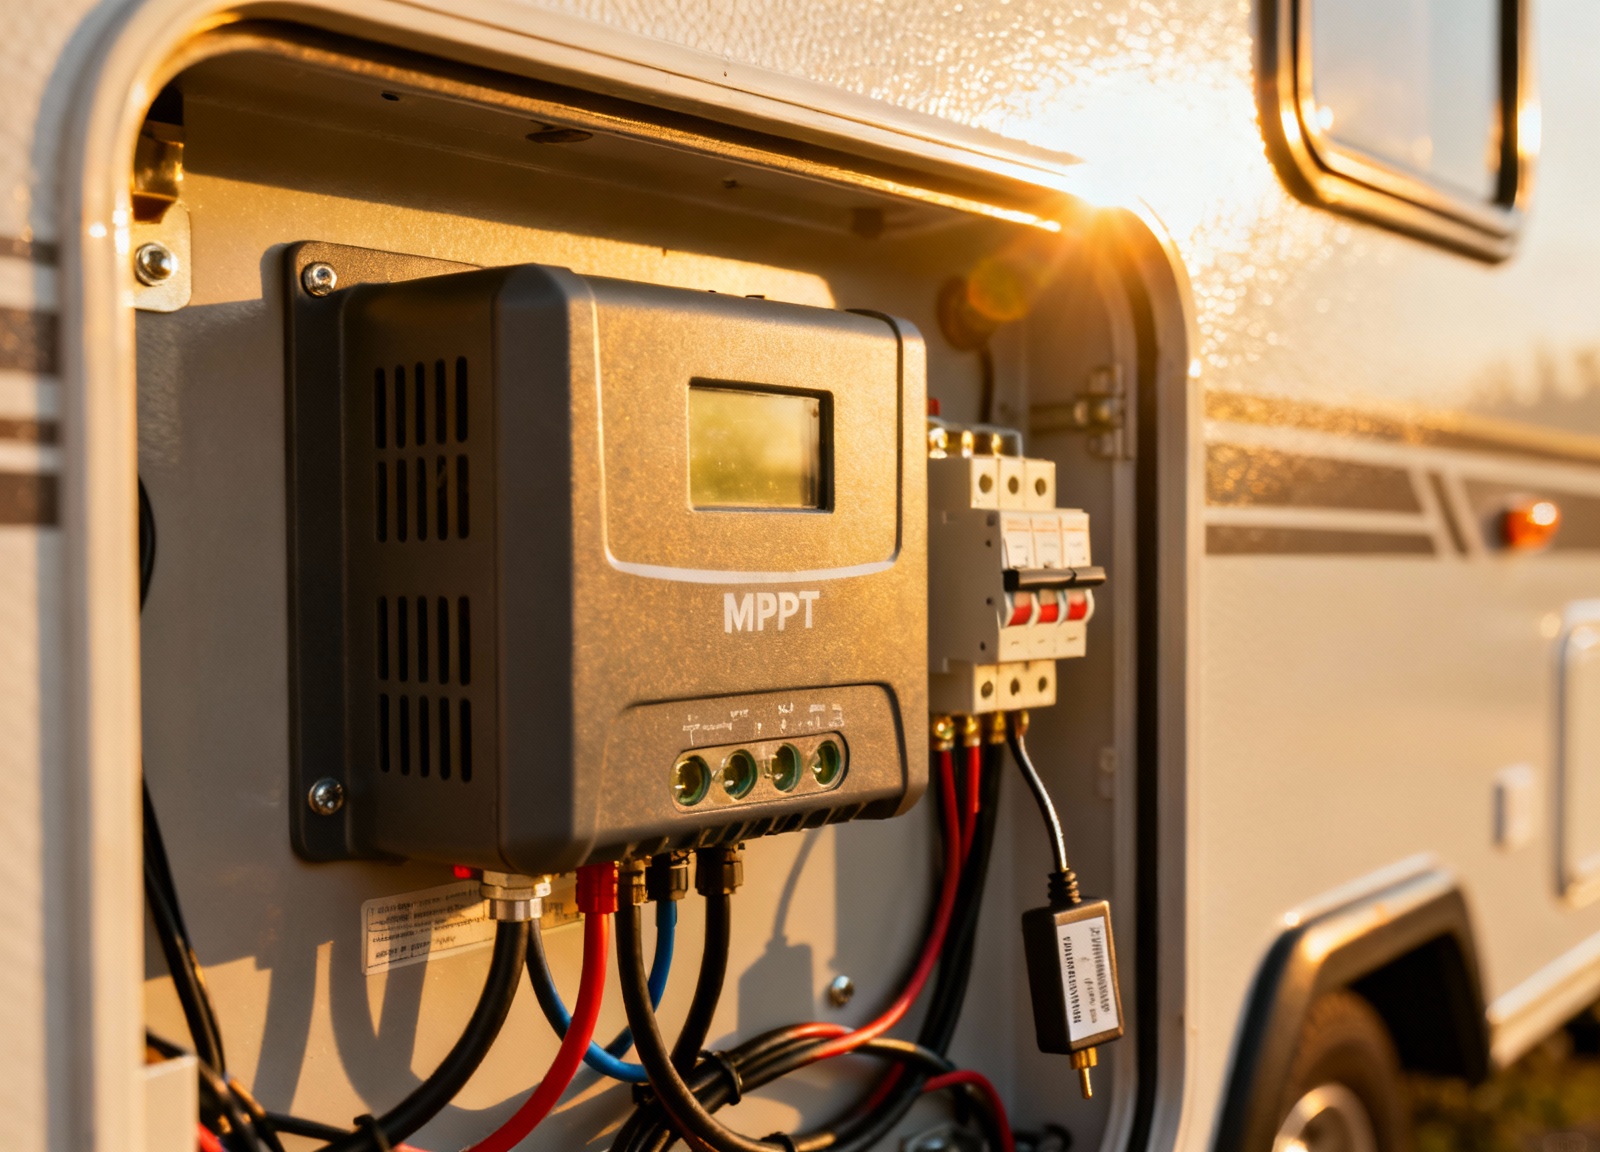
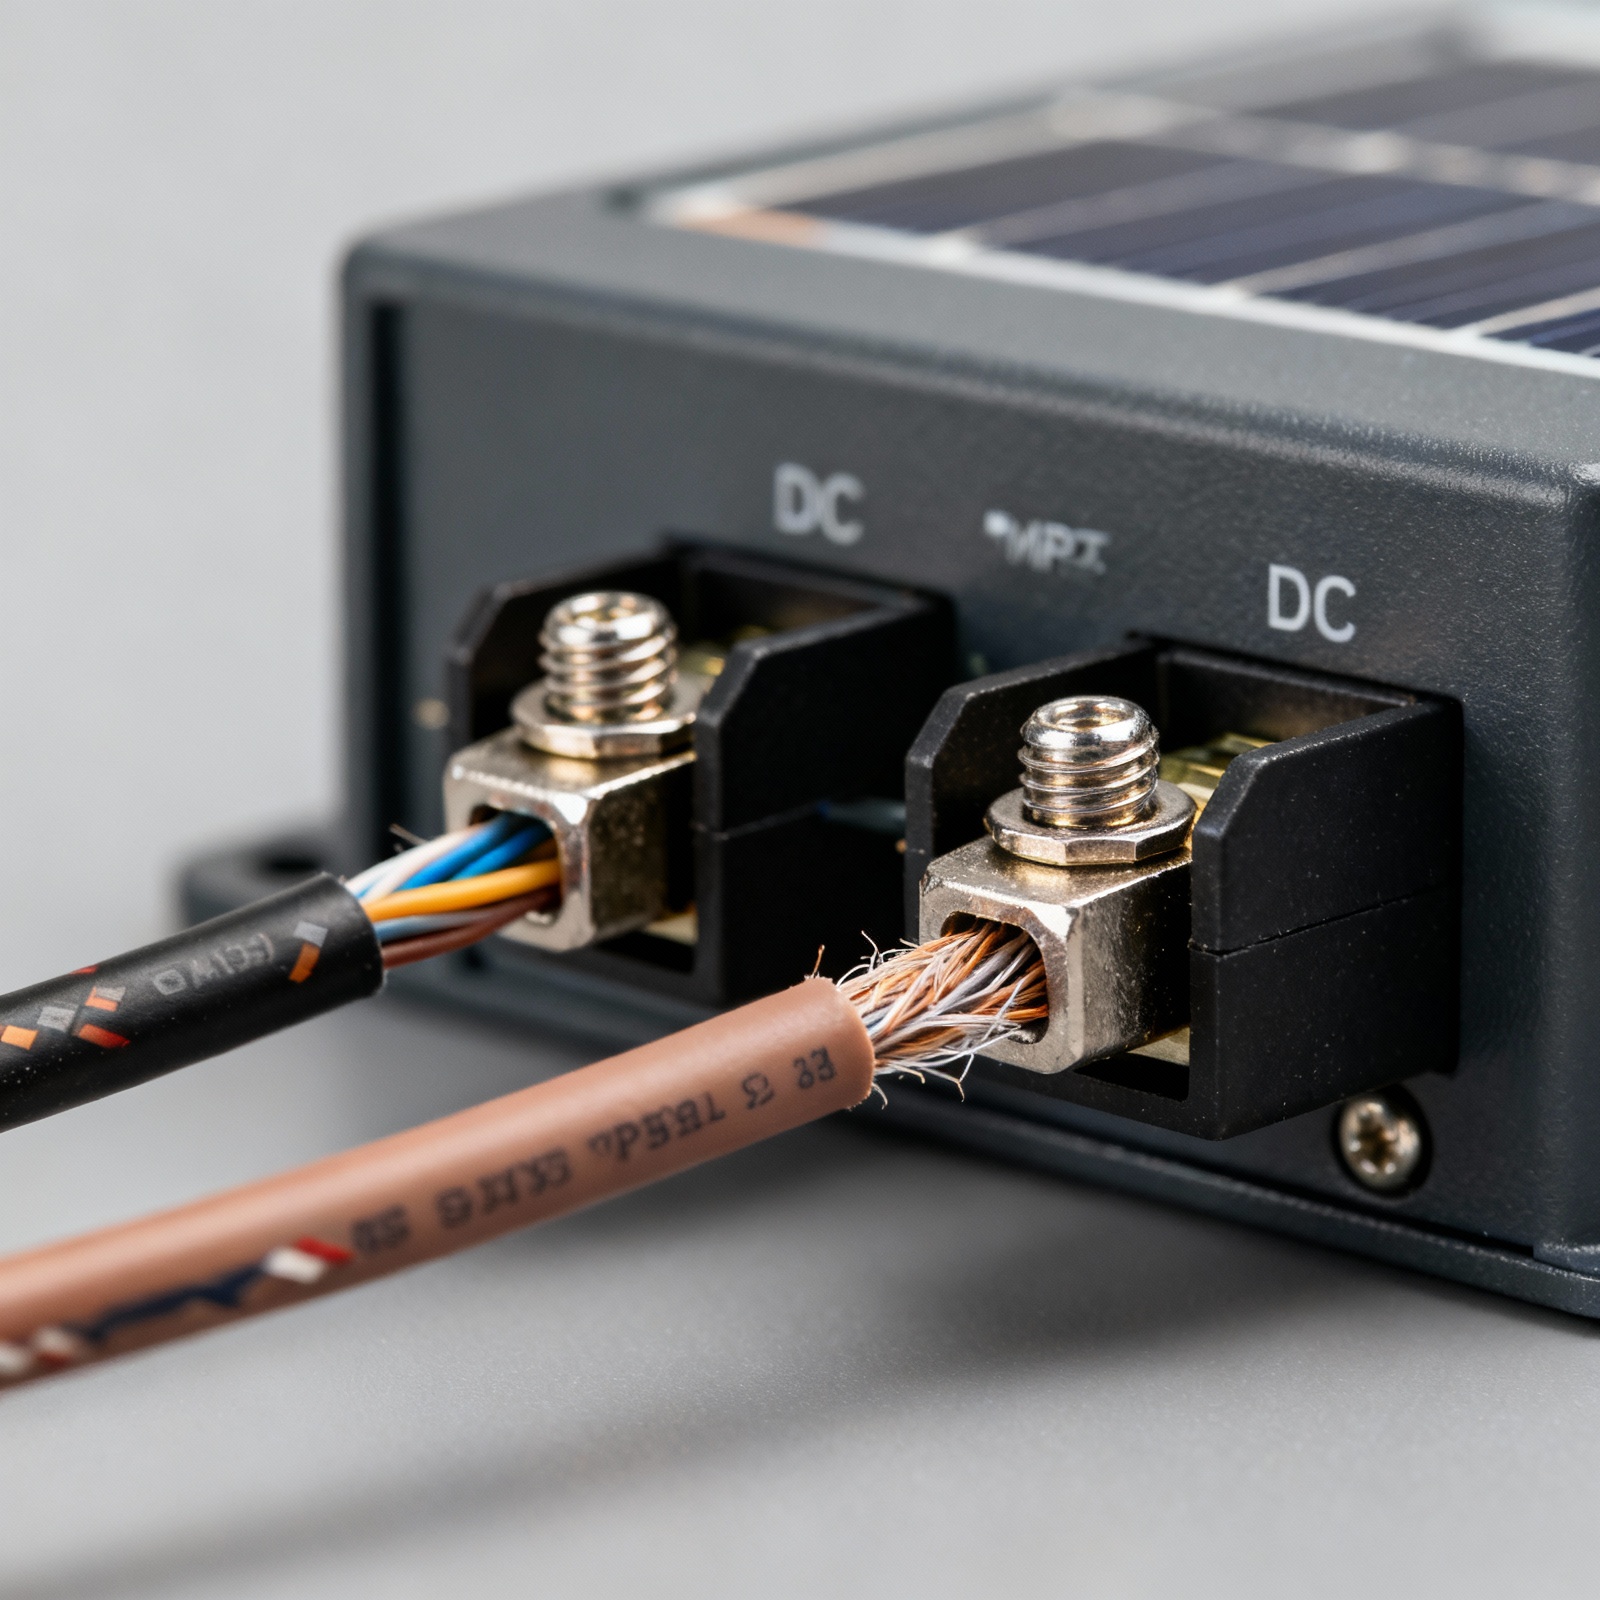
Undersized wiring ranks as the second most dangerous mistake. Solar panels produce maximum current during peak sun hours, and undersized wires create resistance that generates dangerous heat. Use 10AWG wire minimum for 30A controllers, stepping up to 8AWG for runs over 10 feet or 6AWG for runs over 20 feet. The extra $20-30 for proper gauge wire prevents thousands in fire damage. Always install appropriate DC-rated fuses or breakers within 18 inches of battery terminals to protect against short circuits.
Roof damage from improper installation haunts many RV solar projects. Rigid panels can handle some weight at their frames, but stepping on the center cells causes micro-cracks that slash output. Flexible panels seem walkable but develop invisible damage that compounds over time. For roof mounting, use Dicor self-leveling lap sealant or EternaBond tape specifically designed for RV roofs. Regular silicone or household caulk fails under UV exposure and temperature cycling, leading to expensive water damage.
Controller placement affects both safety and performance. MPPT controllers generate significant heat during operation and require adequate ventilation. Mounting them in sealed compartments creates fire hazards, while placement directly above batteries exposes them to corrosive hydrogen gas. Install controllers on vertical surfaces with at least 6 inches of clearance above and below for airflow.
The temperature sensor must attach directly to your battery case, not dangle in compartment air, for accurate charge voltage compensation.
Shading destroys solar performance more dramatically than most realize. A single leaf or bird dropping covering one cell can cut entire panel output by 50% due to bypass diode activation. Park strategically to avoid shadows from AC units, antennas, and trees throughout the day’s sun path. When partial shading is unavoidable, wire panels in parallel rather than series to isolate the impact. Series wiring forces all panels to operate at the lowest panel’s current, while parallel wiring lets each panel contribute independently.
Installation Tips for Maximum Performance
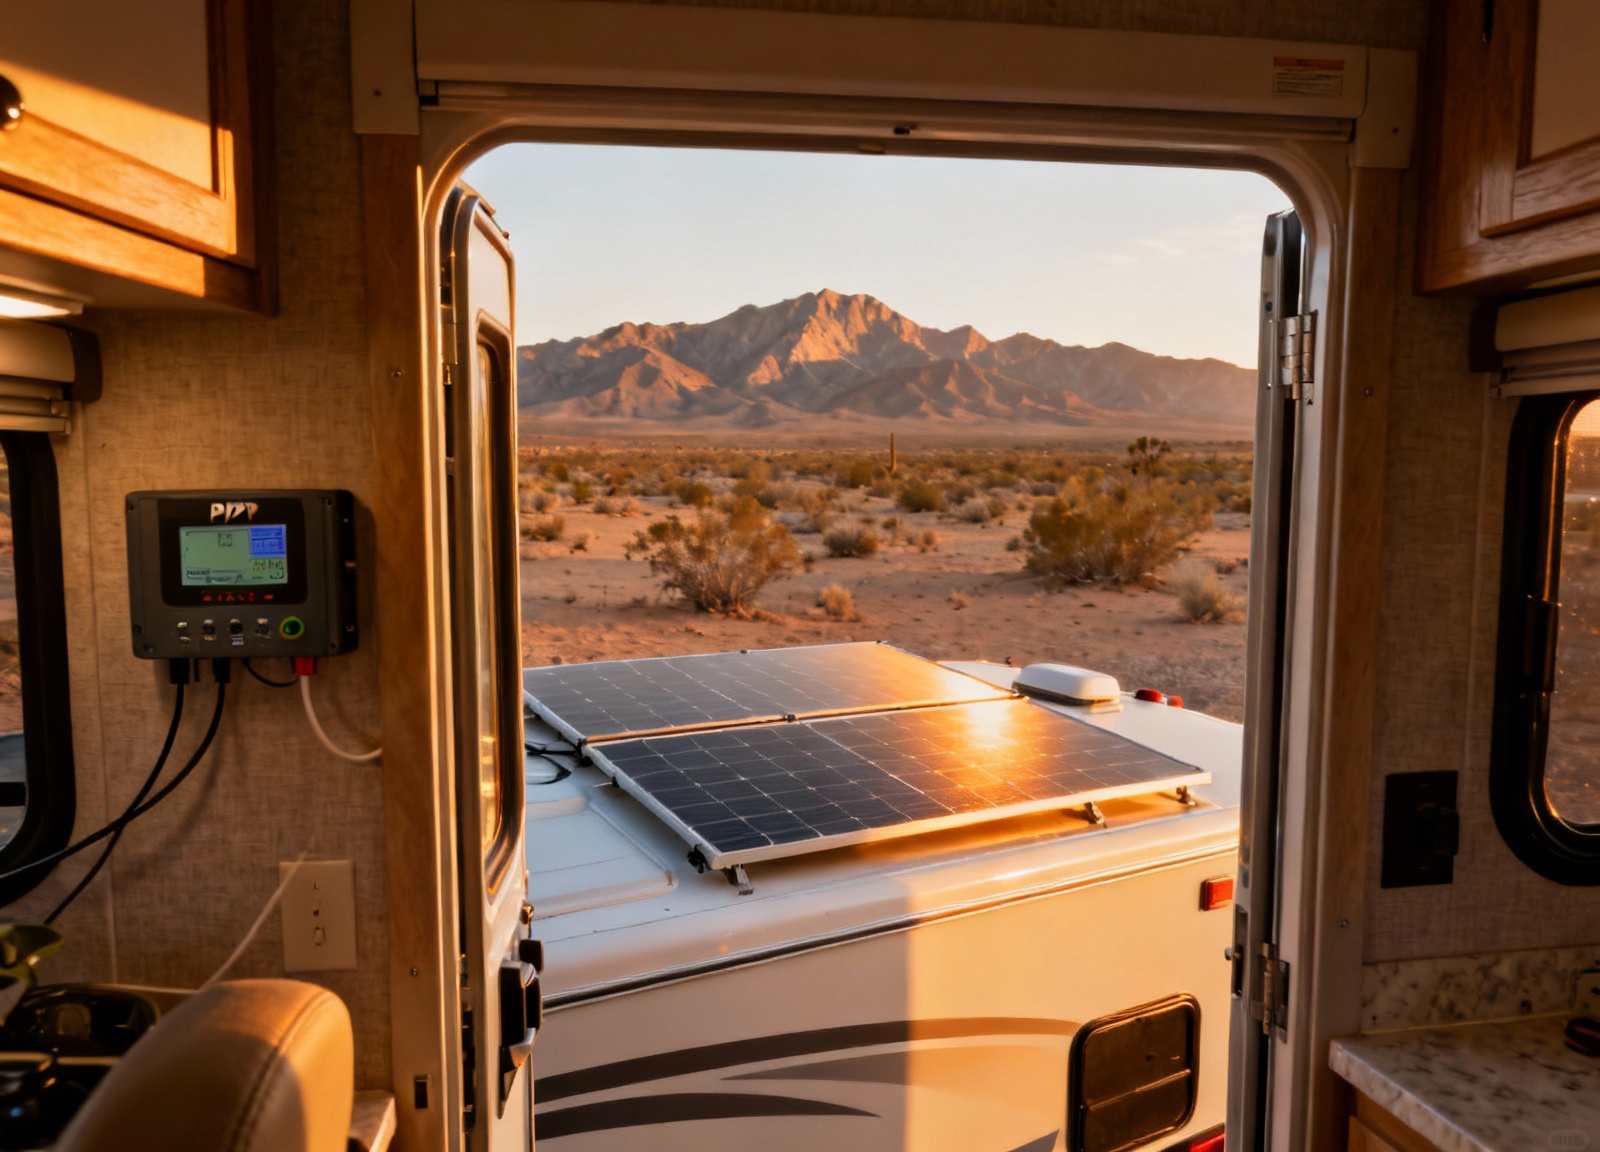
Tilt angle significantly impacts solar harvest, yet most RV installations use flat mounting for simplicity. During summer, flat mounting works adequately since the sun tracks high overhead. But winter sun angles can reduce flat panel output by 40-50%. Adjustable tilt mounts add complexity but boost winter performance dramatically. Even a simple 15-degree tilt toward the south can increase winter harvest by 25%.
Cable runs should be as short as practical to minimize voltage drop. Every foot of wire adds resistance that wastes power as heat. Run positive and negative wires together to reduce electromagnetic interference, and use proper cable glands or junction boxes for roof penetrations. Avoid sharp bends that can damage wire insulation over time. UV-resistant cable management keeps wiring neat and protected from sun degradation.
Ground fault protection saves lives but often gets overlooked in DIY installations. While not legally required in all jurisdictions, adding a DC ground fault circuit interrupter provides crucial protection against electrical shorts that could electrocute someone touching the RV frame. Many modern MPPT controllers include built-in ground fault protection, but verify this feature before skipping external protection.
Series-parallel wiring configurations optimize systems with multiple panels. For example, four 100W panels could wire as 2S2P (two series strings in parallel), balancing voltage and current for optimal MPPT controller performance. This configuration also provides redundancy—if one panel fails, you only lose 25% of capacity rather than 50% as with pure series wiring.
Recommended Gear
- Victron SmartSolar MPPT 100/30 — View on Amazon
- Renogy 100W Monocrystalline Panel — View on Amazon
- Battle Born 100Ah LiFePO4 Battery — View on Amazon
- EPEVER MT50 Remote Meter — View on Amazon
- Renogy 40A DC-DC Charger — View on Amazon
- Blue Sea Systems 285 Circuit Breaker — View on Amazon
FAQs
- How many watts do I need for full-time RV living? Most full-timers find 400-600W adequate for LED lights, water pump, fans, laptops, and moderate inverter use. Add 200W more if running residential fridges or CPAP machines nightly. MPPT controllers harvest 20-30% more power than PWM from the same panels, effectively providing free extra capacity.
- Should I buy monocrystalline or polycrystalline panels? Monocrystalline panels deliver 15-20% more power per square foot and perform better in heat, making them ideal for space-limited RV roofs. The price difference has nearly disappeared in recent years. Polycrystalline only makes sense for exceptional clearance deals.
- Can I mix different wattage panels in my system? Yes, but wire them in parallel, not series. Series connections force all panels to operate at the lowest panel’s current, wasting larger panels’ capacity. Parallel wiring lets each panel contribute maximum power, though you’ll need heavier gauge wiring for the combined current.
- What size MPPT controller do I need? Calculate your controller size by dividing total panel wattage by battery voltage, then add 25% safety margin. For example, 400W of panels on a 12V system needs at least 42A capacity (400W ÷ 12V × 1.25). Oversizing by 30-50% allows future expansion.