
As an Amazon Associate, we earn from qualifying purchases.
TL;DR: Best Picks
- Best Overall: Victron SmartSolar MPPT 100/30 — Bluetooth monitoring, exceptional build quality, works flawlessly with lithium batteries View on Amazon
- Best Budget: Renogy Wanderer 30A PWM — Reliable performance under $50, perfect for starter systems up to 400W View on Amazon
- Best for Boondockers: EPEVER Tracer 40A MPPT — Remote monitoring capability, handles large arrays up to 520W (12V) or 1040W (24V) View on Amazon
Comparison Table
| Model | Type | Key Specs | Best for | Pros | Cons |
|---|---|---|---|---|---|
| Victron SmartSolar 100/30 View | MPPT | 30A, 100V max, Bluetooth, 400W (12V) | Premium builds | 5-year warranty, app control, ultra-efficient | Pricey ($200+) |
| Renogy Wanderer 30A View | PWM | 30A, 12/24V auto, LCD display | Budget-conscious | Under $50, simple setup | 15-20% less efficient than MPPT |
| EPEVER Tracer 4210AN View | MPPT | 40A, 100V max, MT50 remote compatible | Large systems | Great value, modular monitoring | No built-in Bluetooth |
| Morningstar ProStar PS-30M | PWM | 30A, 12/24V, marine-rated | Harsh environments | Tropicalized coating, bulletproof | No display, expensive for PWM |
| BougeRV 40A MPPT | MPPT | 40A, 150V max, Bluetooth | Value seekers | High voltage input, affordable MPPT | Mixed reliability reports |
Understanding Solar Charge Controllers for RVs
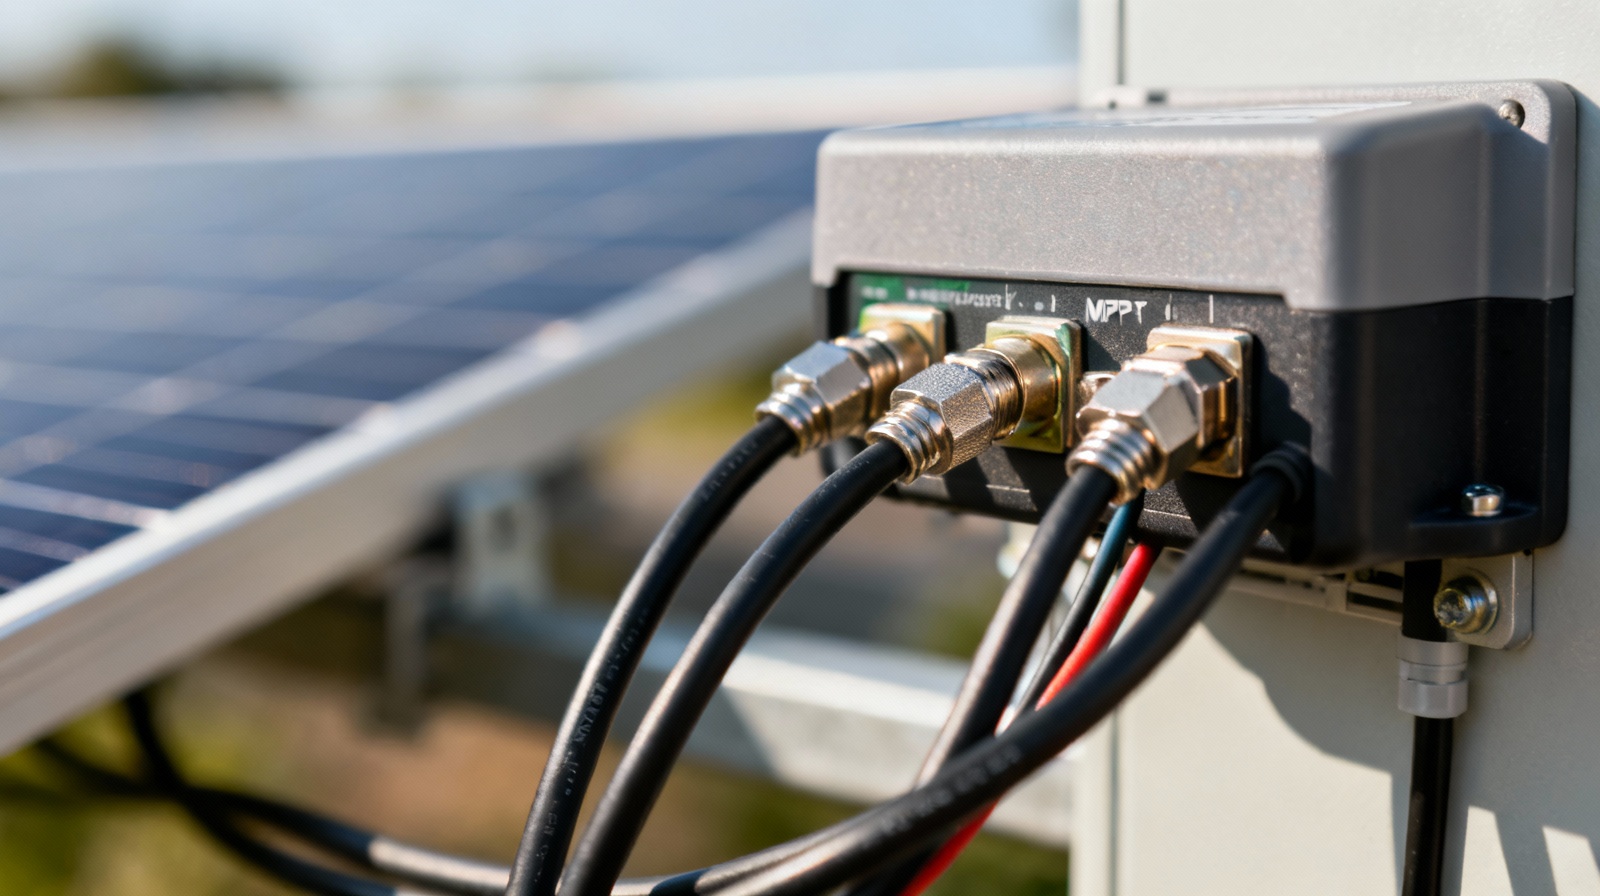
A solar charge controller sits between your solar panels and batteries, preventing overcharging while maximizing energy harvest. For RVers, this means the difference between dead batteries in the desert and reliable off-grid power for weeks.
The controller market splits into two camps: PWM (Pulse Width Modulation) and MPPT (Maximum Power Point Tracking). PWM controllers work like a simple on/off switch, rapidly connecting and disconnecting the solar panel from the battery to maintain proper charging voltage. MPPT units act as DC-to-DC converters, extracting up to 30% more power from your panels—especially valuable when roof space is limited or during cloudy conditions.
Modern smart controllers have transformed RV boondocking. Early controllers were simple blocking diodes that prevented battery discharge through panels at night. Today’s microprocessor-controlled units monitor battery state, adjust charging algorithms in real-time, and communicate with smartphones for remote monitoring. This intelligence prevents the most common cause of premature battery failure: chronic undercharging or overcharging due to fixed charging voltages that don’t account for temperature variations or battery aging.
Controllers work alongside combiner boxes, disconnect switches, and monitoring systems. They must handle not just steady-state charging but also transient conditions like passing clouds, partial shading, and temperature swings that can vary panel output by 50% or more throughout a typical day.
Buyer’s Guide
Power & Sizing
Start with your solar array wattage and divide by battery bank voltage to find minimum amperage. A 400W array on a 12V system needs at least 33A (400W ÷ 12V = 33.3A). Always add 25% safety margin—so you’d want a 40A controller minimum.
Voltage matters as much as amperage.
Controllers have maximum input voltage ratings, typically 75V, 100V, or 150V. Series-wired panels can exceed these limits on cold mornings when voltage spikes. Three 12V panels in series output around 60V nominally but can hit 75V+ when cold. Check your panel’s Voc (open circuit voltage) and multiply by the number in series, then add 20% for temperature compensation. Crystalline silicon panels increase voltage by approximately 0.3% per degree Celsius below 25°C standard test conditions.
For typical RV setups:
- 100-200W systems: 20A controller sufficient for weekend camping with minimal power needs
- 300-400W systems: 30A controller minimum for extended boondocking with moderate loads
- 500-800W systems: 40-50A controller required for full-time living with residential amenities
- 1000W+ systems: Consider multiple controllers or 60A+ units for large motorhomes
System expansion planning affects controller selection. Starting with a 200W system but planning to add panels later? Buy a 30A controller now rather than upgrading later. The cost difference is minimal compared to replacing an undersized unit.
MPPT vs PWM: The Real Story
PWM controllers cost less but waste power.
They drag panel voltage down to match battery voltage, losing the difference as heat. A 100W panel producing 18V gets pulled down to 13V for charging—you lose nearly 30% of potential power. MPPT controllers convert excess voltage into additional charging current. That same 100W panel at 18V becomes 7.7A at 13V instead of the 5.5A you’d get with PWM.
The efficiency gain varies by conditions but averages 15-30%, with bigger gains in cold weather or with panels wired in series. For a single 100W panel, a $40 PWM controller makes sense. But at 400W+, the extra harvest from a $150 MPPT controller pays for itself within a year of regular boondocking.
MPPT also enables series wiring, reducing voltage drop over long cable runs—critical when panels sit 30+ feet from batteries. A 400W array wired at 12V requires 4 AWG cable for a 30-foot run to maintain 3% voltage drop. The same array wired at 48V needs only 10 AWG cable, saving hundreds in copper costs.
Advanced MPPT features include multi-stage charging algorithms, arc fault detection, and ground fault protection. Some units offer dual MPPT trackers, allowing connection of different panel orientations without efficiency losses.
Battery Compatibility
Modern lithium batteries demand specific charging profiles. Unlike lead-acid’s three-stage charging, lithium prefers constant current until nearly full, then abrupt cutoff. Using the wrong profile damages cells or triggers the battery’s internal BMS protection, shutting down your entire system.
Quality controllers offer programmable settings for AGM, gel, flooded, and lithium chemistries. Victron and EPEVER excel here, with customizable voltage setpoints and temperature compensation.
Verify your controller can hit exact specifications—Battle Born wants 14.4V absorption, while some LiFePO4 cells prefer 14.6V. This 0.2V difference significantly impacts battery longevity. Temperature compensation becomes critical with lead-acid batteries, requiring voltage adjustments of -3mV per cell per degree Celsius.
CANbus and other protocols allow smart batteries to directly control charging parameters. Victron’s VE.Smart networking enables controllers, battery monitors, and inverters to share information, creating a coordinated power system that maximizes efficiency and battery life.
Monitoring and Control
Bluetooth connectivity transforms troubleshooting from a chore into routine maintenance.
Instead of crawling into cramped battery compartments, you check charging status from your phone. Victron’s app shows real-time power flow, historical graphs, and battery state of charge. You’ll spot issues like morning shade or dirty panels immediately.
Remote displays serve travelers who prefer physical interfaces or need monitoring from the driver’s seat. EPEVER’s MT50 display shows all parameters at a glance and allows setting changes without accessing the controller. Physical displays offer advantages in bright sunlight where phone screens become unreadable.
Data logging capabilities separate professional-grade controllers from consumer models. Detailed logs reveal patterns invisible in real-time monitoring: gradual panel degradation, seasonal variations, and battery capacity loss over time. This information guides maintenance schedules and replacement planning.
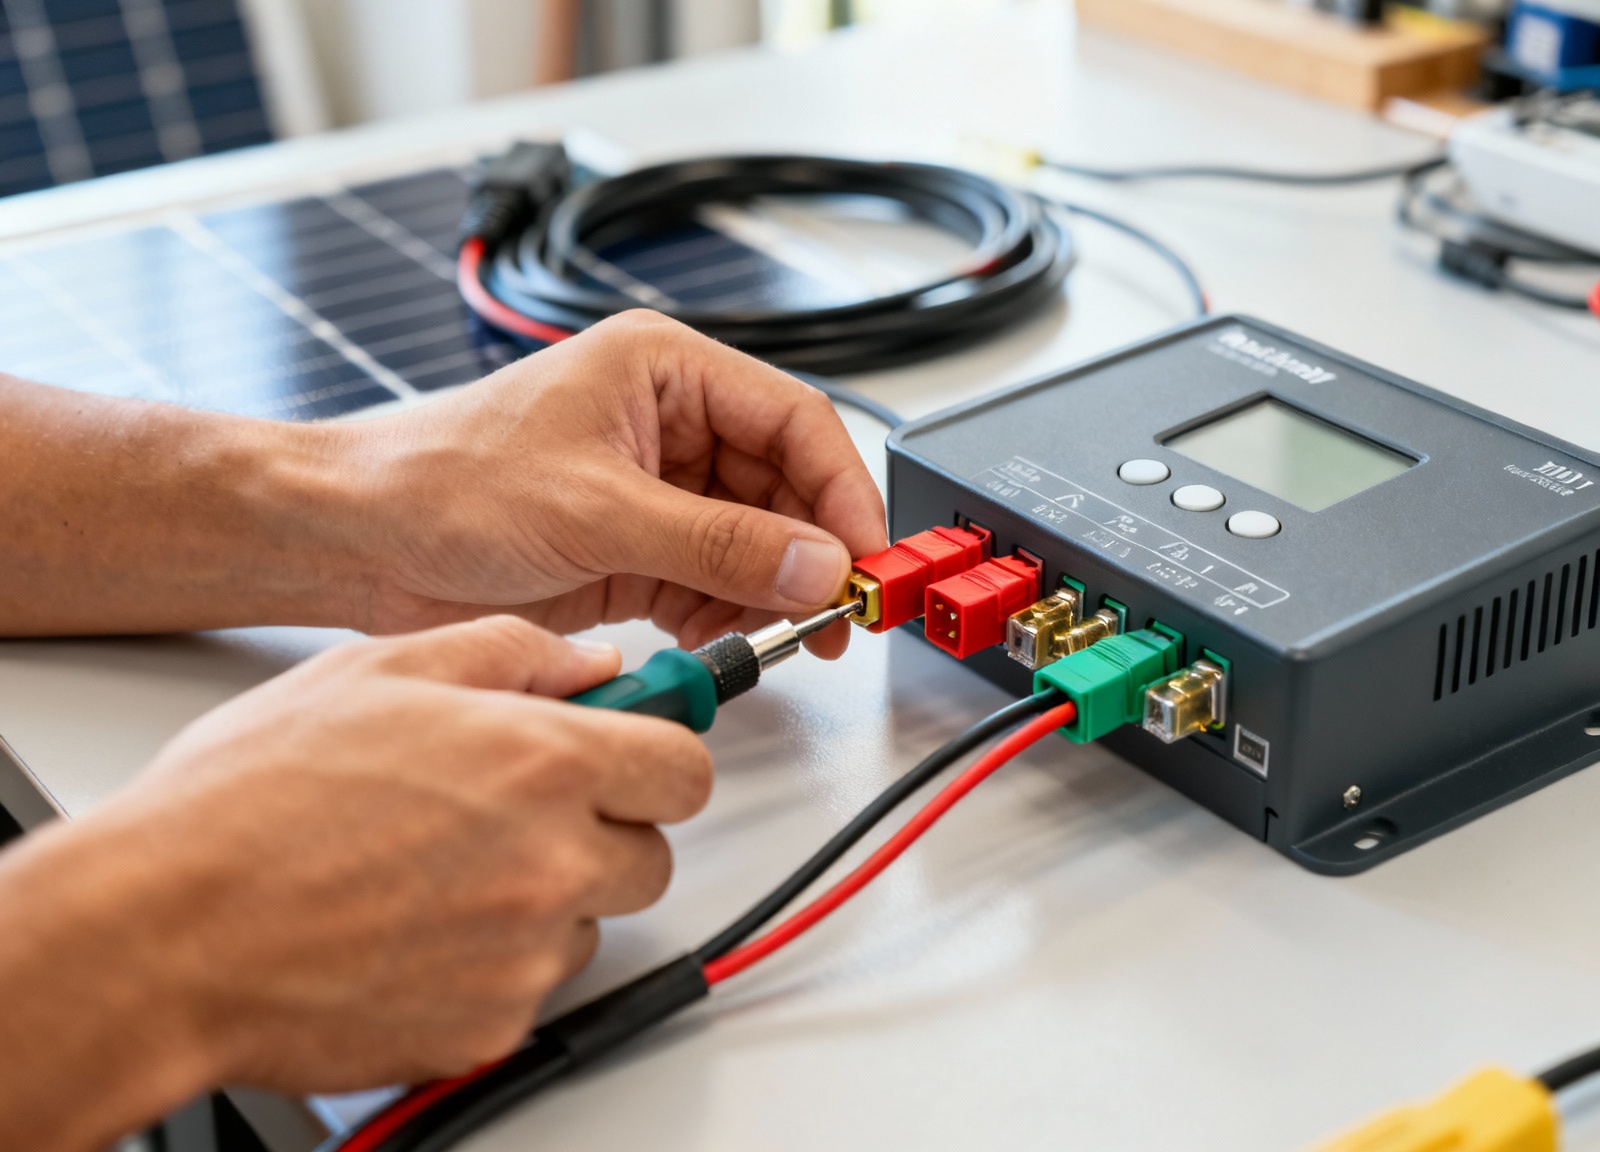
Installation Considerations
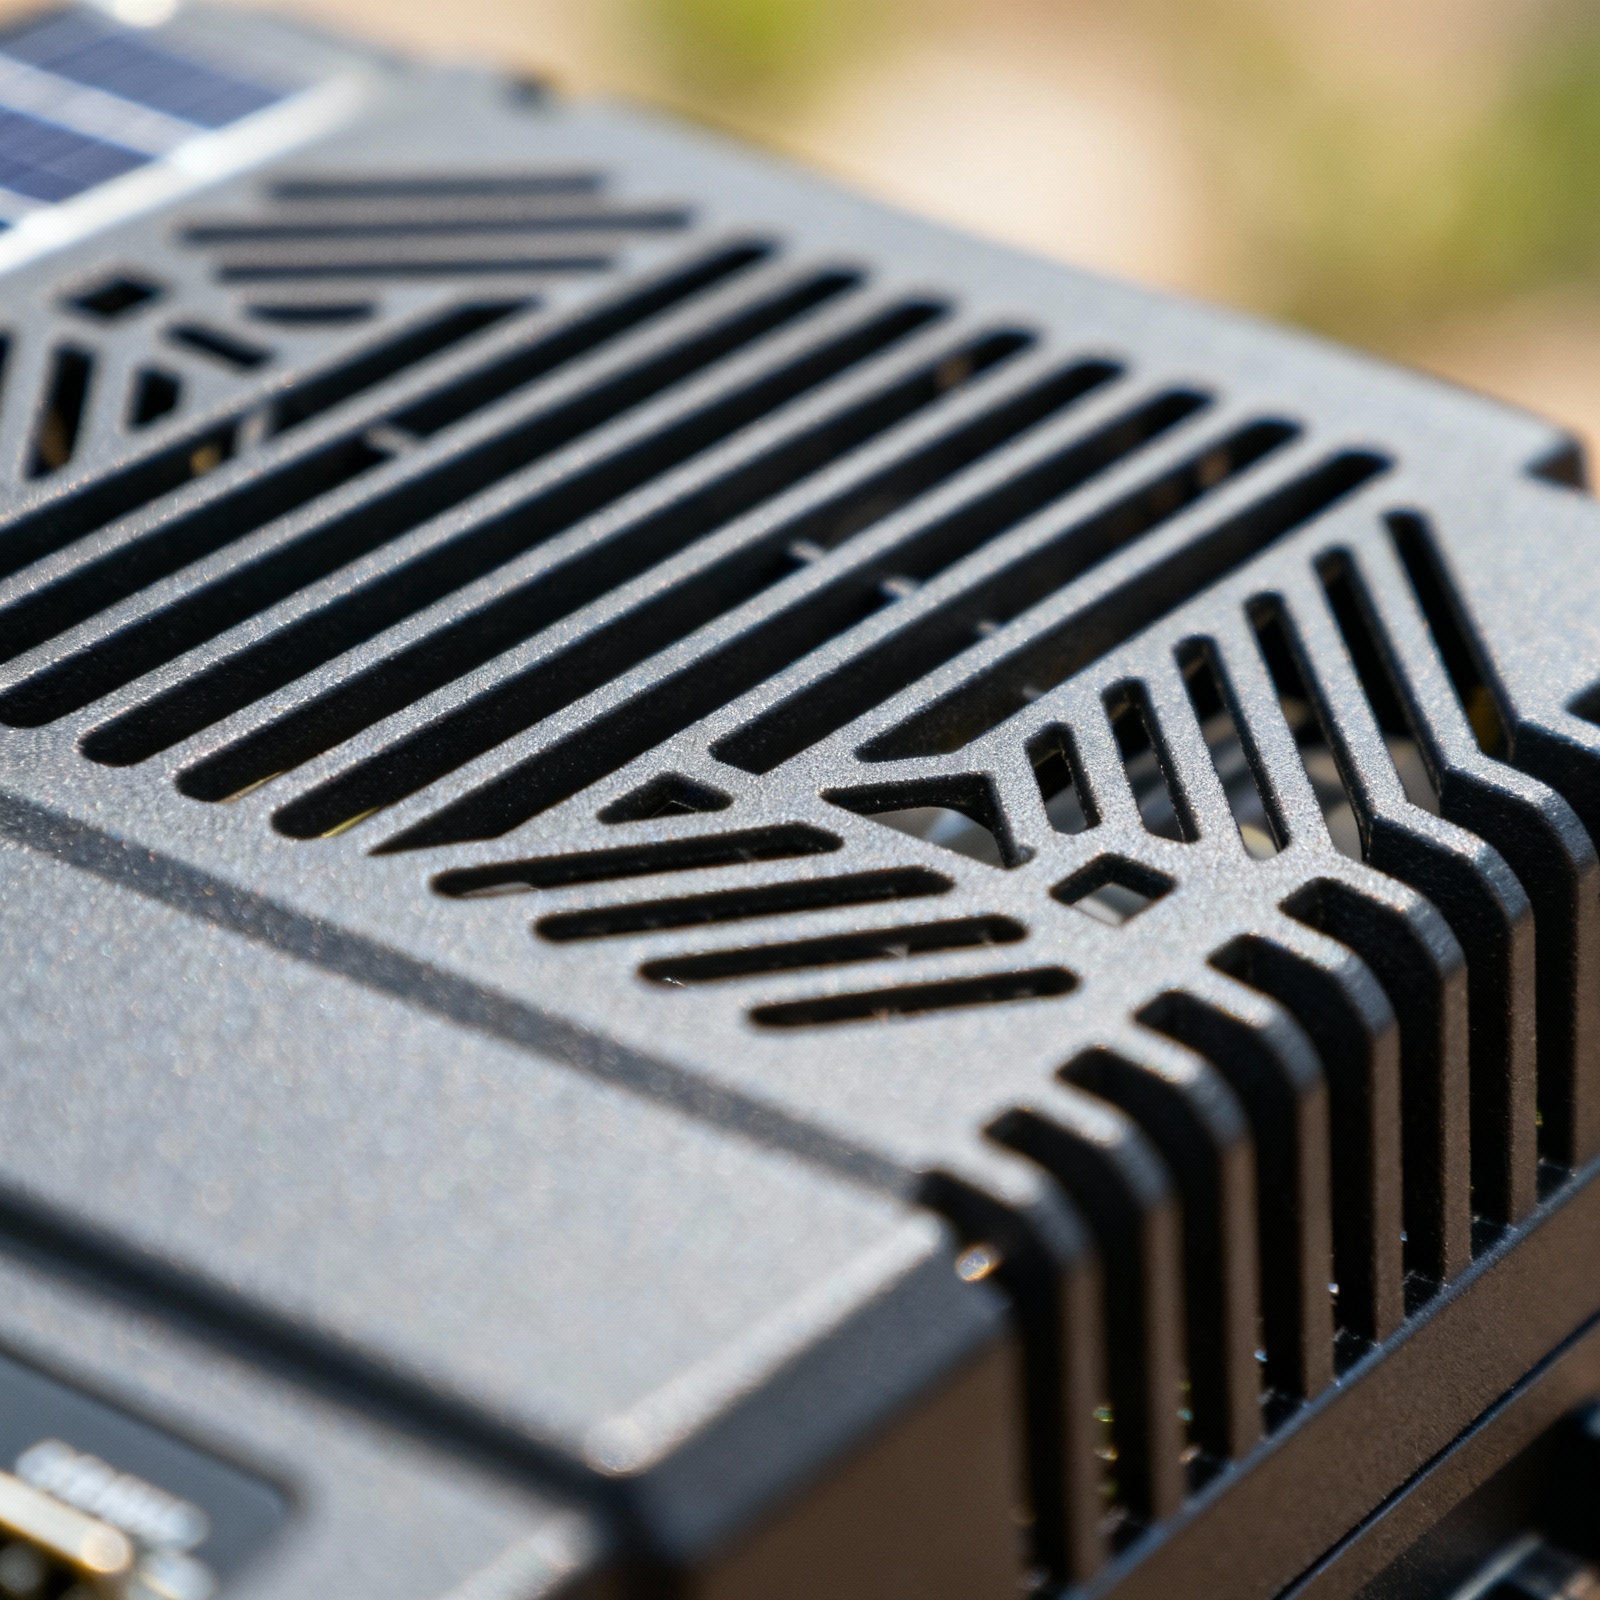
Mount controllers in ventilated spaces away from batteries and heat sources.
MPPT units generate heat during conversion—inadequate airflow triggers thermal throttling, reducing charging power when you need it most. Leave 6 inches clearance above and below the unit. Undersized cables between controller and battery create voltage drop, confusing the controller’s battery voltage sensing. This leads to overcharging or premature float mode.
Use the controller manufacturer’s recommended wire size, not generic electrical charts. For a 30A controller with a 10-foot run, you need 8 AWG minimum, not the 10 AWG that basic calculators suggest. Automotive wire gauge differs from household wire—8 AWG automotive wire has fewer strands and higher resistance than 8 AWG marine cable.
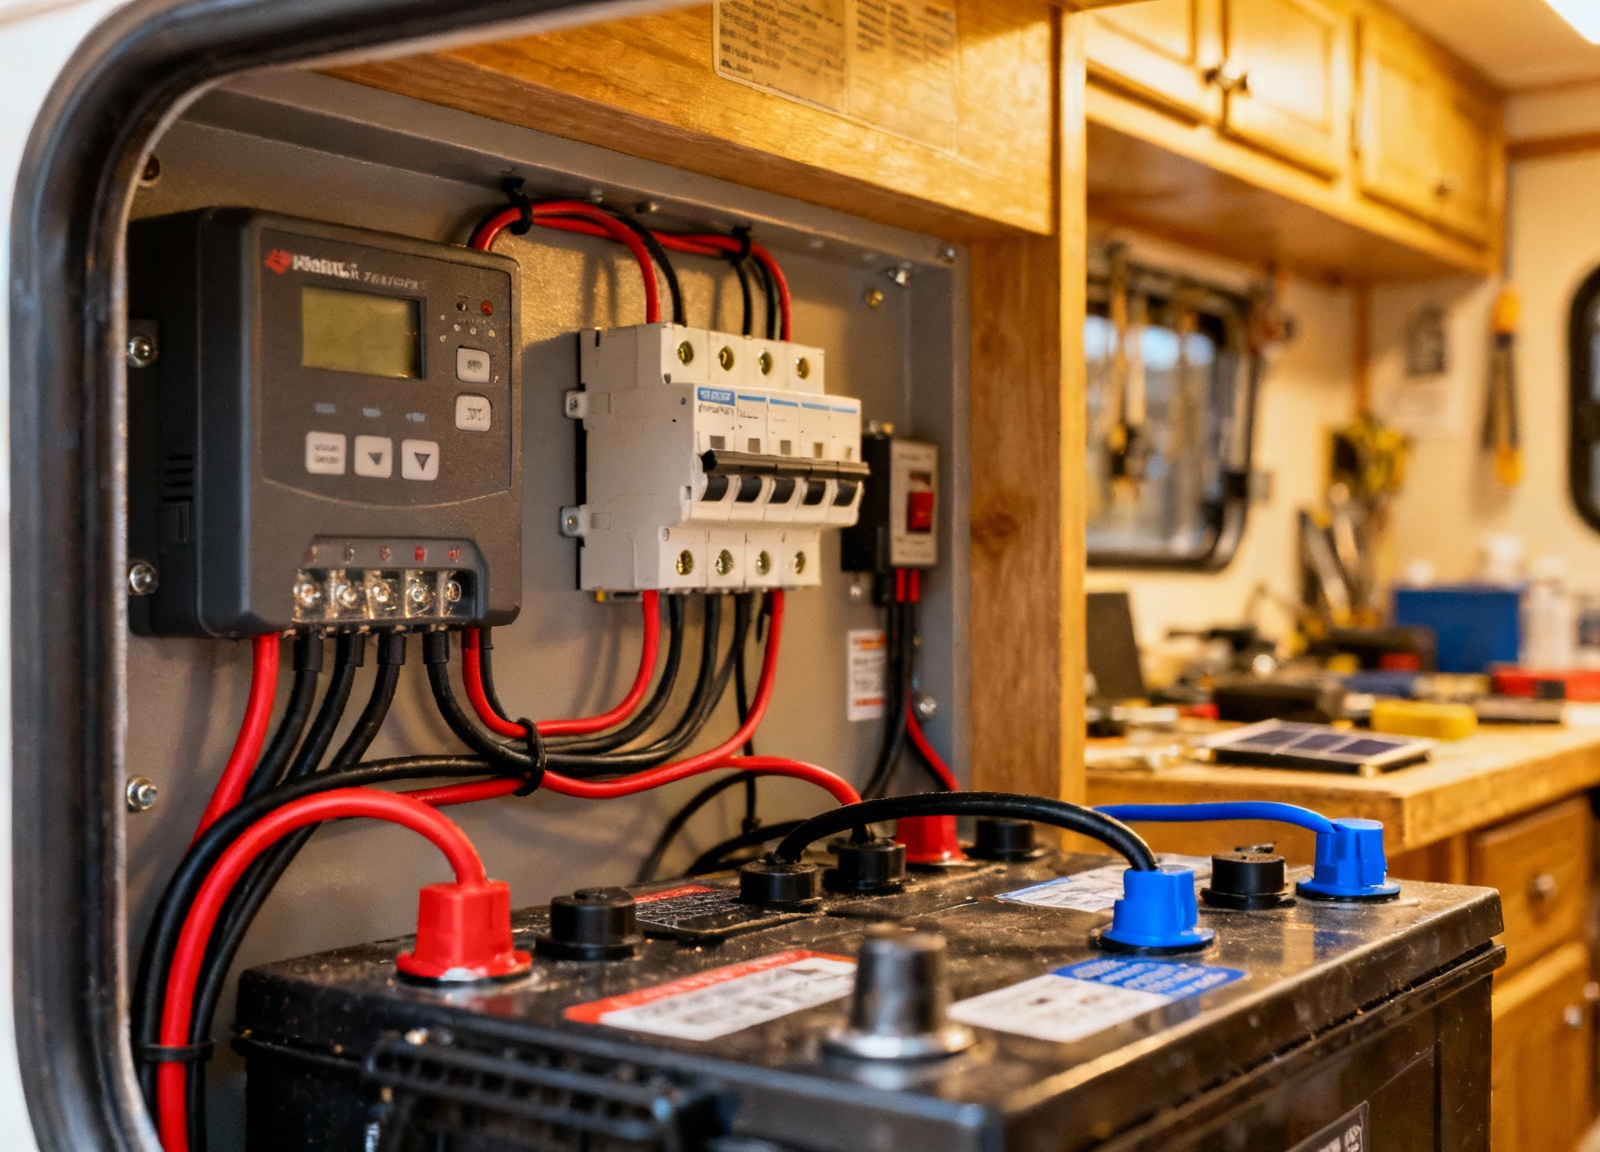
Install DC-rated breakers between panels and controller, and between controller and battery. Size breakers at 125% of maximum current—a 30A controller needs 40A breakers. Use breakers rated for DC operation; AC breakers arc excessively when interrupting DC current.
Controllers mounted in engine compartments face temperature extremes and vibration that shorten component life. Battery compartments often lack ventilation and expose electronics to corrosive gases. The ideal location balances accessibility, protection, and cooling—often a ventilated cabinet in the RV’s interior living space.
Common Pitfalls
Mixing panel types kills efficiency.
Connecting a 100W monocrystalline with a 100W polycrystalline panel doesn’t give you 200W—the mismatch in electrical characteristics means you get maybe 150W. Stick with identical panels when possible, or use separate controllers for different panel types. Even panels from the same manufacturer but different production runs can have enough variation to reduce system efficiency by 10-15%.
Temperature extremes affect everything. Controllers derate output above 40°C (104°F)—common in Arizona summer. Quality controllers include battery temperature sensors that adjust charging voltage automatically. A battery at 0°C requires 14.9V to fully charge, while the same battery at 40°C needs only 13.8V.
Series vs parallel wiring confuses newcomers. Series wiring adds voltages while parallel adds current. Series reduces wire losses but one shaded panel affects the entire string. Parallel wiring maintains power if one panel fails but requires larger wires. Most RVers benefit from series-parallel configurations: pairs in series, then paralleled together.
Safety & Common Mistakes
Never connect panels to the controller before connecting the battery.
Controllers need battery voltage to initialize properly—connecting panels first can damage the unit. The sequence matters: battery first, then panels, then loads. Every positive connection needs overcurrent protection within 18 inches of the battery. This means fuses at the battery, at the controller, and at distribution points.
Watch for hot spots. Loose connections create resistance, generating heat that melts terminals and starts fires. Infrared thermometers cost $20 and reveal problems before disasters. Check all connections monthly during heavy use seasons. Any connection over 10°F above ambient needs immediate attention.
Proper torque specifications prevent both loose connections and damaged components. Over-tightening crushes terminals while under-tightening creates resistance. Use a torque wrench and follow manufacturer specifications—typically 50-80 inch-pounds for controller terminals. Apply dielectric grease to prevent corrosion, especially in coastal environments.
Budget Considerations
A complete 400W RV solar system runs $800-2000 depending on component quality. The controller represents 15-25% of total cost but determines system efficiency.
Budget breakdown for 400W system:
- Panels (4x 100W): $400-600 depending on efficiency and warranty
- MPPT Controller: $150-250 for reliable 30-40A units with monitoring
- Wiring and breakers: $100-150 including MC4 connectors and proper gauge cable
- Mounting hardware: $100-200 for adjustable tilt mounts or flush mounting systems
- Battery bank: $400-1200 (depending on lithium vs AGM capacity)
- Installation (if hired): $300-500 for professional installation with warranty
Hidden costs surprise first-time buyers. Monitoring equipment, battery temperature sensors, and remote displays add $50-150. Proper cable and connectors exceed $100. Tools for MC4 connectors, cable crimping, and torque wrenches represent one-time investments of $100-200.
Weekend warriors might recover system cost in 3-5 years through campground fee savings. Full-timers often see payback within 18 months when avoiding $30-50 nightly hookup fees. Factor in battery replacement costs—lithium’s 10-year lifespan versus AGM’s 3-5 years significantly impacts total ownership cost.
Recommended Gear
- Victron SmartSolar MPPT 100/30 — Best overall controller with Bluetooth monitoring and 5-year warranty View on Amazon
- Renogy 100W Monocrystalline Panel — Reliable panels with good low-light performance View on Amazon
- Battle Born 100Ah LiFePO4 — Premium lithium battery with integrated BMS and 10-year warranty View on Amazon
FAQs
- Can I mix different wattage panels with one controller? Yes, but you’ll lose efficiency. Mismatched panels limit the entire array to the lowest performer’s characteristics. Use separate controllers or identical panels for best results.
- Why does my MPPT controller show less power than my panels are rated for? Panels rarely produce rated power due to temperature, angle, and atmospheric conditions. Expect 75-85% of rated capacity in real-world conditions.
- Should I ground my RV solar system? Yes, but correctly. Ground the negative DC system to chassis at one point only. Panel frames need separate equipment grounding for lightning protection.
- How often should I equalize my batteries? Flooded lead-acid batteries benefit from monthly equalization. AGM and gel batteries should not be equalized. Lithium batteries never require equalization.
- Can I leave my solar system connected while plugged into shore power? Yes, with proper configuration. Most controllers detect battery voltage and reduce charging when batteries are full. Verify your converter/charger and solar controller won’t conflict.