
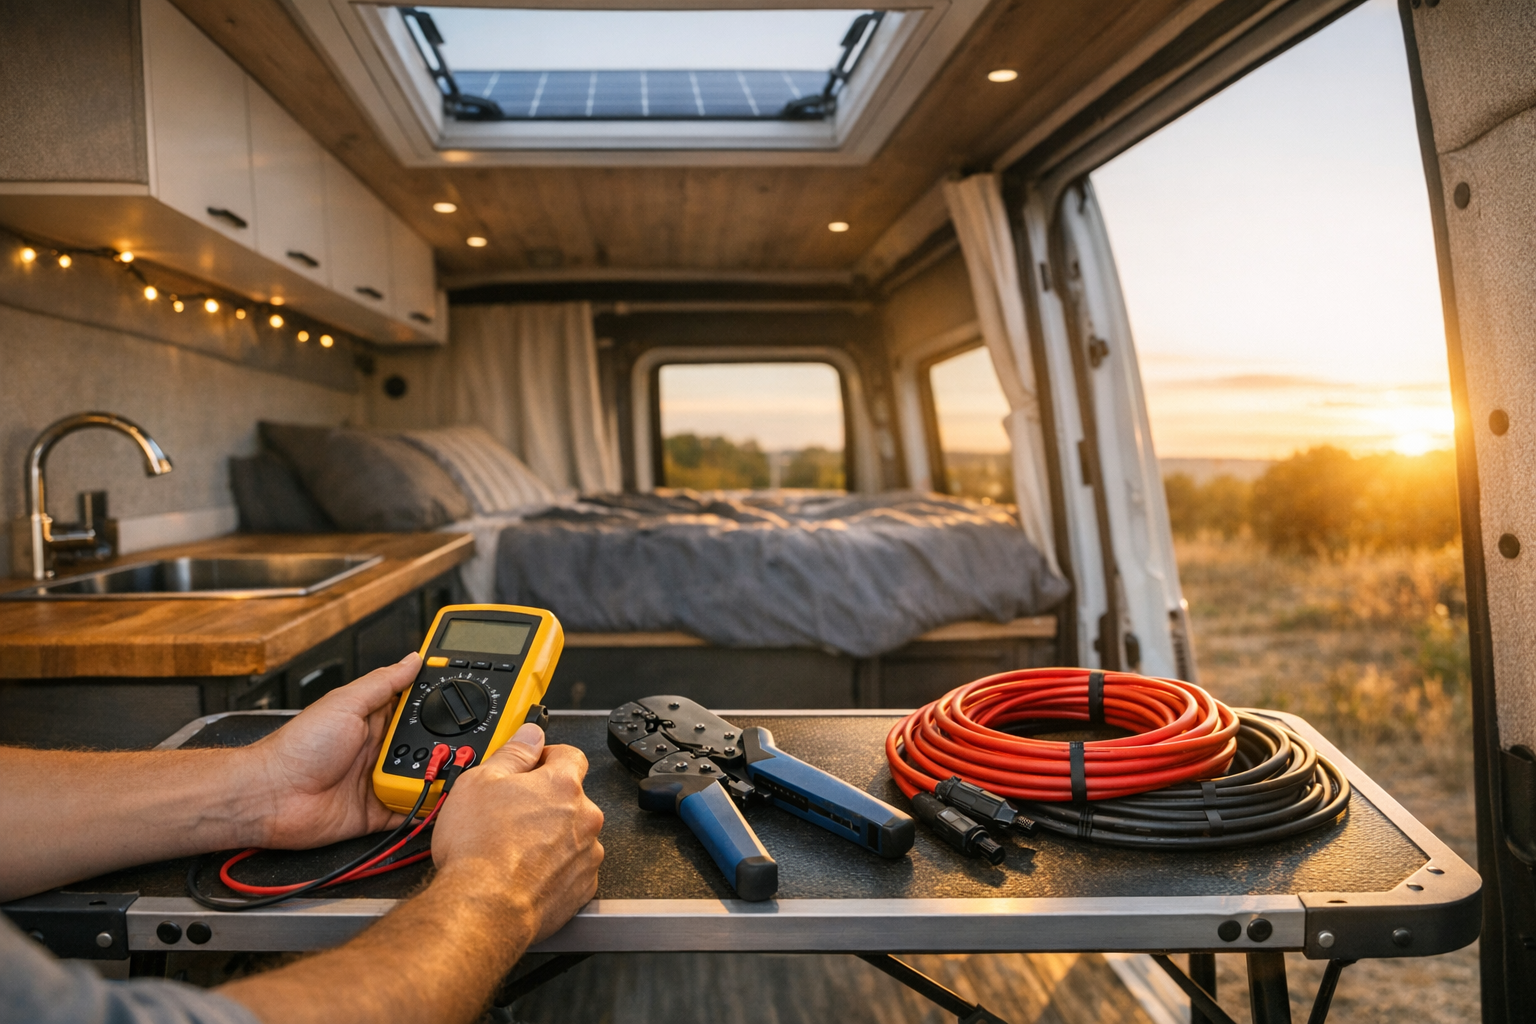
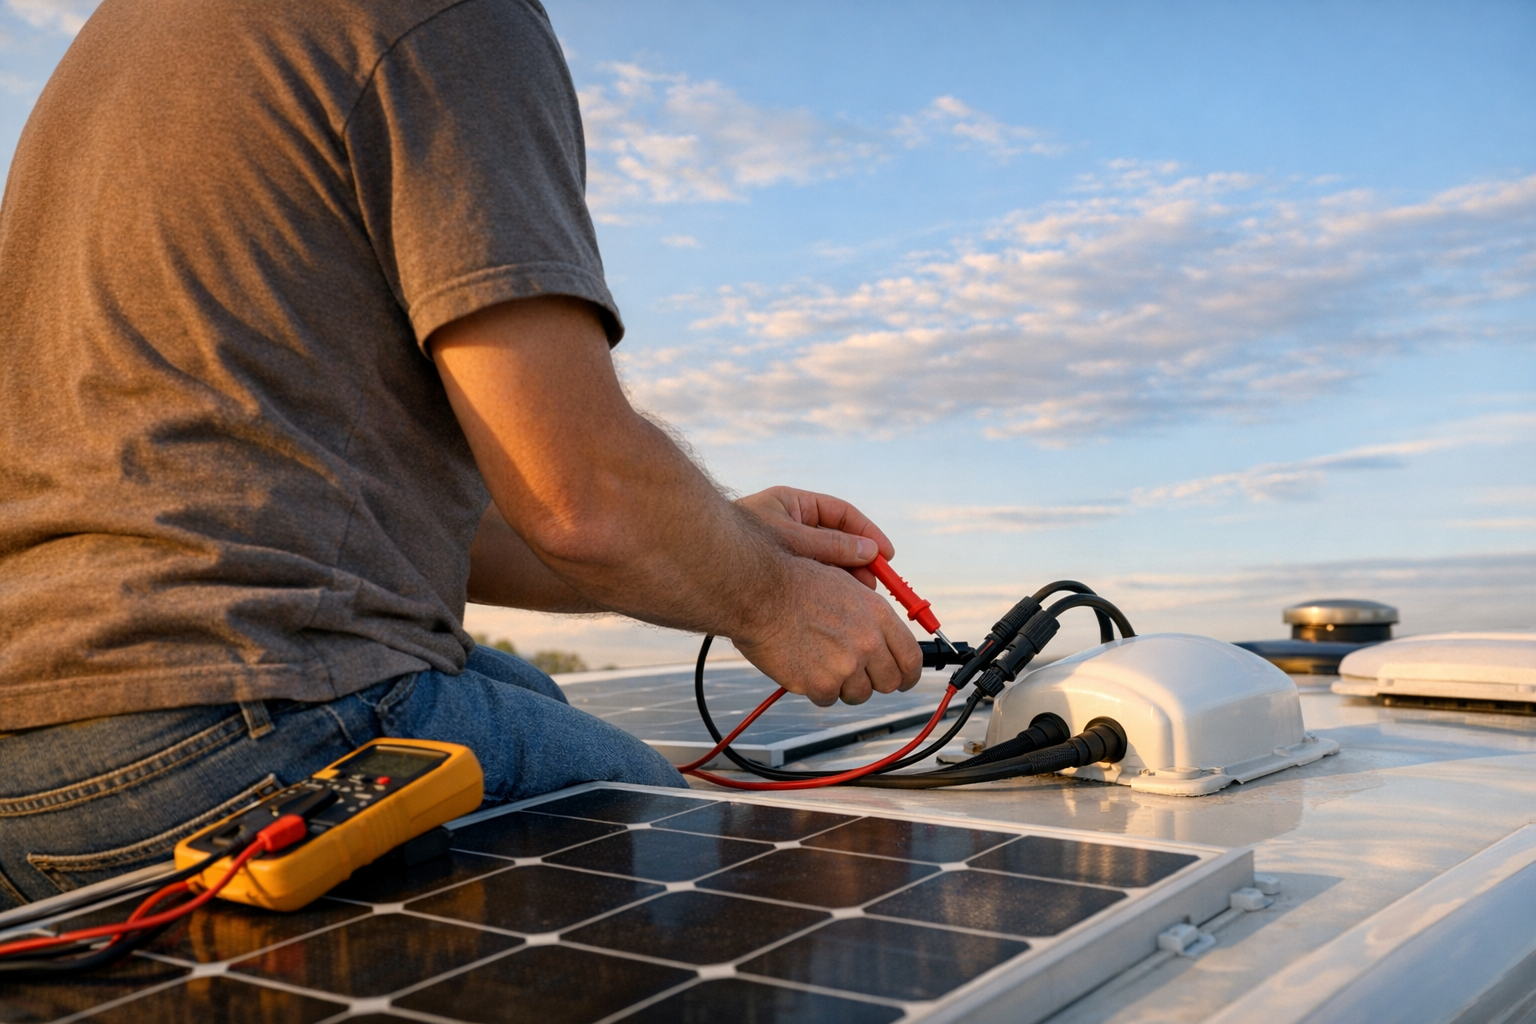
You’re on the roof of your RV with 400 watts of solar panels ready to wire in, and you realize you have no way to verify whether those panels are actually producing their rated voltage—or whether the MC4 crimp you just made will hold up through three years of desert heat and highway vibration. A quality multimeter and the right crimping tool aren’t glamorous purchases, but they’re the difference between a rock-solid RV solar system and one that silently fails, overheats, or leaves you without power at the worst possible moment. This guide ranks the best multimeters and crimping tools specifically for DIY RV solar installation and maintenance, with real specs, honest trade-offs, and clear recommendations for every budget.
Why You Need a Multimeter and Crimping Tool for RV Solar
Testing Voltage, Current, and Continuity on Your RV
An RV solar system is a DC electrical system, and DC problems are notoriously silent. A panel producing 18V instead of its rated 22V open-circuit voltage could indicate shading, a cracked cell, or a wiring fault—but you’d never know without a multimeter. Beyond panel testing, you need to verify battery bank voltage (checking state of charge), confirm charge controller output, and test continuity on long wire runs that snake through walls and under floors.
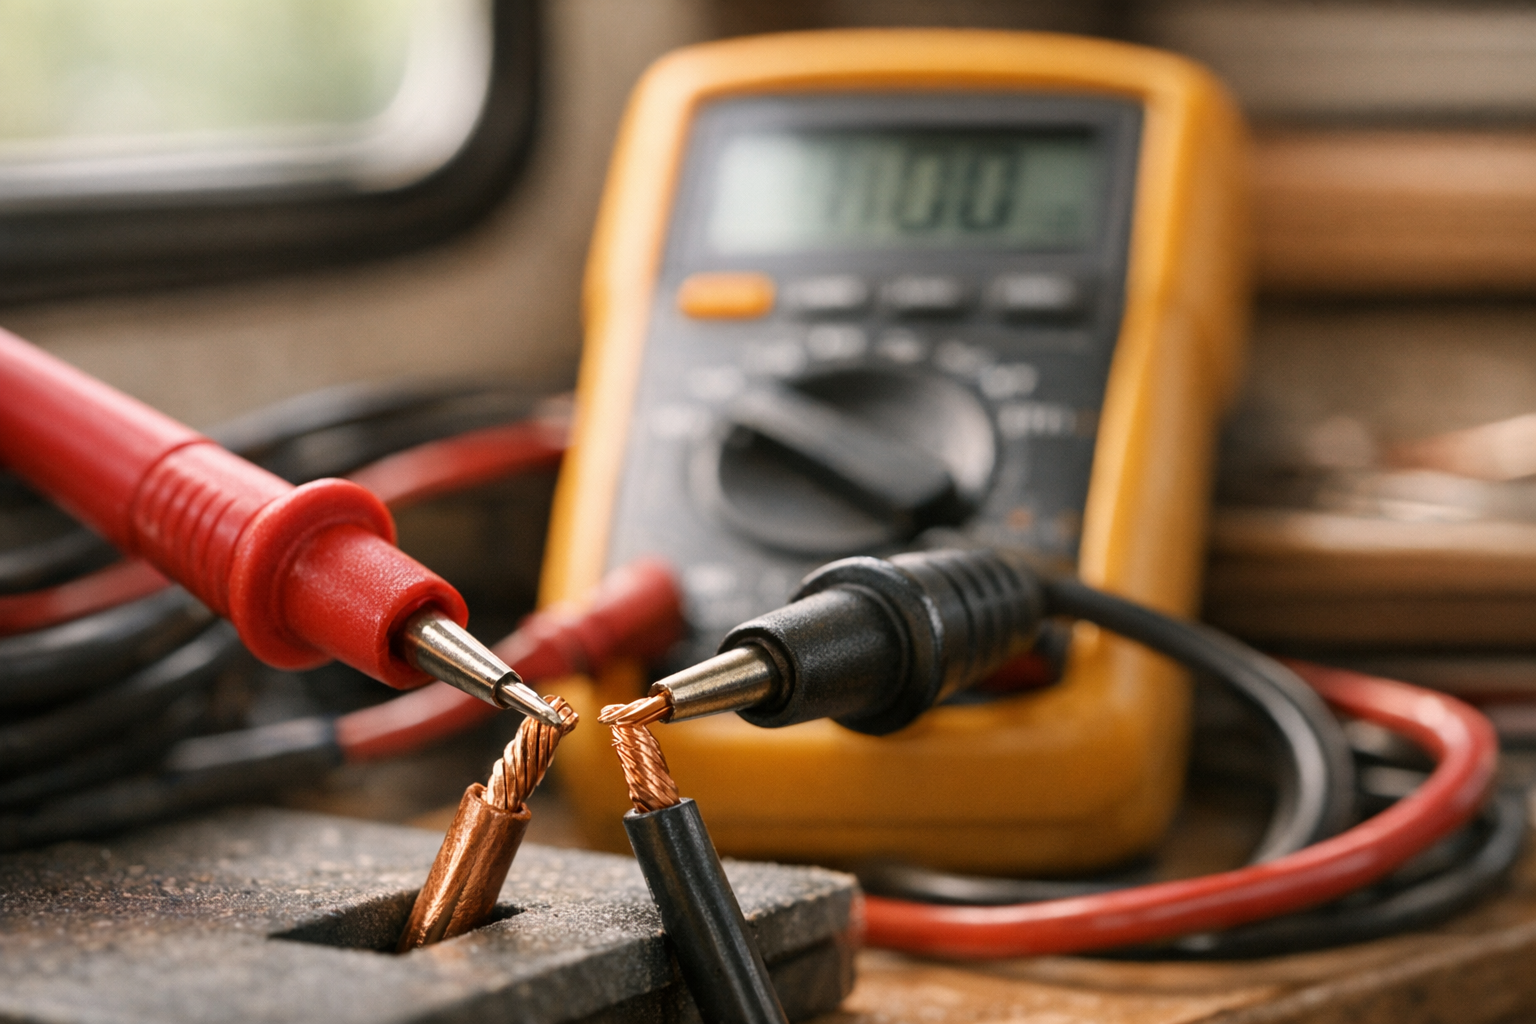
Continuity testing alone can save you hours. If you’ve run a 20-foot wire from your roof combiner box to your charge controller and something isn’t working, a quick continuity beep tells you instantly whether the wire is intact or if a connection failed somewhere inside the wall.
Making Reliable MC4 and Battery Connections
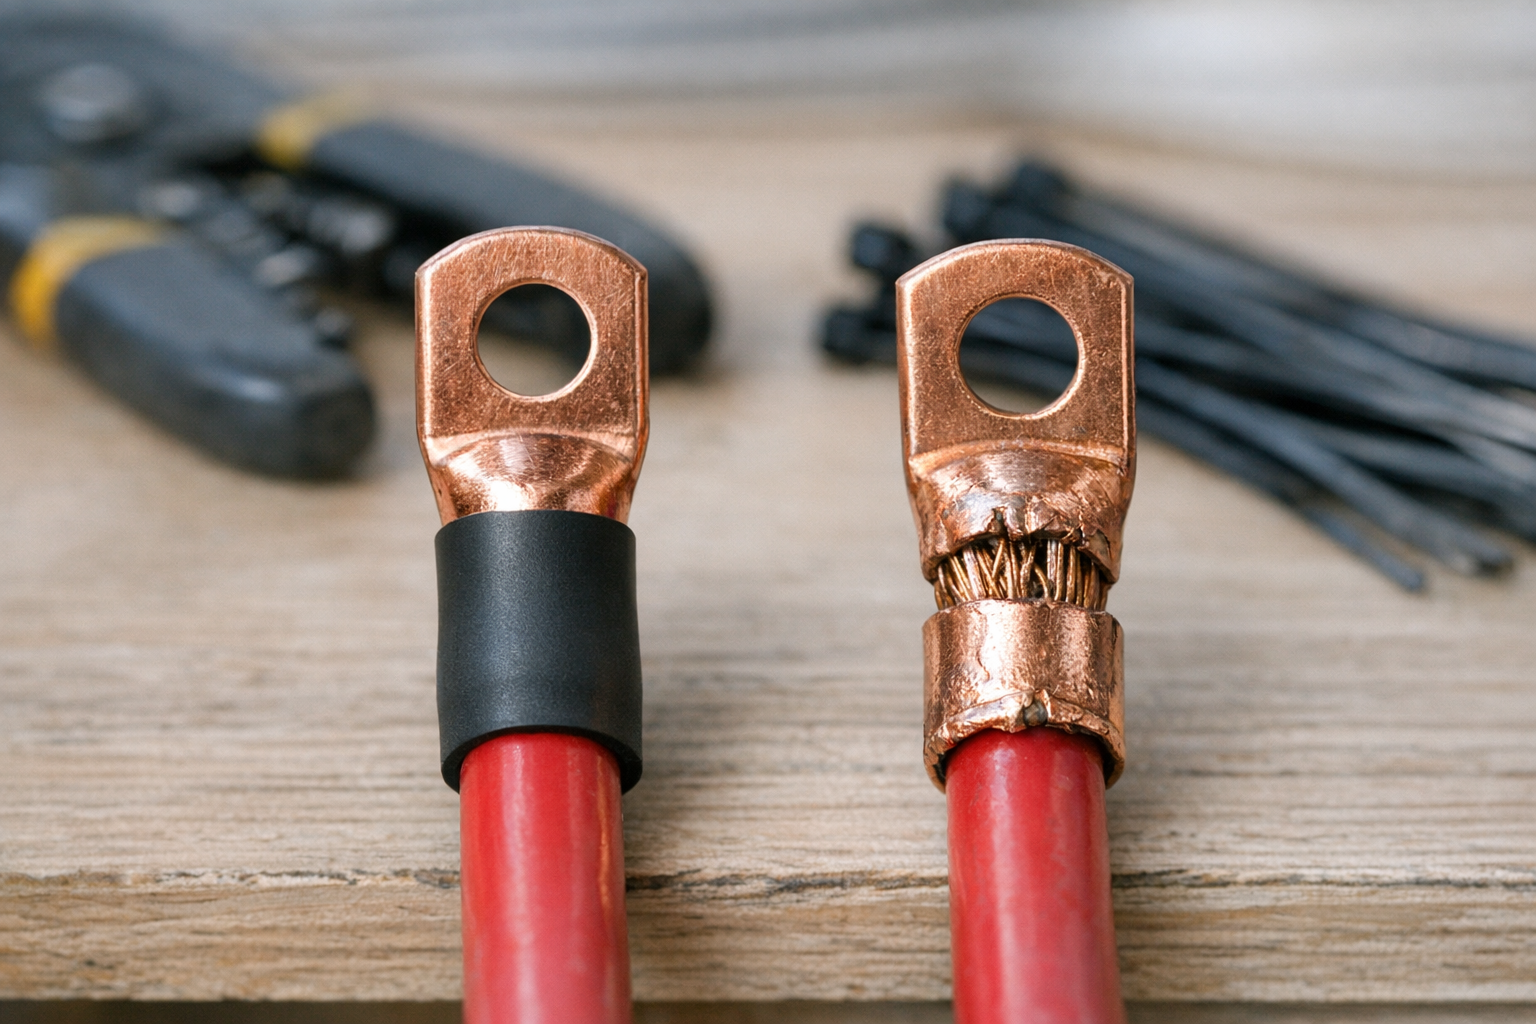
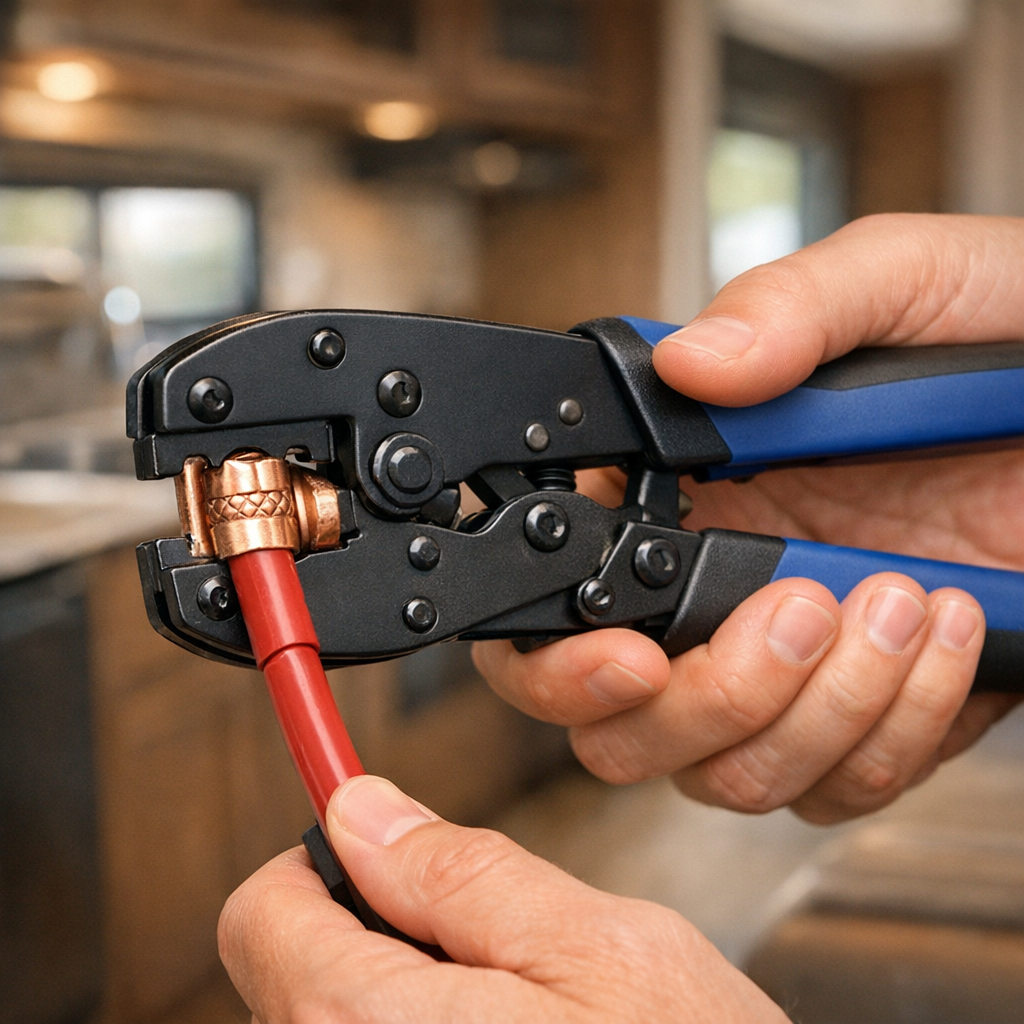
MC4 connectors are the industry standard for solar panel connections, designed to be weatherproof and vibration-resistant—but only when crimped correctly. A proper crimp creates a gas-tight mechanical bond between the wire strands and the metal contact. Pliers, vice grips, or “just squeezing really hard” create loose connections that corrode, increase resistance, and can generate enough heat to melt connector housings or start fires.
For battery cables carrying 30–100+ amps, the stakes are even higher. A ratcheting crimper ensures you apply the correct force every single time.
How to Choose the Best Multimeter for RV Solar
Key Specs: DC Voltage Range, Amperage, and Accuracy
For RV solar, you need a multimeter that excels at DC measurements. Here’s what to prioritize:
- DC Voltage Range: At minimum 600V DC. Most RV systems run 12V or 24V nominal, but open-circuit panel voltage in series strings can reach 80–150V+. A 600V range gives you headroom and safety.
- DC Amperage: A 10A DC range handles most panel current measurements. For higher currents (battery bank charging at 30–60A), use a DC clamp meter instead.
- Accuracy: Look for ±0.5% or better on DC voltage. Cheap meters with ±1.5% accuracy can give misleading readings when you’re diagnosing a 0.5V drop across a connection.
- CAT Rating: CAT III 600V is the sweet spot for RV solar work. This rating means the meter is designed to withstand transient voltage spikes safely.
- Continuity Buzzer: A fast, responsive audible continuity test is essential for tracing wires.
Clamp Meter vs. Standard Multimeter for Solar
A standard multimeter requires you to break the circuit (disconnect a wire) to measure current. That’s fine during installation but a hassle when troubleshooting a live system. A DC clamp meter wraps around the wire and measures current magnetically without any disconnection. The trade-off: DC clamp meters cost more and may be slightly less accurate at very low currents.
For most RV solar owners, a good standard multimeter is sufficient. If you plan to do frequent troubleshooting or have a larger system (400W+), a DC clamp meter is worth the investment.
One critical note: many affordable clamp meters only measure AC current. You need one that explicitly supports DC amps, since your entire RV solar system runs on DC.
Top Multimeter Picks for RV Solar Owners
Fluke 117 True-RMS Digital Multimeter
The Fluke 117 is the gold standard for electricians and solar installers. It measures DC voltage up to 600V with ±0.5% accuracy, handles 10A DC current, and has a lightning-fast continuity buzzer. True-RMS capability means it also handles AC measurements accurately for inverter output or shore power testing. Build quality is exceptional—the yellow rubber holster absorbs drops, the display is readable in direct sunlight, and the test leads feel substantial. CAT III 600V rated.
Who is it for? The RV solar owner who wants one meter that does everything right and lasts a decade. At roughly $160–$180, it’s an investment, but if you’re installing a system worth $2,000+, spending $170 on the tool that verifies it’s working correctly makes sense.
Klein Tools MM400 Digital Multimeter
The Klein MM400 hits the sweet spot between price and performance. It offers 600V DC range, 10A DC current, and ±1.0% voltage accuracy—not quite Fluke territory, but more than adequate for checking panel output, battery voltage, and connection integrity. Auto-ranging means you don’t have to guess which scale to use, and the backlit display is easy to read in dim compartments. CAT III 600V rated. Around $30–$40.
Who is it for? The budget-conscious DIYer doing a one-time RV solar install or occasional maintenance. It won’t survive being run over by a truck like a Fluke, but it’s accurate enough for every measurement you’ll realistically need at a quarter of the price.
Klein CL800 Digital AC/DC Clamp Meter
The Klein CL800 is the best DC clamp meter for RV solar at its price point. It measures DC current up to 600A (with 0.1A resolution up to 60A), DC voltage to 600V, and includes standard multimeter functions like continuity, resistance, and capacitance. The clamp jaw opens wide enough for most battery cables, and DC current accuracy of ±1.5% + 5 digits is acceptable for troubleshooting. True-RMS, CAT III 600V rated, roughly $100–$120.
Who is it for? The RV solar owner with a larger system (400W+ panels, lithium battery bank) who wants to quickly check amps flowing from panels to controller—or controller to batteries—without pulling any connections. Also excellent for diagnosing parasitic draws on your RV’s 12V system.
Fluke 323 True-RMS Clamp Meter
The Fluke 323 is a compact, rugged clamp meter with Fluke’s trademark build quality. However, the 323 measures AC current only—not DC. It reads DC voltage up to 600V with ±1.0% accuracy, covering solar panel and battery testing, but you can’t clamp around a wire to measure DC amps. At around $130–$150, it’s a solid companion to a standard multimeter if you need AC clamp capability for inverter and shore power diagnostics, but it shouldn’t be your only meter for solar work.
Who is it for? The RV owner who already has a basic DC multimeter and wants to add AC clamp capability.
How to Choose the Best Crimping Tool for RV Solar
MC4 Crimpers vs. Ratcheting Battery Cable Crimpers
These are two fundamentally different tools for two different jobs, and you likely need both:
- MC4 Crimpers: Designed for the small metal contacts inside MC4 connectors. Precision dies create the correct crimp profile for 10–14 AWG solar wire. A ratcheting mechanism ensures you complete the crimp fully before the tool releases.
- Battery Cable Crimpers: Heavy-duty ratcheting tools designed for large copper lugs on 8 AWG to 4/0 AWG cable. These create the high-compression crimps needed for connections carrying 50–200+ amps between your charge controller, battery bank, and inverter.
Wire Gauge Compatibility and Build Quality
Most RV solar panels use 10 AWG or 12 AWG PV wire for MC4 connections. Make sure your crimper’s dies match. For battery cables, a typical RV solar system uses 4 AWG to 2/0 AWG depending on current and run length. A crimper handling 8 AWG to 2/0 AWG covers the vast majority of RV battery bank wiring. Look for hardened steel dies, a comfortable grip, and a ratcheting mechanism that prevents incomplete crimps.
Top Crimping Tool Picks for RV Solar Installs
Signstek MC4 Solar Crimping Tool Kit
The most popular MC4 crimper among DIY solar installers for good reason. It features interchangeable die sets for MC4 contacts (fitting 2.5mm², 4mm², and 6mm² solar cable—roughly 14–10 AWG), a ratcheting mechanism that won’t release until the crimp is complete, and comfortable ergonomic handles. The kit typically includes MC4 spanner wrenches for tightening and disconnecting MC4 connectors. Build quality is solid steel with a durable coating. At $25–$35, it pays for itself compared to hiring an electrician at $50+/hour.
Who is it for? Every DIY RV solar installer making MC4 connections. It produces consistent, weatherproof crimps that pass the pull test every time.
IWISS IWS-1608D Ratcheting Battery Cable Crimper
The go-to battery cable crimper in the DIY solar community. It handles wire gauges from 8 AWG to 1/0 AWG (some versions go to 2/0 AWG) and uses a ratcheting mechanism with hexagonal dies that create clean, tight crimps on copper lugs. The compound leverage design means you don’t need superhuman grip strength to crimp heavy cable. Compact enough for tight RV battery compartments. Price runs about $35–$50.
Who is it for? Any RV solar installer making battery cable connections on 4 AWG or larger cable. Produces crimps as good as or better than many professional hydraulic crimpers costing three times as much.
BougeRV MC4 Crimping Tool
A solid alternative to the Signstek with a nearly identical ratcheting design and MC4-specific dies. It handles the standard 2.5mm², 4mm², and 6mm² solar cable sizes. Some users prefer the BougeRV’s slightly wider, cushioned handles. It typically comes as a standalone tool without spanner wrenches, keeping the price at $20–$30. Crimp quality is comparable to the Signstek.
Who is it for? Budget-conscious installers who already have MC4 spanner wrenches or don’t mind buying them separately.
IWISS IWS-0810N Ratcheting Crimper (Small Gauge)
This IWISS model fills the gap between MC4 crimpers and heavy battery cable crimpers. It handles 8–1 AWG non-insulated terminals—perfect for crimping ring terminals, butt connectors, and smaller lugs used in RV solar wiring like fuse holder connections, bus bar terminals, and grounding lugs. Compact size makes it easy to work in tight spaces. At $25–$35, it complements your MC4 crimper and battery cable crimper nicely.
Other Essential Electrical Tools for RV Solar
A multimeter and crimping tools are the foundation, but a complete RV solar installation toolkit includes a few more items:
- Wire Strippers: A quality pair that handles 10–4 AWG without nicking the copper. The Klein 11055 is a popular choice.
- Cable Cutters: Rated for the largest cable you’re working with. For 2/0 AWG battery cable, a ratcheting cable cutter makes clean cuts without deforming the conductor.
- Heat-Shrink Tubing & Heat Gun: Adhesive-lined heat shrink over every crimp adds waterproofing and strain relief. Use marine-grade adhesive-lined tubing for exposed connections.
- Torque Wrench or Torque Screwdriver: Bus bar connections and breaker terminals have specific torque specs (often 35–45 in-lbs). Over-tightening cracks terminals; under-tightening causes resistance and heat.
- MC4 Spanner Wrenches: If your crimper kit doesn’t include them, buy a pair. They let you disconnect MC4 connectors without damage—nearly impossible by hand.
- UV-Rated Zip Ties and Adhesive Cable Mounts: Keep rooftop wiring secure against wind and vibration.
How to Use a Multimeter to Test RV Solar Panels
Measuring Open-Circuit Voltage (Voc): Disconnect the panel from the charge controller. Set your multimeter to DC voltage. Touch the red probe to the positive MC4 lead and the black probe to the negative. You should see a reading close to the panel’s rated Voc (printed on the back label). For a typical 12V-nominal panel, expect 20–24V. For a 24V-nominal panel, expect 38–46V. A reading significantly lower—say, 15V on a panel rated for 22V—may indicate shading, a damaged cell, or a wiring fault.
Measuring Short-Circuit Current (Isc): Set your multimeter to DC amps (10A range). Connect the red probe to the 10A jack—not the mA jack, which is a common mistake that blows the fuse. Touch the probes to the positive and negative leads. You’re short-circuiting the panel through the meter, which is safe for the panel but will blow your meter’s fuse if current exceeds 10A. For panels rated above 10A Isc, use a DC clamp meter instead. A healthy panel should read within 10–15% of its rated Isc in full sun.
Checking Wiring Continuity: Set the multimeter to continuity mode (the symbol that looks like a sound wave or diode). Touch both probes to each end of a wire run. A beep means the wire is intact. No beep means there’s a break somewhere.
Measuring Voltage Drop: With the system running under load, measure voltage at the panel output and again at the charge controller input. The difference is your voltage drop. It should be less than 3% of the panel voltage. A 1V drop on a 20V panel (5%) indicates undersized wire, a bad connection, or excessive run length.
Comparison Table
| Model | Type | Key Specs | Best for | Pros | Cons | Where to buy |
|---|---|---|---|---|---|---|
| Fluke 117 | Digital Multimeter | 600V DC, 10A DC, ±0.5% accuracy, CAT III 600V | Best overall multimeter | Exceptional accuracy, rugged build, fast continuity | Higher price (~$170), no clamp function | Check price |
| Klein MM400 | Digital Multimeter | 600V DC, 10A DC, ±1.0% accuracy, CAT III 600V | Best budget multimeter | Great value (~$35), auto-ranging, backlit display | Less durable than Fluke, slightly lower accuracy | Check price |
| Klein CL800 | DC Clamp Meter | 600V DC, 600A DC clamp, True-RMS, CAT III 600V | Best DC clamp meter | Measures DC amps non-invasively, versatile | Pricier (~$110), clamp less accurate at very low amps | Check price |
| Fluke 323 | AC Clamp Meter | 600V DC, 400A AC clamp, True-RMS, CAT III 600V | AC clamp + DC voltage | Fluke build quality, great for inverter/shore power | No DC clamp—AC only, not a standalone solar meter | Check price |
| Signstek MC4 Crimper Kit | MC4 Crimping Tool | 2.5/4/6mm² dies, ratcheting, includes spanners | Best MC4 crimper | Complete kit, consistent crimps, affordable (~$30) | MC4 only—won’t crimp battery lugs | Check price |
| IWISS IWS-1608D | Battery Cable Crimper | 8 AWG–1/0 AWG, ratcheting hex dies | Best battery cable crimper | Strong crimps, compact, great value (~$40) | Max 1/0 AWG (some versions 2/0), no MC4 dies | Check price |
| BougeRV MC4 Crimper | MC4 Crimping Tool | 2.5/4/6mm² dies, ratcheting | Budget MC4 crimper | Low price (~$22), comfortable handles, reliable | No spanner wrenches included | Check price |
| IWISS IWS-0810N | Mid-Gauge Crimper | 8–1 AWG, ratcheting, non-insulated terminals | Ring terminals & bus bar lugs | Fills the gap between MC4 and battery crimpers | Doesn’t handle MC4 or very large cable | Check price |
Recommended Gear
- Victron SmartSolar MPPT 100/30 — View on Amazon
- Renogy 100W Monocrystalline Panel — View on Amazon
- Battle Born 100Ah LiFePO4 Battery — View on Amazon
FAQs
- What is the best multimeter for RV solar? The Fluke 117 is the best overall choice for its ±0.5% DC voltage accuracy, rugged build, and fast continuity testing. For budget-conscious buyers, the Klein MM400 delivers reliable 600V/10A DC readings for under $40 and is more than adequate for DIY RV solar installation and maintenance.
- Do I need a special crimper for MC4 connectors? Yes. MC4 contacts have a specific crimp profile that requires matching dies, and the ratcheting mechanism on a proper MC4 crimper ensures correct force every time. Using pliers or generic crimpers results in loose connections that corrode, increase resistance, and can overheat. A dedicated MC4 crimping tool costs $20–$35 and produces weatherproof, low-resistance connections reliably.
- Can I use one crimping tool for both MC4 and battery cables? No. MC4 crimpers have small dies designed for 10–14 AWG solar wire contacts, while battery cable crimpers use much larger hexagonal dies for 8 AWG to 4/0 AWG copper lugs. The two tools are not interchangeable. Most RV solar installers need both an MC4 crimper and a battery cable crimper—a combined investment of roughly $60–$80.
- Can I measure solar panel current with a regular multimeter? Yes, as long as the panel’s short-circuit current (Isc) is below your meter’s amp rating—typically 10A. You set the meter to DC amps, connect the red probe to the 10A jack, and touch the probes to the panel’s positive and negative leads. For panels rated above 10A Isc, use a DC clamp meter instead to avoid blowing the multimeter’s internal fuse.
- How do I know if my MC4 crimp is good? Perform a pull test after every crimp: grip the wire in one hand and the crimped contact in the other, then pull firmly. A properly crimped MC4 contact should withstand at least 15–20 lbs of force without any movement. Also visually inspect the crimp—the contact barrel should be uniformly compressed with no cracks, and no bare copper should be visible outside the barrel. If the crimp fails either test, cut it off and redo it.