
As an Amazon Associate, we earn from qualifying purchases.
TL;DR: Best Picks
- Best Overall: Renogy 400W 12V Solar RV Kit — Complete system with MPPT controller and Bluetooth monitoring View on Amazon
- Best Budget: Rich Solar 400W Kit — Comparable performance at 10-15% lower cost than premium brands View on Amazon
- Best Battery: Battle Born 100Ah LiFePO4 — Premium lithium battery with 10-year warranty View on Amazon
Comparison Table
| Model | Type | Key Specs | Best for | Pros | Cons |
|---|---|---|---|---|---|
| Renogy 400W Kit View | Complete Kit | 4x100W panels, 40A MPPT, Bluetooth | First-time installers | Everything included, excellent support, app monitoring | Higher price point, bulky packaging |
| Rich Solar 400W View | Complete Kit | 2x200W panels, 40A MPPT | Budget-conscious buyers | Lower cost, fewer roof penetrations, quality panels | Limited customer support, no Bluetooth |
| BougeRV 200W Portable | Portable Panel | 200W foldable, 20A PWM included | Weekend campers | No installation required, adjustable angle, storage bag | PWM controller, setup/takedown time |
| Victron SmartSolar MPPT View | Controller Only | 100/30 MPPT, Bluetooth, VE.Direct | Custom builds | Best efficiency, extensive monitoring, programmable | Controller only, requires separate panels |
| Battle Born 100Ah View | LiFePO4 Battery | 100Ah, 1280Wh, BMS integrated | Full-time RVers | 10-year warranty, 3000+ cycles, lightweight | Premium price, requires compatible charger |
Buyer’s Guide
Power Requirements and System Sizing
Start by calculating your daily power consumption. List every device you’ll run off solar, noting both wattage and daily usage hours.
Common RV appliances draw predictable amounts: LED lights consume 5-10W each, laptops need 50-65W while charging, smartphones draw 10-15W, and 12V refrigerators run continuously at 40-80W. A typical weekend camper using lights for 4 hours, charging two phones and a laptop, and running a small fridge consumes roughly 600-800 watt-hours daily. Add a 25% buffer for system inefficiencies and cloudy weather, bringing the target to 750-1,000Wh.
Solar panel output varies significantly by location and season. A 400W system generates 1,200-2,000 watt-hours on sunny days but only 400-600Wh during overcast conditions. In the Southwest, expect near-maximum production year-round. Pacific Northwest installations see 50% less winter generation than summer. Most beginners find 200-400W adequate for essential needs, while full-timers typically install 600-800W to support residential-style living.
Battery capacity determines how long you can run without sun. Size your battery bank to store at least 1.5-2 days of typical consumption. For that 800Wh daily usage example, you’d want 1,600Wh minimum battery capacity—roughly 130Ah at 12V. Remember that lead-acid batteries should only discharge to 50%, effectively halving their rated capacity. Lithium batteries provide 80-90% usable capacity, making a 100Ah lithium battery equivalent to 200Ah of lead-acid.
Choosing Between Portable and Fixed Installation
The portability decision shapes your entire solar experience.
Roof-mounted systems operate automatically whenever sunlight hits them. Installation requires 4-6 hours of careful work including drilling, sealing, and wire routing. Once installed, they’re maintenance-free aside from occasional cleaning. The panels add 40-80 pounds to your roof load and create some wind resistance. You’ll sacrifice the ability to park in shade, but gain theft-proof, always-ready power generation. These systems excel for frequent travelers who value convenience over maximum efficiency.
Portable panels demand daily attention but offer unmatched flexibility. Park your RV in cool shade while positioning panels in direct sunlight using 25-30 foot extension cables. Adjust panel angles throughout the day to boost production by 25-40% compared to flat mounting. Setup takes 5-10 minutes; storage requires dedicated space for panels and stands. Security becomes a concern—even cabled panels can disappear. Weather also poses risks, requiring you to stow panels during storms.
Many experienced RVers adopt hybrid approaches. A modest 200W roof system handles baseline needs automatically while 200W of portable panels provide boost capacity for extended stays. This combination delivers convenience for overnight stops and flexibility for longer boondocking adventures.
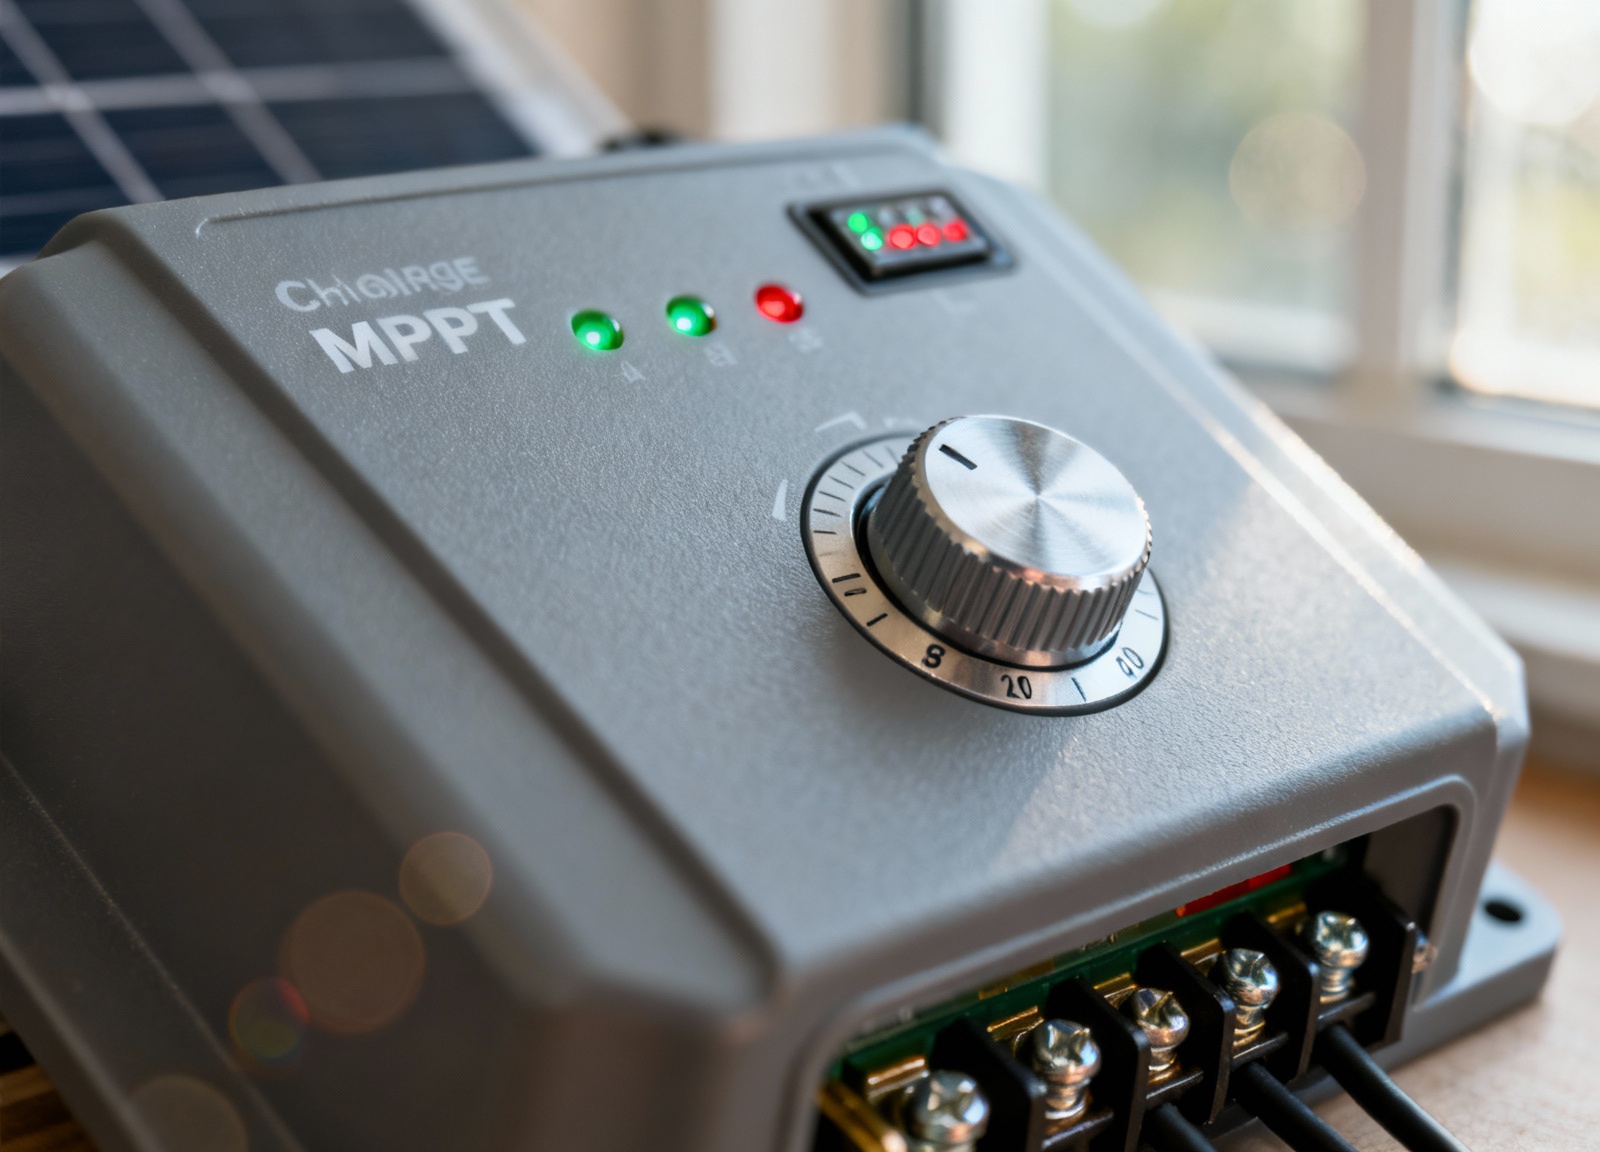
Understanding Charge Controllers and Inverters
Your charge controller acts as the brain of the solar system, regulating power flow from panels to batteries.
MPPT (Maximum Power Point Tracking) controllers cost more but deliver superior performance. They convert excess voltage into additional charging current, extracting maximum power from your panels. This efficiency advantage reaches 30% during winter months when panels produce higher voltage. MPPT controllers also handle mismatched panel configurations and longer wire runs better than PWM alternatives. For systems over 200W, the efficiency gains justify the $100-200 premium.
PWM (Pulse Width Modulation) controllers work adequately for small systems under 200W where panels and batteries share the same voltage. They’re simple, reliable, and affordable. However, they waste any voltage above battery level, significantly reducing total harvest. A 100W panel might only deliver 75W through a PWM controller on cool mornings when panel voltage peaks.
Size your controller with 25% overhead above maximum panel current. A 400W array on a 12V system produces roughly 33A peak, requiring at least a 40A controller. Verify compatibility with your battery chemistry—lithium batteries need specific charging profiles that older controllers lack. Modern smart controllers offer Bluetooth connectivity for monitoring and adjustment via smartphone apps.
Inverter selection depends on your AC power needs. Pure sine wave inverters cost 50-100% more than modified sine wave models but safely power all electronics including sensitive medical equipment, variable-speed tools, and devices with transformers. Modified sine wave inverters handle basic loads like phone chargers and LED lights but may cause buzzing in audio equipment or damage certain appliances. Size your inverter for simultaneous loads plus 20% headroom—a 1,000W inverter manages most RV needs except air conditioning, microwaves, or electric cooktops.
Installation Essentials
Proper installation ensures safety, efficiency, and longevity.
Wiring and Electrical Components
Wire gauge critically affects system performance. Undersized wiring causes voltage drop, wasting precious power as heat. Use this guide for 12V systems: 10AWG handles 30A for runs under 8 feet, 8AWG for 8-13 feet, and 6AWG beyond that. Panel-to-controller runs often span 20-30 feet in larger RVs, requiring heavier gauge than expected. Battery-to-controller connections carry higher current over shorter distances—use 4AWG or 6AWG depending on system size.
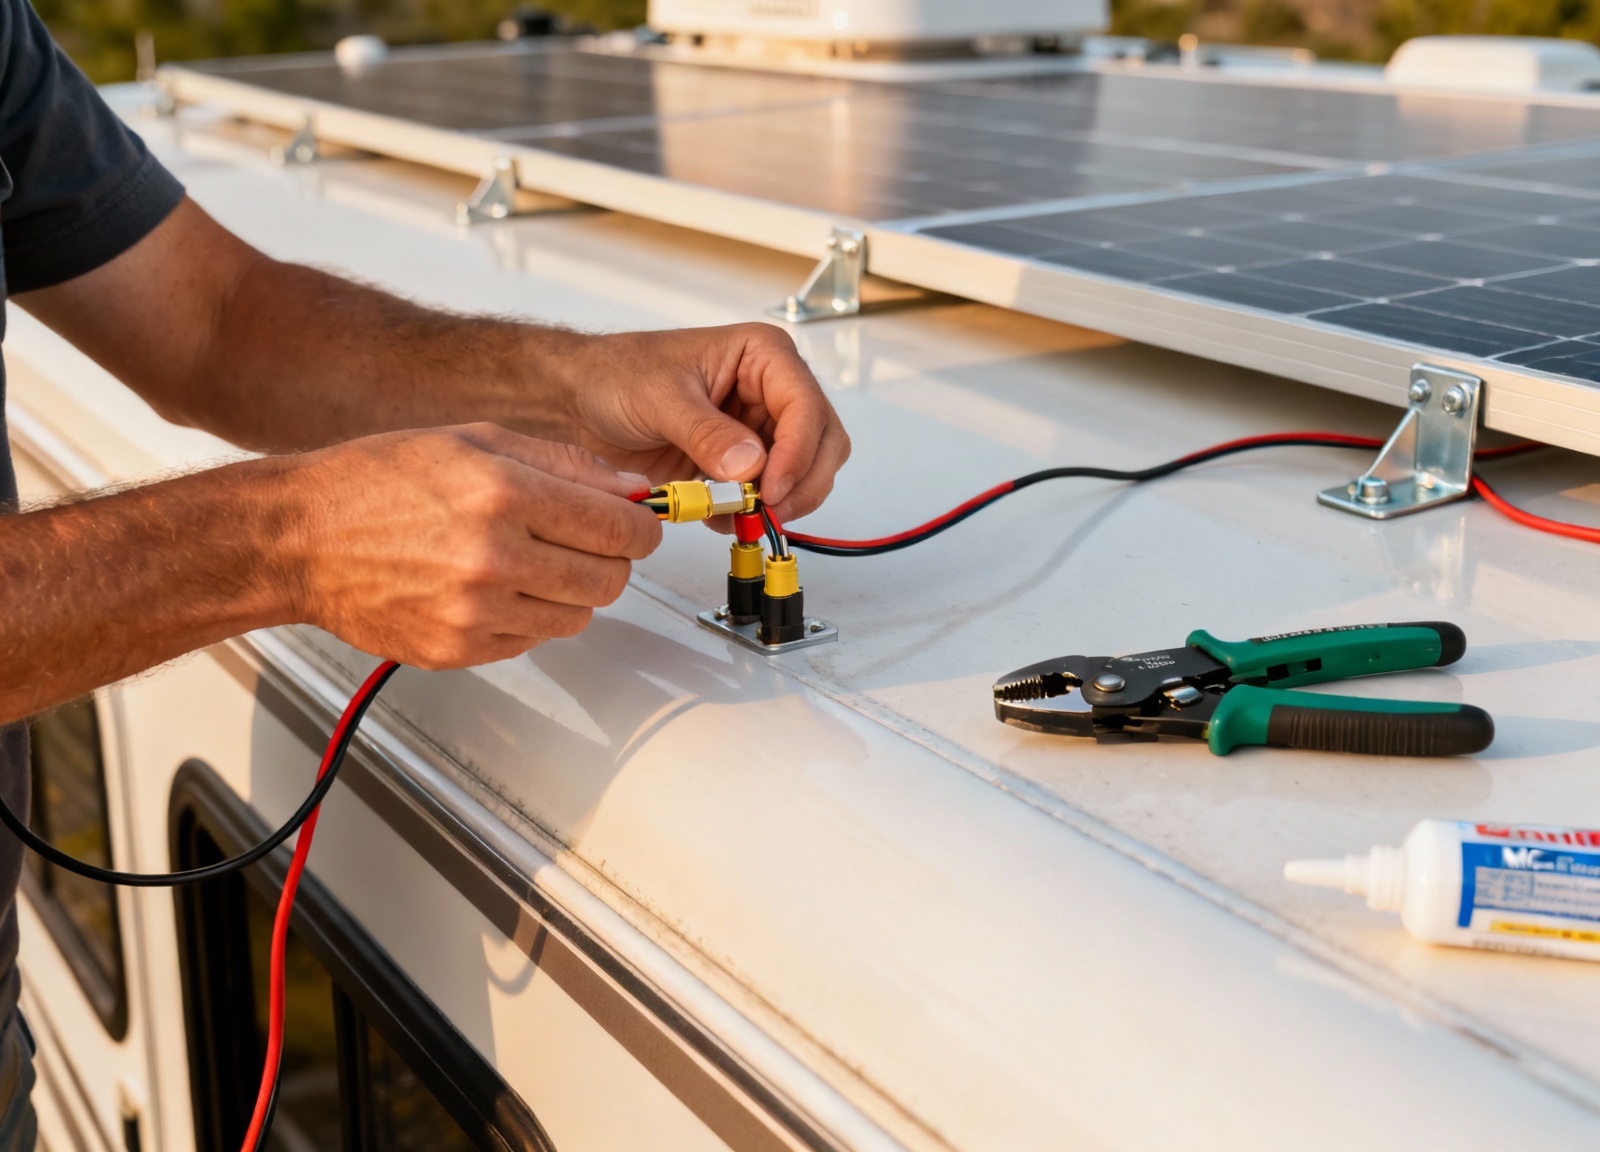
Every connection point needs protection. Install appropriate fuses or DC circuit breakers within 18 inches of battery positive terminals. Add inline fuses between panels and controller for additional protection. MC4 connectors provide weatherproof panel connections but require special crimping tools for proper installation. Use marine-grade heat-shrink terminals for battery connections, avoiding automotive-style crimp connectors that corrode in RV environments.
Mounting Strategies
Roof installations demand careful planning.
Map your roof layout first, identifying obstacles like air conditioners, vents, and antennas that create shadows. Even small shadows dramatically reduce panel output—a shadow covering just 10% of a panel can cut production by 50%. Mount panels at least 3 inches from roof edges to prevent wind lift. Use manufacturer-supplied Z-brackets with 3M VHB tape plus Dicor lap sealant for secure, leak-free attachment. Some installers prefer drilling and bolting for absolute security, but this requires meticulous sealing.
Cable entry challenges every installer. Ideal solutions use existing openings like refrigerator vents or cable TV ports. Purpose-built solar entry ports provide the cleanest installation but require cutting a hole in your roof. Whatever method you choose, use self-leveling lap sealant generously. Route interior wiring along existing cable runs when possible, securing every 18 inches to prevent damage from vibration.
Ground-deployed portable systems need different considerations. Tilt mounts or adjustable stands maximize production but must withstand wind gusts. Weight bags or stakes secure lightweight panels. Position panels visible from RV windows for security monitoring. Use heavy-duty extension cables rated for outdoor use, keeping connections elevated off the ground to prevent water intrusion.
Safety Considerations and Common Mistakes
Solar installations involve both electrical and structural risks requiring careful attention.
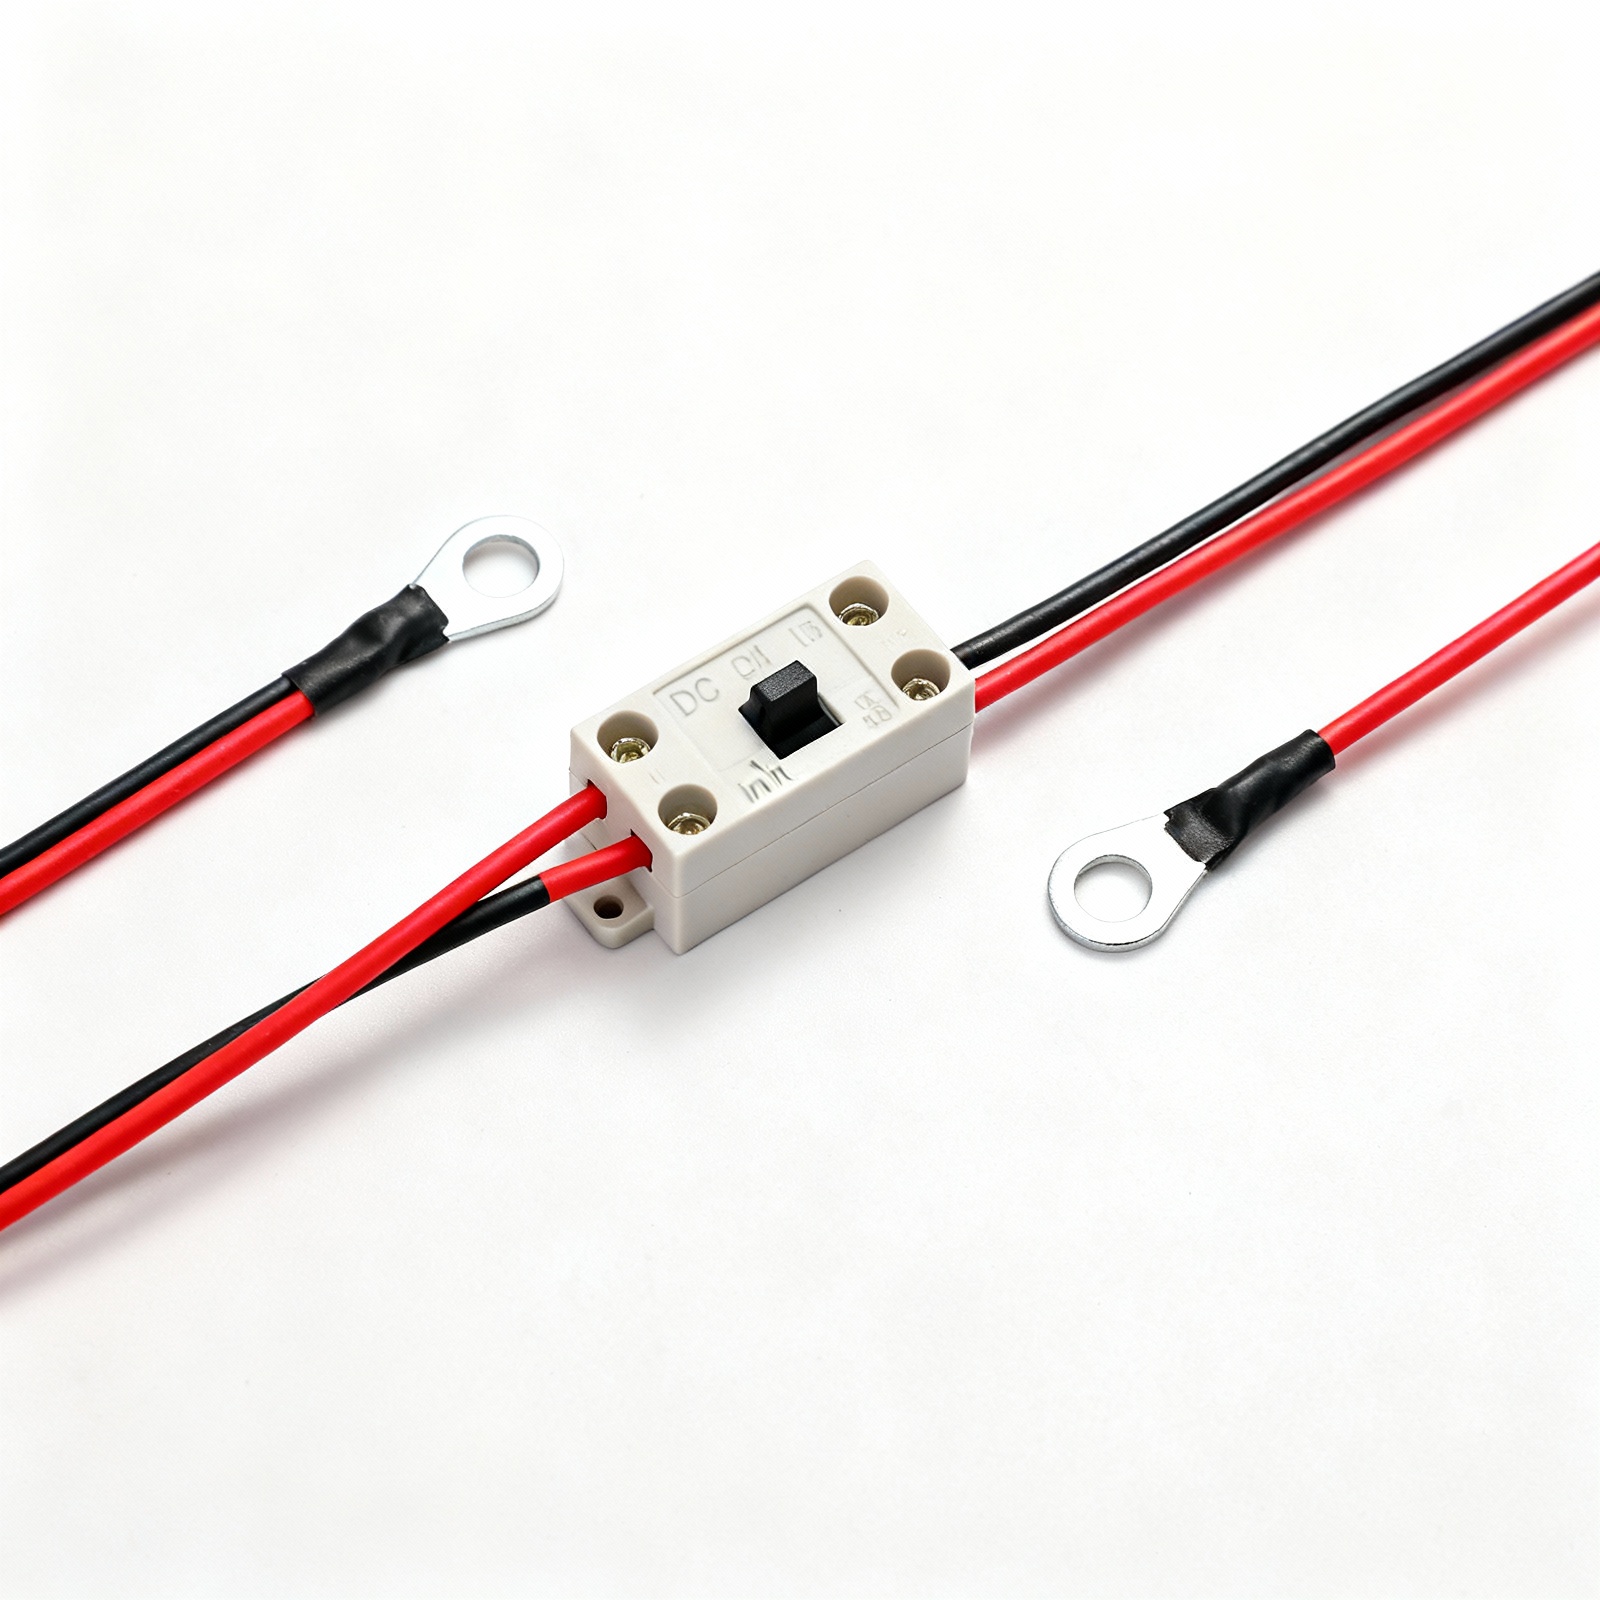
Never connect panels directly to batteries. Unregulated charging destroys batteries and creates fire hazards.
Polarity mistakes destroy equipment instantly. Double-check every connection before applying power. Red goes to positive, black to negative, without exception. Modern charge controllers include reverse polarity protection, but inverters and other components may not. Use a multimeter to verify correct voltage and polarity at each stage of installation.
Mixing battery types or ages creates dangerous imbalances. Different batteries charge at different rates, causing some to overcharge while others remain depleted. This imbalance shortens lifespan and can cause thermal runaway in extreme cases. When expanding battery banks, either add identical batteries purchased simultaneously or replace the entire bank.
Shading kills production more than any other factor. RVers often discover their perfectly positioned panels become shaded by their own air conditioner in afternoon sun. Even partial shade from a tree branch or antenna can cut output dramatically. Modern panels include bypass diodes to minimize shade impact, but prevention beats mitigation.
Inadequate ventilation around batteries and inverters causes premature failure. Batteries generate hydrogen gas during charging—explosive in confined spaces. Inverters produce significant heat under load. Ensure adequate airflow around all components, especially in small compartments. Install battery box vents leading outside for sealed installations.
Maintenance and Troubleshooting
Regular maintenance prevents small issues from becoming expensive failures.
Routine Care
Clean panels monthly using water and a soft brush or squeegee. Morning cleaning when panels are cool prevents thermal shock. Avoid harsh chemicals that damage anti-reflective coatings. Even light dust accumulation reduces output by 5-10%, while bird droppings or leaves can cut production in half.
Inspect roof sealants every three months, especially after temperature extremes. Lap sealant cracks and separates over time, creating leak paths. Small cracks can be patched, but deteriorated sealant requires complete removal and reapplication. Check mounting hardware for looseness—vibration gradually works fasteners loose.
Electrical connections need quarterly inspection. Look for corrosion, especially on battery terminals. Clean connections with baking soda solution, then protect with dielectric grease or terminal spray. Tighten all connections—resistance from loose connections generates heat and wastes power.
Diagnosing Problems
Systematic troubleshooting identifies most issues quickly.
Start with the obvious: check all fuses and breakers first. A blown fuse usually indicates a wiring problem or component failure downstream. Next, verify panel voltage at the controller input—should read 18-22V for 12V panels in sunlight. Low voltage suggests panel damage, wiring issues, or heavy shading.
Controller displays provide valuable diagnostics. Error codes indicate specific problems like over-temperature, over-voltage, or battery faults. Many controllers log historical data showing production trends. Sudden drops indicate acute problems while gradual decline suggests aging components or accumulated dirt.
Battery problems manifest as inability to hold charge or premature voltage drop under load. Test batteries individually when possible—one bad battery can drag down an entire bank. Check specific gravity in flooded batteries or use a battery analyzer for sealed types. Consistently low morning voltage indicates insufficient solar capacity for your usage patterns.
Cost Analysis and Budgeting
Understanding total system cost helps set realistic expectations.
Complete 400W kits from reputable manufacturers cost $500-1,000. Budget brands offer similar specifications for 20-30% less but often lack customer support and use lower-quality components. Premium brands like Victron or Outback cost 50-100% more but deliver superior efficiency and reliability.
Batteries represent the largest variable cost. Four 100Ah AGM batteries cost $800-1,200 and last 3-5 years with proper care. Two 100Ah lithium batteries cost $1,800-2,400 but last 10+ years while providing equivalent usable capacity. The higher upfront cost of lithium pays off through longer lifespan and better performance.
Installation adds $500-1,500 if hiring professionals. DIY installation saves money but risks voiding roof warranties and insurance coverage if problems arise. Many RVers compromise by installing portable systems themselves while hiring professionals for roof-mounted installations.
Calculate return on investment by comparing solar costs against alternatives. Campground fees average $30-50 nightly. A $2,000 solar system pays for itself after 40-65 nights of boondocking. Generator users save $5-15 daily in fuel plus eliminate maintenance costs and noise complaints. Most active RVers recover their investment within 12-18 months.
Recommended Gear
- Victron SmartSolar MPPT 100/30 — Best controller for custom builds with Bluetooth monitoring View on Amazon
- Renogy 100W Monocrystalline Panel — Reliable panels for expanding existing systems View on Amazon
- Battle Born 100Ah LiFePO4 — Premium lithium battery with integrated BMS View on Amazon
FAQs
- Can a 200W solar panel run a 12V refrigerator? Yes, a 200W panel generates 600-1,000Wh daily, enough for most 12V refrigerators drawing 40-60W continuously, though adequate battery storage is essential for nighttime operation.
- How many solar panels do I need for RV air conditioning? Air conditioning requires 1,500-2,000W of panels, 400-600Ah of lithium batteries, and a 3,000W inverter—most find generators more practical for cooling needs.
- Should beginners choose portable or roof-mounted panels? Roof-mounted systems suit frequent travelers wanting automatic operation, while portable panels offer flexibility for occasional campers avoiding permanent modifications.
- What’s included in complete RV solar kits? Quality kits include panels, MPPT controller, mounting hardware, MC4 connectors, and appropriate wiring—batteries and inverters are sold separately.