

TL;DR: Quick Summary
- Takeaway 1: Follow each step carefully to successfully complete How to do an RV energy audit step by step.
- Takeaway 2: Gather all tools and materials before starting.
- Takeaway 3: Test your work after each major step to catch issues early.
Introduction
Step-by-Step RV Energy Audit
- Inventory every electrical device in your RV.
Walk through the entire rig—cab, living area, bedroom, basement, roof—and list every device that uses electricity. Include obvious items like the fridge, microwave, and lights, but also hunt for hidden loads: the LP gas detector hard-wired behind a panel, the CO alarm, the stereo head unit that never fully powers down, the water heater control board, the slide-out motor, and the powered antenna booster. Open every cabinet and look behind every panel cover. If it has a wire, it goes on the list.
12 V DC Appliances vs. 120 V AC Appliances
Separate your list into two groups. 12 V DC devices (lights, vent fans, water pump, USB outlets, 12 V fridge) draw directly from the battery bank. 120 V AC devices (microwave, residential fridge, laptop charger, coffee maker) require an inverter, which introduces efficiency losses you must account for later. Mark each device clearly in your spreadsheet.
Identifying Hidden Power Draws and Parasitic Loads
Parasitic loads draw power 24/7 even when you are not actively using them. Common culprits: LP/CO detectors (1–2 W each, 24 h = 24–48 Wh/day), stereo memory circuits (0.5–3 W), inverter no-load draw (10–25 W if left on), and refrigerator control boards.
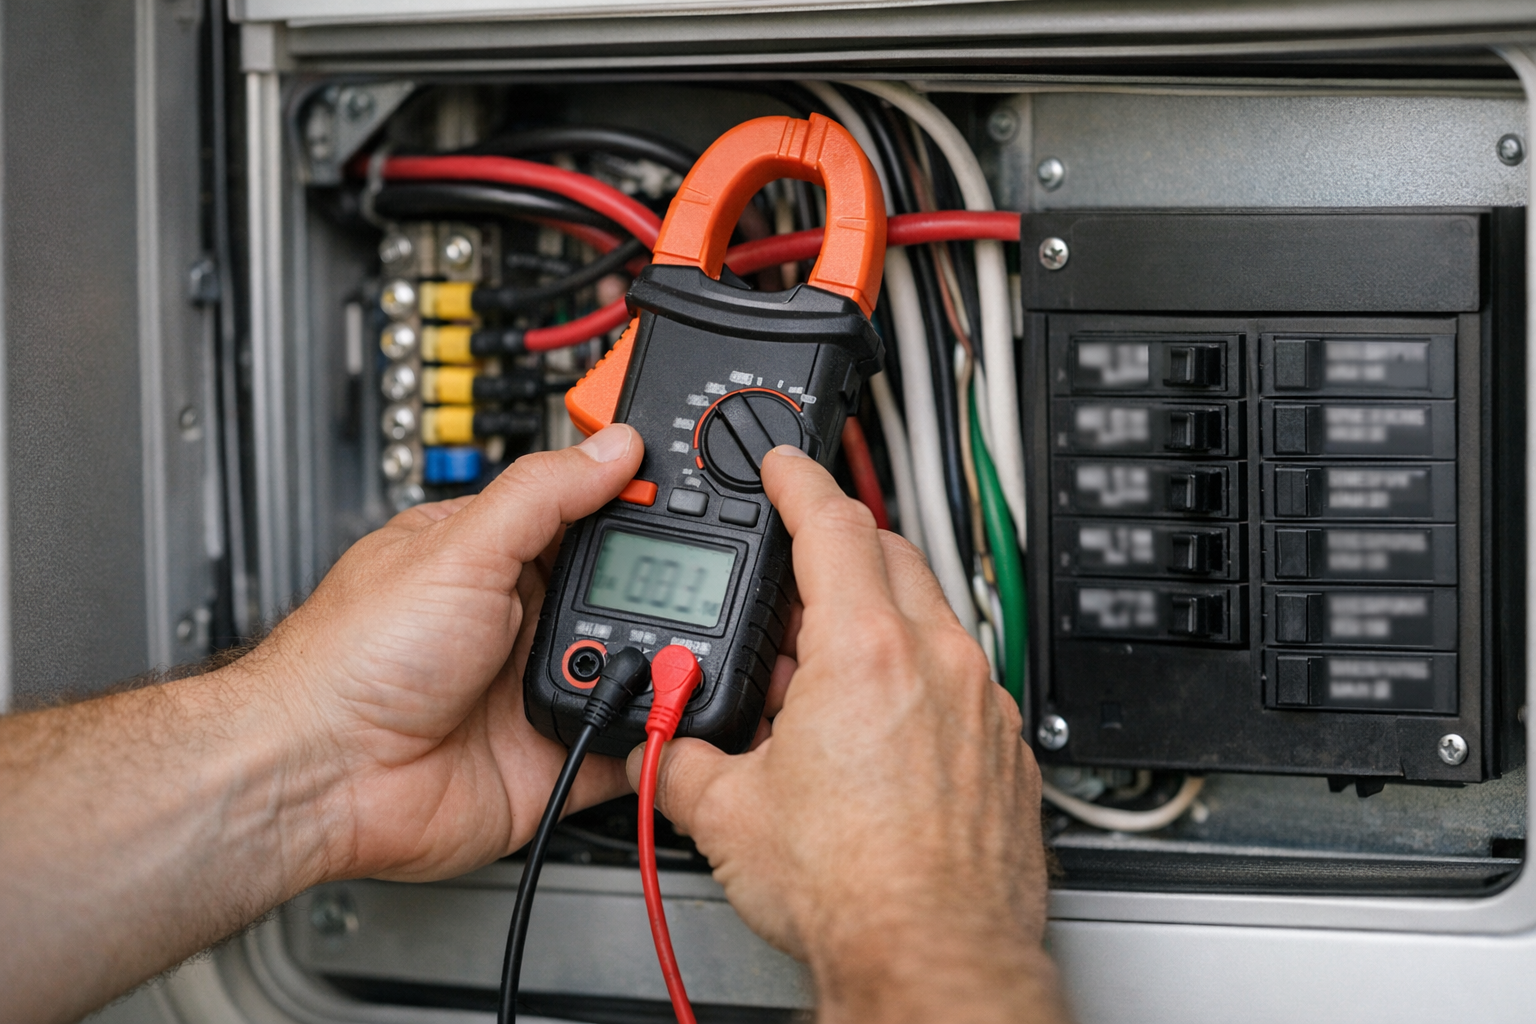
A DC clamp meter on the main battery positive cable with everything “off” reveals the total parasitic draw instantly. Anything above 0.5 A (6 W) at 12 V deserves investigation.
- Record the wattage and amperage for each device.
Reading Nameplates, Manuals, and Using a Meter
Check the label on the back or bottom of each appliance for its rated watts or amps. If only amps are listed, multiply by the operating voltage to get watts (W = V × A). For a 12 V water pump rated at 7.5 A, that is 12 × 7.5 = 90 W. For a 120 V microwave rated at 10 A, that is 120 × 10 = 1,200 W.
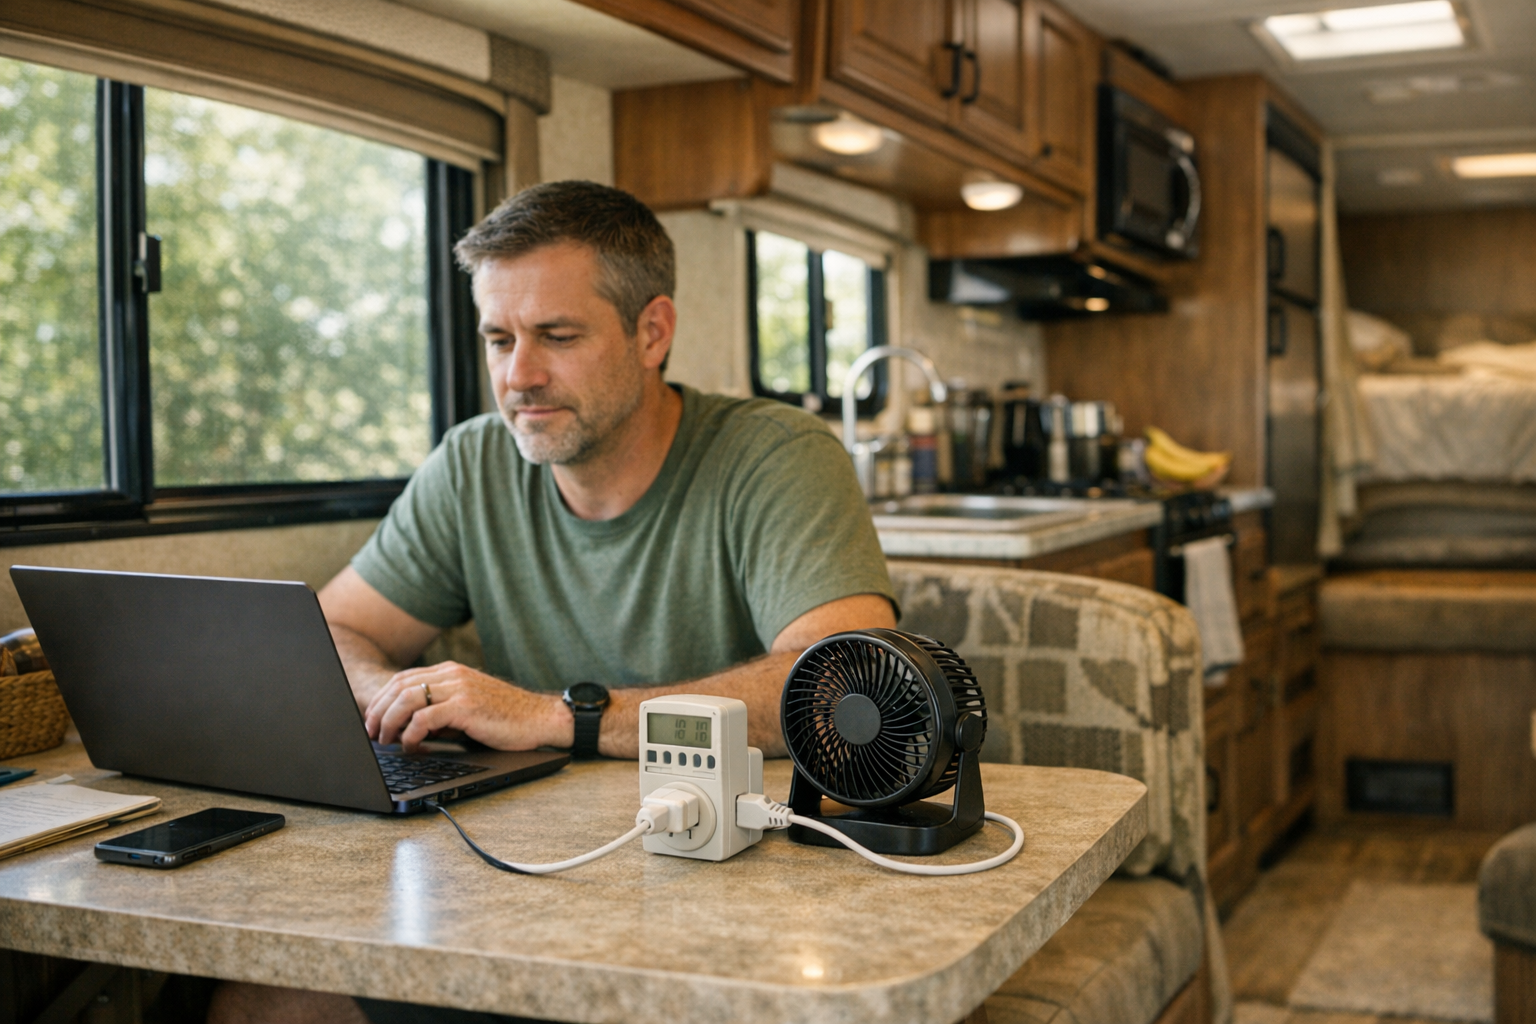
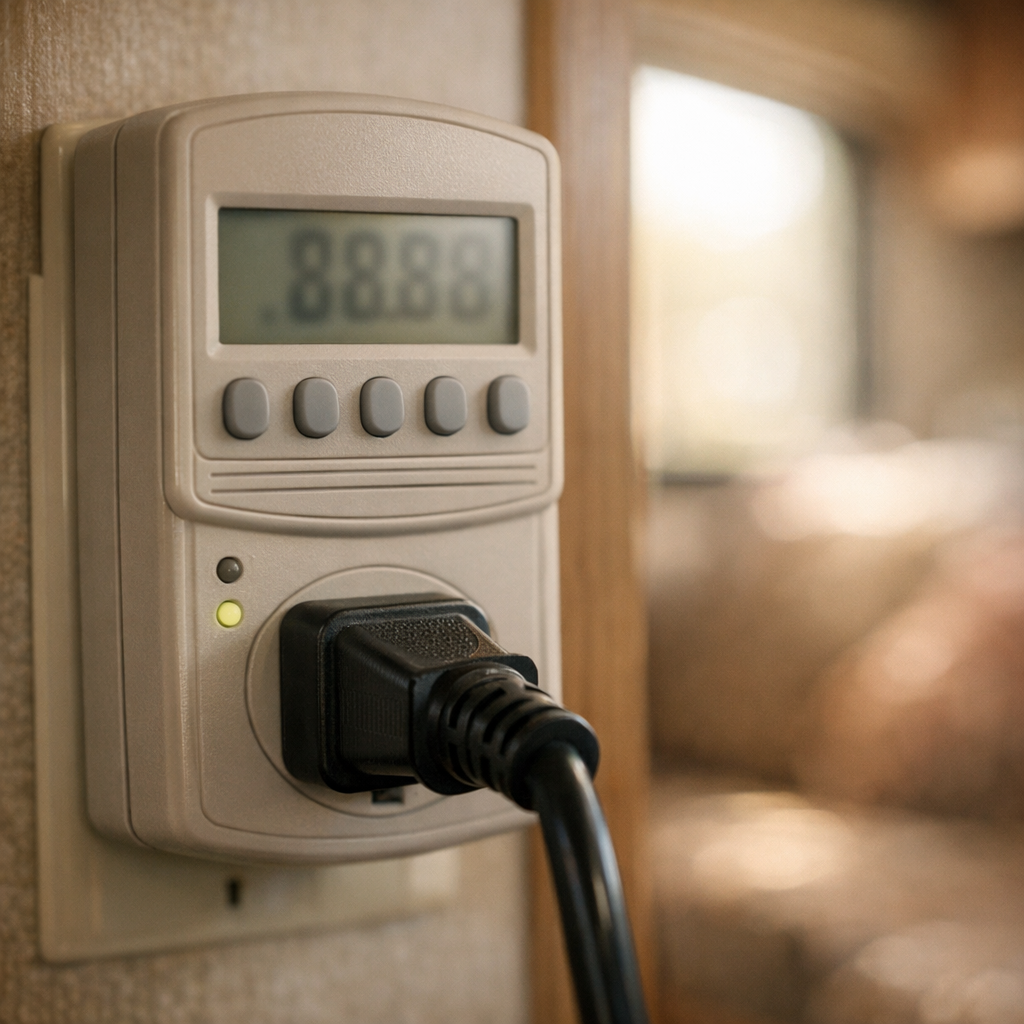
Nameplate ratings represent maximum draw. Real-world consumption is often lower. A Kill-A-Watt meter on AC devices or a DC clamp meter on 12 V devices gives you actual operating watts. If you cannot measure, use the nameplate value—it provides a safe overestimate.
Enter the wattage in your spreadsheet’s “Watts” column. If a device cycles on and off (like a compressor fridge), note the running wattage and the estimated duty cycle percentage in the “Notes” column. You will use the duty cycle in the next step.
- Estimate daily hours of use for each device.
This is the most subjective step and the one where most errors creep in. Be honest about your habits. Do you really watch TV for four hours, or is it closer to two? Does the water pump run for 20 minutes total per day, or 10?
Differentiating Boondocking Use from Hookup Use
Always audit for your worst-case scenario—typically off-grid boondocking with no shore power. When you are plugged in at a campground, energy is essentially unlimited. When you are dry camping in the desert, every watt-hour counts.
If you boondock in summer, factor in longer fridge duty cycles (40–50 %) due to higher ambient temperatures. If you boondock in winter, factor in shorter solar production days and higher furnace blower usage.
For cycling devices, convert the duty cycle into equivalent hours. A compressor fridge that draws 50 W and runs 40 % of the time over 24 hours has an effective run-time of 24 × 0.40 = 9.6 hours.
- Calculate total daily energy consumption in watt-hours.
The Core Formula: Watts × Hours = Watt-Hours (Wh)
For each device, multiply its wattage by its estimated daily hours of use. Enter the result in the “Wh/Day” column. Then sum the entire column. This total is your gross daily energy consumption—the most important number in the entire audit.
Wh/day (per device) = Watts × Hours/day
Total Daily Consumption = Σ (all device Wh/day values)
Keep 12 V DC totals and 120 V AC totals separate for now. You will merge them in the next step after applying inverter losses to the AC loads.
- Account for inverter losses and system inefficiencies.
Every time your inverter converts 12 V DC battery power into 120 V AC, it loses energy as heat. Typical pure sine wave inverters operate at 85–90 % efficiency under load, meaning 10–15 % of the energy is wasted. The inverter also consumes 10–25 W just being turned on (no-load or idle draw), even if no AC device is running.
Adjusted AC Wh/day = AC Wh/day × 1.15 (for a 15 % loss factor)
Inverter idle cost = Idle watts × hours inverter is on per day
Total Adjusted Daily Consumption = DC Wh/day + Adjusted AC Wh/day + Inverter idle Wh/day
If you leave your inverter on 24/7 and it idles at 15 W, that alone adds 360 Wh/day—equivalent to running 36 LED lights for an hour each. Many experienced boondockers switch the inverter off when not needed or use a remote panel to toggle it. RV inverter sizing guide
Also add a 5–10 % general wiring-loss buffer to account for voltage drop across long cable runs, fuse resistance, and connector losses. A conservative total multiplier for the entire system is 1.20 (inverter losses + wiring losses combined) applied to your AC loads, plus 1.05 applied to your DC loads.
- Size your battery bank based on audit results.
Your adjusted total daily consumption in watt-hours tells you how large your battery bank needs to be. Convert watt-hours to amp-hours at your nominal battery voltage (usually 12 V)
Required Ah = Total Adjusted Wh/day ÷ Battery Voltage
Example: 2,760 Wh ÷ 12 V = 230 Ah
You cannot discharge a battery to 0 % and expect it to survive. Factor in depth of discharge (DoD)
Lithium vs. AGM Depth-of-Discharge Considerations
Battery Type Recommended Max DoD Required Bank Size for 230 Ah Usable Approx. Weight Cycle Life at Stated DoD LiFePO4 (Lithium) 80–90 % 230 ÷ 0.80 = 288 Ah (≈ 300 Ah) ~75–90 lbs 3,000–5,000 cycles AGM (Lead-Acid) 50 % 230 ÷ 0.50 = 460 Ah ~280–320 lbs 500–800 cycles For one day of autonomy (no solar input), a lithium bank of 300 Ah at 12 V covers the example above. For two days of autonomy—useful in cloudy weather—double it to 600 Ah. AGM requires nearly twice the rated capacity for the same usable energy, plus it weighs roughly three to four times as much. The audit quantifies the exact trade-off between battery chemistry, weight, cost, and days of autonomy.
If your audit reveals daily consumption above 4,000 Wh, consider whether a 24 V or 48 V system makes more sense. Higher voltage means lower current for the same power, which allows smaller wire gauges and reduces losses. RV solar cable sizing guide
- Match solar panel input to your daily demand.
Solar panels need to replenish what you consume each day, plus losses through the charge controller and wiring
Required Solar Watts = Total Adjusted Wh/day ÷ (Peak Sun Hours × Charge Controller Efficiency)
Example: 2,760 Wh ÷ (5 h × 0.85) = 2,760 ÷ 4.25 ≈ 650 W of solar panels
Peak sun hours vary by location and season. The US Southwest averages 5–6 h in summer but drops to 3–4 h in winter. The Pacific Northwest may see only 2–3 h in December. Use a conservative number for the season and region where you boondock most. An MPPT charge controller guide typically operates at 92–98 % efficiency; using 85 % as a combined system factor (controller + wiring) provides a safe margin. MPPT charge controller guide
If roof space is limited, supplement with a portable ground-deployed panel or accept that a generator will cover the gap on low-sun days.
- Review, adjust, and optimize your energy budget.
Look at your completed spreadsheet and identify the top three energy consumers. In most RVs, these are the refrigerator, the inverter (idle + loaded), and climate control (furnace blower or A/C). Ask yourself
- Can I replace a 120 V residential fridge with a high-efficiency 12 V compressor fridge and eliminate inverter losses entirely?
- Can I switch to a thermoelectric cooler or use propane for cooling?
- Can I use a timer or smart switch to turn the inverter off at night?
- Can I replace incandescent or halogen bulbs with LEDs? (A single halogen puck light draws 20 W; an LED replacement draws 3 W.)
- Can I charge my laptop from a 12 V DC-DC charger instead of through the inverter?
Tips to Reduce RV Energy Consumption
Small changes compound. Replacing six halogen lights with LEDs saves roughly 100 Wh/day. Turning off the inverter for 12 hours overnight saves 120–300 Wh/day. Using a 12 V DC laptop charger instead of the AC brick saves another 20–40 Wh/day. Together, these tweaks can cut total consumption by 10–20 %, which directly translates to a smaller—and cheaper—battery bank and solar array.
After making adjustments, re-run the audit. Your optimized total daily consumption is the final number you use for purchasing decisions.
Quick Reference
Tools and Supplies You Need Before Starting
- Solar panels (rigid or flexible, sized for your power needs)
- Mounting brackets or adhesive mounts
- Butyl tape and self-leveling lap sealant (e.g., Dicor)
- Cable entry gland or weatherproof junction box
- MC4 branch connectors (if paralleling panels)
- PV wire (8-10 AWG typical, UV-rated for outdoor runs)
- Inline fuse or breaker for PV positive line
- Battery fuse/breaker (sized for system current)
- Ring terminals and heat-shrink connectors
- Ratcheting crimper and wire strippers
- Multimeter for voltage/continuity checks
- Drill with appropriate bits for cable entry
- Split loom or conduit for cable protection
- UV-resistant zip ties and adhesive cable clips
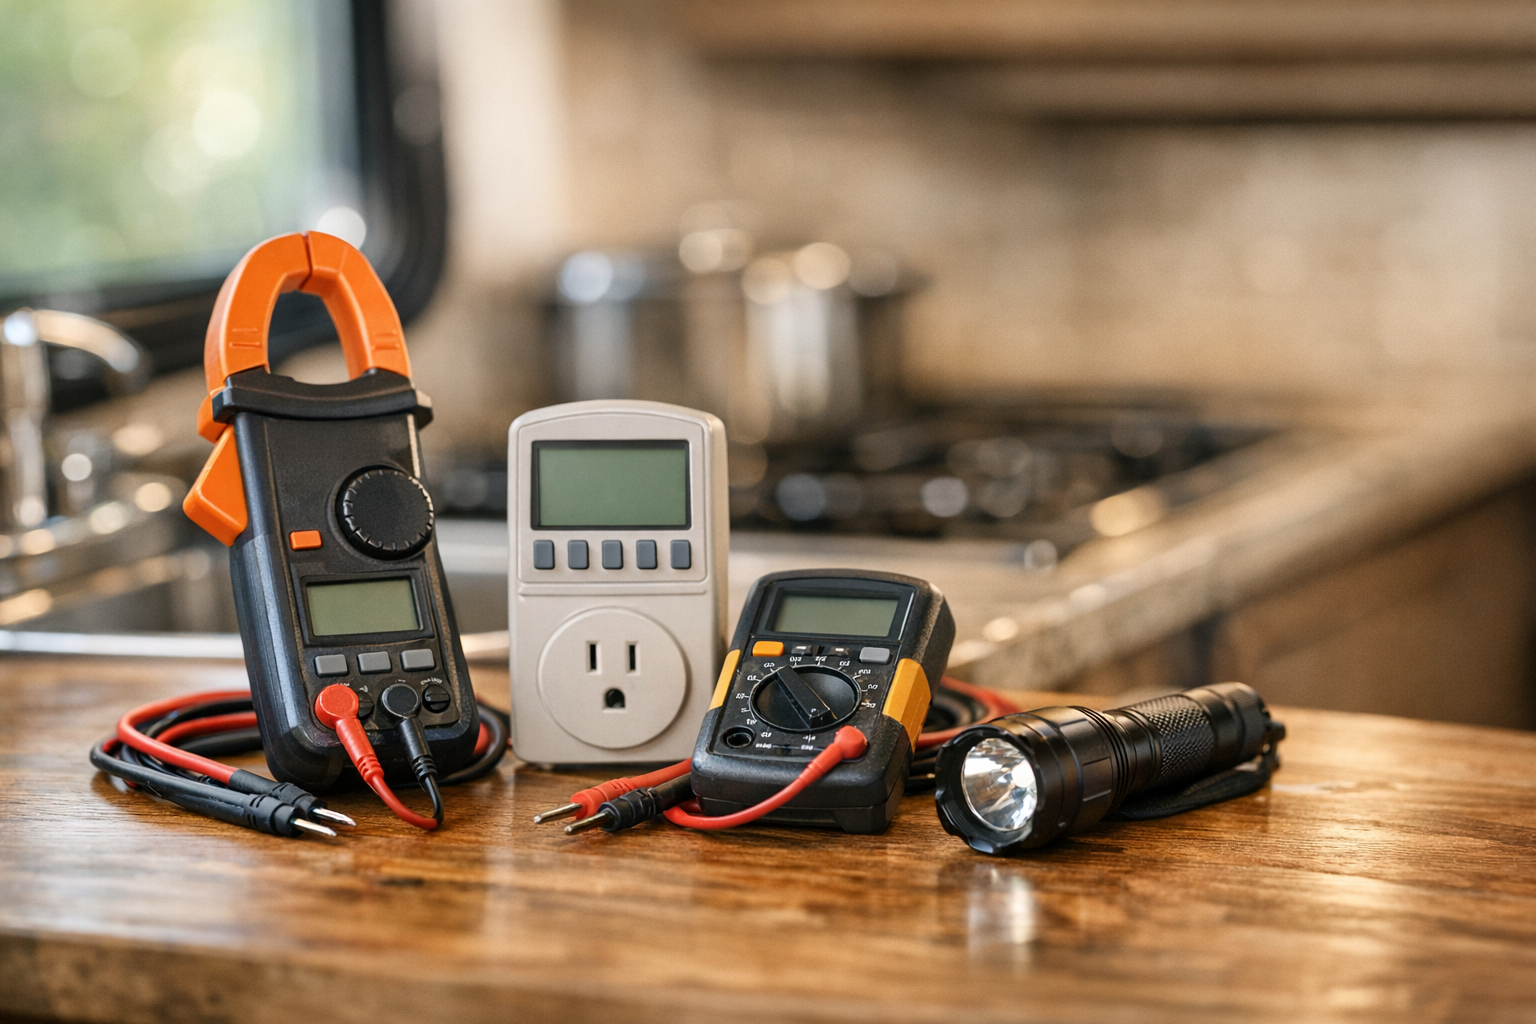
Energy Monitors, Kill-A-Watt Meters, and Clamp Meters
Key Data & Reference Table
The table below summarizes typical wattage ranges, common RV system parameters, and efficiency factors you will reference throughout the audit. Bookmark it.
| Parameter | Typical Value / Range | Notes |
|---|---|---|
| LED light (per fixture) | 3–10 W | 12 V DC; most RVs have 6–12 fixtures |
| Vent fan (MaxxAir / Fantastic) | 3–40 W | Low speed ≈ 3 W; high speed ≈ 36–40 W |
| 12 V compressor fridge | 40–60 W (running); 1–3 W (standby) | Duty cycle ~30–50 % depending on ambient temp |
| Residential fridge (120 V AC) | 100–180 W (running) | Duty cycle ~30–40 %; requires inverter |
| Water pump | 60–100 W | 12 V DC; runs intermittently, ~10–20 min/day |
| Laptop charger | 45–90 W | 120 V AC; typical charge time 2–3 h/day |
| Phone charger | 5–20 W | USB or 12 V; ~2 h/day |
| TV (24–32 in.) | 30–60 W | 12 V DC models available; 120 V models need inverter |
| Microwave (small) | 900–1,200 W | 120 V AC; short bursts, ~10–15 min/day |
| Hair dryer | 1,000–1,800 W | 120 V AC; very high draw, ~5–10 min/day |
| Rooftop A/C unit | 1,200–1,800 W (running); 2,500–3,000 W (startup) | 120 V AC; rarely practical on solar alone |
| LP gas detector | 1–2 W | 12 V DC; runs 24/7 — parasitic load |
| CO detector | 0.5–1 W | 12 V DC; runs 24/7 |
| Stereo head unit (standby) | 0.5–3 W | 12 V DC; parasitic draw even when “off” |
| Inverter idle / no-load draw | 10–25 W | Varies by brand and size; always-on cost adds up |
| Inverter efficiency | 85–90 % | Multiply AC loads by 1.10–1.15 to account for losses |
| Lithium (LiFePO4) usable DoD | 80–100 % | Most manufacturers recommend 80–90 % max DoD |
| AGM usable DoD | 50 % | Discharging below 50 % significantly shortens cycle life |
| Average peak sun hours (US) | 4–6 h/day | Varies by season and latitude; use conservative estimate |
Worked Example
Below is a concrete RV energy audit for a couple boondocking in a 24-foot travel trailer during summer in the US Southwest (5 peak sun hours). They run a mix of 12 V DC and 120 V AC devices.
Sample RV Energy Audit Calculation Table
| Device | Voltage | Watts | Hours/Day | Wh/Day | Notes |
|---|---|---|---|---|---|
| LED ceiling lights (×8) | 12 V DC | 5 each (40 total) | 4 | 160 | Not all on at once; avg 4 h combined |
| Vent fan (MaxxAir) | 12 V DC | 25 | 10 | 250 | Medium speed; runs most of the day |
| 12 V compressor fridge | 12 V DC | 50 | 10 | 500 | Draws 50 W running; 40 % duty cycle × 24 h ≈ 10 h |
| Water pump | 12 V DC | 90 | 0.25 | 23 | ~15 min total per day |
| LP gas detector | 12 V DC | 1.5 | 24 | 36 | Parasitic; always on |
| CO detector | 12 V DC | 1 | 24 | 24 | Parasitic; always on |
| Stereo (standby) | 12 V DC | 2 | 24 | 48 | Parasitic; memory circuit |
| Phone chargers (×2) | 12 V DC (USB) | 10 each (20 total) | 2 | 40 | Two phones, ~2 h each |
| Laptop charger | 120 V AC | 65 | 3 | 195 | AC device; inverter required |
| TV (32 in.) | 120 V AC | 45 | 3 | 135 | AC device; evening use |
| Coffee maker (drip) | 120 V AC | 900 | 0.17 | 153 | ~10 min brew cycle |
| Hair dryer | 120 V AC | 1,500 | 0.08 | 120 | ~5 min/day |
| Microwave | 120 V AC | 1,100 | 0.17 | 187 | ~10 min/day for reheating |
DC subtotal: 160 + 250 + 500 + 23 + 36 + 24 + 48 + 40 = 1,081 Wh/day
AC subtotal: 195 + 135 + 153 + 120 + 187 = 790 Wh/day
Adjust AC for inverter losses (×1.15): 790 × 1.15 = 909 Wh/day
Inverter idle draw: 15 W × 8 h (inverter on only when needed) = 120 Wh/day
Adjust DC for wiring losses (×1.05): 1,081 × 1.05 = 1,135 Wh/day
Total Adjusted Daily Consumption: 1,135 + 909 + 120 = 2,164 Wh/day
Battery Bank Sizing
Required Ah (12 V): 2,164 Wh ÷ 12 V = 180 Ah usable
Lithium (80 % DoD): 180 ÷ 0.80 = 225 Ah → round up to 300 Ah (standard battery sizes: 100 Ah, 200 Ah, 300 Ah)
AGM (50 % DoD): 180 ÷ 0.50 = 360 Ah → round up to 400 Ah (e.g., 4 × 100 Ah AGM batteries)
A 300 Ah lithium bank provides one full day of autonomy with a 17 % safety margin (300 × 0.80 = 240 Ah usable vs. 180 Ah needed). For two days of cloudy weather without solar, you would need 600 Ah of lithium—a significant cost increase that many boondockers offset with a small portable generator instead.
Solar Array Sizing
What the Numbers Mean
Common RV Energy Audit Mistakes to Avoid
| Mistake | Consequence | How to Avoid It |
|---|---|---|
| Ignoring parasitic loads | Underestimate daily consumption by 50–150 Wh | Measure total draw with everything “off” using a DC clamp meter |
| Using nameplate watts for cycling devices without duty cycle | Overestimate fridge/freezer consumption by 50–60 % | Apply duty cycle: effective hours = 24 h × duty cycle % |
| Forgetting inverter idle draw | Miss 120–600 Wh/day depending on how long inverter stays on | Add inverter idle watts × hours on to your AC subtotal |
| Auditing for campground use instead of boondocking | System undersized for off-grid; batteries die on first dry-camp night | Always audit for worst-case (off-grid, peak summer heat or winter cold) |
| Not re-auditing after adding appliances | New induction cooktop or A/C unit overwhelms existing system | Re-run the spreadsheet every time you change your load profile |
| Using optimistic peak sun hours | Solar array undersized; chronic battery deficit | Use conservative sun-hour data for your typical boondocking region and season |
Safety Considerations
- Disconnect shore power and turn off the inverter before opening any electrical panel. Even 12 V systems can deliver hundreds of amps through a short circuit, causing burns, arc flash, or fire. Remove rings and metal jewelry before working near battery terminals.
- Use properly rated test equipment. A DC clamp meter must be rated for the amperage range of your system (often 100 A+ on the main battery cable). An under-rated meter risks damage and inaccurate readings.
- Never bypass fuses or breakers to measure current. If you need to insert an inline ammeter, de-energize the circuit first, install the meter, then re-energize. Always fuse the positive conductor. RV solar cable sizing guide
- Be cautious with lithium batteries. LiFePO4 cells require a Battery Management System (BMS) to prevent over-discharge, over-charge, and thermal runaway. Verify your BMS is functioning before relying on audit-based discharge limits.
- Ventilate when testing propane-related electrical components. LP detectors and gas valve solenoids are wired into the 12 V system. If you disconnect them for testing, turn propane off at the tank to prevent undetected leaks.
- Label every wire you disconnect. During the audit you may need to isolate circuits to measure individual draws. Photograph and label connections before disconnecting anything to ensure correct reassembly.
Recommended Gear
- Victron SmartSolar MPPT 100/30 — View on Amazon
- Renogy 100W Monocrystalline Panel — View on Amazon
- Battle Born 100Ah LiFePO4 Battery — View on Amazon
Frequently Asked Questions
- Do I need lithium-compatible settings? Ensure your controller supports LiFePO4 profiles and proper voltages.
- What gauge wire should I use for solar? Match wire gauge to amperage and run length; 10 AWG handles 30 A up to about 15 ft.
- Can I install solar panels myself? Yes, with basic tools and safety precautions. Always disconnect batteries first.
- How long do solar panels last on an RV? Quality monocrystalline panels typically last 25+ years with minimal degradation.
As an Amazon Associate, we earn from qualifying purchases. This helps keep SunAmpRV running.