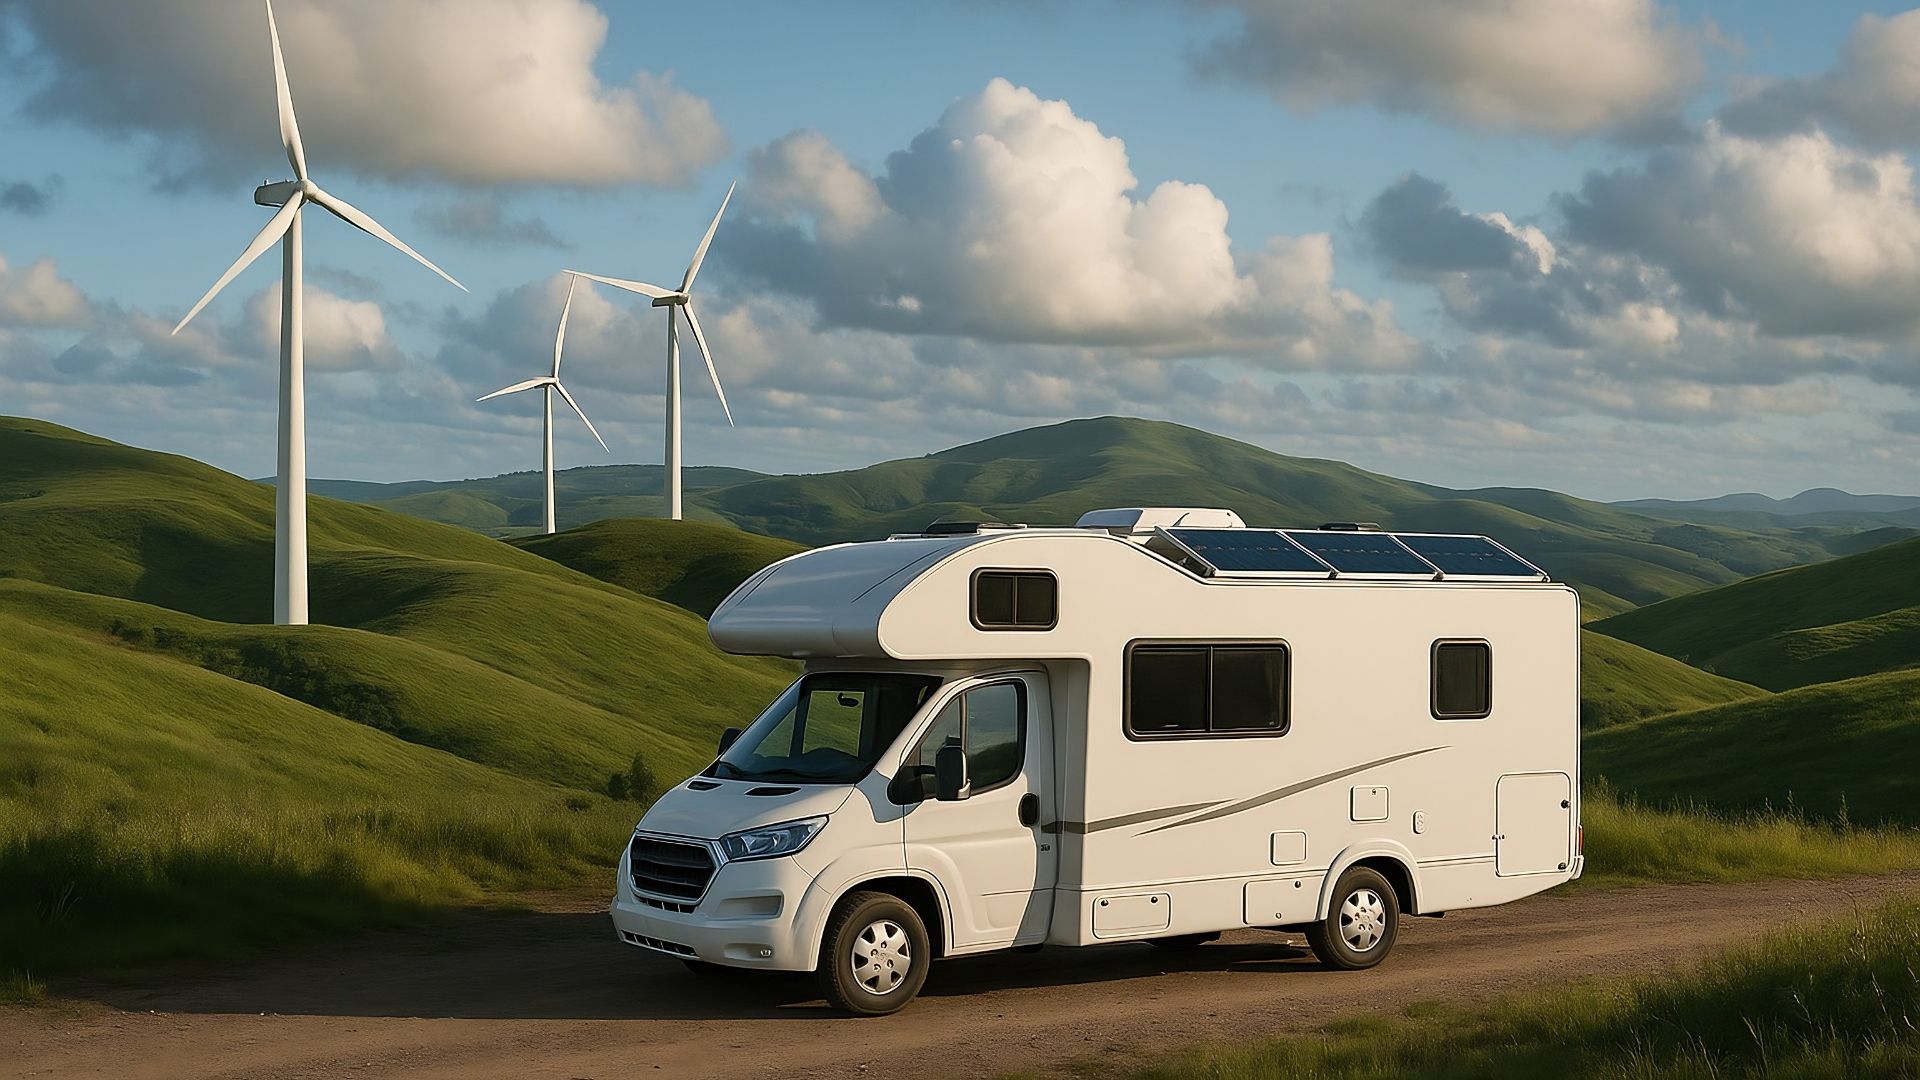
Harnessing solar power for your RV can be a game-changer, providing you with a reliable and eco-friendly energy source while off the grid. However, ensuring that your RV solar system functions optimally requires regular testing and maintenance. One of the most effective tools for this task is a multimeter. In this article, we’ll guide you through how to test your RV solar system using a multimeter, ensuring that your panels, charge controller, and battery are in top shape.
Understanding Your RV Solar System Components
Before diving into the testing process, it’s crucial to understand the main components of your RV solar system:
- Solar Panels: These capture sunlight and convert it into electrical power. Consider investing in high-quality panels like the BougeRV Yuma 200W Flexible Solar Panel.
- Charge Controller: This device regulates the power going into the battery from the solar panels. A reliable option is the Victron SmartSolar MPPT 100V 30A.
- Batteries: These store the energy produced by your solar panels. A popular choice for RVs is the Battle Born 100Ah 12V LiFePO4 Battery.
Essential Tools for Testing
To effectively test your RV solar system, you’ll need the following tools:

- Multimeter: A digital multimeter is essential for measuring voltage, current, and resistance.
- Safety Gear: Wear gloves and safety goggles to protect yourself from potential electrical hazards.
Testing Solar Panels with a Multimeter
Solar panels need to be tested for their open-circuit voltage and short-circuit current. Here’s how:
- Disconnect the Panels: For safety, disconnect the panels from the charge controller.
- Set the Multimeter: Switch your multimeter to the DC voltage setting to measure the open-circuit voltage.
- Measure Voltage: Connect the multimeter leads to the panel terminals. A reading close to the panel’s rated voltage indicates good performance.
- Switch to Current: Change the multimeter to measure DC current for short-circuit current.
- Measure Current: Connect leads to the panel terminals again. The reading should match the panel’s specifications.
Testing the Charge Controller
The charge controller is vital for battery health. Here’s how to check it:
- Reconnect Panels: Ensure the solar panels are connected to the charge controller.
- Measure Input Voltage: Use the multimeter to check the voltage at the input terminals of the charge controller.
- Check Output Voltage: Measure the voltage at the output terminals. It should align with the battery voltage specifications.
Testing the Battery
Ensure your battery is properly storing energy with these steps:

- Disconnect Loads: Ensure no loads are drawing power from the battery.
- Set Multimeter to Voltage: Measure the battery’s voltage using the multimeter.
- Compare Readings: A fully charged 12V battery should read around 12.6V to 12.8V.
- Check Load Voltage: Reconnect loads and measure the voltage again to ensure stability under load.
Installation Steps for RV Solar System
If you’re installing a new solar system, follow these steps:
- Choose a Solar Kit: Consider a comprehensive kit like the Renogy 200W Monocrystalline Solar Kit.
- Mount Panels: Secure the panels on your RV roof, ensuring they’re angled for maximum sun exposure.
- Install Charge Controller: Connect the charge controller between the panels and battery. Use a reputable model like the [Victron SmartSolar MPPT 100V 30A].
- Connect the Battery: Link the battery to the charge controller. A high-quality option is the Battle Born 100Ah 12V LiFePO4 Battery.
- Test the System: Use a multimeter to verify all connections and ensure proper function.
- Consider Portable Options: For additional power, consider portable solutions like the Jackery Explorer 1000 Plus Power Station.
Conclusion
Regularly testing your RV solar system ensures it remains efficient and reliable, providing you with consistent power while traveling. By using a multimeter, you can quickly diagnose and resolve any issues, keeping your adventures powered and eco-friendly. Whether you’re installing a new system or maintaining an existing one, investing in quality components and following these guidelines will enhance your RV experience.
