
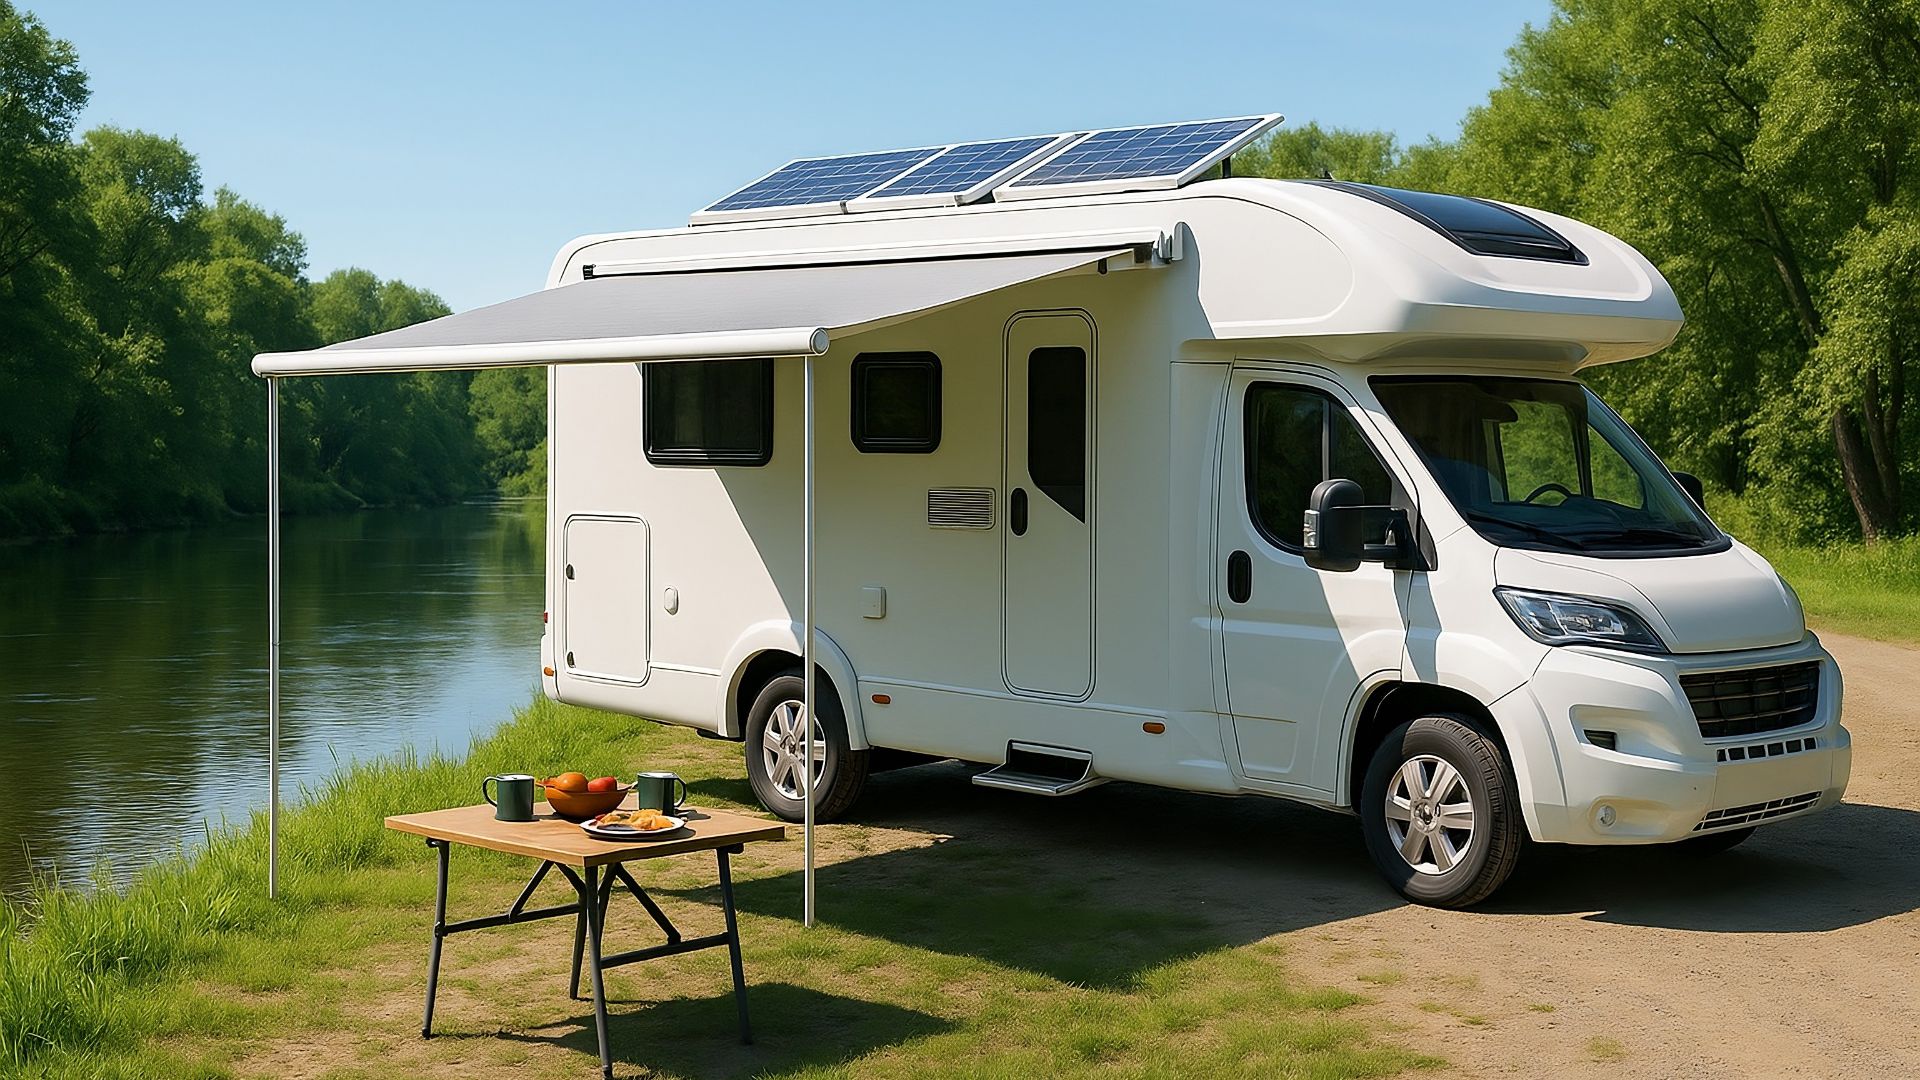
Harnessing solar power while on the road is an excellent way to keep your RV powered up and ready for adventure. One crucial decision in setting up your solar system is choosing between manual and auto solar panel tilt mounts. This choice can significantly impact the efficiency and ease of use of your solar setup.
Why Solar Panel Tilt Matters
Tilting solar panels can greatly enhance their efficiency by capturing more sunlight throughout the day. By adjusting the angle of the panels, you can optimize the amount of solar energy absorbed, which is particularly useful during shorter winter days or in less sunny regions.
Manual vs Auto Tilt Mounts: Pros and Cons
Manual Tilt Mounts
Manual tilt mounts require you to adjust the panels by hand. This can be an economical choice, offering flexibility and control over the angle of your panels.
- Pros:
- Cost-effective
- Simple installation
- Greater control over tilt angle
- Cons:
- Requires physical adjustment
- Can be inconvenient in harsh weather
Auto Tilt Mounts
Auto tilt mounts automatically adjust the angle of the solar panels based on the sun’s position.

- Pros:
- Convenience of automatic adjustment
- Maximizes solar exposure
- Reduces need for manual intervention
- Cons:
- Higher cost
- More complex installation
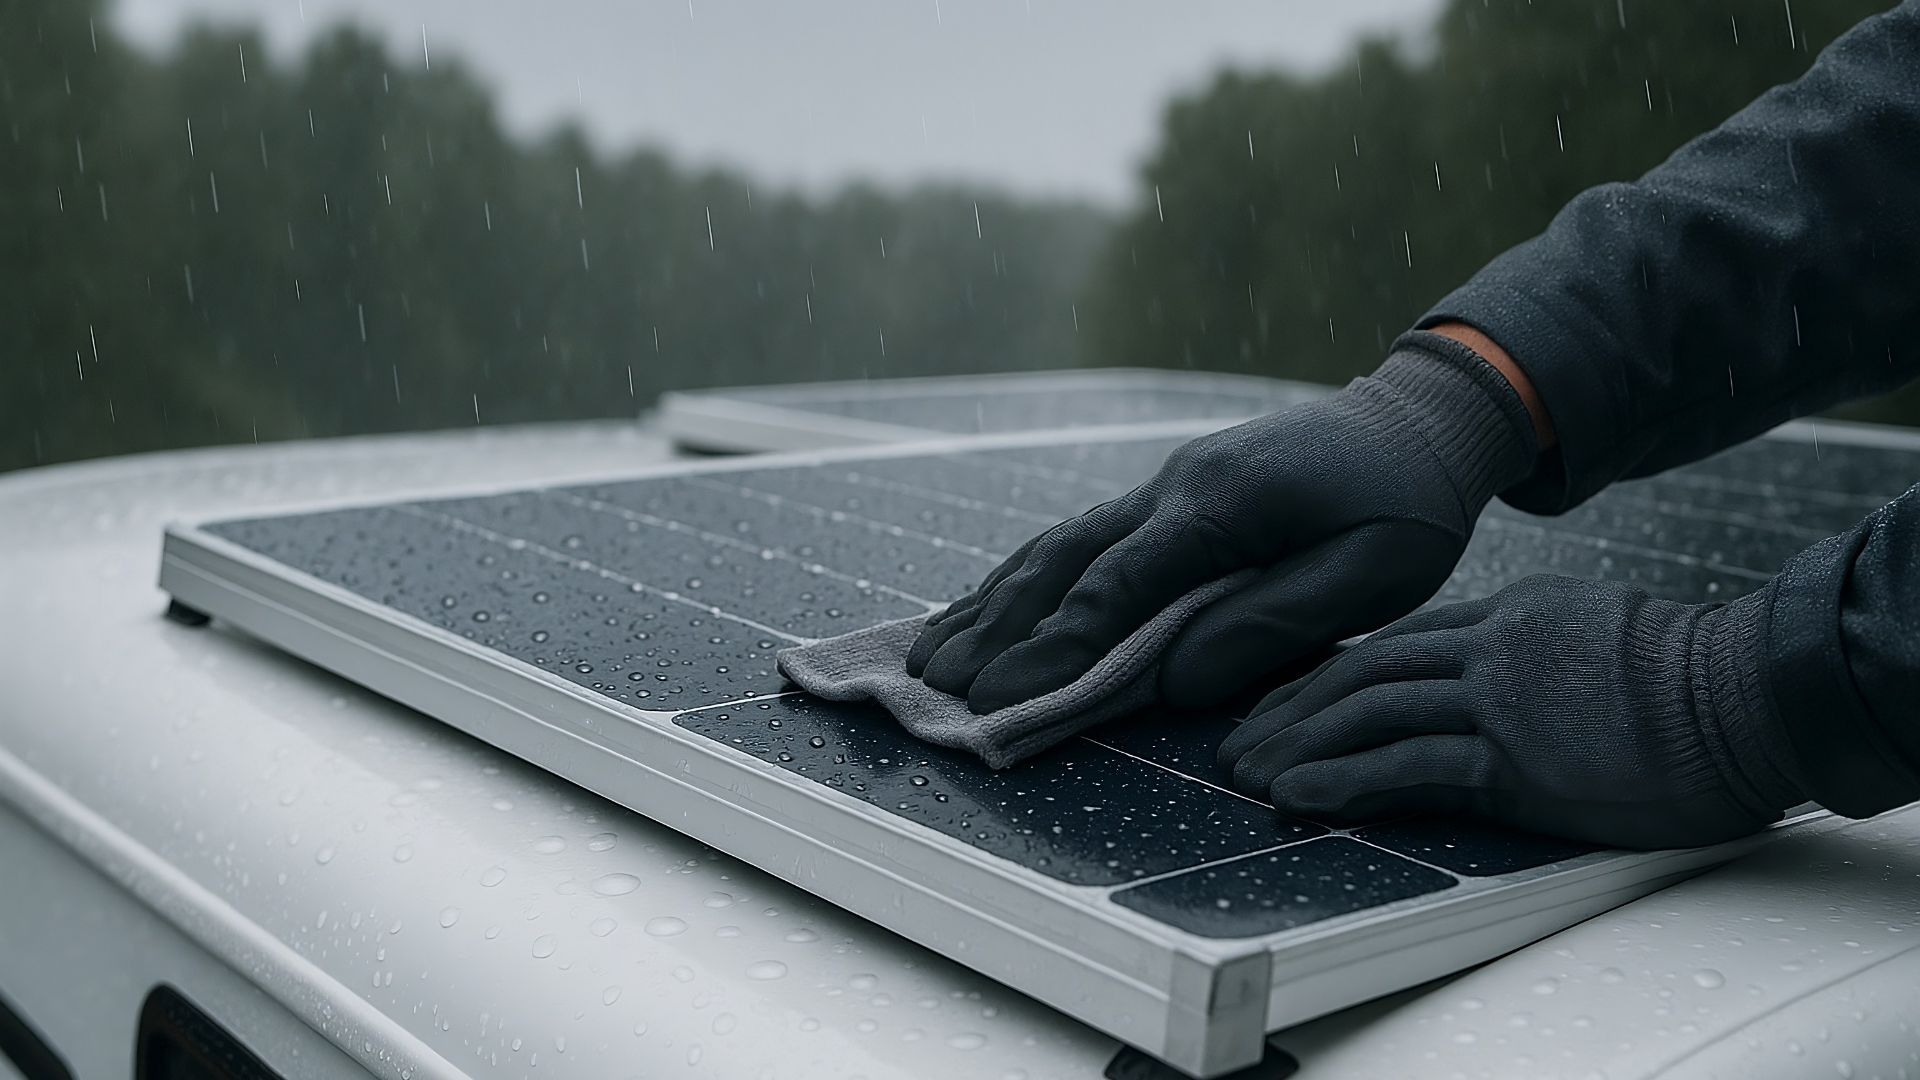
Installation Steps for Manual Solar Panel Tilt Mounts
- Select the Right Kit: Choose a reliable kit that matches your solar panel size. Renogy 200 W 12 V Monocrystalline RV Solar Kit
- Prepare the Mounting Area: Clean and measure the area on your RV roof where the panels will be installed.
- Install the Mounts: Secure the tilt mounts in place using the provided hardware, ensuring they are aligned properly.
- Attach the Panels: Mount the solar panels onto the installed brackets, making sure they are firmly secured.
- Adjust the Tilt Angle: Manually adjust the tilt to the desired angle depending on the season and your location.
- Secure Cables: Use cable ties to secure any loose wiring, preventing damage from wind or movement.
- Test the System: Connect to a power station or battery to ensure everything operates correctly. Jackery Explorer 1000 Portable Power Station (1002 Wh)
Optimal Solar Panel Setup for Your RV
To maximize your solar setup, consider pairing your tilted solar panels with high-quality components:
– Charge Controllers: A reliable MPPT charge controller will efficiently manage power flow. Victron SmartSolar MPPT 100 V 30 A Charge Controller
– Batteries: Invest in a durable battery to store power, such as a lithium option. Battle Born 100 Ah 12 V LiFePO4 Battery

Portable Solar Options
For those who prefer flexibility, portable solar kits are a great alternative. These kits can be moved and adjusted easily without permanent installation.
– Zamp Solar Portable Kit: A great choice for portable and efficient power. Zamp 140 W Folding Solar Kit
Conclusion
Choosing between manual and auto tilt mounts for your RV solar panels depends on your budget, convenience, and energy needs. While manual mounts offer cost savings and control, auto mounts provide ease and optimal efficiency. Consider your travel habits and energy requirements to make the best decision for your solar setup.
By carefully selecting and installing your solar components, you can ensure a reliable and efficient power source for all your RV adventures.