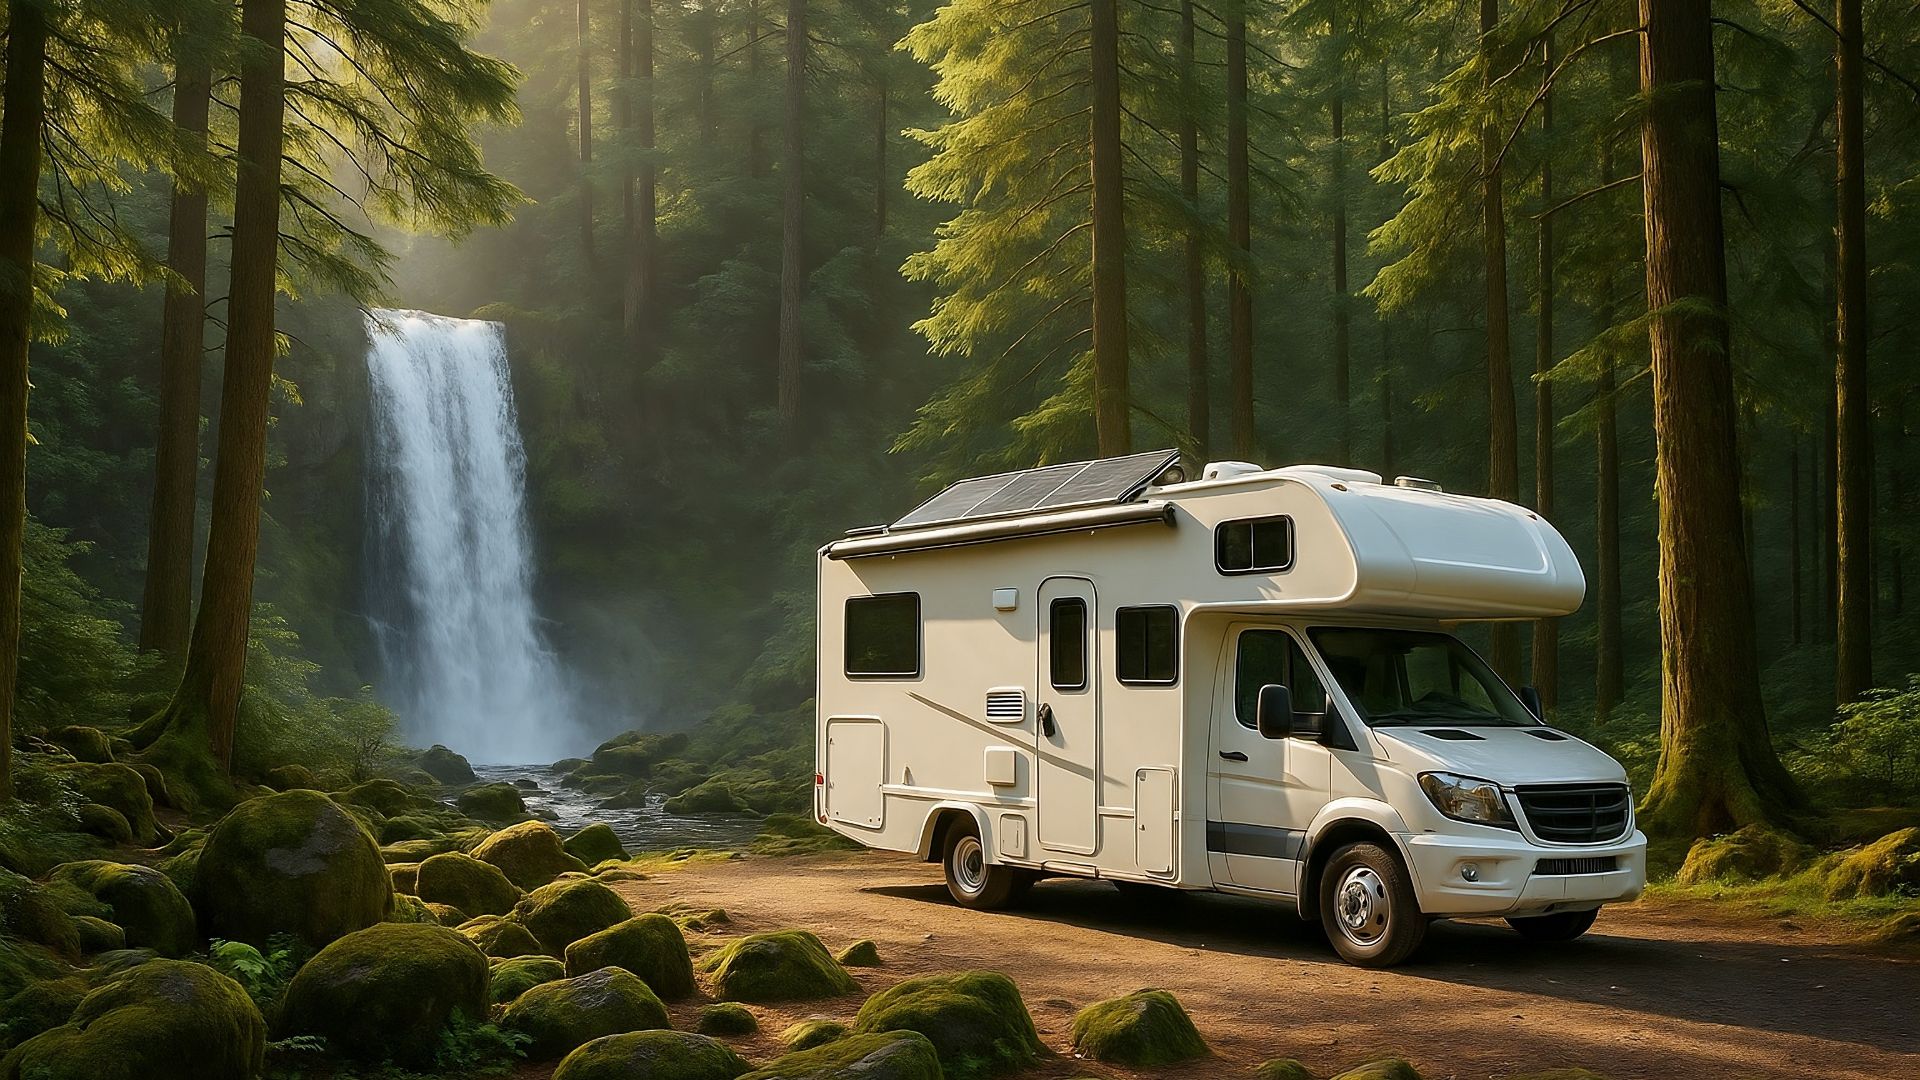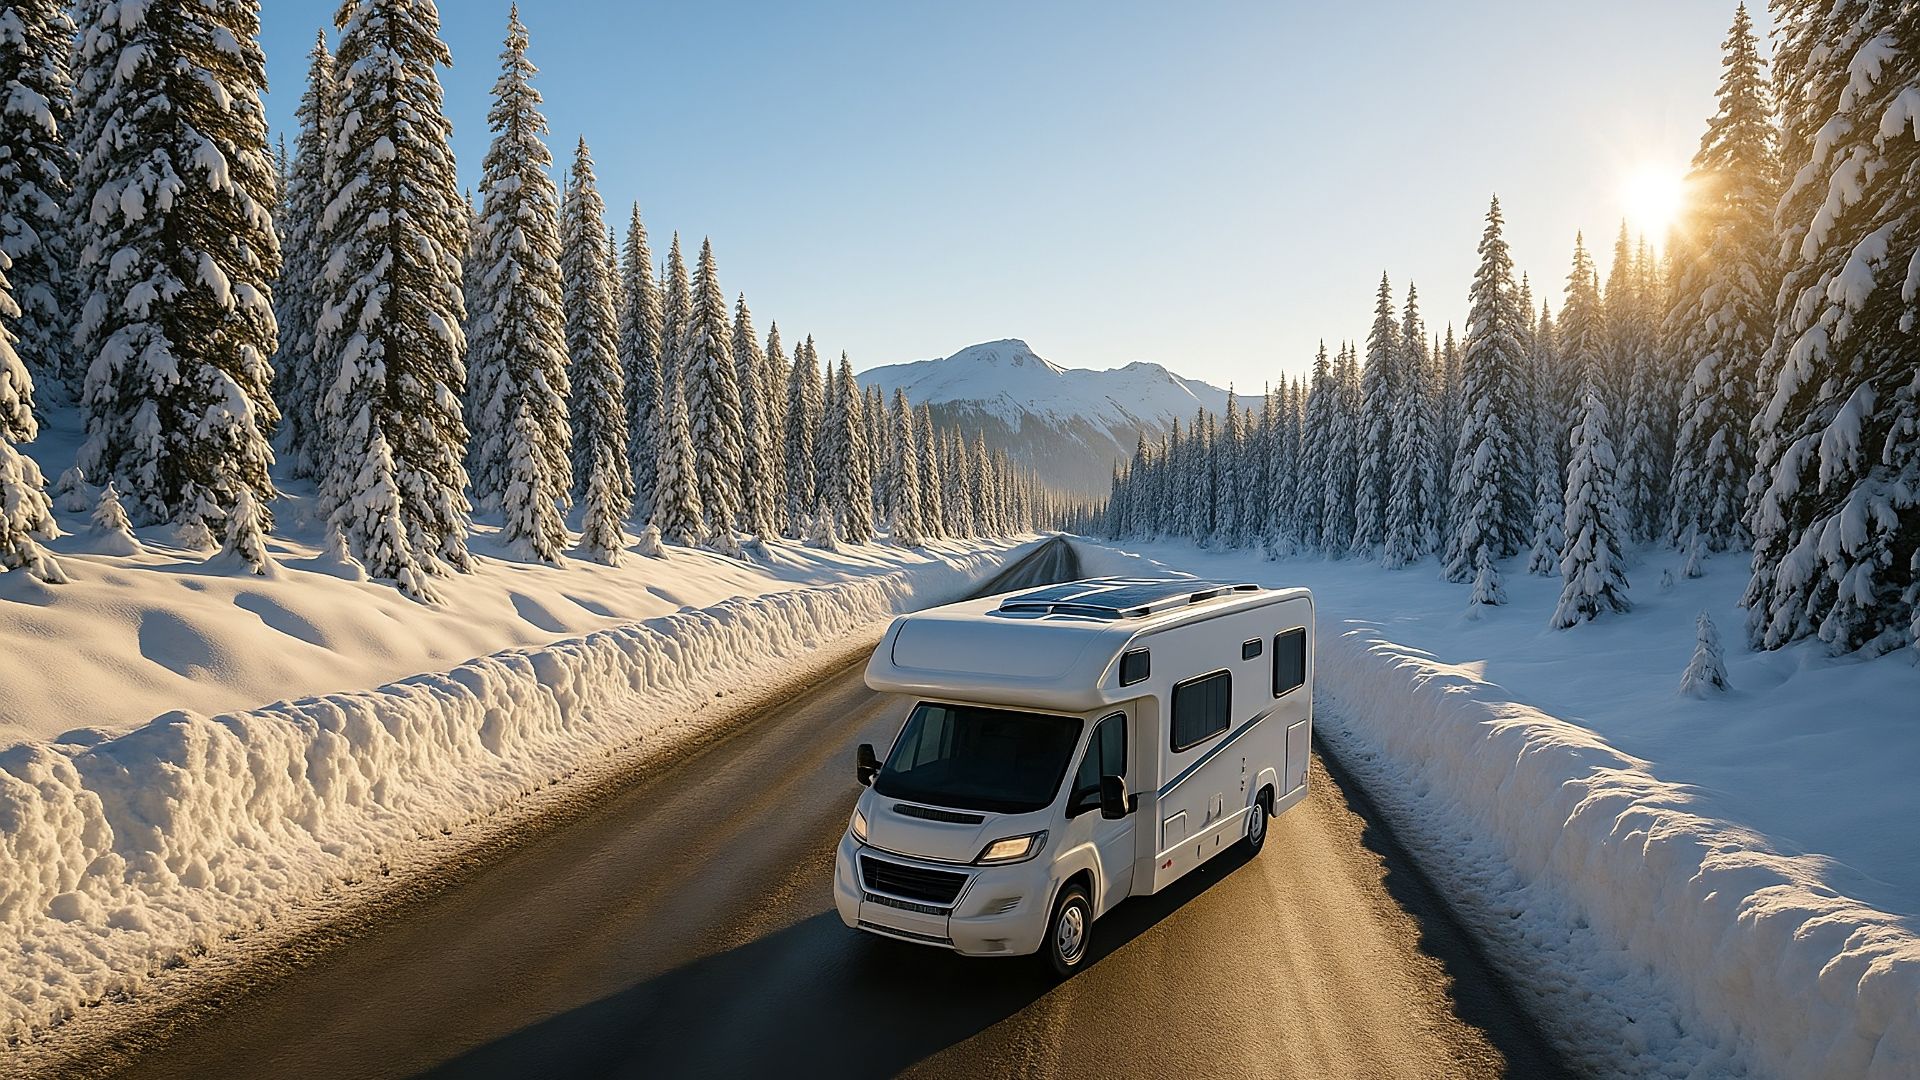
As an RV enthusiast, harnessing solar power is a practical way to ensure you have a reliable energy source while on the road. However, seasonal changes can significantly impact the efficiency of your solar setup. In winter, optimizing your RV solar panel angle becomes crucial to capture as much sunlight as possible. This article will guide you through understanding the best practices for adjusting your solar panels during the colder months.
Understanding Solar Panel Angles
To maximize solar energy absorption, it’s essential to understand how solar panel angles work. The angle of your solar panels should ideally be adjusted based on the sun’s position. During winter, the sun is lower in the sky, necessitating a steeper panel angle to capture optimal sunlight.
Importance of Winter Optimization
Winter optimization of your RV solar panels is vital because the sun’s path changes significantly. With shorter days and a lower sun angle, efficient energy capture becomes challenging. Adjusting your solar panel angle can mitigate these issues and ensure your power supply remains steady.
How to Calculate the Ideal Angle
To calculate the ideal angle for your RV solar panels in winter, add 15 degrees to your latitude. For example, if your latitude is 40 degrees, your winter panel angle should be approximately 55 degrees. This adjustment helps to capture the lower arc of the sun effectively.
Tools and Kits for Adjusting Solar Panels
Investing in adjustable mounts and reliable solar kits can make angle adjustments more manageable. Consider pairing the following solar kits with compatible tilt mount brackets for optimal performance:
– Renogy 200 W Monocrystalline Solar Starter Kit
– BougeRV Bifacial 200 W 10BB Mono Solar Panel
– HQST 200 W (2 × 100 W) Mono Panel Kit + 30 A PWM Controller
While these kits do not include adjustable mounts, they are compatible with most standard tilt brackets, allowing for flexible angle adjustments to optimize your panel setup.
Step-by-Step Installation Guide
Follow these steps to ensure your RV solar panels are correctly installed and adjusted for winter:
1. Select the Right Kit: Choose a solar kit that suits your energy needs. Renogy 200 W Monocrystalline Solar Starter Kit is a popular option.
2. Mount the Panels: Install the solar panels using an adjustable mount if available, to facilitate seasonal angle changes.
3. Connect to a Charge Controller: Use a reliable charge controller like the Victron Energy SmartSolar MPPT 100/30 Charge Controller to regulate energy flow.
4. Install the Battery: Connect your panels to a robust battery system. The Battle Born 100 Ah 12 V LiFePO₄ Deep-Cycle Battery is a durable choice.
5. Test the System: Ensure all connections are secure and test your setup to confirm optimal energy collection.
6. Adjust the Angle: As winter approaches, adjust your panels to the calculated optimal angle for maximum efficiency.
Portable Solar Options
If you prefer mobility, portable solar kits can be an excellent option. Consider the Zamp Solar 140 W Folding Portable Kit or the Goal Zero Yeti 1500X Portable Power Station (1500 Wh) for flexible solar solutions. These kits are easy to set up and transport, making them ideal for frequent travelers.
Conclusion
Optimizing your RV solar panel angle for winter is essential to maintaining efficient energy capture during the colder months. By understanding the importance of angle adjustments and utilizing the right tools, you can ensure your solar setup remains effective year-round. Investing in quality kits and portable solutions will provide the flexibility and reliability you need for your adventures.
Stay powered up and ready for the road, no matter the season!