

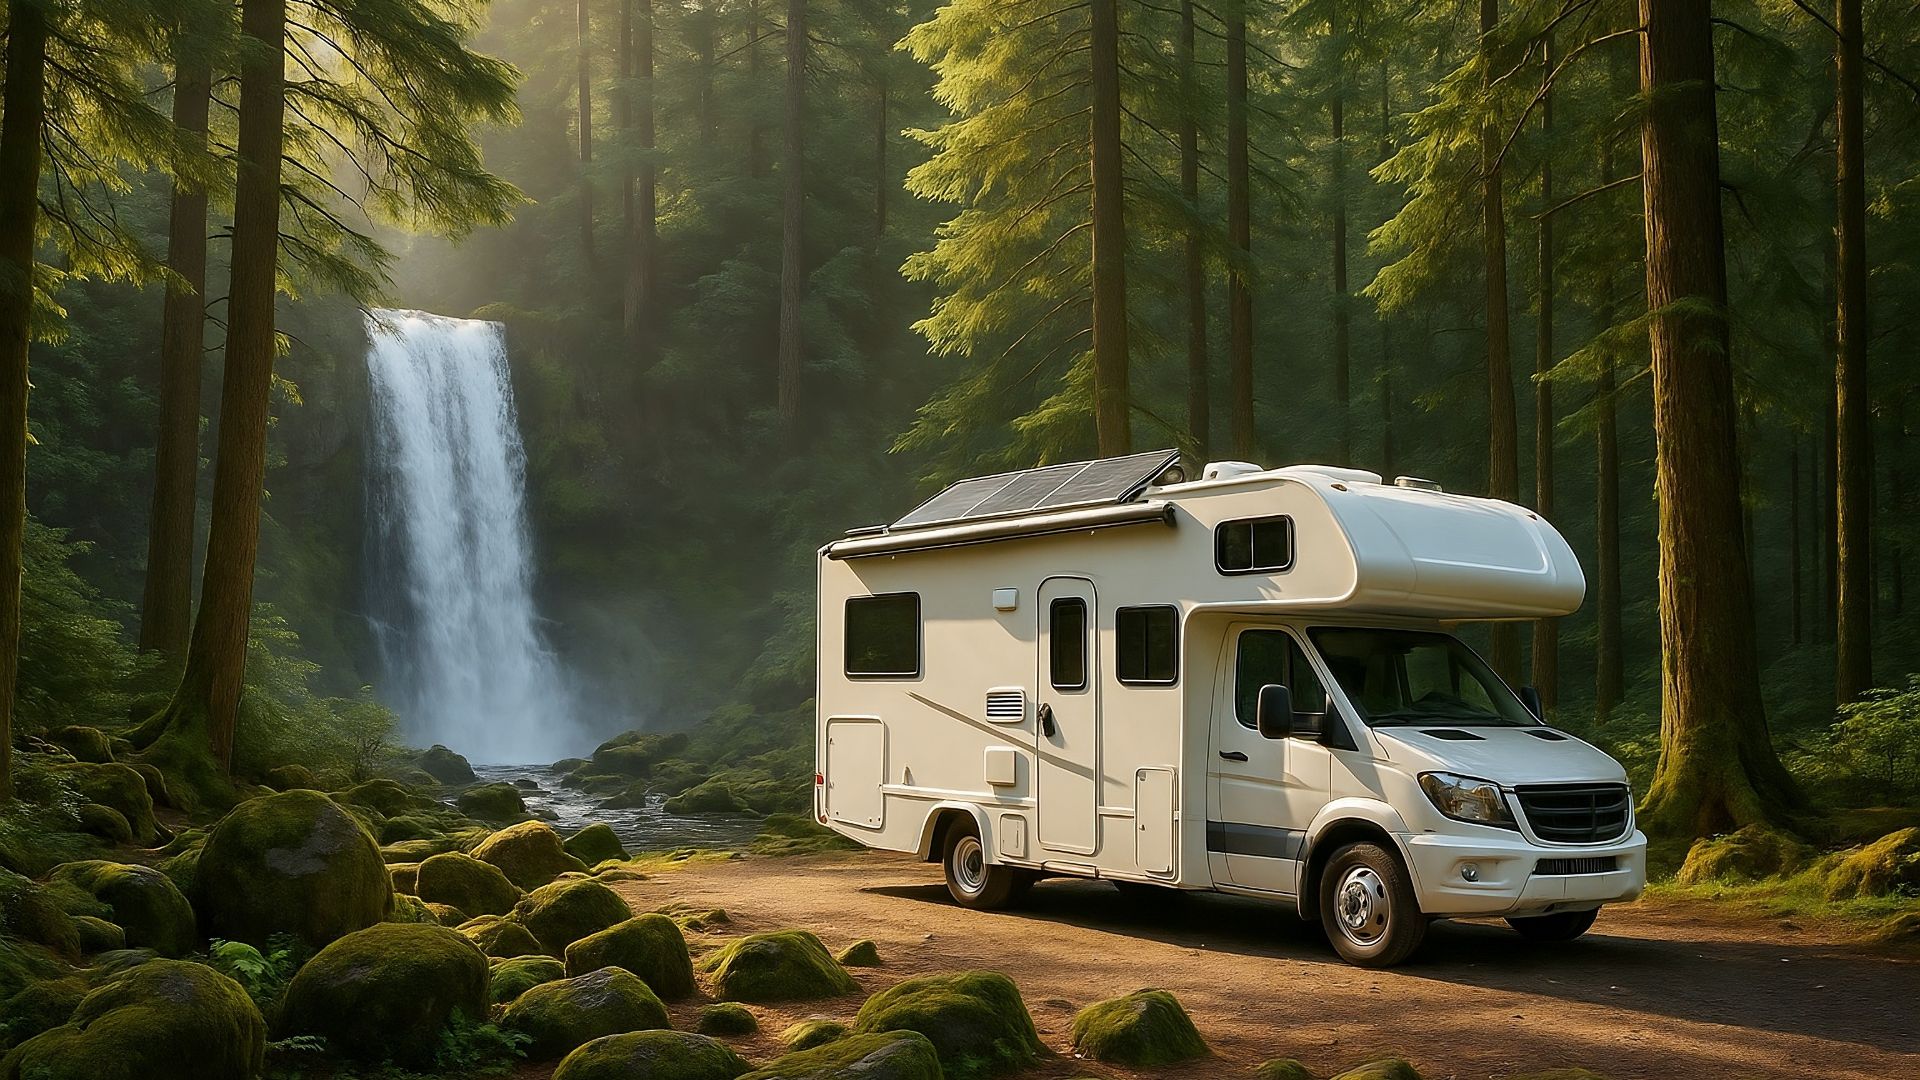
Keeping track of your RV’s battery health is crucial for ensuring a smooth and enjoyable journey. Installing an RV battery monitor, like the Victron system, can help you manage your energy consumption effectively. This guide will walk you through the process of installing a battery monitor and provide a setup guide for the Victron system.
Why Install an RV Battery Monitor?
An RV battery monitor is an essential tool for any RV enthusiast. It provides real-time data on your battery’s state of charge, voltage, and current flow. This information helps you avoid unexpected power outages and prolongs the life of your batteries. With a reliable battery monitor, you can plan your trips better and ensure that you never run out of power when you need it most.
Choosing the Right Battery Monitor
When selecting a battery monitor, consider factors such as compatibility, ease of installation, and features. The Victron battery monitor is a popular choice due to its reliability and comprehensive features. Before purchasing, ensure that the monitor is compatible with your battery type, whether it’s a Battle Born 100 Ah LiFePO₄ Battery or another type.
Tools and Materials Needed
Before starting the installation, gather the necessary tools and materials. You’ll need:
– A suitable battery monitor (e.g., Victron)
– Connection cables
– Screwdrivers
– Wire cutters
– A drill (if necessary for mounting)
– BougeRV Yuma 200 W Flexible Solar Panel for additional power options
Step-by-Step Installation Guide
Follow these steps to install your RV battery monitor:
- Select a Location
Choose an accessible spot where the monitor is easily visible.
Ensure there is enough space for wiring and mounting.
- Prepare the Wiring
Disconnect the battery to ensure safety during installation.
Measure and cut the necessary cables to connect the battery to the monitor. - Mount the Monitor
 Use a drill to mount the monitor securely.
Ensure that it is firmly attached to prevent movement while traveling. - Connect the Wires
Attach the cables from the battery to the monitor, following the manufacturer’s instructions.
Make sure the connections are tight to avoid any power loss. - Calibrate the Monitor
Once connected, turn the battery back on.
Follow the Victron setup guide to calibrate the monitor and ensure accurate readings. - Test the System
Check the display to confirm it shows the correct battery status.
Use a Victron Energy SmartSolar MPPT Solar Charge Controller (Bluetooth) 100 V/15 A to optimize solar input and verify the monitor’s performance.
Victron Setup Guide
After installation, setting up the Victron system is straightforward. Here’s how to do it:
- Access the VictronConnect App
Download the app on your smartphone or tablet.
Pair your device with the monitor using Bluetooth. - Configure Battery Settings
Input the correct battery parameters, such as capacity and type.
Adjust the settings for optimal performance. - Monitor Your System
Use the app to track your battery’s health and make adjustments as needed.
Consider a Renogy 200 W Monocrystalline Solar Starter Kit to enhance your energy setup. - Troubleshoot Common Issues
Refer to the Victron user manual for troubleshooting tips.
Contact support if you encounter persistent issues.
Enhancing Your RV’s Energy System
Besides installing a battery monitor, consider other upgrades to enhance your RV’s energy system. Adding solar panels, like the BougeRV 130 W Foldable Solar Panel Kit, can provide additional power and reduce reliance on traditional energy sources. Pairing this with a Jackery Explorer 1000 v2 Portable Power Station offers backup power for emergencies.
Conclusion
Installing an RV battery monitor is a wise investment for any RV owner. It provides peace of mind, allowing you to enjoy your travels without worrying about power issues. With the right tools and a clear understanding of the installation process, you can easily set up a Victron system to optimize your RV’s energy management.
Remember to regularly maintain your system to ensure long-lasting performance and explore other energy solutions to enhance your RV experience.