
TL;DR: Quick Summary
- Inventory every load: List every electrical load with its wattage and estimate daily run-hours before sizing anything.
- Measure real draw: Measure actual draw with a clamp meter or plug-in monitor — nameplate ratings often overstate real consumption.
- Total and add losses: Total your daily watt-hours and add a loss margin based on your inverter and wiring specs before sizing batteries or panels.
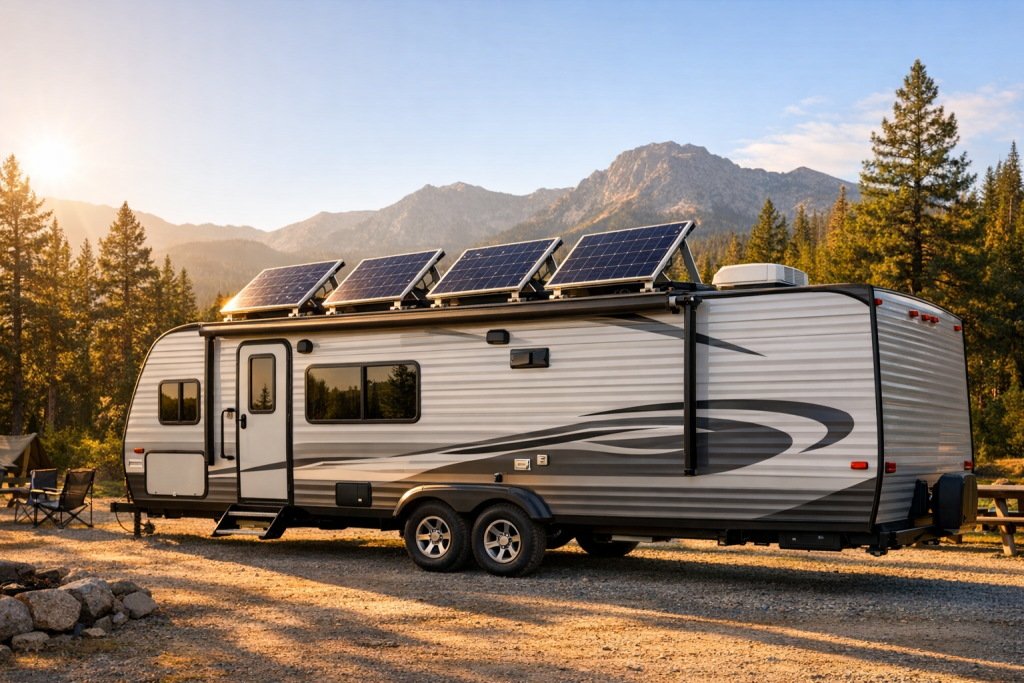
Introduction
An RV energy audit reduces battery and solar sizing to a single equation: Daily Ah at 12V = Σ (device watts × hours used per day) ÷ 12V, multiplied by a 1.15–1.25 buffer for inverter and conversion losses. Get that number right and every downstream decision — battery chemistry, bank size, panel wattage, charge controller, inverter capacity — falls out of it cleanly. Get it wrong and you either overspend on a system you don’t need or run flat by 2 a.m. on the second night of boondocking.
The audit itself is not glamorous. You walk through your rig, list every device that consumes electricity, measure or look up how much each one draws, and estimate honestly how long you actually run it on a representative day. Then you do arithmetic. The discipline is in being specific about your rig, not borrowing numbers from a forum post about someone else’s setup. Two rigs with nearly identical floor plans can have daily consumption figures that differ by a factor of two once you account for fridge type, furnace duty cycle, inverter idle current, and the small constellation of phantom loads behind every panel.
An audit is not a one-time exercise. Adding a residential fridge, swapping in a 12V compressor unit, installing a diesel heater, or simply changing where and when you camp can shift the totals enough to require a re-run. Treat the audit as a living document that evolves with the rig.
| Factor | How to Determine It | Why It Matters |
|---|---|---|
| Each device’s power draw | Read the nameplate sticker, the manual, or the manufacturer datasheet. For 120V devices, plug into a Kill A Watt meter. For 12V devices without a clear label, measure with a clamp meter on the DC line while the device runs. | The single largest source of error in audits. Borrowed “typical” numbers rarely match the model installed in your rig. |
| Daily runtime per device | Track honest hours over a representative day. For intermittent loads (water pump, furnace fan, fridge compressor), estimate duty cycle — minutes on per hour — rather than guessing total hours. | Runtime varies more than wattage between users. A residential fridge in mild weather behaves very differently from one fighting summer heat. |
| System voltage and inverter use | Note whether each load runs natively on 12V DC or through your inverter from 120V AC. Record the inverter’s idle (no-load) draw from its spec sheet. | AC loads carry conversion losses, and an inverter left on all day adds a fixed phantom draw regardless of what’s plugged in. |
| Phantom and parasitic loads | List propane/CO detectors, fridge control boards, stereo memory, inverter standby, antenna boosters, and any always-on USB ports. Measure the whole-rig quiescent draw with a clamp meter on the main negative cable, everything off. | These never show up in a walk-through but run 24 hours a day, so even a small constant draw adds up. |
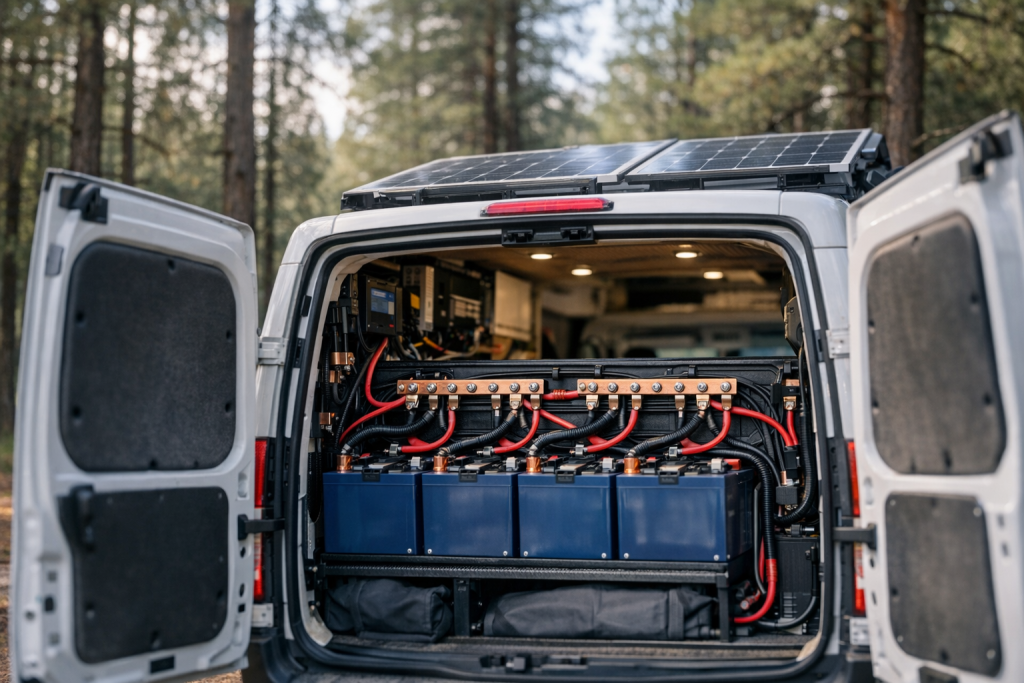
| Battery chemistry and depth of discharge | Check your battery datasheet for usable capacity per the manufacturer’s recommended depth of discharge. LiFePO4 and flooded lead-acid have very different usable fractions, and your specific datasheet — not a generic rule — should set the number. | Two banks with the same nameplate Ah deliver very different real capacity, which changes how big a bank you need to cover the same audit total. |
| Local sun hours | Look up peak sun hours for your travel region and season from a solar irradiance map for your latitude. | Sun hours determine how many panel watts replenish your daily Ah. Winter values can be a fraction of summer values at the same site. |
| Lifestyle and reserve days | Decide how many cloudy or low-sun days you want to ride out without shore power or a generator. | Reserve days multiply the battery bank size directly. Two days of autonomy is twice the bank of one. |
What You’ll Need
The audit is mostly observation and arithmetic, but a handful of inexpensive instruments turn guesses into measurements. You don’t need every tool to start; a plug-in AC meter and a notebook are enough for a credible draft, and you can add the DC clamp meter and shunt monitor as the audit moves from rough estimate to validated design.
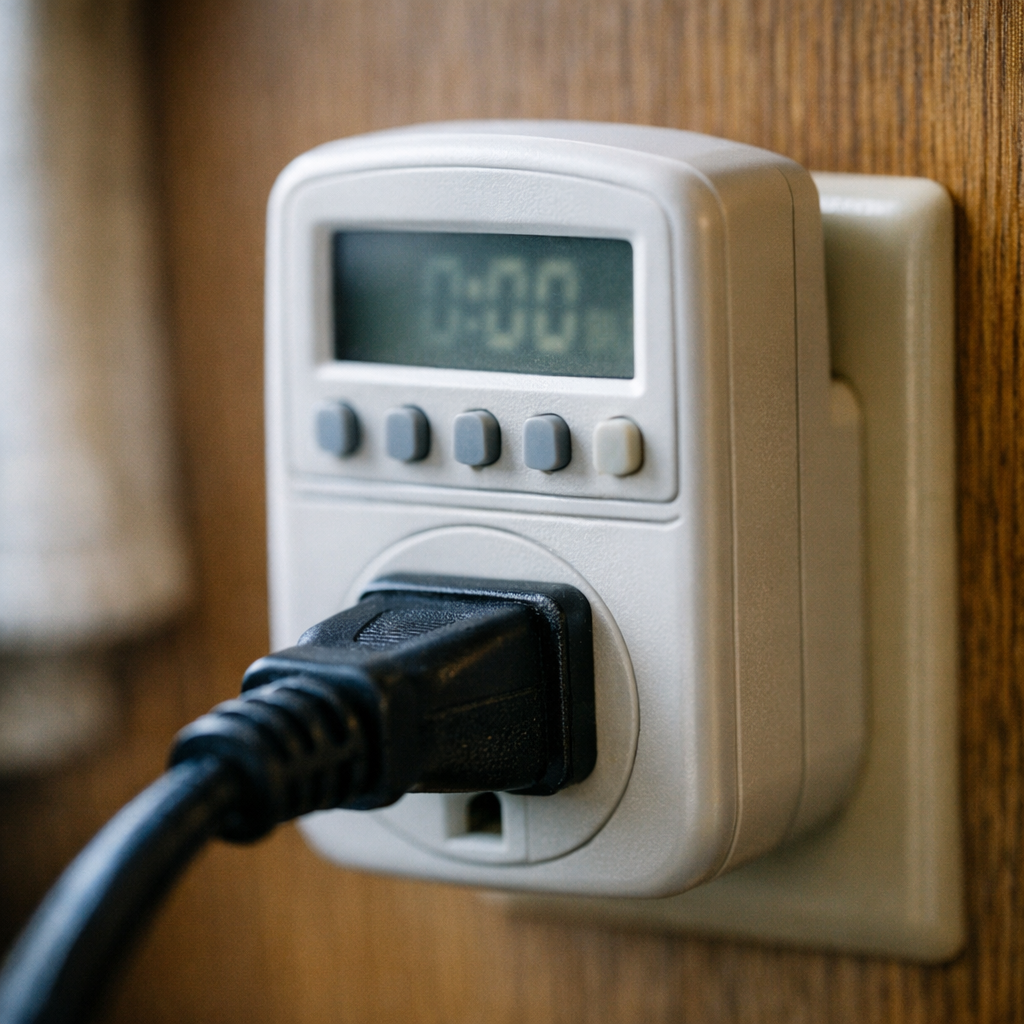
- A plug-in AC power meter (Kill A Watt or equivalent) for any 120V device that uses a standard outlet. It reads instantaneous watts and accumulates kilowatt-hours over time. Leave it inline for a full duty cycle on cycling loads — a residential fridge needs at least an hour, ideally several, to capture a representative compressor pattern.
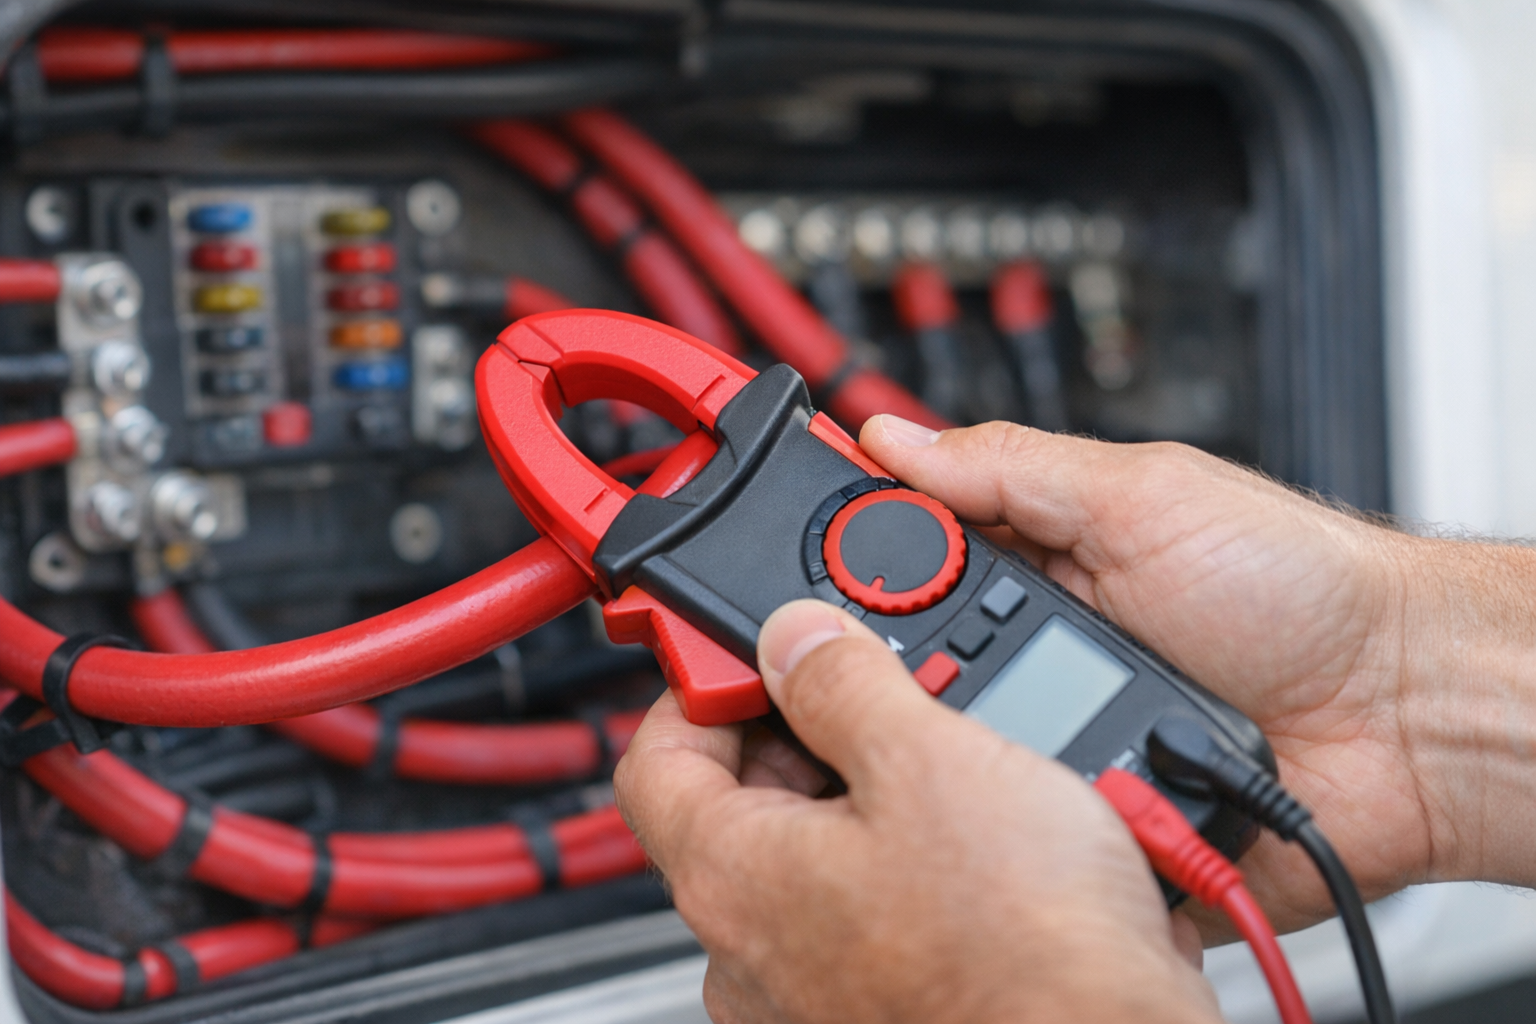
- A DC clamp meter rated for the currents you expect, used on individual 12V circuits or on the main battery cable. A clamp meter that reads DC (not just AC) is essential. Many cheaper clamp meters are AC-only; verify the spec before buying. A meter that reads down to a few hundred milliamps is useful for capturing phantom loads.
- A digital multimeter for verifying battery voltage, checking nameplate values, and tracing 12V circuits. Also handy for confirming a circuit is de-energized before you handle it.
- A shunt-based battery monitor installed on the battery negative. This is the gold standard for validating your audit because it integrates everything — DC loads, inverter, charging — into a single Ah counter. Even a temporary install for the audit week pays for itself in the quality of the resulting design.
- A spreadsheet or printed worksheet with columns for device name, voltage (12V or 120V), measured watts, hours per day, and calculated Wh/day and Ah/day at 12V. A spreadsheet is preferable: changing one number should automatically recompute the buffered total and any sizing equations you’ve embedded.
- Manuals and nameplate photos for built-in equipment: fridge, furnace, water heater, A/C, converter, inverter, slide motors, and any aftermarket installs. Photographing nameplates with a phone saves trips back to the basement compartment when you’re entering numbers later.
- A notebook for duty-cycle observations — particularly for the fridge compressor, furnace fan, and water pump, which cycle on and off rather than running continuously. A simple tally of “minutes on per hour” over two or three hours yields a far better number than any datasheet figure.
Conducting Your Audit and Sizing the System
- Inventory every 12V DC load in the rig. Walk through with a notebook and list interior LEDs, reading lights, exterior lights, roof and cabin fans, the water pump, the furnace blower (the burner is propane but the fan is 12V), propane and CO detectors, the fridge control board (even on absorption fridges), slide and jack motors, the stereo, antenna boosters, USB outlets, and any 12V refrigeration. Open every cabinet and basement compartment; aftermarket installs such as cell boosters, satellite controllers, and tank heaters often live out of sight.
- Find the draw for each 12V device. Look on the device label first; many list amps at 12V directly. If only watts are given, divide by 12 to get amps. If nothing is labeled, run the device and clamp the DC supply wire with a clamp meter to read amps directly. Convert to watts later if you prefer to keep the spreadsheet in watts: W = A × 12V. For LEDs, treat the per-fixture draw as small but the count as large; ten fixtures at half an amp each is five amps, which is not trivial over a few evening hours.
- Inventory every 120V AC load and measure it with a plug-in meter. List the microwave, coffee maker, toaster, induction cooktop, TV, satellite receiver, laptop and phone chargers, electric kettle, hair dryer, CPAP, residential fridge if you have one, and rooftop A/C. For anything that plugs into an outlet, run it on the Kill A Watt for a representative cycle and write down both the running watts and, for cycling loads, the kilowatt-hours over an hour or a day. Hard-wired AC loads come from the nameplate. For variable-load devices such as laptops, chargers, and induction cooktops, measure typical draw directly instead of relying on maximum ratings, because real consumption changes with mode, battery state, and duty cycle.
- Convert AC watts to 12V amp-hours. The formula is Ah at 12V = (AC watts × hours) ÷ 12V ÷ inverter efficiency. Use the efficiency curve from your inverter’s datasheet at the load level it will actually see; pure-sine units typically publish efficiency as a function of output power. Worked example — illustrative only: if an AC device pulls 100 W for 2 hours through an inverter at 0.88 efficiency, that is (100 × 2) ÷ 12 ÷ 0.88 ≈ 18.9 Ah at 12V. Plug your own measured wattage, runtime, and inverter efficiency into the same formula. Inverter efficiency falls off sharply at very low loads; running a 5 W phone charger through a 2,000 W inverter is dramatically less efficient than running a 500 W kettle through the same unit.
- Estimate honest daily runtime for every device. Two columns help: a “realistic average day” and a “worst-case summer day” or “worst-case winter day,” depending on what stresses your system. For cycling loads, estimate duty cycle. Illustrative example: if you observe your furnace blower running about 15 minutes out of every hour on a cold night and you expect 10 hours of furnace use, total runtime is 10 × 0.25 = 2.5 hours. Apply the same duty-cycle logic to compressor fridges and water pumps. The temptation is always to under-report time spent watching TV, charging laptops, or running the inverter for incidental AC loads; resist it.
- Sum daily consumption and add a buffer. Total all rows in Wh/day and Ah/day at 12V. Then multiply by 1.15 to 1.25 to cover inverter idle losses, conversion losses, wiring losses, capacity fade as batteries age, and runtimes you underestimated. Illustrative example: if your raw audit totals 80 Ah/day, a margin sized to the component and load profile gives 96 Ah/day as your design target. Lean toward the higher end of the buffer range if your inverter idles continuously, if your battery bank is several years old, or if your wire runs are long. Lean toward the lower end if you switch the inverter off when not in use and your install is short, well-fused, and recent.
- Size the battery bank from the design target. Decide your days of autonomy and your usable depth of discharge per the battery manufacturer’s specification. Bank size (Ah nameplate) = (design Ah/day × autonomy days) ÷ usable fraction. Illustrative example using assumed values: with a 96 Ah/day target, two days of autonomy, and a battery rated for 0.90 usable per its datasheet, the bank is (96 × 2) ÷ 0.90 ≈ 213 Ah nameplate. The same load on a battery rated for 0.50 usable becomes (96 × 2) ÷ 0.50 = 384 Ah nameplate — almost double, before weight and charging penalties. Always pull the usable fraction from your specific battery’s documentation. Also confirm the bank’s continuous discharge rating supports the largest realistic instantaneous draw, not just the daily energy total; this is a common oversight when stacking small lithium modules.
- Size the solar array to replenish the daily target. Panel watts = (design Wh/day) ÷ (peak sun hours × system efficiency). Use a system-efficiency factor that reflects your actual install — panel tolerance, soiling, wire loss, charge controller efficiency (MPPT vs PWM), and off-angle mounting. A flat-roof array off-axis to the sun loses much more than a tilted, clean array. Illustrative example: 96 Ah/day at 12V is 1,152 Wh/day. With 4 peak sun hours and 0.72 system efficiency, panel watts = 1,152 ÷ (4 × 0.72) = 400 W. Drop to 3 sun hours in shoulder season and you need roughly 533 W to keep up. If you camp in trees, factor in additional loss from partial shading; even small shadows on a single panel can collapse string output far more than the shaded area would suggest.
- Cross-check inverter capacity against simultaneous AC loads. Add up the watts of AC devices you might run at the same time — microwave plus coffee maker plus laptops, for example — and confirm the inverter’s continuous rating exceeds that sum with margin for surge. Resistive loads spike modestly; motors and compressors can surge several times their running watts at startup. Pay attention to the inverter’s surge rating and surge duration — a rooftop A/C compressor can demand a brief surge several times its running wattage, and an inverter that nominally exceeds the running load may still trip on startup.
- Validate with a battery monitor over 3–7 days. Install or read your shunt-based monitor, fully charge to 100%, and live normally. At the end of each 24-hour cycle, record net Ah consumed before recharging. If the monitor shows materially more consumption than your audit predicted, find the device you underestimated — usually fridge duty cycle, inverter idle draw, or phantom loads. Adjust the spreadsheet and re-run the sizing equations. If the monitor shows materially less than predicted, do not immediately downsize; your representative week may not have included worst-case conditions. Keep both numbers in the worksheet and design to the worst case you actually intend to encounter.
Safety Considerations
- When using a clamp meter on DC battery cables, do not break the connection — the clamp reads through the insulation. Disconnect only when explicitly required, and disconnect the negative cable first to avoid shorting tools against the chassis.
- Treat 120V circuits as live. Measure hard-wired AC loads through the existing outlet with a plug-in meter rather than opening junction boxes. Leave panel-level current measurement to a licensed electrician.
- Never exceed your battery bank’s continuous discharge rating when planning simultaneous loads. A small lithium bank can be over-pulled by a large inverter even when energy capacity looks adequate.
- Verify wire gauge (AWG) and fuse ratings before adding inverters or higher-current loads identified during the audit. Increasing draw on undersized wiring is a fire risk.
- Switching from a propane fridge to a 12V compressor fridge changes both your electrical audit and your combustion-air picture; account for both.
- Do not disable propane or CO detectors to “save” phantom Ah. Those small constant draws are non-negotiable safety items and belong in the audit as fixed daily consumption.
- Lithium banks behave differently than lead-acid in cold weather; many LiFePO4 BMS units block charging below freezing. If your audit assumes solar replenishment in winter, confirm the battery’s low-temperature charging behavior and any heating provisions.
- Wear eye protection when working near flooded lead-acid batteries, and ventilate compartments before connecting or disconnecting cables under load.
This guidance is general; follow the specific instructions in your battery, inverter, and appliance documentation.
FAQs
- How long does an RV energy audit take? Plan on one to two hours to walk through the rig, list every device, and measure or look up each draw. Then add three to seven days of monitoring with a battery shunt to validate your spreadsheet against real-world consumption before you commit to battery or solar purchases.
- What’s the easiest way to measure 120V appliance draw? Plug the device into a Kill A Watt or equivalent power meter and run a representative cycle. The meter shows instantaneous watts and accumulates total energy over time, giving you both peak load for inverter sizing and Wh/day for the audit.
- How do I measure 12V devices that aren’t on a plug? Use a DC clamp meter on the device’s positive or negative supply wire while it runs. If you can’t isolate the wire, switch loads on and off one at a time at the fuse panel and watch the change on a battery monitor or main-cable clamp meter.
- Should I include phantom loads in my audit? Yes. Propane detectors, fridge control boards, inverter standby current, stereo memory, and always-on USB outlets run 24 hours a day. Even small constant draws can dominate a low-use day, so measure your whole-rig quiescent draw with everything switched off and add it as a fixed daily line item.
- Do I really need a battery monitor to do an audit? Not strictly, but a shunt-based monitor is the fastest way to validate the spreadsheet because it integrates every load — DC, AC through the inverter, phantom, and charging — into a single net Ah figure. Without one, you’re verifying with voltage readings, which lag and mislead.
Conclusion
An RV energy audit is fundamentally a measurement exercise wrapped around one equation. List every device, find each one’s actual draw on its own nameplate or with your own meter, estimate honest runtime, convert AC loads to 12V amp-hours through your inverter’s published efficiency, sum the day, and add a 15–25% buffer. That single buffered Ah/day number drives battery chemistry choice, bank size, solar wattage, charge controller selection, and inverter capacity. Every later decision either follows from that number or contradicts it.
The numbers must come from your rig — your fridge model, your furnace duty cycle on the coldest night you plan to camp, your inverter’s idle draw, your phantom loads as measured at the main cable. Borrowed averages produce systems that are either expensive or insufficient. A clamp meter, a plug-in AC meter, and a battery monitor cost less than a single mismatched battery and turn the audit from a guess into a design.
Once you have a validated daily Ah figure, the rest of the project is bookkeeping. Battery bank size is daily Ah times autonomy days divided by the usable fraction your battery datasheet specifies. Panel wattage is daily Wh divided by sun hours and system efficiency. Inverter capacity is the largest realistic simultaneous AC load with surge headroom. Run the monitor for a week, adjust the spreadsheet against reality, and only then place orders. Re-run the audit whenever you change appliances, change how you camp, or change seasons in a meaningful way, and the system you designed will keep matching the system you actually use.