TL;DR: Quick Summary
- Before you start: Look up your latitude and season to choose the right starting tilt angle — flat-mount is rarely optimal.
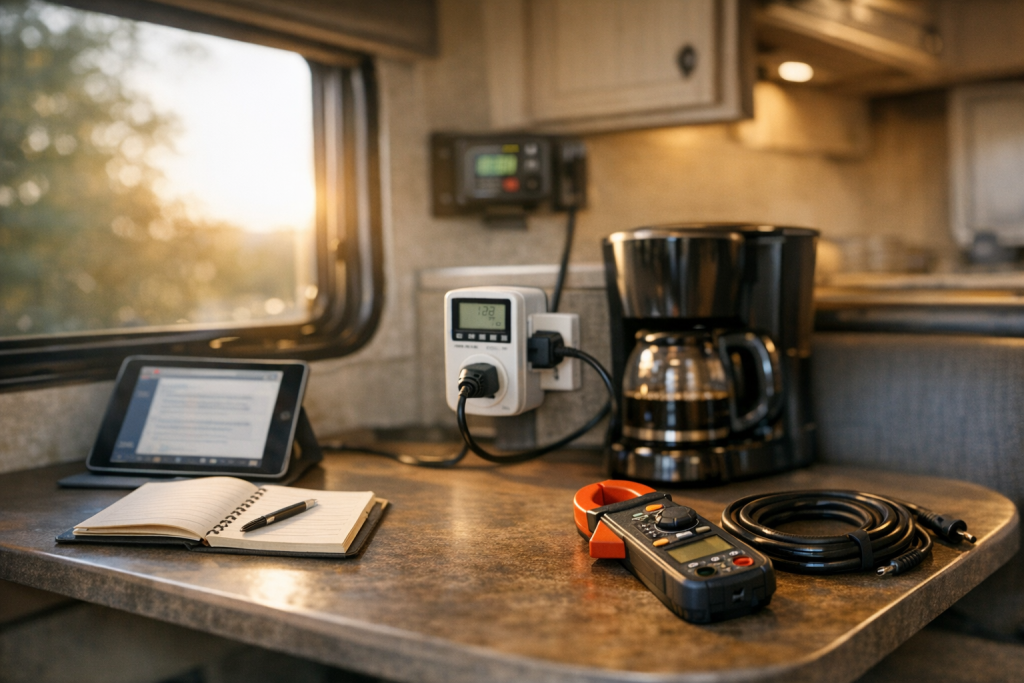
- Key step: Measure actual panel voltage at solar noon before and after adjusting to confirm the gain is real.
- Verify before you finish: Re-check mount hardware and panel clearance after your first drive — vibration loosens pivot bolts.
Introduction
A 200 W RV solar panel mounted flat on a roof at 45° latitude loses roughly 20% of its potential harvest—about 160 Wh per peak sun hour instead of 200. Tilt that same panel to match the latitude, and you recover nearly all of that lost energy without spending a single extra dollar on additional panels. For RV travelers who rely on solar to power refrigerators, lights, and electronics off-grid, understanding the relationship between geographic latitude and ideal tilt angle is one of the highest-return optimizations available.
This guide is built around a single, data-driven principle: the angle at which sunlight strikes your panel determines how many photons it can convert into electricity. The closer that angle is to perpendicular (90° to the panel surface), the more energy you produce. Because the sun’s elevation changes with both latitude and season, the “perfect” tilt is a moving target—but a few simple rules and a quick-reference chart make it easy to dial in at every campsite.
Below you will find reference tables covering latitudes from 25° to 55° (spanning the vast majority of RV travel in North America), seasonal adjustment formulas, a step-by-step procedure for setting your tilt at any location, a fully worked calculation example, and safety guidance for adjusting panels on an RV roof.
How to Calculate Solar Panel Tilt Angle by Latitude
The General Rule — Latitude Equals Tilt Angle
The simplest and most widely cited guideline: set your tilt angle equal to your latitude. Camped at 35° N? Tilt your panels to 35° from horizontal. This approximation works because the yearly average solar noon altitude at any location is roughly (90° − latitude). Tilting the panel by the latitude value aims it at the average noon sun position across all seasons.
A more refined formula, derived from regression analysis of NREL irradiance data, is
β ≈ latitude × 0.9 + 3.1° (for latitudes between 25° and 55°)
This yields results very close to the simple “tilt = latitude” rule but is slightly more accurate at extreme latitudes. For most RV purposes, rounding to the nearest 5° is more than sufficient given the practical limits of adjustable mounts.
Seasonal Adjustments for Maximum Efficiency
Because the sun’s declination swings ±23.45° between the summer and winter solstices, a single fixed angle cannot be optimal year-round. Seasonal adjustment formulas let you track the sun more closely
| Season | Tilt Angle Formula | Rationale |
|---|---|---|
| Summer (Jun–Aug) | Latitude − 15° | Sun is higher in the sky; flatter angle captures more midday energy |
| Spring / Fall (Mar–May, Sep–Nov) | Latitude | Sun elevation is near its annual average |
| Winter (Dec–Feb) | Latitude + 15° | Sun is lower; steeper angle aims panel toward the horizon |
These ±15° adjustments are a well-established rule of thumb. More aggressive tuning (e.g., ±20° or monthly changes) can squeeze out another 1–3%, but for RV use the added complexity rarely justifies the marginal gain. Adjusting once per season—or even just when you notice a significant drop in daily harvest—is practical and effective.
Quick-Reference Tilt Angle Chart by Latitude
The table below covers the latitude bands most relevant to RV travel in the United States and southern Canada. All angles are measured in degrees from horizontal.
| Latitude (°N) | Year-Round Tilt | Summer Tilt | Winter Tilt | Example Locations |
|---|---|---|---|---|
| 25° | 25° | 10° | 40° | Key West FL, South Padre Island TX |
| 28° | 28° | 13° | 43° | Orlando FL, Houston TX |
| 30° | 30° | 15° | 45° | Jacksonville FL, New Orleans LA |
| 33° | 33° | 18° | 48° | Phoenix AZ, Dallas TX |
| 35° | 35° | 20° | 50° | Albuquerque NM, Memphis TN |
| 37° | 37° | 22° | 52° | San Francisco CA, Richmond VA |
| 40° | 40° | 25° | 55° | Denver CO, Indianapolis IN |
| 42° | 42° | 27° | 57° | Chicago IL, Boston MA |
| 45° | 45° | 30° | 60° | Minneapolis MN, Portland OR |
| 48° | 48° | 33° | 63° | Seattle WA, Fargo ND |
| 50° | 50° | 35° | 65° | Winnipeg MB, Vancouver BC |
| 53° | 53° | 38° | 68° | Edmonton AB |
| 55° | 55° | 40° | 70° | Prince George BC |
To use this chart, look up the latitude of your campsite (your phone’s GPS or a mapping app will show it), find the nearest row, and set your tilt bracket to the corresponding angle for the current season. If you fall between two rows, split the difference—precision to the nearest degree is unnecessary in practice.
Key Data & Reference Table
The following table consolidates the critical parameters, typical values, and practical notes an RV owner needs when optimizing solar panel tilt angle by latitude.
| Parameter | Typical Value / Range | Notes |
|---|---|---|
| Optimal year-round tilt | Equal to site latitude (±2°) | Simplest rule; works for latitudes 25°–55° |
| Seasonal summer adjustment | Latitude − 15° | Flatter angle for high summer sun |
| Seasonal winter adjustment | Latitude + 15° | Steeper angle for low winter sun |
| Energy loss from flat mounting | 10–25% (latitude-dependent) | Higher latitudes suffer greater losses |
| Energy gain from proper tilt | 15–25% vs. flat | Biggest gains in winter and at higher latitudes |
| Ideal azimuth (Northern Hemisphere) | 180° (true south) | Magnetic declination varies; use GPS or compass correction |
| Adjustable mount range (typical RV brackets) | 0°–45° or 0°–60° | Check product specs; some max out at 45° |
| Sun declination range | +23.45° to −23.45° | Drives seasonal angle changes |
| Peak sun hours (U.S. average) | 4–6 hours/day | Southwest U.S. highest; Pacific Northwest lowest |
| Cosine loss at 30° incidence | ~13.4% | cos(30°) = 0.866; significant over a full day |
| Cosine loss at 60° incidence | ~50% | cos(60°) = 0.50; severe loss at steep angles |
| Minimum practical tilt for rain/debris shedding | 5°–10° | Prevents water pooling and dirt accumulation |
Setting Your RV Solar Panel Tilt Angle at Any Campsite
- Determine your current latitude. Open your smartphone’s compass app, Google Maps, or any GPS device. Note the latitude to the nearest degree. For example, if you are camped near Flagstaff, Arizona, your latitude is approximately 35° N.
- Identify the current season and select the appropriate formula. Subtract 15° from your latitude for summer, use latitude as-is for spring/fall, or add 15° for winter. At 35° N in July, your target tilt is 35° − 15° = 20°.
- Confirm your panel orientation (azimuth). In the Northern Hemisphere, tilted panels should face true south (azimuth 180°). Use a compass and correct for magnetic declination at your location. In the western U.S., magnetic declination can be 10°–15° east, meaning magnetic south reads around 165°–170° on your compass. Many smartphone compass apps display true north automatically when location services are enabled.
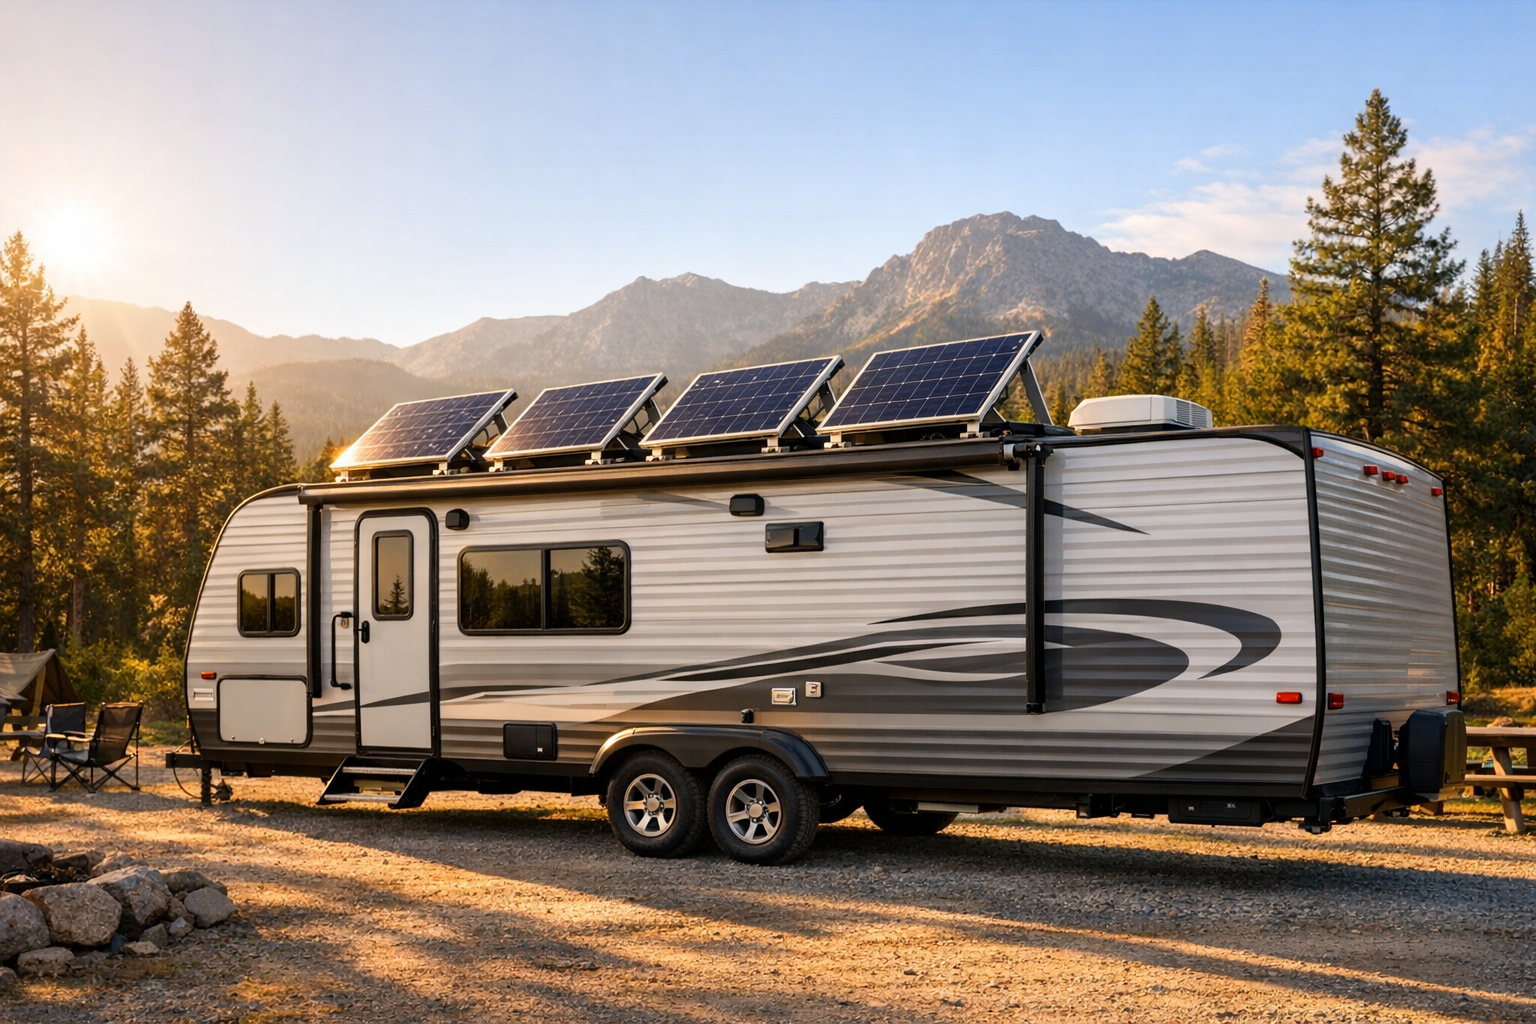
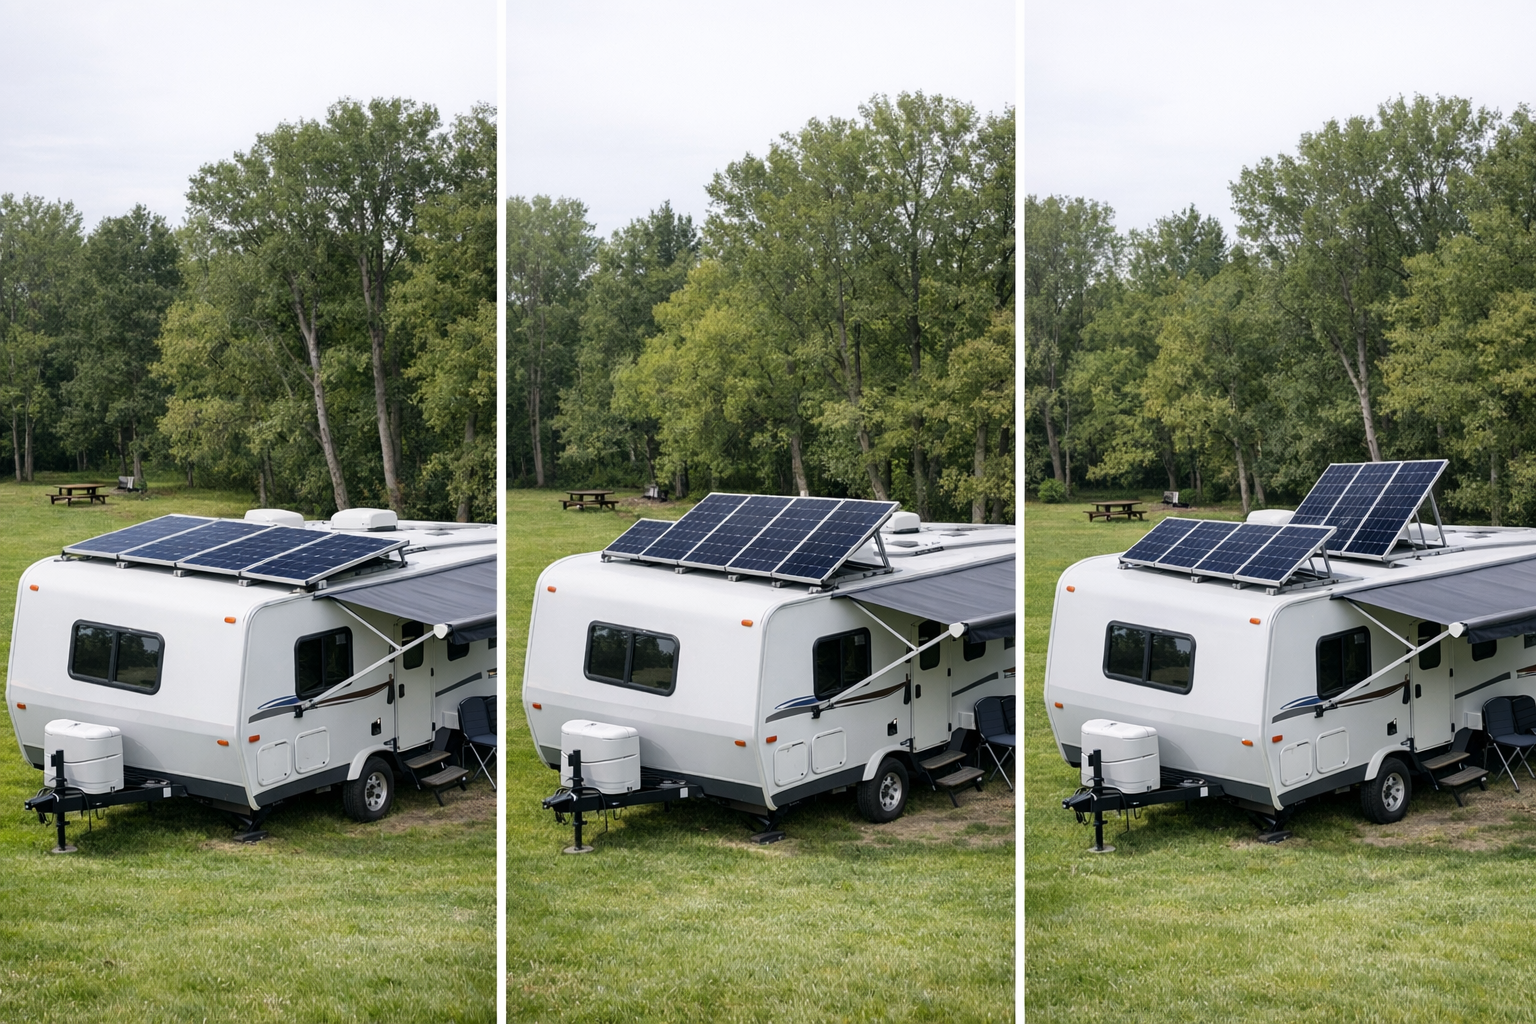
- Park your RV to favor a southern exposure. If possible, position your RV so the side with the solar panels faces south without obstructions. For roof-mounted panels, orient the RV so the tilt-up edge of the panel points north and the lower edge faces south.
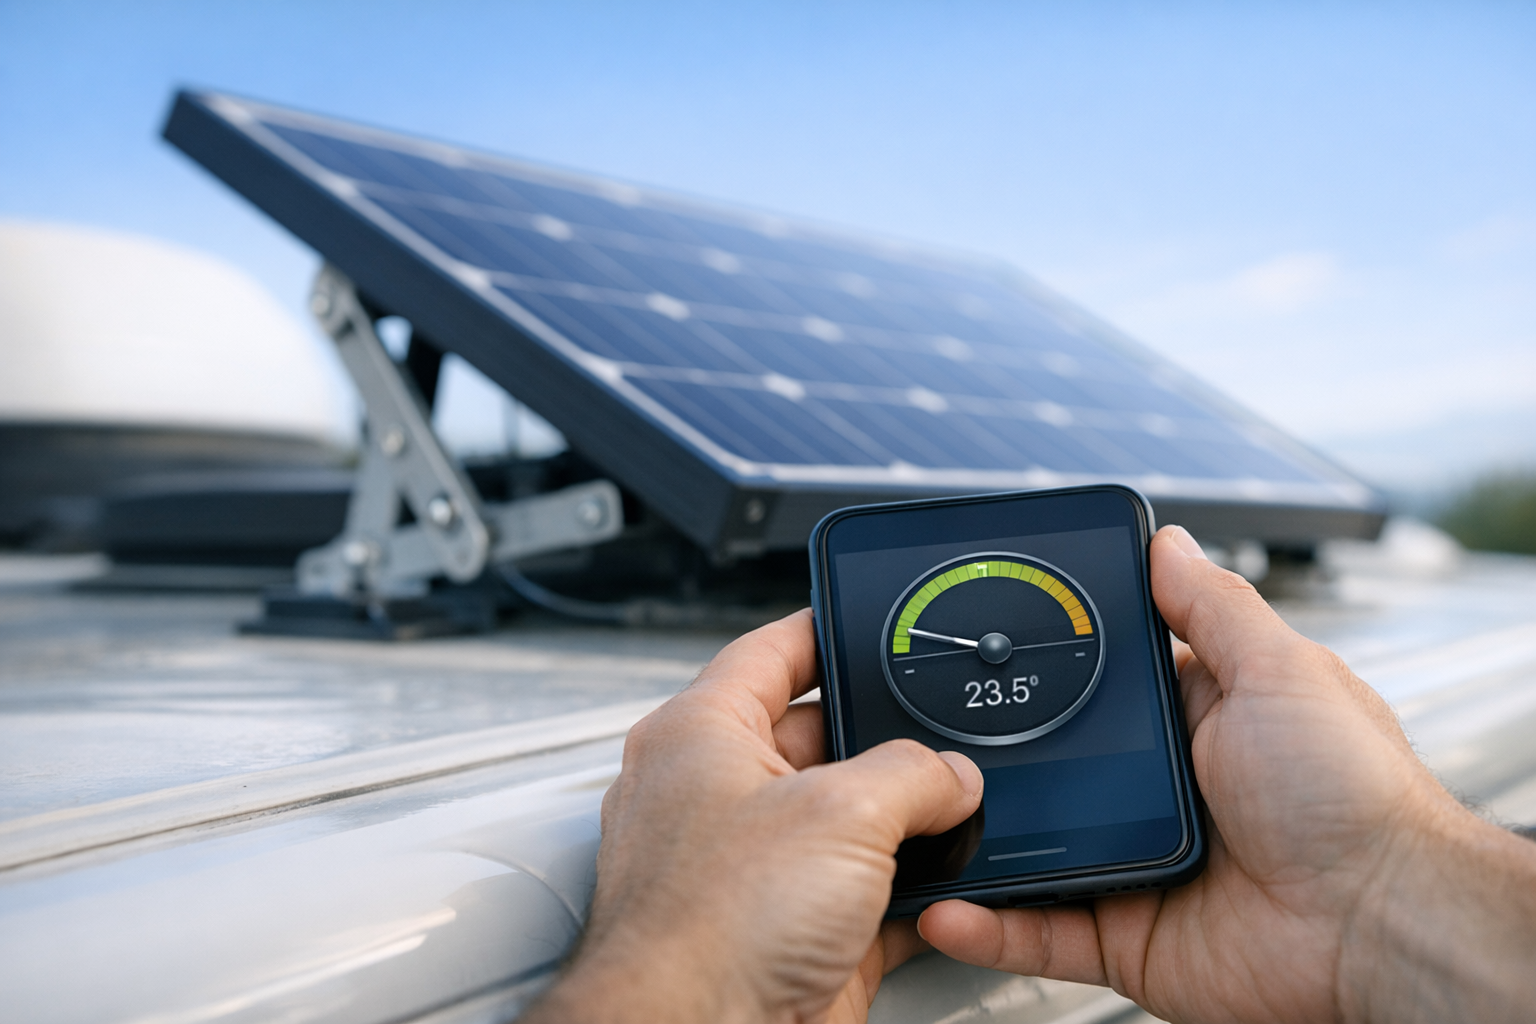
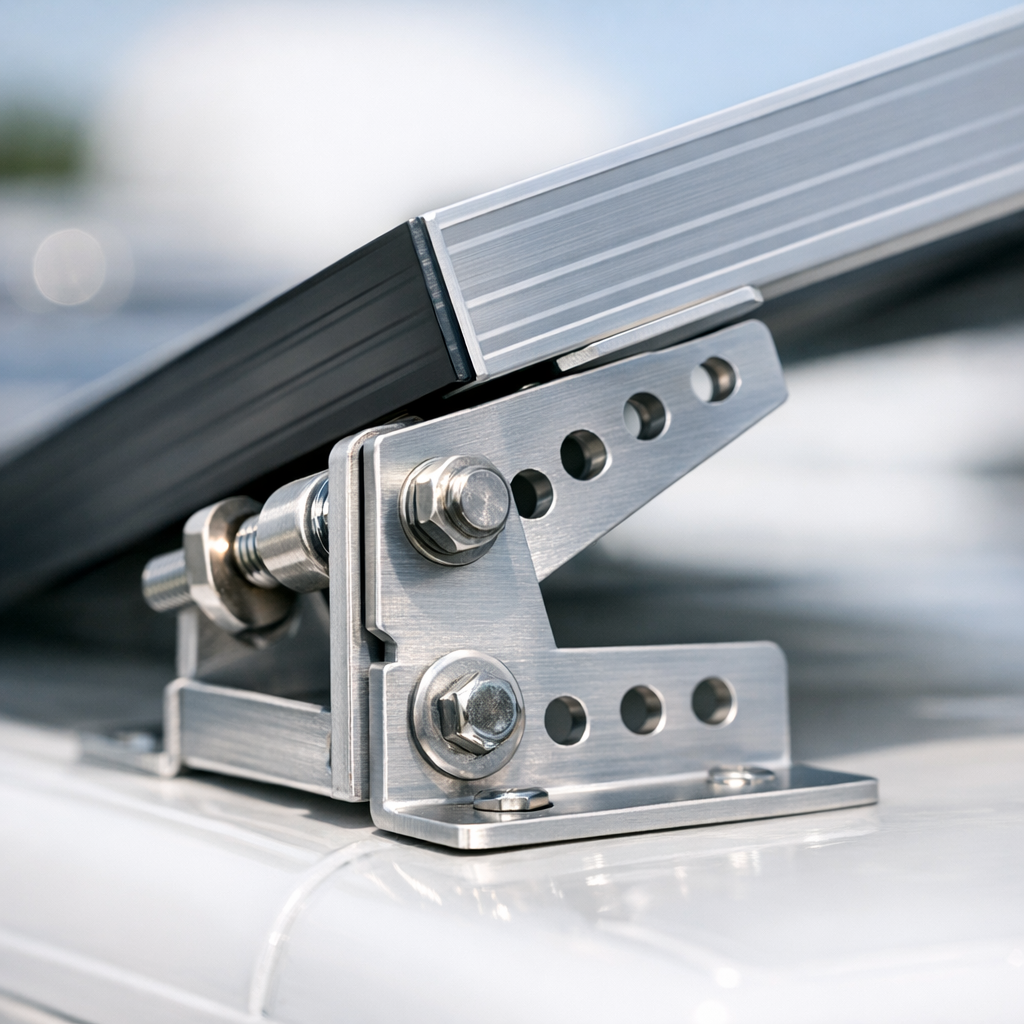
- Raise the tilt bracket or adjustable leg to the target angle. Most RV tilt mounts have pre-marked angle indicators or detent holes at 5° increments. Set the bracket to the nearest available position. If your mount lacks angle markings, use a free inclinometer app on your phone—place the phone flat on the panel surface and read the angle directly.
- Secure all fasteners and locking pins. Tighten wing nuts, slide locking pins into place, or engage the ratchet mechanism on your mount. Give the panel a firm push from several directions to confirm it will not shift in wind. Most RV tilt brackets are rated for 30–50 mph winds when properly secured, but always check the manufacturer’s specifications.
- Verify there is no shading on the panel surface. Walk around the RV and check for shadows from roof-mounted antennas, air conditioning units, vent covers, or nearby trees. Even partial shading on a single cell can reduce output by 30–80% on panels without bypass diodes, and 10–30% on panels with them. Reposition the RV or panel if necessary.
- Check your charge controller display for real-time output. After tilting, monitor your solar charge controller for 5–10 minutes. On a clear day at solar noon, a properly tilted 200 W panel should produce 160–190 W (accounting for temperature and wiring losses). If output seems low, recheck angle, orientation, and shading.
- Re-check and adjust at midday if needed. Solar noon (when the sun is at its highest point) is the best time to fine-tune your angle. If you set up in the morning, revisit the tilt at noon—even a 5° correction can produce a noticeable difference on your controller display.
- Lay panels flat and secure all hardware before driving. Lower all tilt brackets to 0°, retract adjustable legs, and tighten every fastener. Confirm that nothing protrudes above the RV’s roofline that could catch wind or low-hanging branches. Stow portable ground-mount panels inside the RV.
Worked Example
Given:
- Location: Denver, CO
- Latitude: 39.7° N (round to 40°)
- Date: October 15 (fall season)
- Solar array: 3 × 200 W panels = 600 W total
- Mount type: Adjustable roof-mount tilt brackets (0°–45° range)
- Panels face true south (azimuth corrected for ~8° east magnetic declination)
Step 1 — Determine tilt angle:
October is a fall month, so use the year-round formula: tilt = latitude = 40°. The brackets max out at 45°, so 40° is well within range.
Step 2 — Estimate sun elevation at solar noon:
The sun’s declination on October 15 is approximately −9.6°.
Solar noon elevation = 90° − latitude + declination = 90° − 40° + (−9.6°) = 40.4°
Step 3 — Calculate incidence angle on the tilted panel:
For a south-facing panel tilted at 40°, the incidence angle at solar noon ≈ |solar elevation − (90° − tilt)| = |40.4° − 50°| = 9.6°
Cosine factor = cos(9.6°) = 0.986 — nearly perpendicular.
Step 4 — Compare to flat-mounted panel:
For a flat panel (tilt = 0°), the incidence angle at solar noon = 90° − 40.4° = 49.6°
Cosine factor = cos(49.6°) = 0.648
A flat panel captures only 64.8% of the direct beam irradiance at noon, versus 98.6% for the tilted panel.
Step 5 — Estimate daily energy production:
Denver averages about 5.0 peak sun hours in October (NREL data). Applying a system derate factor of 0.80 (accounting for temperature, wiring losses, charge controller efficiency, and off-noon angles)
- Tilted at 40°: 600 W × 5.0 h × 0.80 × 0.986 ≈ 2,367 Wh/day
- Flat (0°): 600 W × 5.0 h × 0.80 × 0.648 ≈ 1,555 Wh/day
Step 6 — Calculate the gain:
(2,367 − 1,555) / 1,555 × 100 = 52.2% more energy from tilting at solar noon. Over the full day (including morning and afternoon hours where the advantage is smaller), the realistic all-day gain is approximately 25–35%.
In practical terms, this RV owner gains roughly 600–800 Wh per day simply by tilting the panels to 40°. At 12 V, that is 50–67 additional amp-hours—enough to run LED lights, charge laptops, and keep a compressor fridge running without touching a generator. The five minutes spent adjusting tilt brackets at camp setup pays for itself many times over.
Safety Considerations
- Never walk on solar panels. Even panels rated for moderate loads can develop micro-cracks in the cells that are invisible to the naked eye but permanently reduce output by 10–20%. Use designated walkways on your RV roof and reach panels from the edge.
- Disconnect or cover panels before adjusting mounts. Solar panels produce voltage whenever exposed to light. A 12 V nominal panel can output 20–22 V open-circuit. Touching exposed terminals or damaged wiring while the panel is active can cause electrical shock or arc burns. Drape an opaque blanket over the panel or disconnect the MC4 connectors before working on the mount.
- Secure all tools and hardware when working on the roof. Dropped bolts and wrenches can dent the RV roof, crack fiberglass, or injure people below. Use a magnetic tray or tool lanyard to keep hardware contained.
- Check wind conditions before leaving panels tilted unattended. A 200 W panel tilted at 45° presents roughly 7–8 sq ft of wind-catching surface. In sustained winds above 25–30 mph, lower panels to flat to prevent mount failure or panel detachment. If a storm is forecast, always flatten and secure panels.
- Use proper fall protection on large RVs. Class A motorhome roofs can be 12–13 ft above the ground. A fall from that height can be fatal. Use a harness and roof anchor if you must walk on the roof, or invest in ground-mount panels to avoid roof access altogether.
- Verify roof weight limits. Adjustable tilt mounts are heavier than flat Z-brackets. A set of four telescoping leg mounts can add 15–25 lbs to your roof load. Check your RV manufacturer’s roof load specifications before installing heavy-duty mounts, especially on lightweight travel trailers with thin roof substrates.
Frequently Asked Questions
- What is the simplest rule for setting solar panel tilt by latitude? Set your tilt angle equal to your latitude for the best year-round average energy production. If you are camped at 40° N latitude, tilt your panels to 40° from horizontal. This single-number rule captures the annual average sun position and is accurate enough for most RV applications without any additional math.
- Should I adjust my RV solar panel angle seasonally? Yes—seasonal adjustment can improve energy harvest by an additional 5–10% beyond the year-round setting. Subtract approximately 15° from your latitude in summer (when the sun is high) and add approximately 15° in winter (when the sun is low). In spring and fall, your latitude angle is already near optimal. For RV travelers who move frequently, adjusting the tilt each time you set up camp based on the current season is a practical and effective approach.
- Do flat-mounted RV solar panels still produce power? Flat-mounted panels absolutely still generate electricity, but they operate at reduced efficiency compared to properly tilted panels. The loss depends on your latitude and the time of year: at 30° latitude in summer, a flat panel may lose only 10–12%, while at 50° latitude in winter, the loss can exceed 35–40%. If your RV’s roof design or travel style prevents tilting, flat panels are still worthwhile—you simply need more total panel wattage to compensate for the angle loss.
- What is the best tilt angle for an RV in Florida? Florida spans roughly 25° to 31° latitude, so a year-round tilt of 25°–30° works well for most locations in the state. In summer, flatten panels to 10°–15° since the sun is nearly overhead. In winter, tilting to 40°–45° captures the lower sun more effectively. Because Florida receives strong solar irradiance year-round (averaging 5.0–5.5 peak sun hours per day), even modest tilting produces significant energy gains.
- Can I tilt solar panels while driving my RV? No. Tilted panels create aerodynamic lift and drag that can damage the mount, the panel, or the roof structure—and a detached panel on the highway is a serious hazard to other drivers. Always lower all tilt brackets to 0° and verify every fastener is tight before moving the vehicle. Portable ground-mount panels should be stowed inside the RV.
Conclusion
After setting your tilt angle, measure actual panel voltage under load at solar noon — a 5–15 percent gain over flat-mount confirms the adjustment is worthwhile. Log the date, latitude, and measured gain so you can compare when you revisit the angle next season. Re-check the mount hardware and panel clearance after your first highway drive, since vibration can loosen pivot bolts or shift the frame enough to change the effective angle. If your travel pattern covers a wide latitude range, a seasonally adjustable mount pays for itself in recovered watt-hours within a few months.