TL;DR: Quick Summary
- Plan the layout first: Measure roof space and plan the cable route to the controller before drilling or bonding anything.
- Seal and secure every penetration: Seal every roof penetration with butyl tape and self-levelling lap sealant — leaks cause more damage than undersized panels.
- Test before you button up: Connect battery to controller first, panels last, and verify polarity at every junction before energizing.
Introduction
Every RV solar installation succeeds or fails at two points: the roof seal and the connection order. A single unsealed screw hole can rot a roof deck over one rainy season, and connecting panels to a charge controller before the battery is connected can permanently damage the controller. Get those two things right and the rest of the job is straightforward, methodical work that most DIYers can complete over a weekend with common hand tools.
The finished result is a working rooftop charging system: panels mounted and sealed on the roof, wiring routed cleanly into the rig, a charge controller mounted near the battery bank, correctly sized fuses protecting every leg of the circuit, and an optional inverter for household-style outlets. You will also finish with a written record of your system’s specifications, a commissioning checklist you actually ran through, and the troubleshooting habits that separate a reliable off-grid setup from one that mysteriously stops charging in month three.
Before you touch a drill, understand the basic architecture. Sunlight hits the panels, which produce DC electricity at a voltage higher than your battery bank. The charge controller sits between the panels and the batteries, converting and regulating that power so the batteries charge safely. The batteries store the energy. An inverter, if you install one, converts battery DC power into AC power for standard household plugs. Every component in that chain must be sized against the others, which is why the first real step of this installation happens at your kitchen table with a calculator, not on the roof.
What You’ll Need
Gather everything before you start. Half-finished solar installs with wires dangling through a refrigerator vent are how leaks and shorts happen.
Core components:
- ☐ Solar panels — rigid glass panels for durability, or flexible panels for curved or weight-sensitive roofs (check the datasheet for rated wattage, open-circuit voltage, and short-circuit current; you will need these numbers for wiring decisions)
- ☐ Charge controller — MPPT strongly preferred over PWM for anything beyond a small trickle-charge setup, sized to handle your array’s total current and voltage with headroom
- ☐ Battery bank — lithium (LiFePO4) or AGM, with capacity matched to your calculated daily energy needs
- ☐ Inverter (optional) — pure sine wave, sized to the largest AC load you plan to run plus surge headroom from that appliance’s nameplate
- ☐ Solar extension cable rated for outdoor UV exposure, gauge (AWG) sized to your current and run length using a wire-gauge chart or the cable manufacturer’s sizing table
- ☐ Battery-to-controller cable, typically heavier gauge than the panel run because it carries higher current at lower voltage
- ☐ Fuses or DIN-rail breakers for the panel-to-controller leg and the controller-to-battery leg, plus a main battery fuse (Class T or ANL, per your battery manufacturer’s guidance)
- ☐ Cable entry gland (weatherproof roof pass-through) or a plan to use the refrigerator vent as your entry point
- ☐ Mounting hardware — Z-brackets or tilt mounts with stainless screws for a drilled install, or VHB tape plus adhesive-compatible mounts for a no-drill install
- ☐ Self-leveling lap sealant compatible with your roof material (rubber/EPDM, TPO, or fiberglass — this compatibility matters; the wrong sealant fails early)
Tools and safety gear:
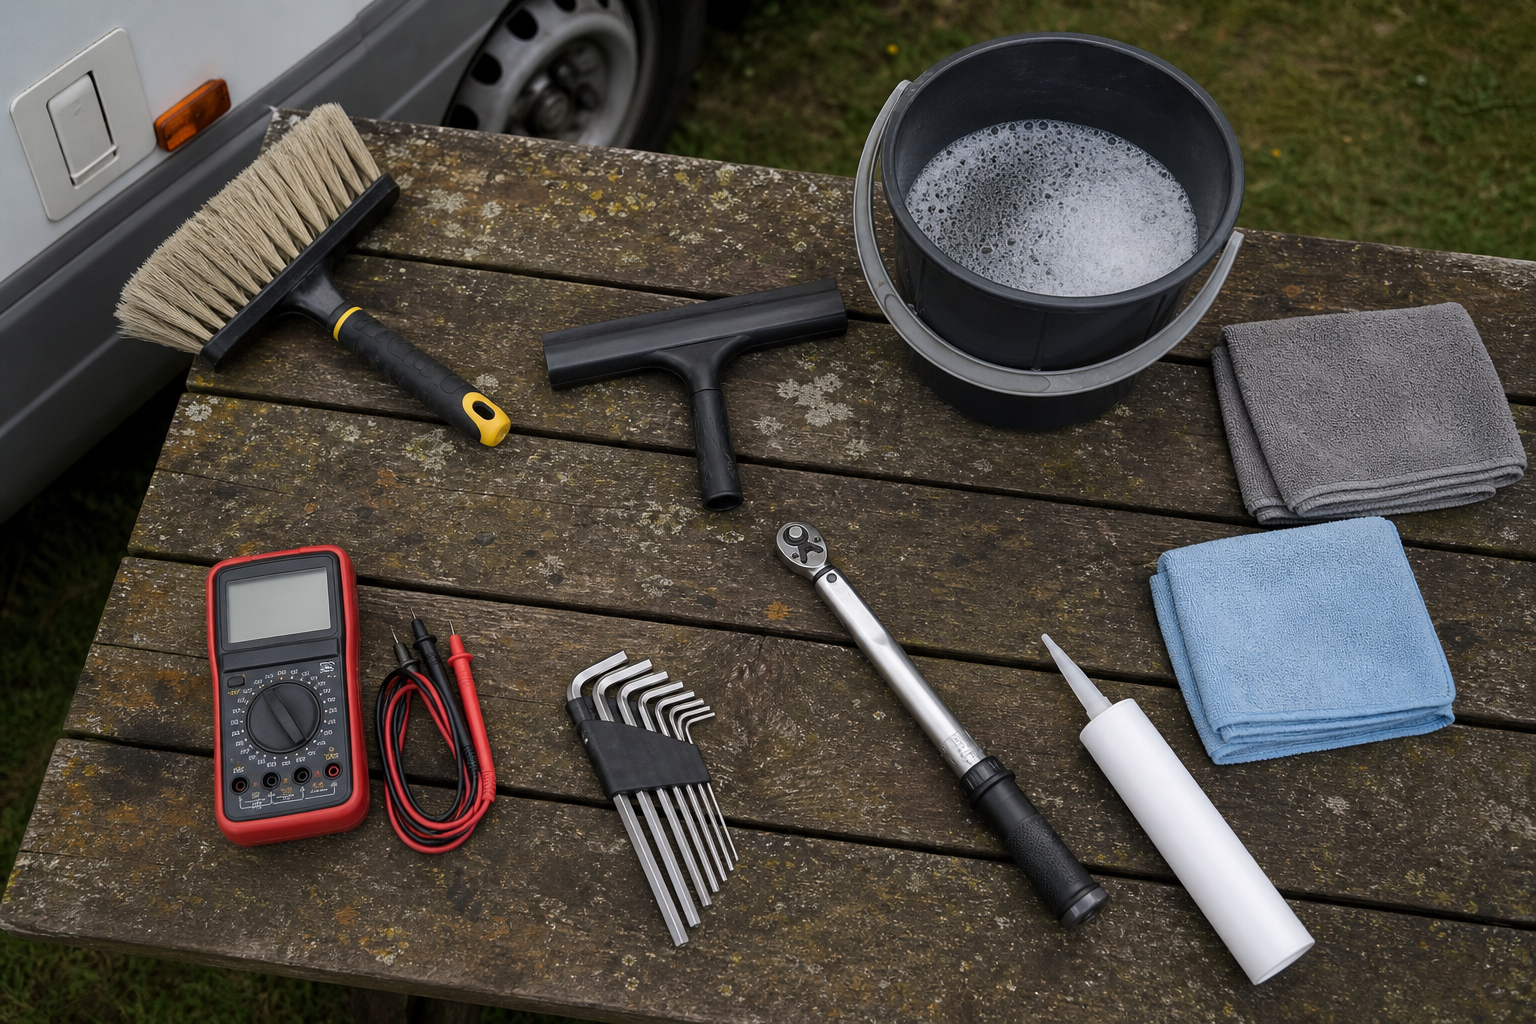
- ☐ Multimeter — non-negotiable; you will test polarity and voltage at every stage
- ☐ Drill with metal and wood bits, plus a screwdriver set
- ☐ Wire strippers, a quality crimper, and heat-shrink tubing with a heat gun
- ☐ MC4 crimping tool and spare MC4 connectors (the standard weatherproof solar connector)
- ☐ Isopropyl alcohol and clean rags for surface prep before any adhesive or sealant
- ☐ Butyl tape for bedding drilled brackets
- ☐ Cardboard or thick blankets to cover panels during wiring (panels are always live in sunlight)
- ☐ Safety glasses, work gloves, and a stable ladder — ideally a second person to spot you and pass panels up
- ☐ Painter’s tape and a marker for laying out panel positions on the roof
Prerequisite homework — your sizing worksheet. Do not guess your system size and do not copy someone else’s numbers. Every rig’s loads are different. Walk through your RV and, for each device you plan to run off solar, read the nameplate or manufacturer datasheet for its wattage, or measure actual draw with a clamp meter or plug-in power meter. Then estimate honest daily hours of use. Fill in a table like this for your own gear
| Device | Watts (from nameplate or measured) | Hours per day (your estimate) | Watt-hours per day (watts × hours) |
|---|---|---|---|
| (your appliance) | (measure) | (your value) | (calculated) |
| (your appliance) | (measure) | (your value) | (calculated) |
| (your appliance) | (measure) | (your value) | (calculated) |
| Total daily watt-hours | (sum of the right column) | ||
Then convert with two formulas
Daily amp-hours (Ah) = total daily watt-hours ÷ battery bank voltage (V)
Target array watts (W) = total daily watt-hours ÷ realistic daily sun hours, plus margin for clouds, panel angle losses, and system inefficiency
Your battery bank should comfortably cover that daily amp-hour figure — with extra margin if you use AGM batteries, which your manufacturer will specify should not be discharged as deeply as lithium. For sun hours, use the realistic number for the places and seasons you actually camp. This formula-first approach beats any rule of thumb, because a weekend camper running lights and a fan has completely different needs than a full-time boondocker working remotely.
☐ Prerequisite check: sizing worksheet completed, roof material identified, sealant compatibility confirmed, all component datasheets downloaded and saved.
Mounting the Panels, Running the Wiring, and Making the Connections
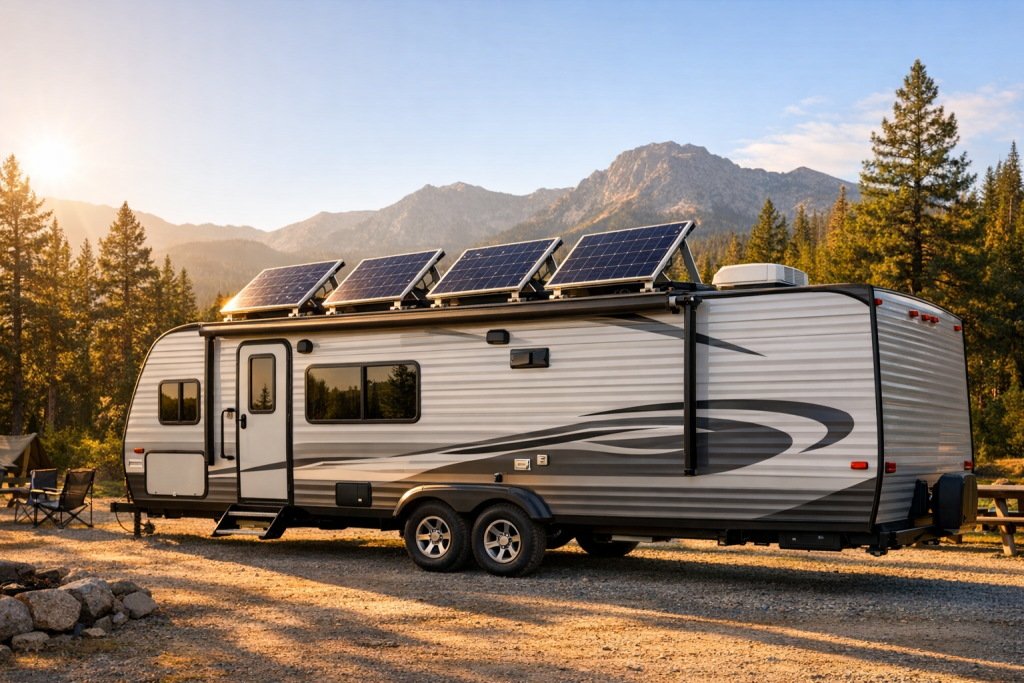
- Plan your panel layout and wiring route on paper, then on the roof. Get on the roof and map every obstacle: vents, antennas, the air conditioner shroud, skylights, and the seams between roof sections. Panels must clear all of these, and you should think about shading — an air conditioner shroud that shades a corner of one panel for half the day will drag down output more than beginners expect. Mark panel positions with painter’s tape, keeping panels a few inches from the roof edge for wind resistance and leaving yourself walking paths for future maintenance. Decide now where the wires will enter the rig: either through a dedicated cable entry gland (which requires one carefully sealed hole) or down through the refrigerator vent (no new holes, but a longer wire run). Trace the interior path from that entry point to where the charge controller will live — as close to the batteries as practical. Troubleshooting: if you cannot find an interior route without cutting into cabinetry, the refrigerator vent path is almost always the workaround, since the vent chase usually runs down to a compartment near the rig’s 12V systems.
- Bench-test every panel before it goes on the roof. In sunlight, set your multimeter to DC volts and measure each panel’s open-circuit voltage across its MC4 leads. Compare it to the datasheet’s open-circuit voltage specification — it should be in the same neighborhood on a clear day. A panel reading near zero or drastically low is defective, and finding that out now saves you unmounting a sealed panel later. Also confirm polarity: the lead marked positive should read positive on your meter. Troubleshooting: if voltage reads negative, your meter probes are simply reversed on the leads — label the leads clearly so you never wire reversed polarity into the system.
- Decide series versus parallel and pre-plan the array wiring. Wiring panels in series adds their voltages together while current stays the same; parallel keeps voltage the same and adds current. Series wiring uses thinner, cheaper wire and lets an MPPT controller start charging earlier in the day, but partial shade on any single panel drags down the entire string. Parallel wiring tolerates partial shading much better — a shaded panel only reduces its own contribution — but requires heavier wire and branch connectors. For RVs that park under trees or have roof obstructions casting shadows, parallel (or a series-parallel hybrid on larger arrays) is often the safer choice. Whatever you choose, verify that the array’s combined voltage and current stay within your charge controller’s maximum input ratings from its datasheet, remembering that panel voltage rises in cold weather. Troubleshooting: if your planned series string exceeds the controller’s maximum input voltage after the datasheet’s cold-temperature correction, split the array into parallel strings or choose a higher-voltage controller.
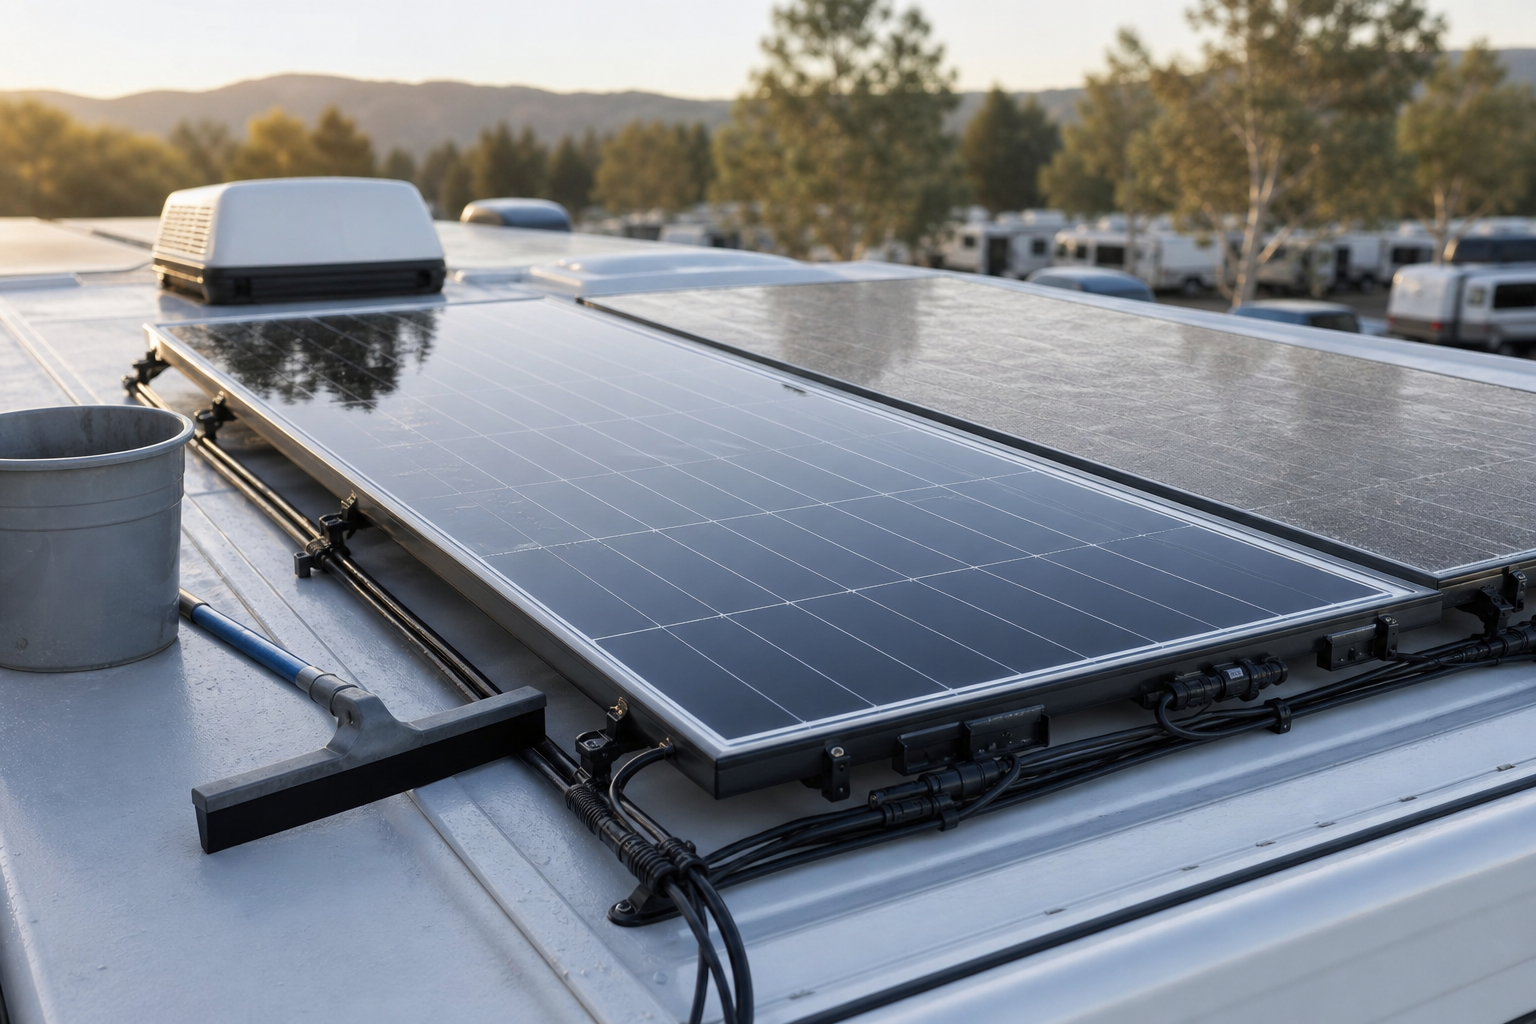
- Mount the panels — drilled brackets or VHB adhesive. For a drilled installation: position each panel with its Z-brackets, mark the holes, and drill pilot holes only through the roof skin. Put a strip of butyl tape under each bracket foot, drive stainless screws through the butyl into the roof, and you have the most mechanically secure hold available. For a no-drill installation: clean both the roof surface and the mount feet aggressively with isopropyl alcohol, apply VHB tape to the mounting feet, press each foot down with firm sustained pressure, and then run a bead of compatible sealant around the perimeter of each foot as a secondary bond and weather shield. VHB needs a genuinely clean surface and moderate temperatures to bond properly — do not attempt it on a chalky, oxidized, or cold roof. Flexible panels can be bonded directly with adhesive designed for the panel and roof material. Troubleshooting: if a VHB-mounted foot lifts at a corner when you tug-test it the next day, the surface was not clean enough or too cold during application — remove it, re-clean, and re-bond rather than hoping sealant alone will hold it at highway speeds.
- Seal every penetration with self-leveling lap sealant. This step protects your entire RV, so slow down. Cover every screw head, every bracket edge, and the entire base of the cable entry gland with a generous, continuous bead of self-leveling lap sealant matched to your roof material. Self-leveling sealant flows into gaps on horizontal surfaces; do not substitute household silicone, which fails under UV and does not bond well to rubber roofs. Work when the roof is dry and give the sealant its full cure time before pressure-washing or driving through rain if you can. Troubleshooting: if you spot a bubble or void in the cured sealant, add a fresh layer over the top — lap sealant is designed to be built up in layers.
- Run the wiring from the array to the charge controller location. Cover the panels with cardboard or blankets first — panels produce live voltage the moment sunlight touches them, and you do not want to make or break connections under load. Connect the panels to each other per your series/parallel plan using MC4 connectors, then route the main pair of extension cables across the roof, securing them every foot or so with cable clamps or adhesive mounts so nothing flaps at highway speed. Drop the cables through your entry gland or down the refrigerator vent chase, and seal the gland completely. Inside, route the wires to the controller location, protecting them from chafe wherever they pass through walls or near sharp edges. Keep this run as short and direct as practical, and use the wire gauge your sizing chart calls for — undersized wire on a long run wastes power as heat and voltage drop. Do not connect the array to the controller yet. Troubleshooting: if your MC4 connectors won’t click together, check that you crimped the correct male/female metal pins into the matching connector bodies; mismatched pins are the most common first-timer crimping error.
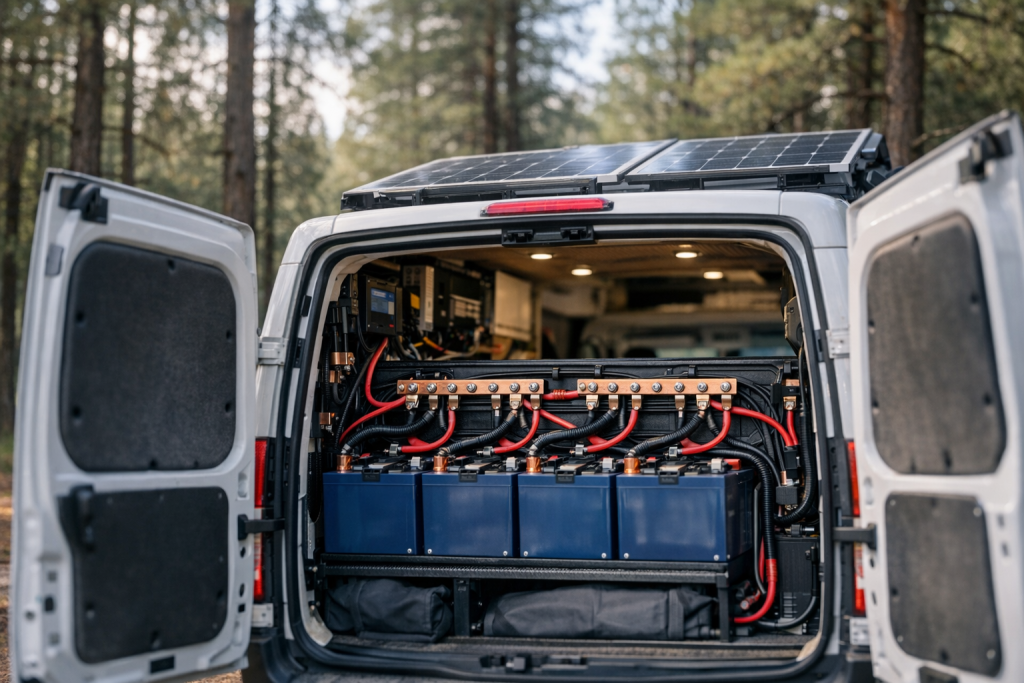
- Mount and wire the charge controller — battery side first. Mount the controller vertically on a wall close to the battery bank, with several inches of clearance around it for ventilation, and never directly above the batteries. Install a fuse or breaker in the positive cable between the controller and the battery, sized per the controller manufacturer’s instructions. With that fuse pulled or breaker off, connect the controller’s battery terminals to the battery bank — positive to positive, negative to negative — then insert the fuse. The controller should power up and display battery voltage. This order matters: nearly every charge controller must see the battery before it sees the panels, because it uses battery voltage to configure itself, and reversing the sequence can damage some units. Configure the controller for your battery chemistry — lithium and AGM use different charge voltage profiles, so check your battery datasheet and set the controller to match. Troubleshooting: if the controller does not power on, verify the battery fuse is seated, check polarity with your multimeter at the controller terminals, and confirm the battery itself holds a normal resting voltage.
- Connect the panel array to the controller and confirm charging. Install the fuse or breaker on the panel-to-controller positive leg, verify polarity of the incoming array wires with your multimeter one more time, and connect them to the controller’s PV input terminals. Now uncover the panels. Within seconds the controller should show PV voltage and begin charging — most controllers display incoming solar voltage, charge current, and battery state. Troubleshooting: if the controller shows zero PV voltage, check the roof MC4 connections for a half-seated connector; if it shows PV voltage but no charging current, the battery may already be full, or the controller’s battery-chemistry setting may be limiting charge voltage — verify the settings against your battery datasheet.
- Wire the inverter (optional). If you want household AC outlets, mount a pure sine wave inverter close to the battery bank — inverter cables carry high current and must be short, thick, and protected by an appropriately sized fuse near the battery per the inverter manufacturer’s instructions. Size the inverter by reading the nameplate of the largest AC appliance you intend to run and allowing headroom for its startup surge, which the appliance’s documentation or a clamp meter measurement will reveal. Connect the inverter directly to the battery bank, never through the charge controller. If you are integrating the inverter into your RV’s existing AC circuits rather than just using its built-in outlets, a transfer switch is required so shore power and inverter power can never feed the same circuit simultaneously — if that wiring is beyond your comfort level, this is the one part of the job worth handing to a professional. Troubleshooting: if the inverter alarms or shuts down when you start a load, the cause is usually undersized battery cables causing voltage sag, a load surging beyond the inverter’s rating, or a battery bank too depleted to hold voltage under load.
- Commission, label, and document the whole system. Run the full test sequence: confirm the controller shows charging in sunlight, watch battery voltage rise over an hour, then apply your typical loads and confirm the batteries carry them. Gently tug every crimp and check every terminal for tightness. Label every fuse, breaker, and cable at both ends. Photograph the roof layout, the wiring route, and the controller settings, and file them with your component datasheets. Finally, re-inspect all roof sealant after your first drive and again after the first hard rain. Troubleshooting: if charging performance seems weak on a clear day, check for partial shading on any panel, verify series-string panels are all connected (one open connector kills the whole string), and measure voltage drop across your wire run under load — a large drop means a loose connection or undersized wire.
Safety Considerations
- Panels are live in daylight. There is no off switch on a solar panel. Cover panels completely with cardboard or blankets before making or breaking any connection, and never disconnect MC4 connectors under load — the resulting arc can burn contacts and injure you.
- Connect the battery to the controller before the panels, and disconnect in reverse order. Panels-first can damage many charge controllers and leave you troubleshooting a dead unit on day one.
- Fuse every positive leg. Battery banks can deliver enormous fault current. A main battery fuse, a controller-to-battery fuse, and a PV-leg fuse or breaker are not optional extras; size each per the manufacturer’s documentation.
- Respect the roof. Use a stable ladder, wear shoes with grip, avoid working on a wet or frosty roof, and know where the soft spots and skylights are before you step. A helper on the ground makes panel handling dramatically safer.
- Battery hazards differ by chemistry. Lead-acid and AGM batteries can vent hydrogen gas while charging, so ventilate the compartment; lithium batteries must be charged with the correct voltage profile and, for many models, protected from charging below freezing. Remove metal jewelry before working near battery terminals — a wrench across terminals becomes a welding rod.
- Isolate before you work. Any time you go back into the system after commissioning, cover the panels, pull the PV fuse, and pull the battery fuse before touching wiring.
Always follow your component manufacturers’ documentation, and consult a qualified RV technician for any wiring you are not confident performing.
FAQs
- Can a beginner really install RV solar panels themselves? Yes, a basic rooftop system is well within reach of a careful DIYer with ordinary tools, and most people finish in one to two days. The skills required are drilling, crimping, sealing, and following a wiring order, none of which demand an electrician’s license; the only portion many DIYers outsource is integrating an inverter into the RV’s existing AC breaker panel.
- How do I know how many solar panels my RV needs? Add up the daily watt-hours of everything you actually run, using nameplate ratings or clamp-meter measurements rather than guesses, then divide that total by the realistic sun hours where you camp and add margin for clouds and inefficiency. That formula gives you a target array wattage tailored to your rig instead of a one-size-fits-all number that may be badly wrong for your usage.
- Do I need a charge controller, or can panels connect straight to the battery? You need a charge controller in any real installation, because panels output voltage higher than a battery’s safe charging voltage and an unregulated connection will overcharge and damage the battery. The controller regulates the charge, and an MPPT model additionally converts excess panel voltage into usable charging current, which is why MPPT is the standard recommendation for anything beyond a tiny maintenance charger.
- Should I wire my panels in series or in parallel? Series wiring raises voltage, allows thinner wire, and lets an MPPT controller begin charging earlier in low light, but shade on one panel pulls down the whole string. Parallel wiring tolerates partial shading far better, which makes it the more forgiving choice for RVs that park under trees or have rooftop obstructions casting shadows across the array.
- How do I attach solar panels to an RV roof without drilling holes? VHB tape combined with adhesive-compatible mounting feet and a perimeter bead of lap sealant is a proven no-drill method, provided the roof surface is thoroughly cleaned with isopropyl alcohol and the adhesive is applied in moderate temperatures. Drilled brackets bedded in butyl tape and covered in self-leveling sealant remain the most mechanically secure option, so weigh the decision by your roof material and how fast you drive.
- Are lithium batteries worth it over AGM for RV solar? Lithium (LiFePO4) batteries generally allow deeper usable discharge and carry higher rated cycle life than comparable AGM batteries — compare both datasheets for your specific models — and they weigh less per usable amp-hour. AGM remains a workable budget option if you size the bank larger to compensate for its shallower manufacturer-specified discharge depth, and either chemistry works with this installation as long as the charge controller is set to the matching profile.
Conclusion
Before sealing any roof penetrations, verify each panel’s open-circuit voltage and short-circuit current match the nameplate specs. Torque all mounting hardware to the fastener manufacturer’s rating and apply a self-levelling sealant rated for rooftop UV exposure. Run a full-sun charge test for at least two hours to confirm the controller is seeing expected wattage. Once the system is producing as expected, photograph your final layout and cable routing for future reference — the next maintenance session or expansion will be far easier with a visual record of what is already in place.