TL;DR: Quick Summary
- Inventory every load: List every electrical load with its wattage and estimate daily run-hours before sizing anything.
- Measure real draw: Measure actual draw with a clamp meter or plug-in monitor — nameplate ratings often overstate real consumption.
- Total and add losses: Total your daily watt-hours and add a loss margin based on your inverter and wiring specs before sizing batteries or panels.
Introduction
Watts ÷ volts = amps. Watts × hours = watt-hours. Watt-hours ÷ battery voltage = amp-hours. Those three equations — plus honest runtime estimates and a safety margin of roughly 20–30% — are the entire mathematical backbone of an RV energy audit. Everything else is measurement, bookkeeping, and judgment calls about how you actually camp.
An RV energy audit is the process of inventorying every electrical load in your rig, measuring or looking up how much power each one draws, estimating how long each runs per day, and rolling those numbers into a single daily watt-hour (Wh) and amp-hour (Ah) total. That total drives three downstream decisions: how big your battery bank needs to be, how much solar wattage you need to recharge it, and which loads you might want to eliminate or downsize.
Skip the audit and you’ll either overspend on capacity you never use or — more painful — undersize the system and find yourself rationing power on day two of a boondocking trip.
This guide walks through the audit as a repeatable procedure. Rather than hand you a table of “typical” appliance wattages, it teaches you where to find your specific numbers and how to plug them into the formulas. The worksheet rows below are intentionally blank — you fill them in for your RV, your gear, and your camping style.
| Factor | How to Determine It | Why It Matters |
|---|---|---|
| Device wattage (AC appliances) | Read the nameplate/label on the appliance, check the manufacturer’s datasheet, or plug it into a Kill A Watt–style meter and record actual watts while running. | Nameplate ratings are often peak, not average. Real measurement gives you a realistic daily energy figure. |
| Device current (12 V DC loads) | Use a DC clamp meter on the positive lead, or consult the device datasheet for amp draw at 12 V. | DC loads (lights, water pump, fans, fridge control boards) don’t show up on an AC meter — you must measure them separately. |
| Daily runtime (hours/day) | Log actual use over 2–3 representative days, or estimate based on how you camp (boondocking vs. hookups, summer vs. winter). | A high-wattage appliance that runs briefly can use less energy than a small load that runs all day. Runtime usually matters more than peak watts. |
| Duty cycle (cycling loads) | For fridges, furnaces, and thermostatic loads, measure the fraction of each hour the compressor or element is actually energized. | A thermostatically cycling load that runs only part of each hour averages far less than its running wattage. Ignoring duty cycle overestimates consumption. |
| System voltage | Check your battery bank nominal voltage (12 V, 24 V, or 48 V) from the battery spec sheet. | Amp-hour totals are voltage-specific. 1,200 Wh = 100 Ah at 12 V but only 25 Ah at 48 V. |
| Inverter efficiency | Read the inverter’s datasheet for peak and loaded efficiency. | Every AC watt-hour you pull costs extra DC watt-hours because of inverter losses. Ignoring this understates battery needs. |
| Usable battery capacity | Multiply rated Ah by the manufacturer’s recommended depth of discharge (DoD) for your specific chemistry and model. | Rated capacity ≠ usable capacity. Usable DoD varies by chemistry and by manufacturer — always check the datasheet. |
| Sun-hours for your region | Look up peak sun hours (PSH) for your travel area from a solar insolation map or NREL data; use the worst month you plan to camp in. | Solar panel wattage must be sized against realistic sun, not rated peak. Cloudy-season PSH can be half of summer’s. |
| Safety margin | Choose 20–30% extra headroom on top of calculated daily Wh. | Covers cold-weather capacity loss, cloudy days, aging batteries, and loads you forgot. |
What You’ll Need
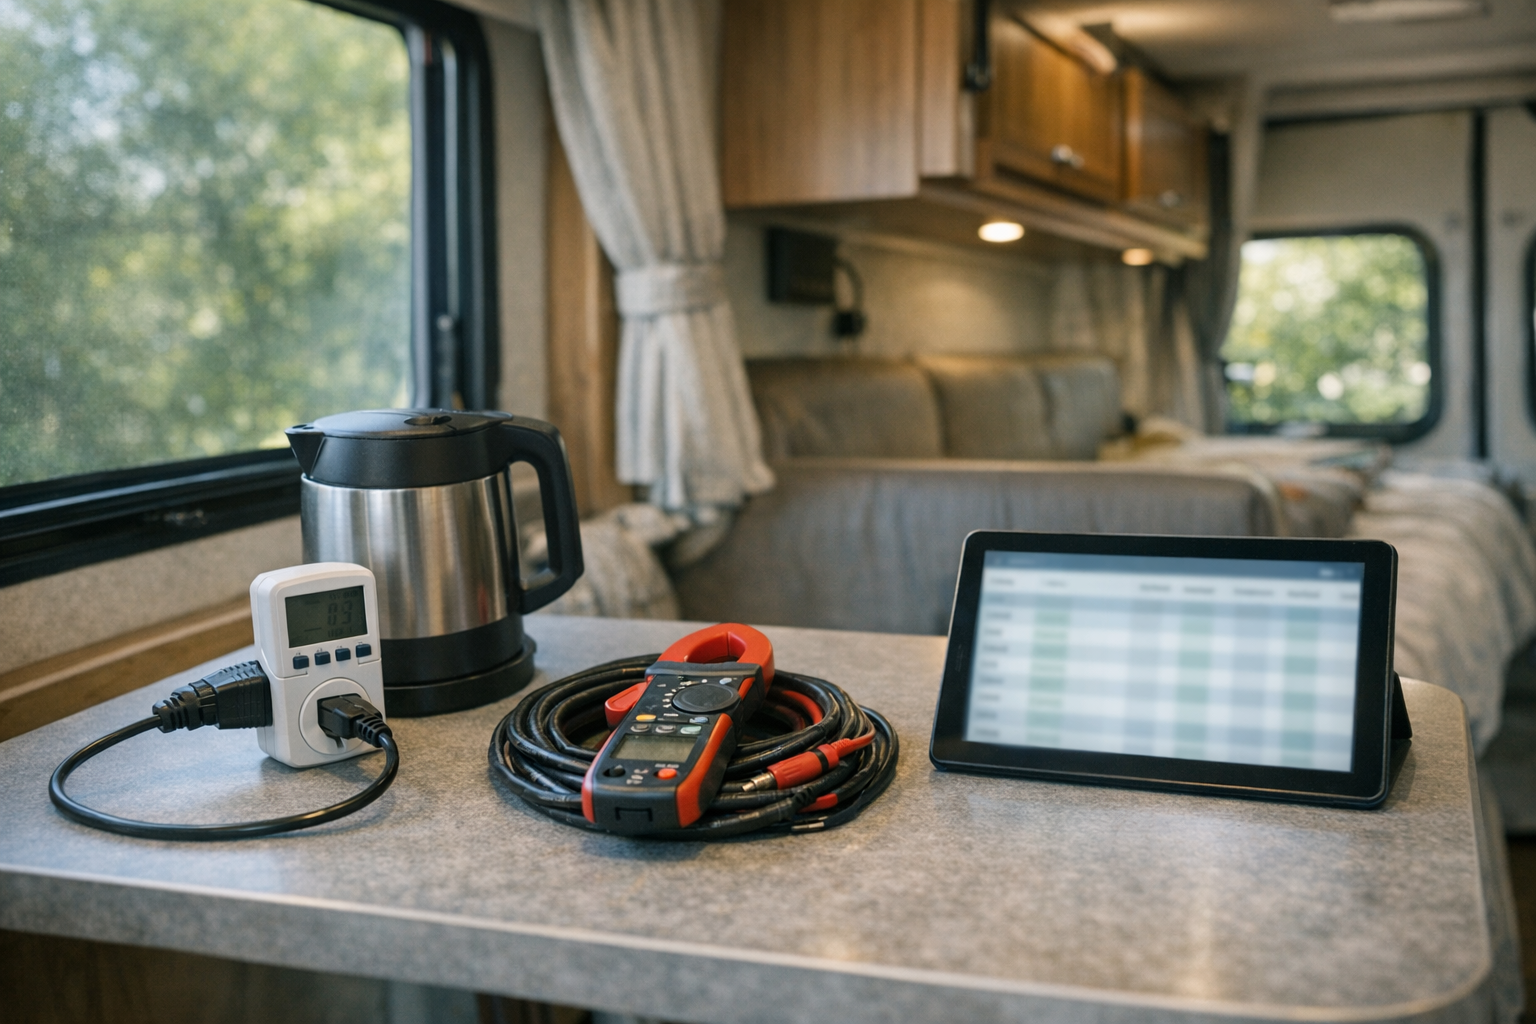
You don’t need a lab to audit an RV, but you do need a way to measure AC watts, DC amps, and (ideally) cumulative consumption over time. A pen and a spreadsheet handle the rest.
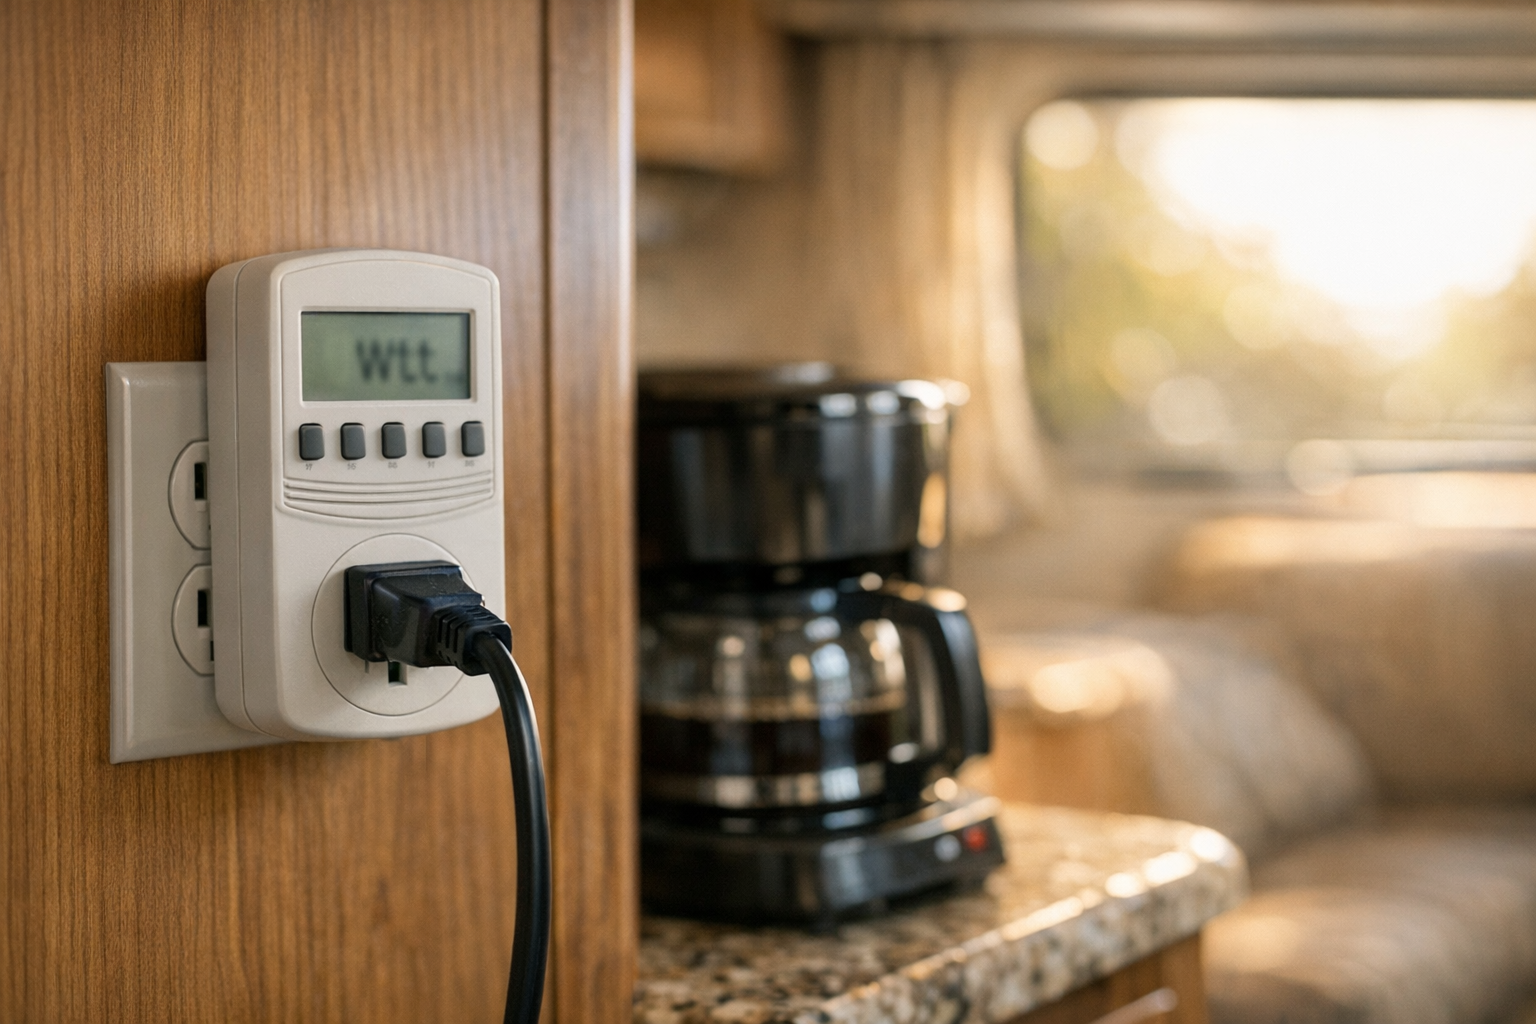
- Kill A Watt–style plug-in meter — measures watts, volts, amps, and accumulated kWh for any 120 V AC appliance you can unplug and re-plug through it. Best tool for fridges, microwaves, coffee makers, TVs, and chargers.
- DC clamp meter — a clamp meter rated for DC current (not just AC) to measure 12 V loads like LED lights, water pumps, roof fans, and DC fridges without breaking the circuit.
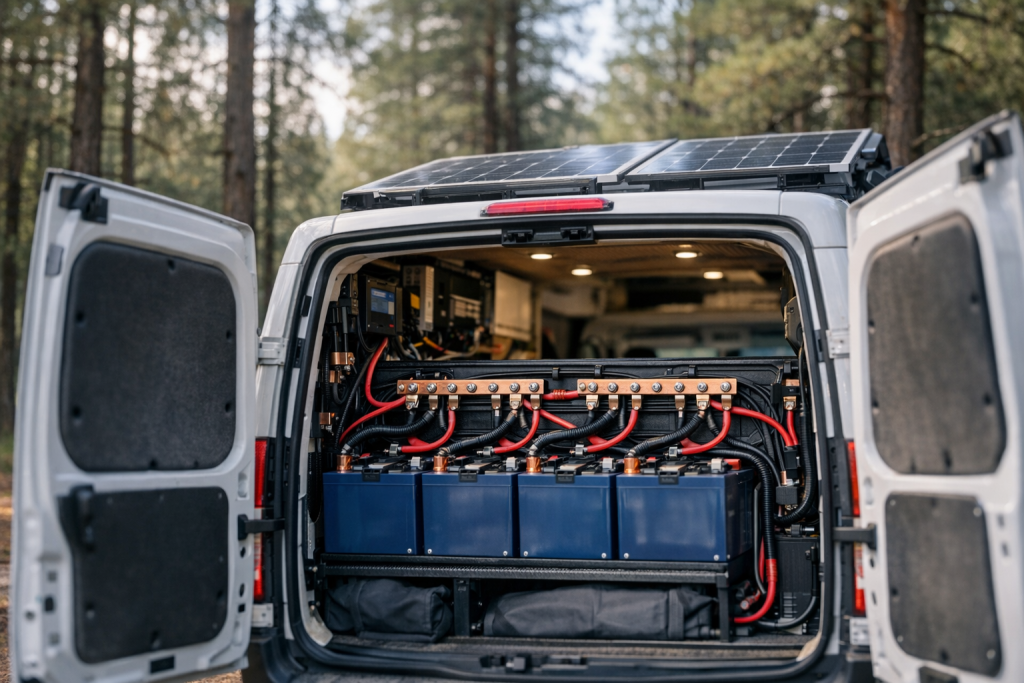
- Battery monitor / shunt — a shunt-based monitor (Victron BMV, Renogy, or equivalent) installed on the battery negative gives you real-time amps in/out and cumulative Ah consumed. This is the gold standard for a multi-day audit.
- Multimeter — for verifying nominal system voltage and spot-checking DC device voltage drops.
- Appliance nameplates and datasheets — every RV appliance has a label with wattage, amps, or both. Manufacturer PDFs fill in gaps where labels are vague.
- Spreadsheet or audit app — Google Sheets, Excel, or a dedicated RV load calculator. You need columns for device, voltage, watts, hours/day, Wh/day, and Ah/day.
- Notebook or logbook — for recording runtimes over 2–3 days of real-world use. Memory is unreliable; written logs are not.
- Inverter and charge controller specs — efficiency curves, idle draw, and max input ratings you’ll need in later steps.
Conducting Your RV Electrical Consumption Audit
Work through these steps in order. Don’t skip the inventory step even if you think you know what’s in your RV — almost everyone misses something (the propane detector, the antenna booster, the stereo memory circuit) the first time through.

- Inventory every electrical load in the RV. Walk the rig with a notebook and list every device that consumes power: ceiling lights, reading lights, exterior lights, water pump, furnace blower, fridge, range hood vent, roof fans, TV, stereo, microwave, coffee maker, toaster, laptop chargers, phone chargers, CPAP, electric blanket, propane/CO detectors, slide motors, leveling jacks, inverter idle, converter/charger idle, and anything plugged into a 12 V socket or USB port. Don’t forget parasitic loads — the radio clock, the fridge control board in propane mode, the stereo memory. Group the list into two columns: 120 V AC loads and 12 V DC loads, because you’ll measure them differently.
- Record voltage and wattage (or current) for each device. For AC appliances, the quickest path is the Kill A Watt meter: plug the meter into an outlet, plug the appliance into the meter, run the appliance normally, and record the watts displayed. For 12 V DC loads, clamp the DC meter around the positive lead and record amps, or read the device’s datasheet. If you only have a nameplate rating, flag that row as “nameplate — verify later,” because nameplates frequently overstate typical draw. For variable loads (fridge, furnace, inverter-driven electronics), record both the running wattage and an observation about how often it cycles.
- Estimate realistic daily runtime for each device. This is where audits usually go wrong. Write down hours/day for each device based on how you actually camp, not how you think you camp. For cycling loads like a fridge or furnace, use the compressor/burner on-time per 24 hours, not the total elapsed time it’s plugged in. The cleanest way to capture runtime is to log it for 2–3 days during a representative trip — a weekend of boondocking in shoulder season, for example. For appliances you rarely use (microwave, hair dryer, toaster), estimate in minutes per day, then convert: 6 minutes = 0.1 hour.
- Calculate daily watt-hours (Wh) for every row. The core formula is:
Wh/day = Watts × Hours/day
If you only have amps at 12 V, convert first: Watts = Volts × Amps. So a device pulling 4 A at 12 V is 48 W; if it runs 5 hours a day, that’s 48 × 5 = 240 Wh/day.
Worked example — illustrative only, assumed values: Suppose (for illustration) a reader measures a DC roof fan at 2.5 A at 12 V and runs it 8 hours a night. Power = 12 × 2.5 = 30 W. Daily energy = 30 × 8 = 240 Wh/day. Converted to amp-hours at 12 V: 240 ÷ 12 = 20 Ah/day. These numbers are for demonstrating the math only — your fan, your runtime, and your measurements will differ. - Apply inverter losses to AC loads. Any 120 V AC appliance powered from the battery through an inverter costs you more DC watt-hours than its AC consumption, because inverters are less than near its rated efficiency (check the spec sheet) under load and also draw a small idle current whenever they’re on. For each AC row, divide the AC Wh by the inverter’s loaded efficiency (from the datasheet) to get the DC Wh actually pulled from the battery. If your inverter datasheet lists 90% efficiency, a 500 Wh AC load becomes 500 ÷ 0.90 ≈ 556 Wh DC. Also add a line item for inverter idle draw if you leave the inverter on 24/7 — idle watts × 24 hours can be a surprisingly large number.
- Total your daily consumption in both Wh and Ah. Sum the DC Wh column across all devices (AC loads already corrected for inverter loss plus native DC loads). That’s your daily watt-hours. Divide by your system’s nominal battery voltage to get daily amp-hours:
Daily Ah = Total Daily Wh ÷ System Voltage
Worked example — illustrative only: Assume a hypothetical audit totals 1,800 Wh/day after inverter correction on a 12 V system. Daily Ah = 1,800 ÷ 12 = 150 Ah/day. On a 24 V system the same 1,800 Wh would be 75 Ah/day. The watt-hour number is the physics; the amp-hour number depends on what voltage you size your bank at. - Size the battery bank using usable capacity and days of autonomy. Decide how many days you want to run with zero solar input (days of autonomy, typically 1–3 for RV use). Multiply daily Wh by that number, then divide by the chemistry- and model-specific usable fraction from your battery’s datasheet:
Battery Wh required = (Daily Wh × Days of Autonomy) ÷ Usable DoD
Usable DoD varies widely — lead-acid (flooded/AGM) is typically specified far lower than LiFePO4, and even among lithium cells the manufacturer’s recommended cycling window differs by model. Always use the figure from your specific battery’s datasheet rather than a universal rule of thumb. Then add your 20–a margin sized to the component and load profile. Worked example — illustrative only: For a hypothetical 1,800 Wh/day load, 2 days of autonomy, a battery rated for 90% usable by its manufacturer, with 25% margin: (1,800 × 2) ÷ 0.90 × 1.25 = 5,000 Wh, or about 417 Ah at 12 V. - Size the solar array against local sun-hours. Solar production per day is roughly: Daily solar Wh = Panel wattage × Peak sun hours × System efficiency. System efficiency (panel derate, wiring loss, charge controller, battery acceptance) is a multi-factor derate you should estimate from your own components’ datasheets. Rearrange to solve for panel wattage:
Panel watts needed = Daily Wh ÷ (PSH × System efficiency)
Worked example — illustrative only: To replace 1,800 Wh/day in a region with 4 peak sun hours in your worst planned month, assuming a combined system efficiency of 0.80: 1,800 ÷ (4 × 0.80) = 563 W of solar. Round up to the next real-world array size (e.g., 600 W). Then size the MPPT charge controller so its max input current comfortably exceeds panel short-circuit current × 1.25, and confirm the panel array voltage fits the controller’s MPPT window. - Identify high-impact loads and reduce where possible. Sort your audit spreadsheet by Wh/day, descending. The top three to five rows usually account for the majority of your consumption. Decide whether each is worth the battery and solar it demands. Resistive heating loads (electric kettles, hair dryers, space heaters, induction cooktops) are the usual offenders and are often better served by propane. Residential fridges typically draw substantially more than compressor 12 V fridges — measure yours before deciding. Swap incandescent or halogen fixtures for LED. Put the inverter on a switch so it’s off when not needed.
- Re-audit and validate against real-world data. After a week or two with the system in use (or with a shunt-based battery monitor logging Ah in and out), compare your predicted daily Ah against the monitor’s reading. If you’re consistently off by more than 15–20%, revisit runtimes, inverter idle, or a load you missed. Repeat the audit annually, and any time you add a major appliance, change inverters, or shift from campground hookups to boondocking.
Safety Considerations
- Disconnect the battery bank at the main disconnect before installing or removing a shunt, and wear eye protection — even a brief short across a lithium or lead-acid bank can vaporize metal.
- Use a DC-rated clamp meter on DC circuits; AC-only clamp meters give meaningless readings on 12 V DC and can mislead your entire audit.
- Never rely solely on nameplate wattage for safety-critical calculations (wire sizing, fuse selection). Measure actual running and surge current with instruments.
- Respect inverter surge ratings separately from continuous ratings — motor- and transformer-driven loads like microwaves and air conditioners pull substantially more current at startup than when running, and the battery cables and fuses must handle that surge.
- When working inside the 120 V AC side of the RV (converter, shore power inlet, outlets), disconnect shore power and confirm with a voltage tester before touching conductors.
- Keep a fire extinguisher rated for electrical fires (Class C) within reach of the battery compartment, and ventilate lead-acid banks to prevent hydrogen accumulation.
This is general guidance, not a substitute for manufacturer instructions or a qualified electrician.
FAQs
- How long does an RV energy audit take? Plan on 1–2 hours to inventory devices and record nameplate/meter readings, plus 2–3 days of real-world runtime logging to get accurate hours-per-day numbers. A shunt-based battery monitor shortens the validation step because it logs actual Ah consumed in the background.
- Do I need both a Kill A Watt meter and a DC clamp meter? Practically, yes. A Kill A Watt only works on 120 V AC plug-in loads, while a DC clamp meter captures 12 V loads like lights, pumps, fans, and DC fridges that never touch an AC outlet. Using only one tool leaves half your RV unmeasured.
- How do I convert watts to amp-hours for my battery bank? First get total daily watt-hours (watts × hours, summed across all loads). Then divide by your nominal battery voltage: Ah/day = Wh/day ÷ V. A 12 V system converts 1,200 Wh to 100 Ah; a 24 V system converts the same 1,200 Wh to 50 Ah.
- Should I audit 12 V and 120 V loads separately? Yes. Keep two columns in your spreadsheet because the measurement tools differ and because AC loads carry an inverter efficiency penalty that DC loads don’t. Combine them only at the final Wh/day total.
- How do I measure phantom and parasitic loads? Turn off every deliberate load, leave the battery connected, and read the battery monitor’s net current draw — that residual amp reading is your parasitic load. Multiply by 24 to get Wh/day of “vampire” consumption from detectors, control boards, stereo memory, and inverter idle.
- Should I add a safety margin to my calculated daily consumption? Add roughly 20–30% on top of the audit total before sizing batteries and solar. That margin covers cold-weather capacity loss, cloudy days, aging batteries, inverter inefficiency variability, and loads you inevitably forgot to list.
Conclusion
An RV energy audit is fundamentally three things: a complete device inventory, honest runtime data, and the arithmetic that turns those into daily watt-hours and amp-hours. Once you have the daily Wh total, every downstream sizing decision — battery bank capacity, solar array wattage, charge controller rating, inverter size, cable gauge — falls out of formulas you can work on a single spreadsheet page.
The audit is also the single best investment of time before spending money on a power system. A few hours with a Kill A Watt meter, a DC clamp meter, and a logbook will save you from either the frustration of an undersized bank on day two of a boondocking trip or the wasted capital of a system two sizes too big.
Start with the inventory today. Fill in the wattages over the next week as you actually use each appliance. Log runtimes on your next trip. Total the Wh, divide by system voltage, apply your chemistry’s usable DoD, add your safety margin, and divide by local peak sun hours. That sequence — inventory, measure, total, size, verify — is the entire audit. Everything else is just keeping the spreadsheet current.