TL;DR: Quick Summary
- Inventory every load: List every electrical load with its wattage and estimate daily run-hours before sizing anything.
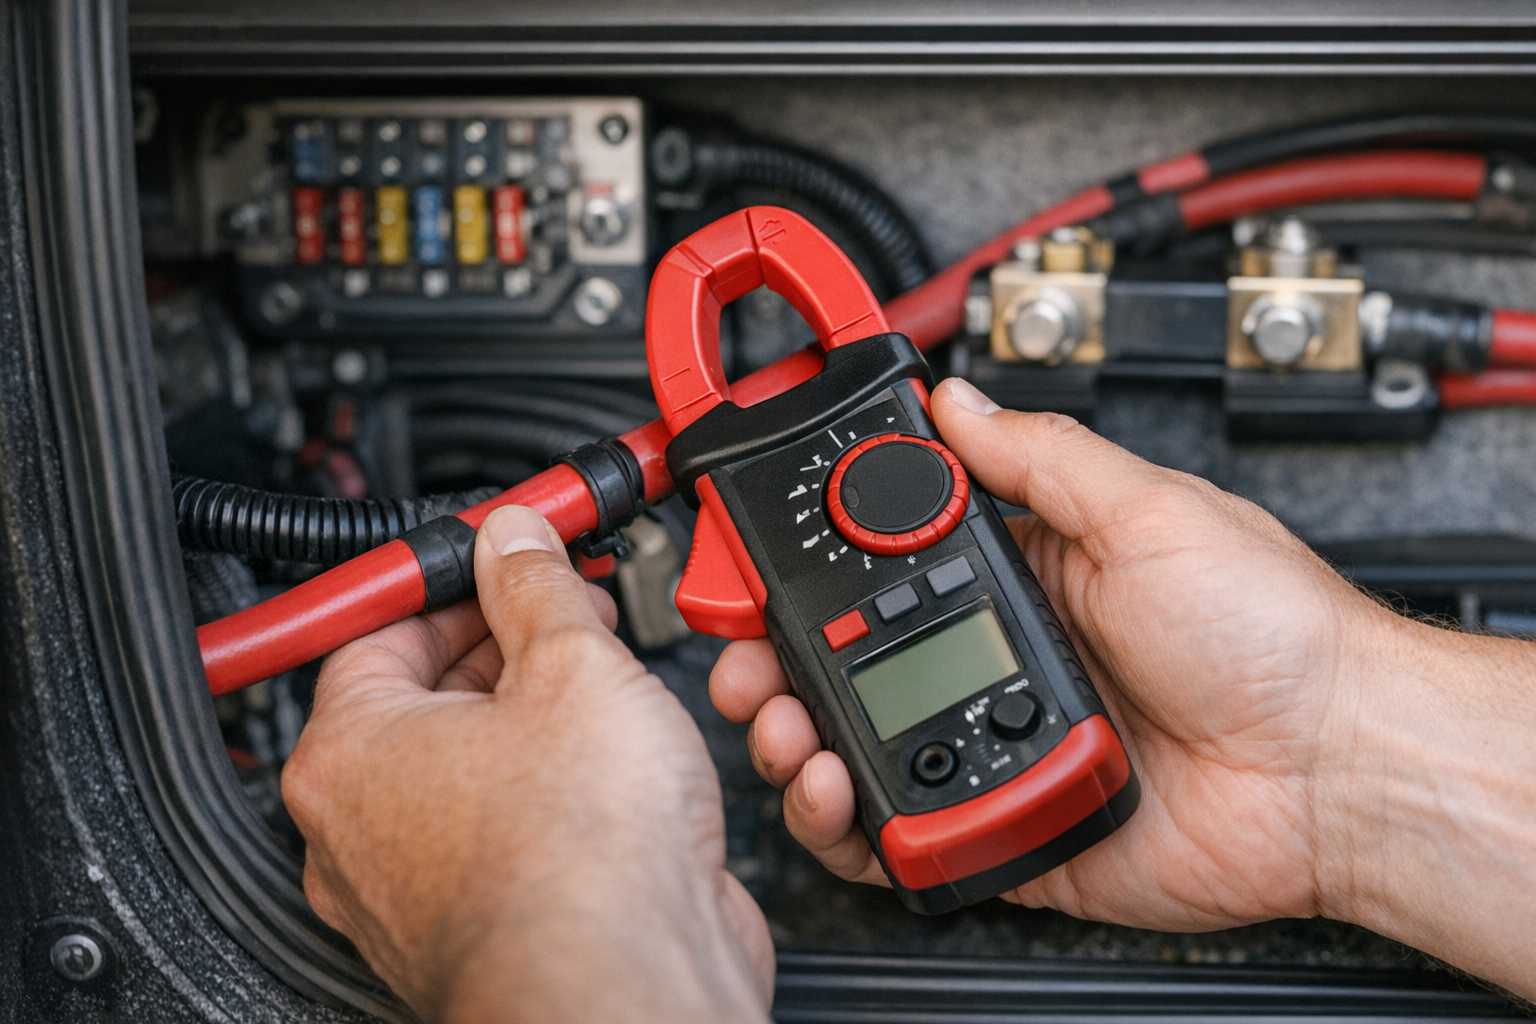
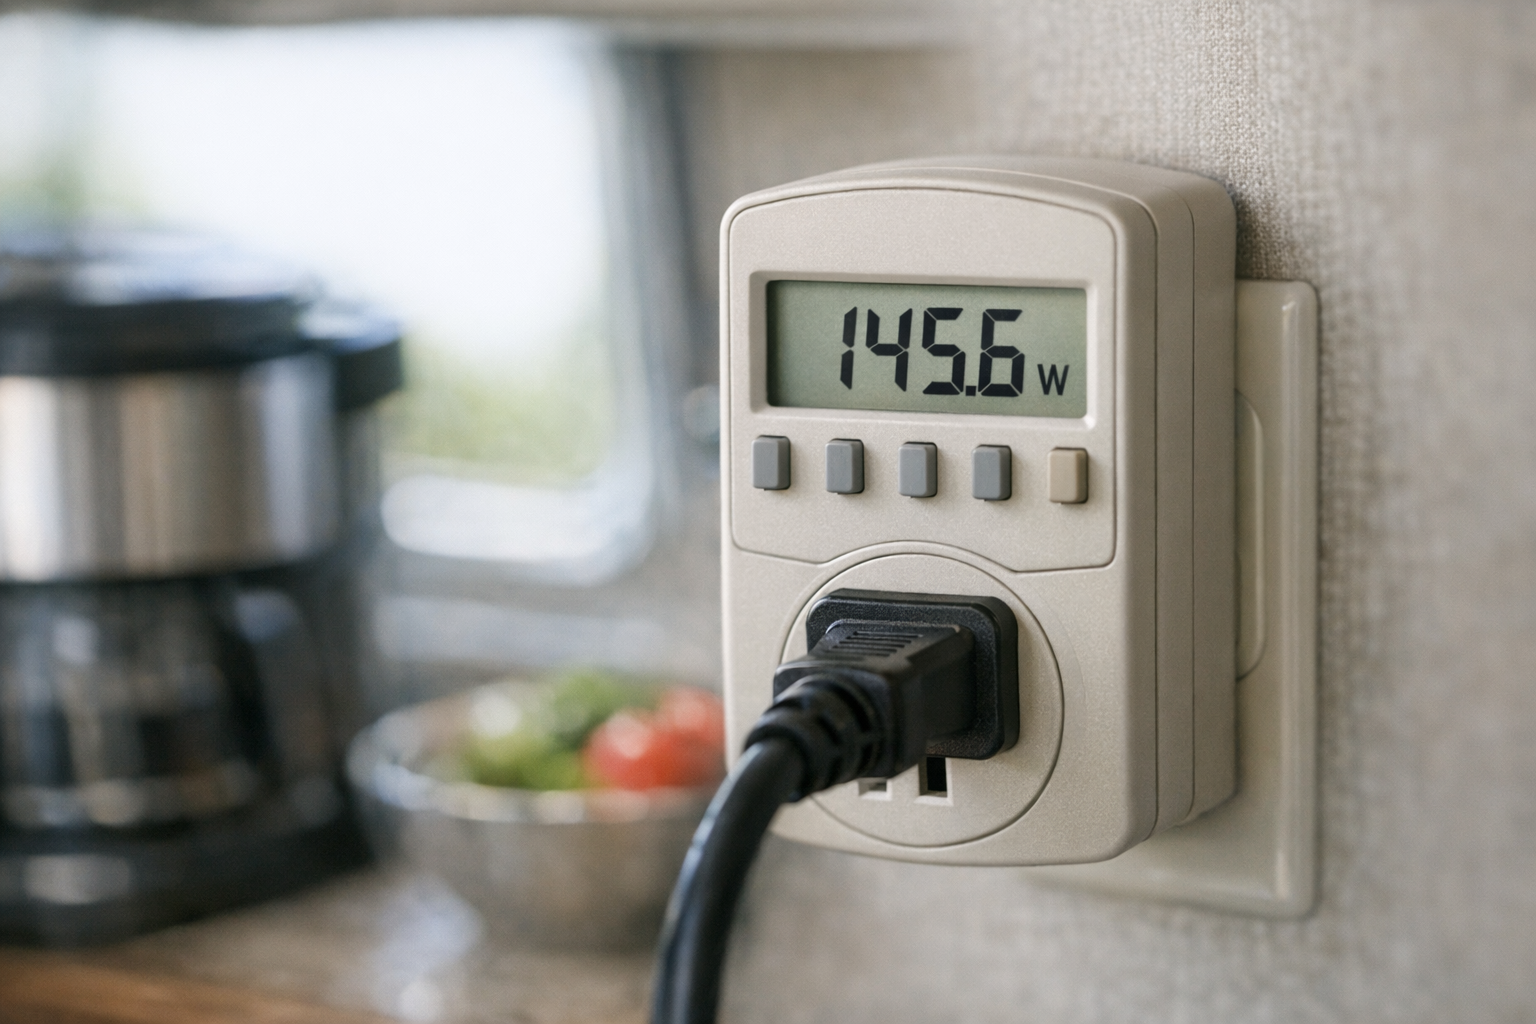
- Measure real draw: Measure actual draw with a clamp meter or plug-in monitor — nameplate ratings often overstate real consumption.
- Total and add losses: Total your daily watt-hours and add a loss margin based on your inverter and wiring specs before sizing batteries or panels.
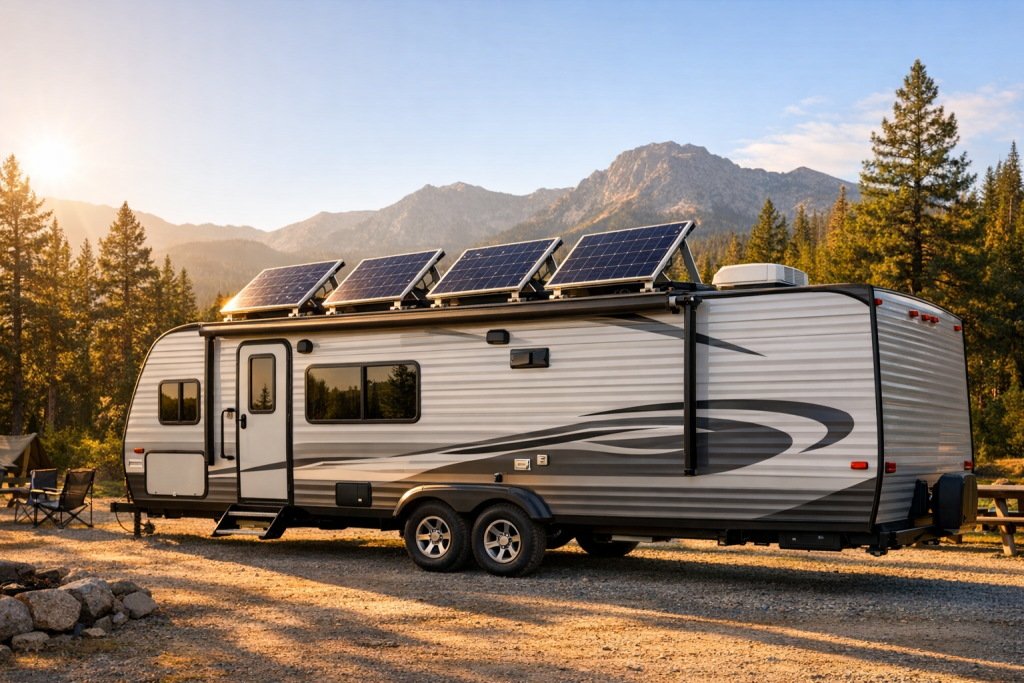
Introduction
An RV energy audit is arithmetic, not guesswork. The core formula is unforgiving in its simplicity: watts multiplied by hours of use equals watt-hours per day, and watt-hours divided by system voltage yields the amp-hours your battery bank must deliver. Get the inputs right and your battery bank, inverter, and solar array will all be sized to match the way you actually live in your rig. Get them wrong and you either haul around hundreds of pounds of unused capacity or find yourself in a dim camper at 2 a.m. wondering why the inverter shut off.
The audit itself is a structured inventory. Walk through the RV, list every device that consumes electricity, record its voltage and power draw from the nameplate or measure it directly, estimate how long it runs in a representative day, and roll those numbers into a daily total. From that total you derive battery capacity, inverter size, and solar wattage. The process typically takes one to two hours of focused work with a spreadsheet and a flashlight to read appliance labels in awkward locations.
The worksheet below is meant to teach you where to find each input — not to hand you defaults to copy.
| Factor | How to Determine It | Why It Matters |
|---|---|---|
| Device wattage (continuous) | Read the nameplate sticker, the manufacturer datasheet, or measure with a plug-in power meter for AC loads or a DC clamp meter for 12V loads. | This is the per-hour energy demand; every downstream calculation depends on it. |
| Device voltage (12V DC vs 120V AC) | Check the nameplate or the plug type. Anything plugged into a household-style outlet is AC; anything wired to the fuse panel is typically 12V DC. | AC loads must pass through the inverter and incur conversion losses; DC loads do not. |
| Daily run time | Observe a representative 24-hour period, or estimate based on duty cycle (e.g., a thermostatically controlled fridge cycles on and off rather than running constantly). | A high-wattage device used briefly may consume less daily energy than a small device left on continuously. |
| Inverter efficiency | Look up the efficiency rating in your inverter’s datasheet (typically a percentage at rated load). | AC consumption must be inflated to account for the conversion overhead, or your audit will undercount. |
| Phantom / standby loads | Use a clamp meter on the main DC bus with all “off” devices still connected, or check for LEDs and standby indicators. | Propane detectors, stereo memory, inverter idle current, and similar loads run 24 hours a day and add up. |
| Battery chemistry and depth of discharge | Refer to the battery manufacturer’s specification sheet for usable capacity at your target depth of discharge. | Lead-acid and lithium have very different usable fractions, which changes how big the bank must be. |
| Reserve buffer | Decide based on weather risk and travel style; common practice is to add a margin for cloudy days and underestimated run times. | A buffer turns a tight calculation into a resilient system that handles real-world variation. |
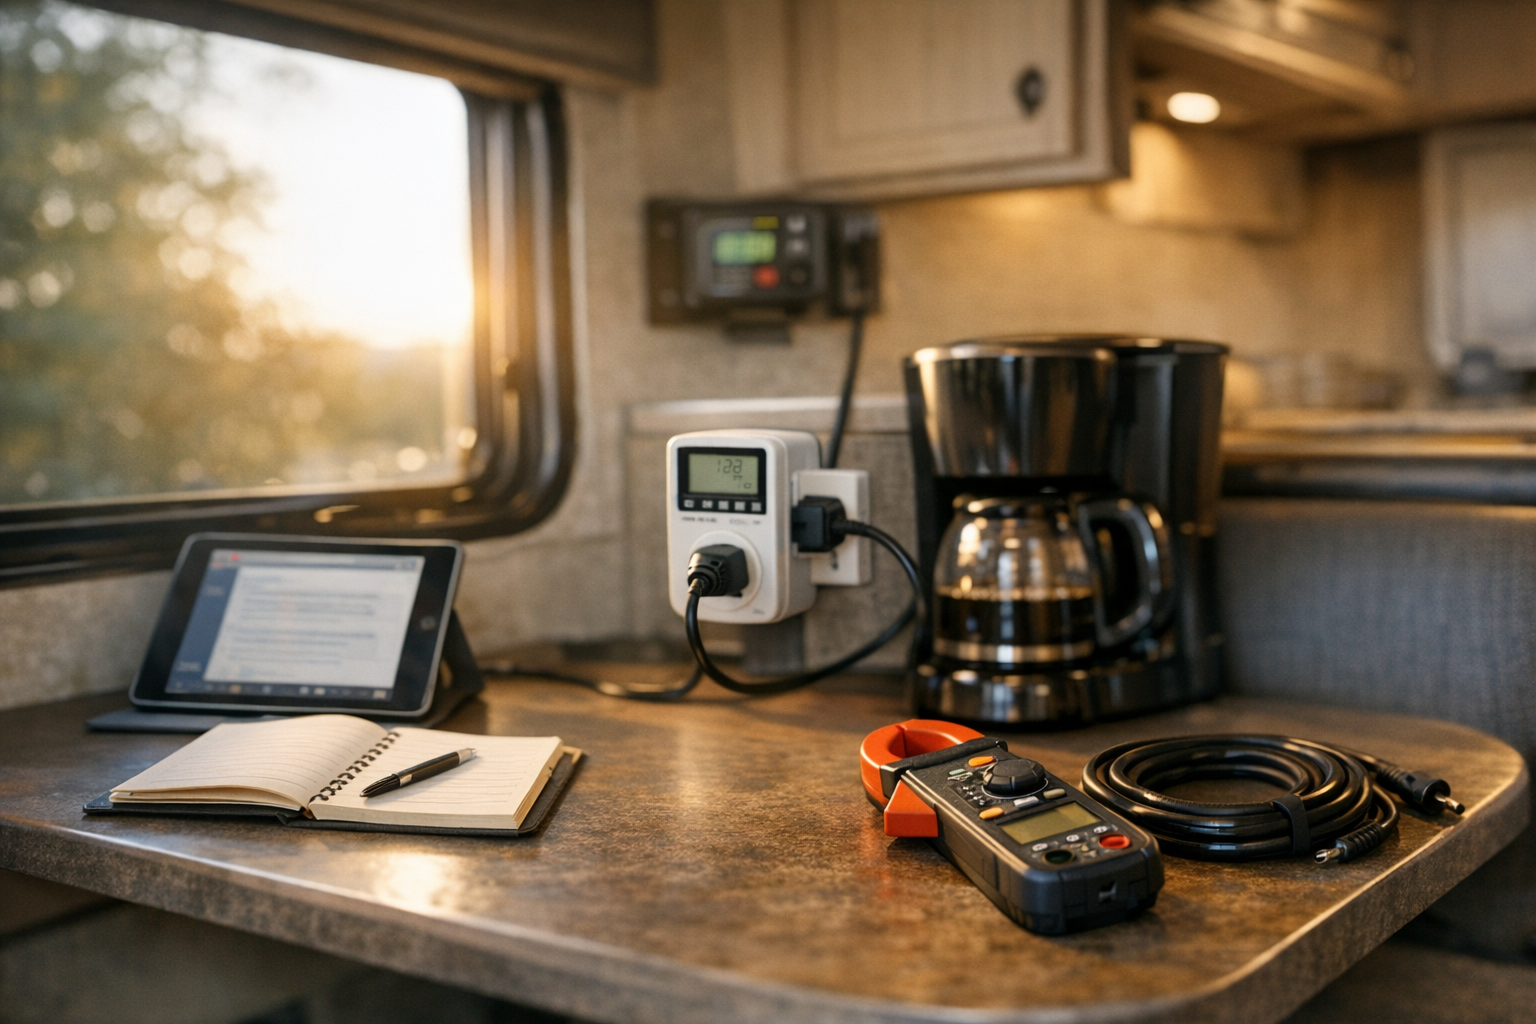
What You’ll Need
You can complete a credible audit with a notebook and the labels already on your appliances, but a few inexpensive instruments dramatically improve accuracy — especially for thermostatically controlled loads (fridges, water heaters, furnace fans) whose nameplate wattage tells you nothing about duty cycle.
- Spreadsheet or printed worksheet with columns for device, voltage, watts, hours per day, watt-hours per day, and amp-hours per day at 12V.
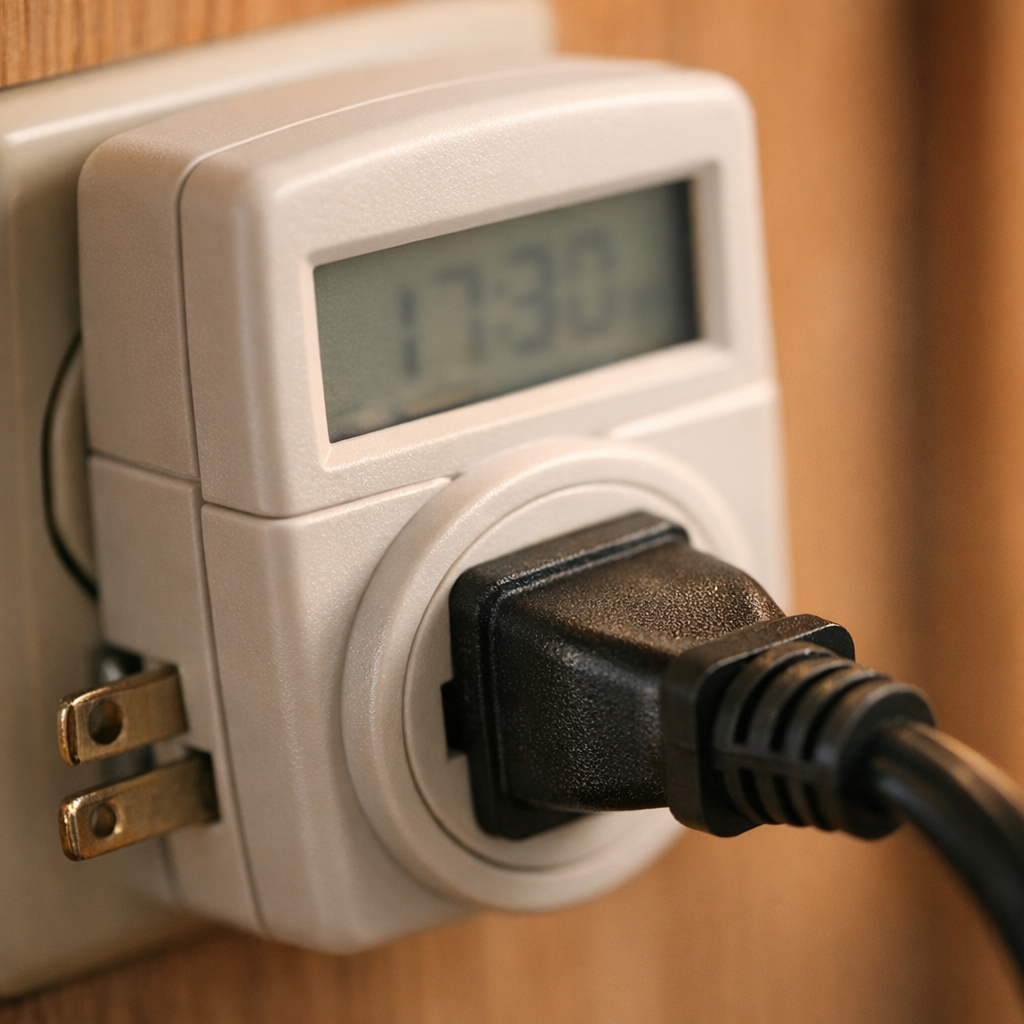
- Plug-in AC power meter (often called a Kill A Watt) that measures watts and accumulated kilowatt-hours over time for any 120V appliance.
- DC clamp meter capable of measuring DC current on a 12V (or 24V/48V) wire so you can read what individual circuits actually draw.
- Battery monitor or shunt (if installed) so you can verify total daily consumption against the sum of your line items.
- Inverter datasheet showing efficiency at typical load and idle (no-load) draw.
- Battery datasheet showing rated capacity and recommended depth of discharge.
- Solar charge controller datasheet or estimate for sun-hours in your typical camping region.
- Flashlight for reading nameplate stickers tucked behind appliances and inside cabinets.
- Notebook or phone camera for photographing labels you cannot copy down on the spot.
Conducting Your RV Energy Audit
- Inventory every electrical device in the RV. Walk through systematically — bedroom, bath, galley, living area, exterior bays, engine bay if applicable. Open every cabinet. Don’t skip the small stuff: USB chargers, water pump, propane/CO detector, slide motors, vent fans, inverter idle draw, stereo, TV antenna booster, refrigerator control board, furnace blower, water heater control board, and any aftermarket additions. Group by voltage: a “12V DC” list and a “120V AC” list. The single most common audit error is forgetting devices, especially small parasitic ones that run 24 hours a day.
- Record voltage and wattage for each device. For each line item, note the operating voltage (12V DC or 120V AC) and the rated wattage. The cleanest source is the nameplate sticker — usually small, often silver, often hidden. If the label gives you amps and volts instead of watts, multiply: W = V × A. If the label gives only a fuse rating, that is a maximum, not a typical draw, and you should measure instead. For thermostatically cycled loads (fridges, furnaces, water heaters on AC), the nameplate wattage is the running wattage, which you’ll later modify by duty cycle.
- Measure anything ambiguous. Plug AC devices into a power meter and let them run through a representative cycle — a fridge needs at least an hour, ideally several, to capture compressor on/off behavior. For DC circuits, clamp the meter around a single wire and observe both running current and idle current. Pay particular attention to your inverter’s no-load draw; an always-on inverter with even a modest idle current can dominate a small system’s daily total.
- Estimate daily run time per device. For each line item, write down hours per day at the rated wattage. Continuous loads (detectors, control boards) run 24 hours. Lights run only during dark waking hours. A fridge runs at its rated wattage only during compressor-on time — if it cycles roughly one-third of the time, your effective hours per day are about 8, not 24. Be realistic about device habits: a laptop charger draws full wattage only while charging, and tapers off once the battery is full.
- Calculate watt-hours per day per device. The formula is straightforward: Wh/day = W × h/day. Do this for every row.
Worked example — illustrative assumed values only, not defaults: Suppose you measured a small DC vent fan and recorded 18 W running, used 6 hours per day. Daily energy = 18 W × 6 h = 108 Wh/day. Suppose an AC laptop charger measured at 45 W is used 3 hours per day: 45 × 3 = 135 Wh/day. These numbers are placeholders for the exercise — your own measurements will differ.
- Convert AC watt-hours to account for inverter losses. Every AC watt-hour your inverter delivers costs more than one watt-hour from the battery, because the inverter wastes some energy as heat. Divide AC watt-hours by your inverter’s efficiency (as a decimal, per its datasheet) to get the battery-side draw. If your inverter datasheet shows 90% efficiency at typical load, an AC load consuming 100 Wh/day pulls 100 ÷ 0.90 ≈ 111 Wh/day from the battery. Add the inverter’s idle (no-load) consumption as its own line, multiplied by the hours per day the inverter is switched on. This idle line is often surprisingly large.
- Sum the watt-hours and convert to amp-hours. Add the battery-side watt-hours from every row to get total daily watt-hours. Then convert to amp-hours at your battery system voltage:
Ah/day = Wh/day ÷ System voltage.
Worked example — illustrative only: If your line items total 1,800 Wh/day on a 12V system, daily amp-hours = 1,800 ÷ 12 = 150 Ah/day. On a 24V system the same 1,800 Wh would be 75 Ah/day. The watt-hour figure is the universal one; amp-hours depend on the bus voltage you choose.
- Apply a reserve buffer. Real life is messier than a spreadsheet. Run times get underestimated, weather turns cloudy, a guest charges three devices instead of one. Use a sizing margin based on the component, load profile, and manufacturer documentation. Continuing the illustrative example, 150 Ah/day × 1.25 = 187.5 Ah/day as the design target.
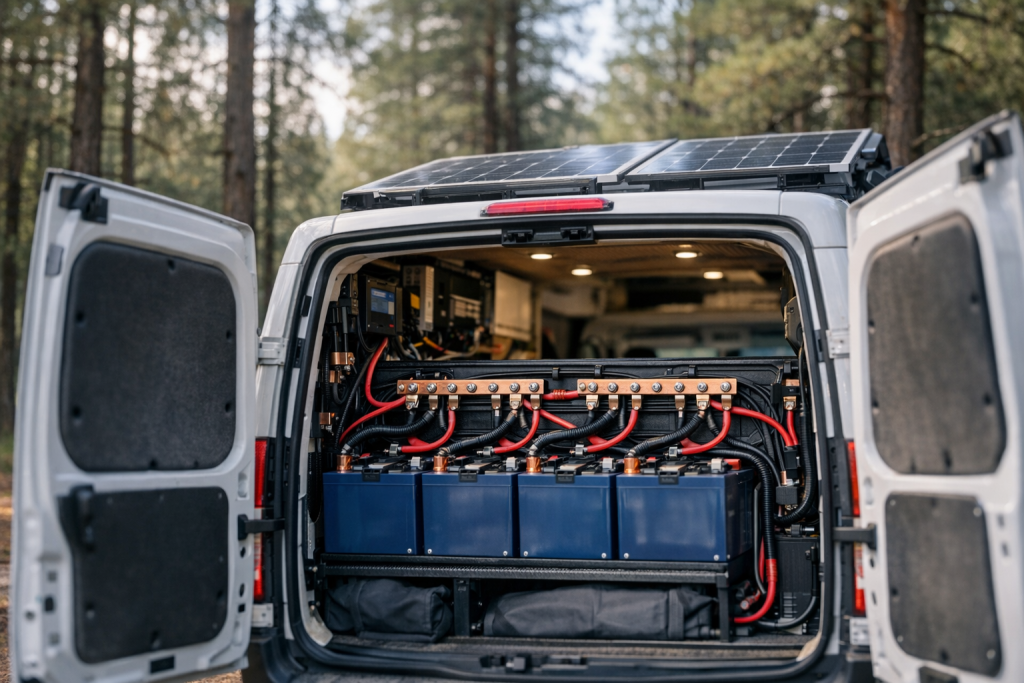
- Size the battery bank from the design target and your depth-of-discharge limit. Required nameplate capacity = Design target ÷ Usable fraction. The usable fraction is not universal — it depends on the chemistry and the manufacturer’s published recommendation for your specific battery (lithium chemistries typically allow a much larger usable fraction than flooded lead-acid). Pull the number from the battery’s datasheet rather than assuming a default. If you also want multi-day autonomy (the ability to ride out a cloudy stretch without solar input), multiply by the number of days of reserve you want before recharge.
Worked example — illustrative only, using assumed manufacturer figures: Using a 187.5 Ah/day target on a 12V lithium bank whose datasheet allows 80% usable capacity, with one day of autonomy: required capacity = 187.5 ÷ 0.80 ≈ 234 Ah. With two days of autonomy: ≈ 469 Ah. The same target on a lead-acid bank whose manufacturer recommends a 50% depth of discharge would need 375 Ah for one day. The chemistry and the manufacturer’s recommendation can roughly double or halve the bank size for the same workload.
- Size the solar array to recharge the daily target. Solar production is rated in watts under standard test conditions, but real-world harvest depends on sun-hours — the equivalent number of full-sun hours your location delivers per day on average. A useful starting formula:
Required solar watts = Design target Wh/day ÷ Sun-hours per day ÷ System efficiency factor.
The system efficiency factor accounts for charge controller losses, panel temperature derating, wiring losses, and shading; values around 0.7 to 0.8 are commonly used as planning numbers. Illustrative example: 1,800 × 1.25 = 2,250 Wh/day target. Dividing by 4 sun-hours and a 0.75 efficiency factor: 2,250 ÷ 4 ÷ 0.75 = 750 W of panels. The same workload in a 5.5 sun-hour region: 2,250 ÷ 5.5 ÷ 0.75 ≈ 545 W. Where you camp matters as much as what you run.
- Audit AC-only high-draw loads separately. Air conditioners, residential microwaves, induction cooktops, hair dryers, and electric kettles can dwarf the rest of the audit combined. Decide for each one whether it will run on shore power, a generator, or a dedicated lithium-and-solar subsystem. If you exclude them from off-grid sizing, document that decision explicitly so you don’t accidentally undercount when planning a boondocking trip.
- Sanity-check against a battery monitor. If you have a shunt-based battery monitor, run the rig on battery for a representative 24 hours and compare the monitor’s amp-hours-out reading to your spreadsheet total. Discrepancies are diagnostic: a higher real-world number usually points to forgotten phantom loads, longer-than-estimated run times, or inverter idle draw you didn’t include. Update the spreadsheet and recalculate.
Safety Considerations
- Disconnect or de-energize circuits before opening panels to read nameplates or place a clamp meter; even 12V systems can deliver hazardous fault currents through tools or jewelry.
- Use a DC-rated clamp meter on DC circuits — an AC-only meter will read incorrectly and may be unsafe at higher currents.
- Do not rely on fuse ratings as a substitute for measured or nameplate wattage; a 20A fuse only tells you the wire’s protection level, not the device’s actual draw.
- When sizing a battery bank from your audit results, confirm that wiring, fusing, and the battery management system are rated for the resulting currents — undersized cables on an upsized bank are a fire hazard.
- Ventilate any space where lead-acid batteries are charged; oversizing a bank without re-evaluating ventilation is a common mistake during an upgrade driven by an audit.
- Treat the inverter’s continuous and surge ratings as separate constraints — an audit that totals daily watt-hours says nothing about whether two large AC appliances can start simultaneously.
FAQs
- How do I calculate how much power my RV uses per day? List every device, record its wattage from the nameplate or a meter, multiply each by its daily run time to get watt-hours per day, divide AC loads by inverter efficiency, sum everything, and divide by system voltage to convert to amp-hours per day.
- Should I work in watt-hours or amp-hours? Watt-hours are the universal currency because they’re independent of system voltage, which makes comparisons and inverter calculations cleaner. Convert to amp-hours at the end, using the actual battery bank voltage, only when sizing the bank itself.
- How long does a thorough RV energy audit take? Most owners can complete a careful first pass in one to two hours with a spreadsheet, a flashlight to read labels, and a power meter for ambiguous AC devices. Expect to refine it over the next few trips as you compare estimates against a battery monitor.
- Should I audit AC and DC appliances separately? Yes — keep them in separate columns or groups so you can apply inverter efficiency only to the AC side. Mixing them together makes it impossible to apply the conversion correctly and obscures which loads benefit from being rewired as native DC.
- How do I handle phantom or standby loads? Treat them as 24-hour loads. With every “active” device powered off, use a clamp meter on the main DC feed to read the residual current, multiply by 24 hours and by system voltage to get daily watt-hours, and add that as its own line item before applying the buffer.
- What buffer should I add to my totals? Use a sizing margin based on the component, load profile, and manufacturer documentation. Higher buffers make sense for full-time boondockers; lower buffers can be acceptable for occasional users with frequent shore power.
Conclusion
An RV energy audit is the bridge between “I want to camp off-grid” and a system that actually works. The procedure is the same regardless of the size of the rig: inventory the loads, capture the voltage and wattage of each one from its nameplate or by direct measurement, estimate run times honestly, convert to watt-hours, account for inverter efficiency on the AC side, sum the total, apply a buffer, and translate the result into battery capacity and solar wattage using the formulas above.
The discipline that separates a useful audit from a misleading one is refusing to substitute generic “typical” values for your own measurements. Two RVs that look identical on the lot can have very different daily consumption depending on which fridge was specified, whether the inverter is left on around the clock, how many phantom loads have been added over the years, and how the owners actually live in the rig. Your nameplate readings, your clamp meter, and your run-time estimates are the only inputs that describe your situation accurately.
Once the spreadsheet is built, it becomes a planning tool that pays dividends well beyond the initial sizing exercise. Considering a residential fridge swap? Drop the new wattage and duty cycle into the relevant row and watch the daily total update. Planning a longer boondocking trip? Multiply the daily target by your reserve days and see whether the existing bank covers it. Wondering whether a larger inverter’s higher idle draw is worth it? Add the new idle line and compare. The audit you build today is the design document you’ll keep returning to every time the rig changes or the way you use it changes.
Start with a careful first pass this week, validate it against a battery monitor over your next few outings, and refine the numbers as you learn. The goal isn’t perfection on the first try; it’s a quantitative model of your power use that’s accurate enough to size the next battery, the next solar panel, or the next appliance with confidence rather than guesswork.