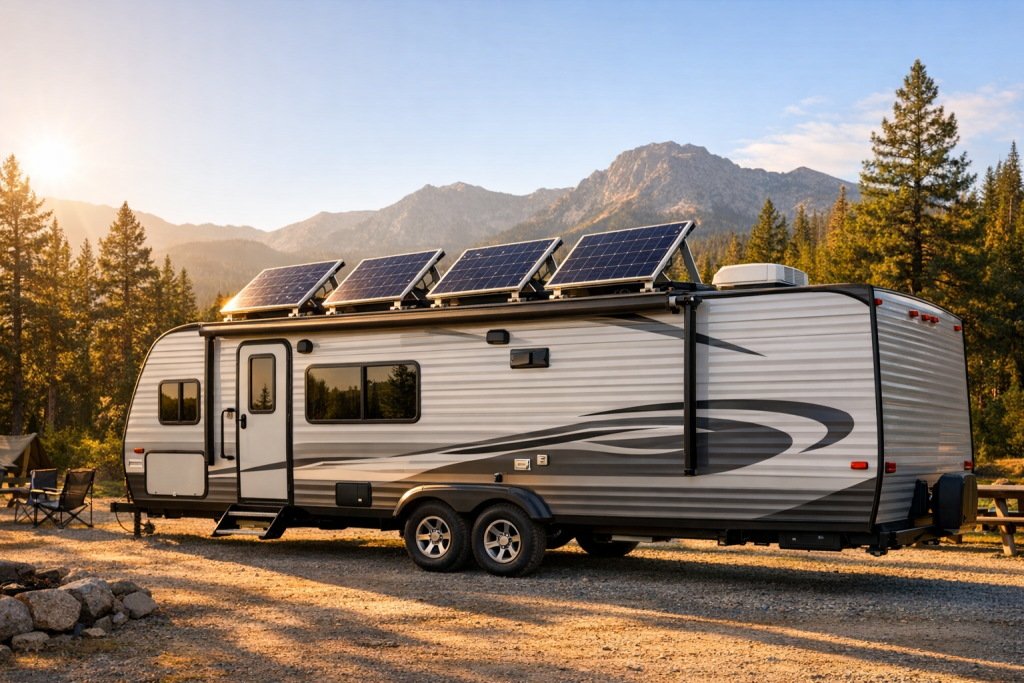

An RV solar array is not a one-size-fits-all purchase — it is a system sized to a specific energy budget, a specific latitude, a specific season, and a specific roof. Two rigs parked side by side can have wildly different correct answers: one runs a compressor fridge, a residential coffee maker, and a CPAP; the other runs LED lights and charges phones. The tradeoff at the heart of every sizing decision is this: a smaller array is cheaper, lighter, and easier to fit, but it forces you to either reduce loads, accept generator runtime, or move the rig to chase sun. A larger array buys autonomy in bad weather and short winter days but costs money, roof real estate, and rooftop weight you may not have. Getting the size right means matching the array to your measured loads and your worst realistic month — not to a marketing tier or a neighbor’s setup.
This guide walks through the sizing logic, the formula, the derating factors that quietly shrink your real harvest, and two fully worked illustrative examples. The numbers in those examples are inputs for demonstration only; your own measured daily watt-hours, your location’s looked-up peak sun hours, and your installation-specific efficiency estimate are what determine the answer for your rig.
TL;DR
- Know your daily Wh: Sum all loads to find total daily energy consumption.
- Divide by PSH × efficiency: Use your location’s peak sun hours and a system efficiency factor based on your actual installation losses.
- Size for worst month: Use the lowest PSH value in your travel range, not the annual average.
Start With Your Loads, Not With a Panel Count
Before you can size an array, you need a daily energy budget expressed in watt-hours per day (Wh/day). This comes from an energy audit: for every device on board, you record its actual power draw and the hours it runs in a typical day. The right number for each device comes from the nameplate label, the manufacturer datasheet, or — best of all — a direct measurement using a clamp meter on the DC side or a plug-in meter on AC loads.

Resist the temptation to copy a stranger’s appliance table. A 12 V compressor fridge from one brand can draw very differently from another. A residential microwave draws far more than a small inverter microwave; a diesel furnace fan, a vent fan, a CPAP humidifier, and a Starlink terminal all vary by model and by duty cycle. Measure or look up your own gear.
Quick rule: garbage in, garbage out. A wrong load number at the top of the funnel produces a wrong array size at the bottom — usually undersized, because optimistic guesses dominate.
Peak Sun Hours Explained
Peak sun hours (PSH) translates a panel’s nameplate wattage into real daily energy harvest. One peak sun hour equals 1,000 W/m² of solar irradiance for one hour. A location’s PSH for a given day is the equivalent number of hours of full-strength sun that would deliver the same total energy as the actual scattered, angled, partly cloudy day produced. A 100 W panel in a location with 5 PSH can produce roughly 500 Wh in a day — before losses.
PSH varies dramatically by latitude, season, and local climate. The desert Southwest in summer can deliver high single-digit PSH values; the same latitude in winter delivers far less because the sun is lower and days are shorter. The Pacific Northwest in December can fall to a small fraction of its July value, and a coastal site with morning fog behaves differently from an inland site at the same latitude. Mountain shadows, tree cover, and persistent marine layer all push your effective PSH below the regional average.
Look up PSH for your actual locations and months — not a national average. NREL’s National Solar Radiation Database and the PVWatts calculator are the standard references. Pull values for the months you actually camp in those places, and pay special attention to your worst-case month, because that is the month that will determine whether you run out of battery.
Seasonal swing matters: an array sized for July in Montana may deliver a quarter or less of that energy in December. If you boondock year-round, size for December, not July.
System Losses and Derating Factors
Nameplate watts on a solar panel are measured under standard test conditions: a specific irradiance, a specific cell temperature, and a specific solar spectrum. Real rooftops never hit those conditions for long. Several independent loss factors stack between the panel face and the energy actually stored in your battery, and you have to account for all of them — not by applying a single universal percentage, but by estimating each factor for your specific installation.
- Charge controller losses. A PWM controller wastes the voltage difference between panel and battery as heat, so its effective conversion efficiency is meaningfully lower than an MPPT controller’s. An MPPT controller is more efficient but still not lossless; quality and temperature both affect the number. Use the controller manufacturer’s rated efficiency curve as your starting estimate.
- Wiring losses. Voltage drop in the wire between panels, controller, and battery dissipates energy as heat. Long runs, undersized conductors, and corroded connections all increase losses. Calculate voltage drop from your actual wire gauge (AWG), run length, and current — do not assume it is negligible.
- Temperature derating. Solar cells lose output as they heat up. A panel laminated to a hot RV roof in summer can run far above ambient, and its output drops accordingly. The panel’s datasheet lists a temperature coefficient (typically a negative percent per °C above 25 °C) — use it.
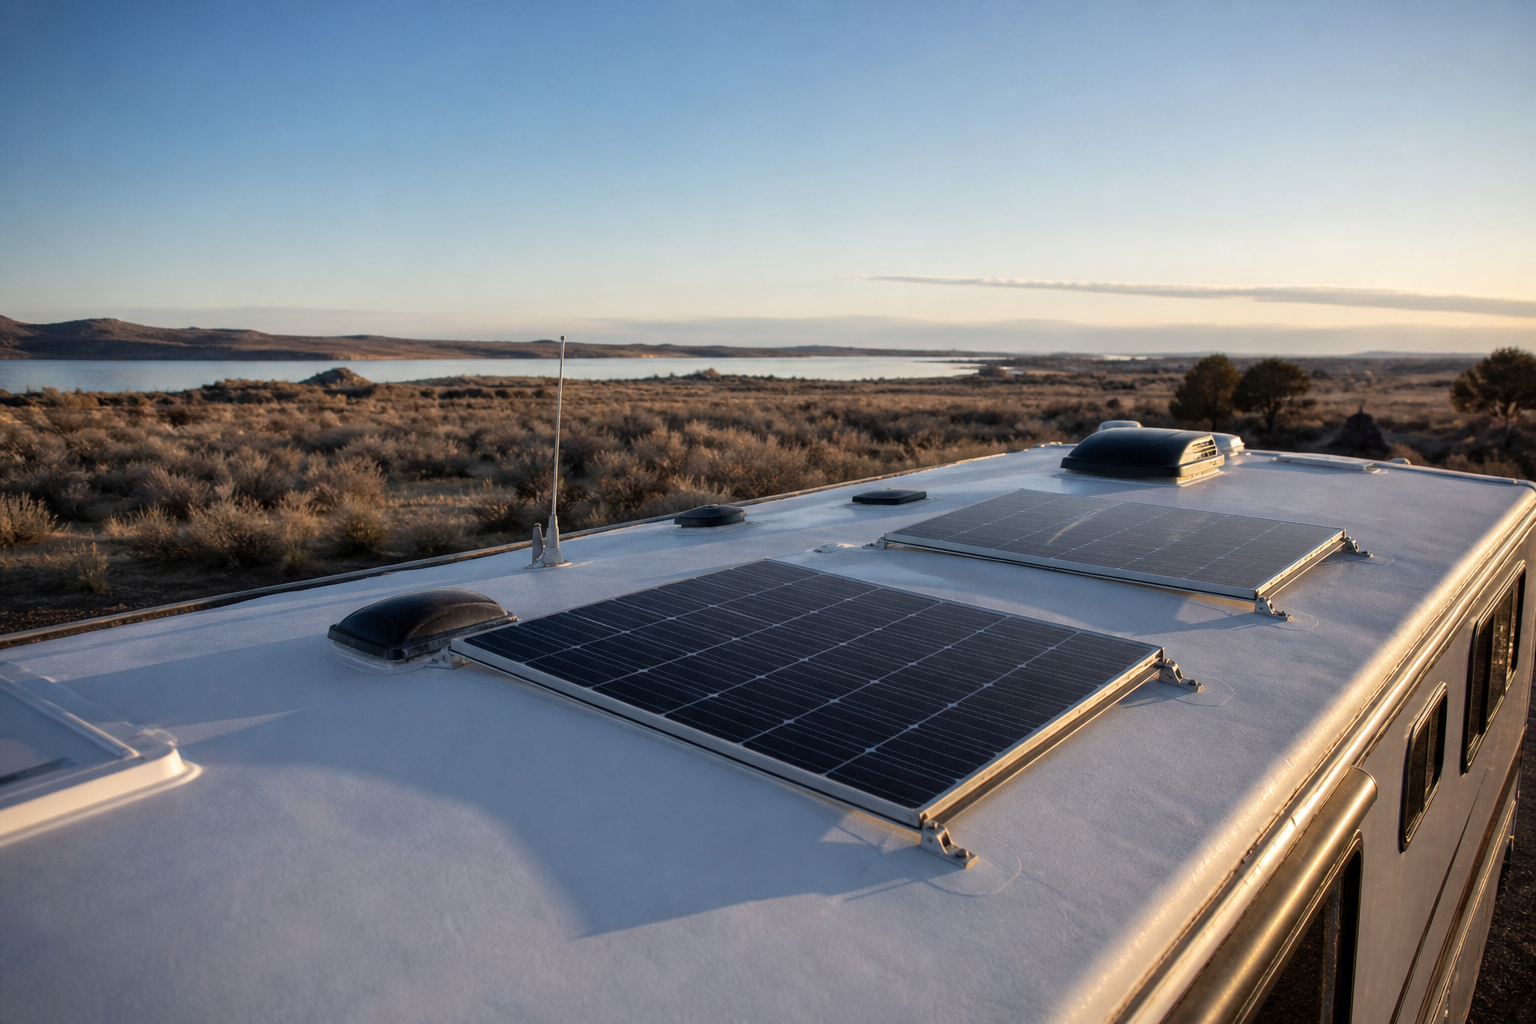
- Shading and orientation. Roof-mounted flat panels are rarely at the optimal tilt. AC units, vents, antennas, and the awning can shade cells at certain sun angles. Shading even a small portion of a series-wired panel can disproportionately reduce its output depending on bypass diode layout. Tree cover at campsites compounds the effect.
- Soiling. Dust, pollen, bird droppings, and road grime reduce transmission through the glass. The loss is small when panels are clean and large when they are not.
- Battery charging efficiency. Energy that enters a battery is not all retrievable. Round-trip efficiency depends on chemistry and on the specific battery — consult the manufacturer’s documentation rather than assuming a universal figure. Absorption-stage tapering also means the last portion of a charge cycle harvests less than the bulk stage.
Combine these into one efficiency factor for your sizing math. The factor will be different for a clean MPPT system on a cool spring day in open sky than for a dusty PWM system shaded by an AC unit in August. Estimate honestly, and lean conservative — an oversized array merely tops off earlier; an undersized one leaves you short.
The Array Sizing Formula
- Daily Wh comes from your measured energy audit, not a guess.
- Peak Sun Hours is looked up for your actual location and your worst expected month.
- System Efficiency is your installation-specific estimate combining all the derating factors above, expressed as a decimal (for example, 0.7 means a 30% combined loss between nameplate and battery).
The output is the minimum nameplate panel wattage you should install to break even on a typical day in that worst-case month. Use a sizing margin based on the component, load profile, and manufacturer documentation.
Reader Worksheet
Use this table to run the formula for your own profile. Fill in each row with a use case you actually anticipate (for example, a specific season at a specific kind of campsite). Plug in your measured daily Wh from your energy audit, the looked-up PSH for that location and month, and your honest efficiency estimate for that installation. Then calculate the required watts.
| Your Profile / Scenario | Your Measured Daily Wh (from your audit) | Your Location’s PSH (looked up) | Your System Efficiency Estimate | Required Panel Watts (Wh ÷ (PSH × eff)) |
|---|---|---|---|---|
| (your profile) | (your value) | (your value) | (your estimate) | (calculated) |
| (your profile) | (your value) | (your value) | (your estimate) | (calculated) |
| (your profile) | (your value) | (your value) | (your estimate) | (calculated) |
| (your profile) | (your value) | (your value) | (your estimate) | (calculated) |
Tip: run the worksheet at least twice — once for your best-case month and once for your worst-case month. The gap between the two answers tells you how much you depend on either generator backup, load reduction, or relocation when sun is scarce.
Worked Examples
Example 1: Summer Weekender in Arizona (illustrative — assumed values for illustration only, not defaults)
To show the formula in action, assume the following inputs. These are not generic defaults — they are placeholders for the example. Substitute your own measured numbers when you size your own system.
- Assumed daily energy use: 1,500 Wh/day. (Assumed for this example only — your real number comes from your audit.)
- Assumed PSH: 6.5 hours, representing a clear summer day at the example latitude. (Look up your actual value from NREL or PVWatts.)
- Assumed system efficiency: 0.70, reflecting an MPPT controller, modest wire run, hot rooftop, and minor shading. (Estimate your own.)
Required Watts = 1,500 ÷ (6.5 × 0.70) = 1,500 ÷ 4.55 ≈ 330 W
So in this illustrative scenario, an array of roughly 330 nameplate watts breaks even on a clear summer day. A practical build would round up to the nearest available panel combination and add a margin for cloudy days — perhaps 400 W of installed capacity. Note how quickly the answer changes if any input shifts: if the assumed loads were higher, or the trip extended into shoulder season with lower PSH, or the rooftop ran hotter than estimated, the required wattage rises.
Example 2: Year-Round Full-Timer in the Pacific Northwest (illustrative — assumed values for illustration only, not defaults)
Same formula, different climate. Again the inputs below are placeholders; your own audit and lookup values should replace them.
- Assumed daily energy use: 2,400 Wh/day. (Assumed for this example only.)
- Assumed PSH: 1.8 hours, representing a worst-case December day at the example latitude with frequent overcast. (Look up your actual value.)
- Assumed system efficiency: 0.65, reflecting cool but heavily diffuse light, possible partial shading from trees, and typical wiring losses. (Estimate your own.)
Required Watts = 2,400 ÷ (1.8 × 0.65) = 2,400 ÷ 1.17 ≈ 2,050 W
That is an enormous array — far more than a typical RV roof can carry. The illustrative result demonstrates an important truth: when PSH is very low, the math breaks. No realistic RV roof can fully cover heavy winter loads in a cloudy region from solar alone. The honest design response is to combine strategies: shrink the daily Wh budget by switching loads (propane heat instead of electric, for example), add generator or shore power for the darkest weeks, or relocate the rig south during winter.
The same formula, applied to the same rig in July at the same location, would yield a far smaller answer. This is exactly why the worst-case month should drive the sizing decision — or, alternatively, why you should be explicit about which months solar alone is expected to cover.
Matching Panels to the Charge Controller
Panel wattage alone does not finish the design. The array must be electrically compatible with the charge controller, which mediates between panel output and battery voltage.
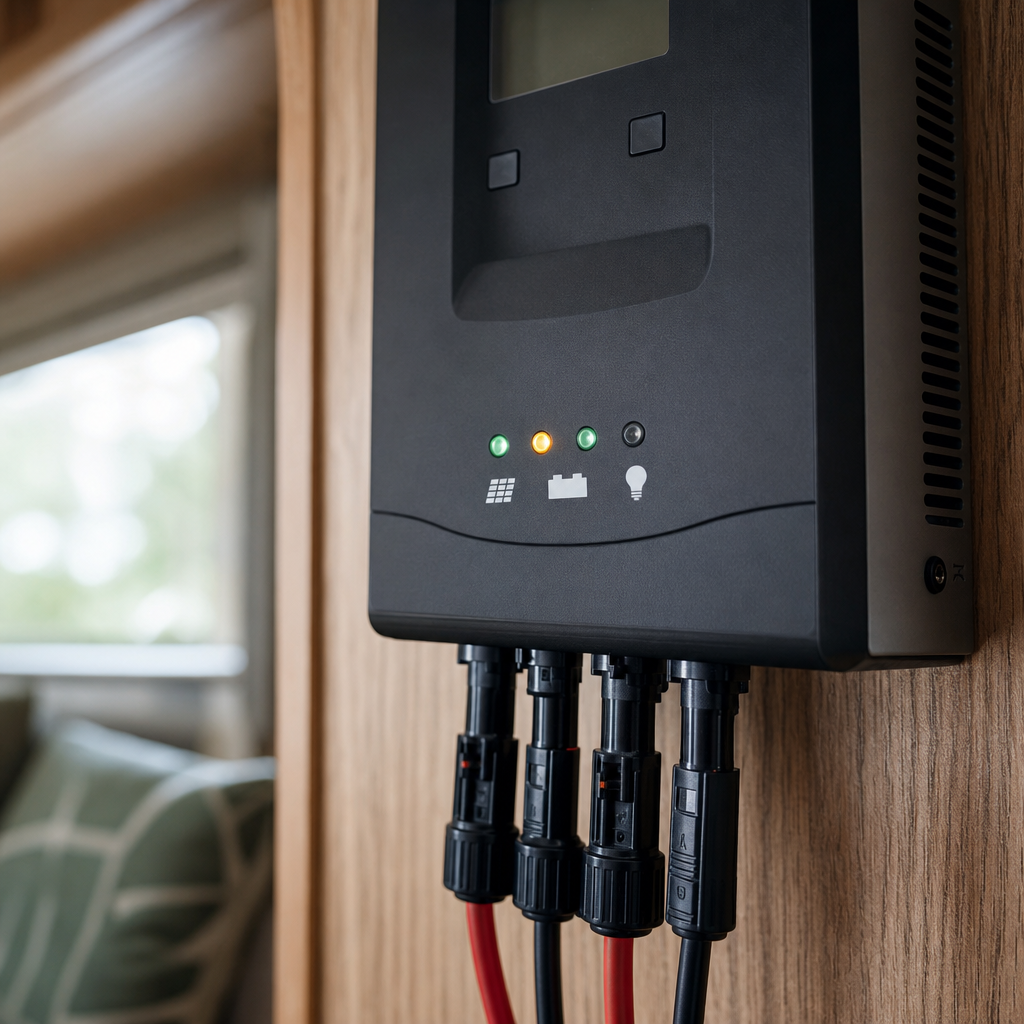
Maximum input voltage (Voc). Every charge controller has a maximum PV input voltage. Exceeding it can destroy the unit. The number that matters is not the panel’s nameplate Voc at 25 °C — it is the cold-weather Voc, because open-circuit voltage rises as panel temperature drops. Use the panel’s temperature coefficient of Voc and your coldest expected ambient temperature (sub-freezing in many regions) to calculate the worst-case voltage. If you wire panels in series, the Voc adds. Always leave headroom under the controller’s max rating.
Maximum input current and wattage. The controller has a rated output current at the battery’s nominal voltage. Multiply that current by battery voltage to get the controller’s maximum useful PV wattage. Slightly oversizing the panel array beyond this — sometimes called array overpaneling — is acceptable on many MPPT controllers because the controller will simply clip output at its rated maximum on the brightest days. Check the manufacturer’s documentation for the allowed overpaneling ratio.
MPPT vs PWM. An MPPT controller can extract usable energy from a panel string whose voltage is well above battery voltage, which means you can use higher-voltage residential-style panels and longer wire runs with smaller gauge. A PWM controller requires panel voltage close to battery voltage and is less efficient overall, but it is cheaper for very small systems. Most non-trivial RV builds use MPPT.
Series vs parallel wiring. Series wiring raises voltage and lowers current, reducing wire-size requirements but making the string more vulnerable to shading on a single panel. Parallel wiring keeps voltage low and current high, so partial shading on one panel does not collapse the whole string, but you need heavier wire and proper combiner fusing. Many RV arrays use series-parallel combinations to balance the two.
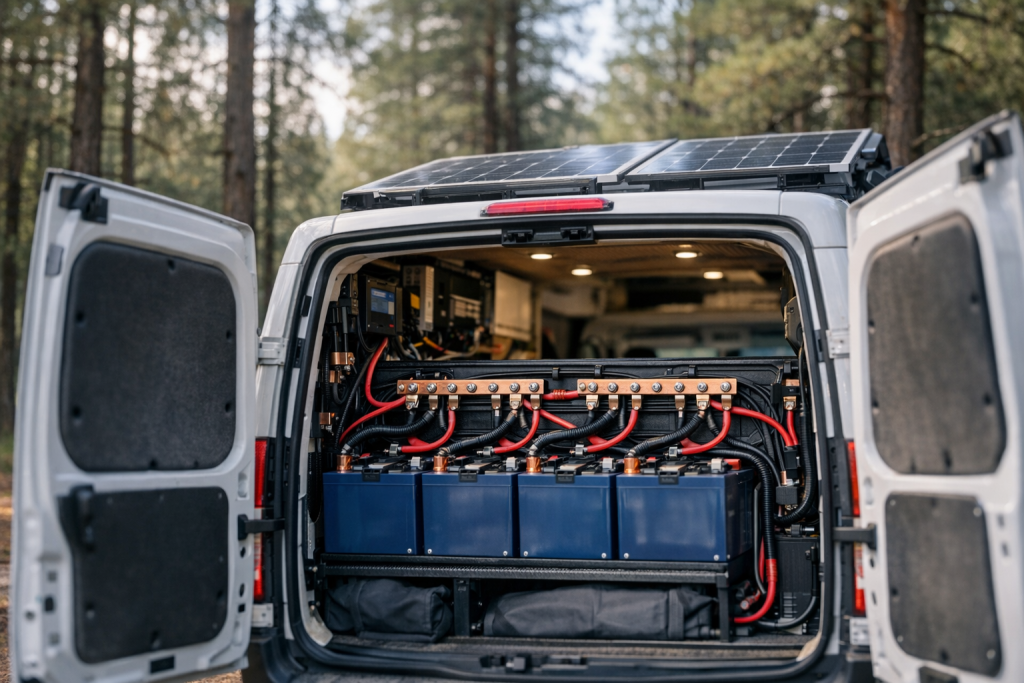
Matching Panels to the Battery Bank
The battery bank is the buffer between solar harvest and load demand. It needs to be large enough to absorb a full day’s harvest and to carry overnight loads — but not so oversized that the array cannot meaningfully recharge it.
Usable capacity, not nameplate. A battery’s rated amp-hours are not all usable. Each chemistry has a manufacturer-recommended depth of discharge (DoD), and that figure varies by chemistry, by specific model, and by intended cycle life. Always size around the DoD figure published in your specific battery’s datasheet, never the full nameplate, and follow the manufacturer’s guidance rather than a generic rule of thumb.
Charge acceptance. A battery bank has a maximum charge current it will accept without damage or excessive heat, set by the manufacturer. Your array, after losses, should not deliver more current than the battery can absorb — otherwise the controller throttles and harvest is wasted.
Balancing harvest and storage. A practical heuristic: the battery bank should hold at least one full day of usable energy (so a single cloudy day does not strand you), and the array should be capable of fully recharging that bank within one or two good solar days. If your array can never fully recharge the bank, the bank slowly drifts down. If your array regularly finishes by mid-morning, you have either oversized the panels relative to storage or underestimated your loads — the latter is more common.
Realistic Expectations: Summer vs Winter
The single biggest mistake in RV solar sizing is anchoring on summer numbers. A clear July day at a sunny latitude can produce harvest that feels like the array is overbuilt. The same array in late December, at the same site, can produce a fraction of that — sometimes a small fraction. Days are shorter, the sun is lower (so it crosses more atmosphere and hits flat panels at a poor angle), cloud cover is more common, and cold temperatures, while helping panel efficiency slightly, do not make up for fewer hours.
For three-season warm-weather travelers, sizing to the shoulder months is usually adequate. For full-timers who park in northern latitudes through winter, solar alone is rarely sufficient — plan for shore power, generator use, or seasonal migration as part of the design.
Cloudy-day reality: a heavily overcast day can deliver roughly 10–25% of a clear-day harvest. Multi-day storms drain the bank below comfortable levels even on well-sized systems. A generator, an alternator-charging upgrade, or shore power coverage is not a failure of the solar design — it is part of a realistic energy plan.
Safety and Common Mistakes
- Fuse every parallel string. When panels are wired in parallel, a fault in one panel can sink current from the others. Inline fuses on each parallel branch, sized per the panel’s series fuse rating, prevent that.
- Fuse the battery side of the controller. A short between the controller and the battery bank can pour hundreds of amps into the fault. A properly sized fuse or breaker close to the battery positive terminal is mandatory.
- Respect controller max input voltage at cold temperatures. Calculate worst-case Voc using the panel’s temperature coefficient and the coldest ambient you expect. Series strings sized for summer can exceed the controller rating on a cold morning.
- Match wire gauge to current and run length. Undersized wire heats up, drops voltage, and can become a fire risk. Use a voltage-drop calculator with your actual amperage and one-way run length.
- Check roof load capacity. Rigid panels, mounting feet, brackets, wiring, and combiner boxes add real weight, particularly when concentrated over a small area. Confirm the rooftop structure can carry the load — manufacturers publish weight ratings for many RV roofs.
- Seal every roof penetration properly. Lap sealant, butyl tape under brackets, and routine inspections prevent the slow leak that destroys a roof from beneath.
- Mind panel placement around vents and AC units. Shadows that cross panels at midday cost far more harvest than the same shadows in early morning. Walk the roof and watch the shadows before drilling.
- Monitor actual harvest. A shunt-based battery monitor and the controller’s logged data tell you what your system really delivers. Compare measured harvest against your sizing assumptions and adjust your efficiency factor next time.
Disclaimer: This information is general guidance only. Always follow your equipment manufacturers’ specifications and applicable electrical codes; consult a qualified installer when in doubt.
FAQs
- Can I add panels later? Yes, if your charge controller has headroom on both maximum input wattage and maximum input voltage. If you anticipate expansion, choose a controller with extra capacity from the start; replacing a controller later is more expensive than buying a larger one once.
- Rigid or flexible panels? Rigid framed panels generally last longer, run cooler because of the air gap beneath them, and tolerate the rooftop environment better. Flexible panels save weight and can conform to curved roofs but tend to degrade faster from heat and flexing fatigue, especially when bonded directly to a hot surface.
- How do I match panels to my charge controller? Check three numbers: the array’s open-circuit voltage at the coldest temperature you’ll see (must stay below controller max Voc), the array’s nameplate wattage (within the controller’s rated PV input, allowing any manufacturer-permitted overpaneling), and the controller’s output current at your battery voltage (should not exceed the battery bank’s allowed charge current).
- Will a small array keep up with my fridge? Only your fridge’s measured daily Wh and your location’s PSH can answer that. Run the sizing formula with your actual numbers — fridge draw varies enormously by model, ambient temperature, and how often the door opens.
- Why does my array underproduce versus its nameplate? Because nameplate is measured under lab conditions you’ll rarely see on a roof. Heat, partial shading, wiring losses, controller efficiency, soiling, and panel angle all reduce real-world output. The system efficiency factor in the formula is what accounts for that gap.
- Should I tilt my panels? Tilting toward the sun substantially increases harvest in winter and at high latitudes, where the sun is low. Flat-mounted panels are simpler and aerodynamic but pay a real seasonal penalty. Many full-timers install at least one tilting array for winter use.
Conclusion
Sizing an RV solar array reduces to four honest numbers and one judgment call. The four numbers are your measured daily watt-hour consumption from a real energy audit, the peak sun hours looked up for your actual location and worst expected month, your installation-specific derating factor that combines controller efficiency, wiring loss, temperature, shading, and soiling, and the resulting required panel wattage from the formula Watts = Daily Wh ÷ (PSH × efficiency). The judgment call is which month to size for: sizing to summer makes the array look small and cheap and leaves you short every fall, while sizing to your worst-case month — typically December if you camp year-round in northern latitudes — produces an array that carries you through the hard weeks and quietly overproduces the rest of the year, which is exactly the right shape of error.
Build a margin on top for cloudy stretches, match the array to a charge controller that can handle worst-case cold Voc and the battery bank’s charge acceptance, and treat generator or shore-power capability as part of the plan rather than a failure of it. Do that, and the array you install will fit the rig, the roof, and the way you actually camp — not somebody else’s spec sheet.