
TL;DR
- Audit daily Wh: Sum each load’s wattage × hours per day to find your total daily energy need.
- Apply DoD: Divide by the usable depth of discharge listed on your battery’s datasheet.
- Add autonomy days: Multiply by the number of days you want to go without charging.
Introduction to Battery Bank Sizing
A battery bank sized 20% too small will strand you in the dark; one sized 100% too large wastes money, payload, and charging capacity. Getting it right comes down to three numbers: your measured daily watt-hours, the manufacturer-recommended depth of discharge for your chemistry, and the days of autonomy you actually need.
Daily Energy Audit
Every battery bank sizing decision starts with the same question: how much energy do you consume in a typical 24-hour period? Not what a forum post says an “average RVer” uses — what you use, with your appliances, your habits, and your climate. The daily energy audit is the single most important step in the process, and it is also the step most people skip or fake with borrowed numbers. Skip it and every downstream calculation is a guess dressed up as math.
The method is simple. For each device you plan to run from the battery bank, find its real power draw in watts, estimate how many hours per day it actually runs, and multiply the two to get watt-hours per day. Sum those watt-hours across every load, and you have your daily energy requirement.
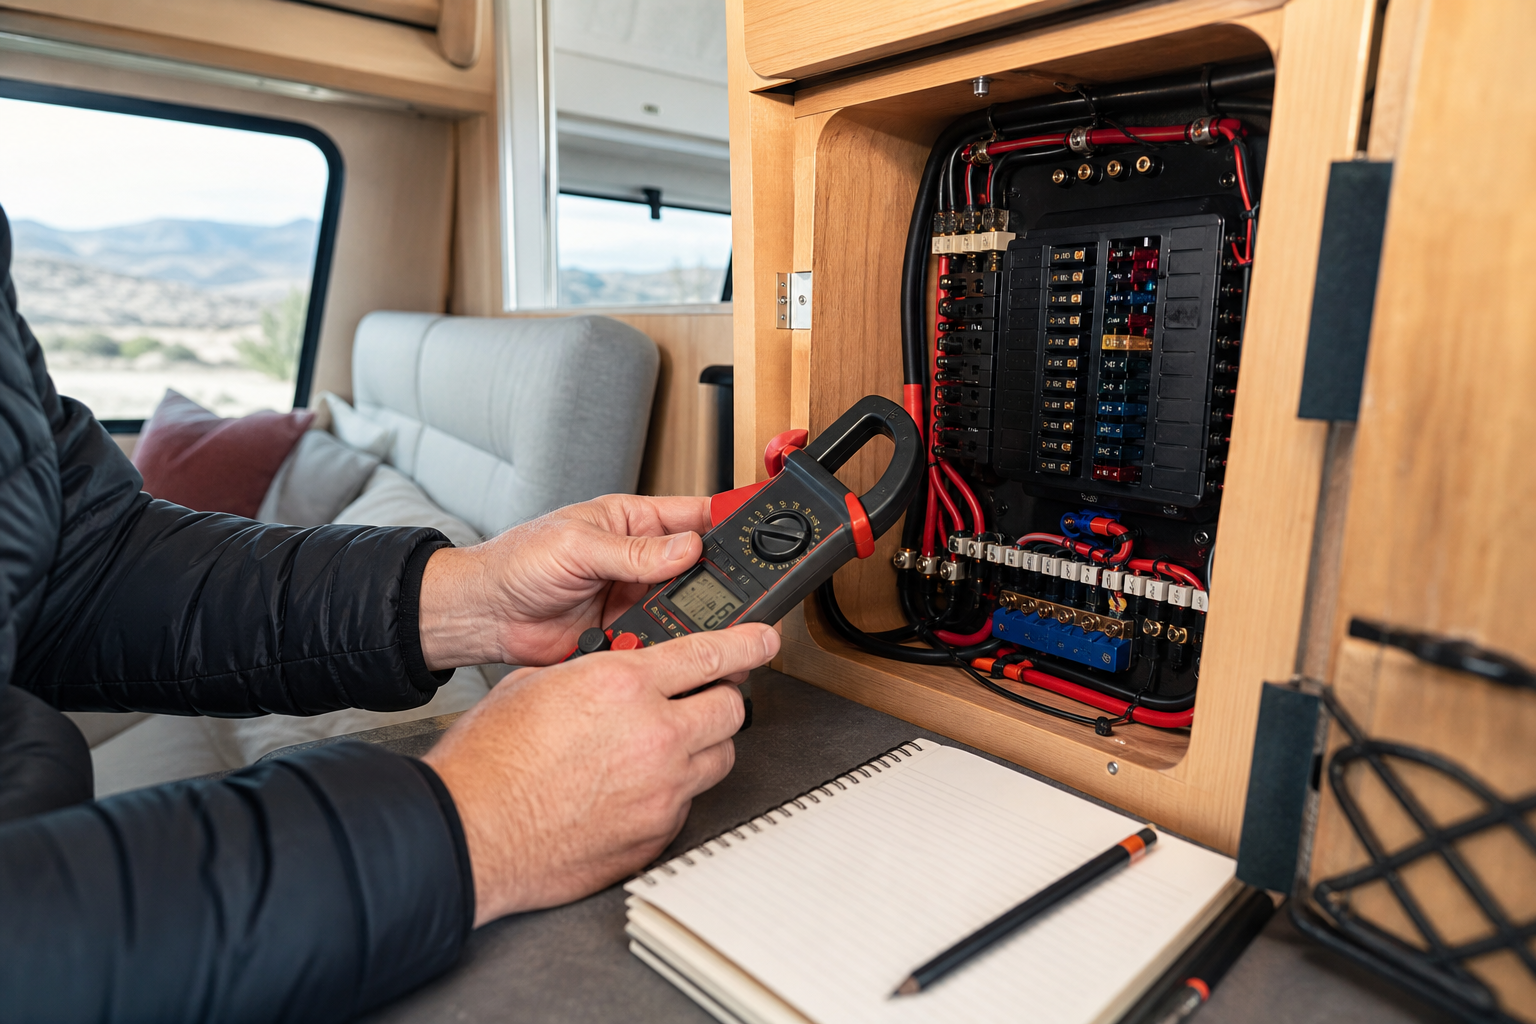
- Direct measurement. A plug-in energy meter for 120V AC appliances, or a DC clamp meter on the supply wire for 12V loads, tells you what a device actually consumes over time — including standby draw and duty cycling. This is the gold standard, especially for compressor-driven appliances that cycle on and off.
- The manufacturer datasheet. Datasheets often list both rated power and estimated daily energy consumption under stated test conditions, which is far more useful than a single nameplate number for cycling loads.
- The nameplate. Every appliance carries a label with rated watts or rated amps at a stated voltage. If it lists amps, multiply by voltage to get watts. Nameplate values are usually maximum draw, so they are conservative for cycling loads and roughly accurate for continuous ones.
One warning about cycling and thermostatic loads: a refrigerator, a furnace fan, or a heated tank pad does not run at its rated power all day. It cycles. The number that matters for your audit is average energy over 24 hours, and the only trustworthy way to get it is measurement or the manufacturer’s stated daily consumption figure. Guessing duty cycles from nameplate power alone routinely produces errors of two or three times in either direction.
Fill in the worksheet below with your own equipment. Leave nothing out — phone chargers, water pump, vent fans, propane detector, parasitic inverter draw, and anything that stays powered overnight all count.
| Your Appliance | Rated Watts (nameplate / datasheet / measured) | Hours/Day (your estimate) | Wh/Day (Watts × Hours) |
|---|---|---|---|
| (your appliance) | (your value) | (your value) | (calculated) |
| (your appliance) | (your value) | (your value) | (calculated) |
| (your appliance) | (your value) | (your value) | (calculated) |
| (your appliance) | (your value) | (your value) | (calculated) |
| (your appliance) | (your value) | (your value) | (calculated) |
Sum the Wh/Day column for your total daily energy need.
Two adjustments before you call the audit finished. First, any AC appliance running through an inverter carries a conversion penalty — every inverter loses some energy in the conversion, and those losses come out of your battery. Check your inverter’s datasheet for its efficiency curve and inflate AC loads accordingly. Second, inverters themselves consume power just being switched on; if yours idles for many hours a day, that standby draw belongs on your worksheet as its own line item.
Finally, audit your worst realistic day, not your best. A rainy November weekend with the furnace fan running and everyone inside watching screens is a very different energy day from a sunny July afternoon spent outdoors. Size for the season and usage pattern you actually intend to camp in.
Usable Capacity and Depth of Discharge
Here is the mistake that undersizes more battery banks than any other: assuming a battery labeled “100Ah” delivers 100Ah of usable energy. It does not, and no chemistry should be planned that way. The rated capacity is a laboratory figure measured under specific discharge conditions. The usable capacity — the portion you can withdraw repeatedly without destroying the battery’s service life — is defined by the depth of discharge (DoD) your manufacturer recommends for your target cycle life.
Depth of discharge is the percentage of rated capacity you actually withdraw before recharging. Discharge deeper, and the battery cycles fewer times before its capacity fades below a useful threshold. Every chemistry trades cycle life against DoD, but the shape of that trade-off differs dramatically between chemistries — and between individual models within a chemistry.
Flooded lead-acid and AGM. Lead-acid chemistries are the most sensitive to deep discharge. Cycle life falls off steeply as DoD increases, and manufacturers publish cycle-life-versus-DoD curves for each model precisely because the relationship is not linear. Deep-cycle lead-acid batteries are conventionally operated at conservative discharge depths, but the exact figure you should plan around comes from your specific battery’s datasheet and the number of cycles you want out of it — a battery you expect to replace in three seasons can be worked harder than one you want to last a decade. Lead-acid also suffers from the Peukert effect: at high discharge currents, effective capacity shrinks below the rated figure, so heavy inverter loads eat capacity faster than the label suggests. Chronic partial charging and time spent sitting discharged cause sulfation, which permanently reduces capacity.
Lithium iron phosphate (LiFePO4). LiFePO4 tolerates much deeper discharge than lead-acid while still delivering thousands of cycles, which is why its usable capacity per rated amp-hour is substantially higher. It also holds voltage flatter across the discharge curve and does not exhibit meaningful Peukert losses at typical RV loads. But “deeper” is not “unlimited”: every LiFePO4 manufacturer specifies a recommended DoD tied to a warranted cycle count, and the battery management system enforces hard cutoffs to protect the cells. Plan around the manufacturer’s recommended figure for your specific model, not around the theoretical maximum the BMS will permit.
Temperature matters for both chemistries. Cold reduces available capacity in lead-acid, and LiFePO4 cells must not be charged below freezing without low-temperature protection or internal heating — a critical consideration for winter boondocking that affects how much of your bank you can actually count on.
Usable capacity = rated capacity × the DoD fraction your manufacturer recommends for your cycle-life target. Never plan on 100% of the label, for any chemistry, and never borrow a DoD percentage from a generic chart when your battery’s own datasheet gives you the real one.
Battery Bank Sizing Formula
The formula has three inputs, and by now you have all of them. Daily Wh is the total from your energy audit, including inverter losses. System voltage is the nominal voltage of your battery bank — commonly 12V or 24V in RVs. DoD is the manufacturer-recommended depth-of-discharge fraction for your specific battery model and cycle-life goal, expressed as a decimal.
The logic reads left to right. Dividing daily watt-hours by system voltage converts energy into amp-hours withdrawn from the bank per day — the raw daily draw. Dividing that by the DoD fraction inflates the bank so your daily draw only dips as deep as the manufacturer allows. A lower DoD fraction means a bigger denominator effect and therefore a bigger required bank; this is exactly why a conservative lead-acid installation needs far more rated amp-hours than a lithium installation serving the identical load.
As a quick inline illustration of the arithmetic only: if your audit totaled 600 Wh/day on a 12V system, the daily draw would be 600 ÷ 12 = 50Ah. If your battery’s datasheet recommended operating at 50% DoD for your cycle-life target, the required bank would be 50 ÷ 0.5 = 100Ah. Substitute your own audit total and your own battery’s documented DoD — the structure of the math is universal, the inputs are not.
Two refinements worth applying. First, if you want multiple days of runtime without recharging, multiply the result by your days of autonomy (covered below). Second, remember that recharging is not lossless — energy from solar, alternator, or shore power loses a percentage in the charge controller, wiring, and the battery’s own charge-acceptance inefficiency. That affects how much charging capacity you need, and it means a bank that barely breaks even on paper will slowly lose ground in practice.
Worked Examples
Both examples below run the same formula with invented inputs. They exist to demonstrate the arithmetic, not to serve as templates — your audit and your battery’s datasheet supply the real numbers.
Example 1: Weekend Camper, 12V Lead-Acid (illustrative — assumed values, not a default profile)
Assumptions: This hypothetical camper completed the energy audit for their own rig and arrived at a total of 1,200 Wh/day. They are building a 12V bank from deep-cycle AGM batteries whose manufacturer’s cycle-life chart shows the cycle count they want when operated at 50% DoD — a figure taken from that specific model’s datasheet, not a universal lead-acid rule.
- Step 1 — Daily amp-hour draw: 1,200 Wh ÷ 12V = 100Ah per day withdrawn from the bank.
- Step 2 — Apply the DoD fraction: 100Ah ÷ 0.50 = 200Ah required rated capacity so that one day’s use only discharges the bank to the manufacturer’s recommended depth.
- Step 3 — Days of autonomy: For two days of use between charges, 200Ah × 2 = 400Ah of rated capacity.
Note how the conservative DoD doubles the bank relative to the raw daily draw, and the autonomy multiplier doubles it again. This camper would also want to verify that their heaviest simultaneous loads don’t trigger significant Peukert losses on lead-acid — a bank that pencils out on average energy can still sag under a large inverter load.
Example 2: Full-Timer, 12V LiFePO4 (illustrative — assumed values, not a default profile)
Assumptions: This hypothetical full-timer’s own audit — including inverter conversion losses and standby draw — totals 2,400 Wh/day. They are building a 12V LiFePO4 bank, and the manufacturer of their chosen battery model recommends operating at 80% DoD to achieve the warranted cycle count. That figure comes from the model’s datasheet; other LiFePO4 products specify different values.
- Step 1 — Daily amp-hour draw: 2,400 Wh ÷ 12V = 200Ah per day.
- Step 2 — Apply the DoD fraction: 200Ah ÷ 0.80 = 250Ah required rated capacity for a single day of use within the manufacturer’s recommended discharge depth.
- Step 3 — Days of autonomy: As a full-time boondocker planning for three days of cloudy weather, 250Ah × 3 = 750Ah. They round up to the nearest practical configuration of their chosen battery size — for instance, a parallel set totaling 800Ah.
Compare the two examples: the full-timer’s daily energy is double the weekender’s, yet the more permissive lithium DoD keeps the per-day bank requirement from ballooning proportionally. That is the structural advantage of LiFePO4 in the formula — more of each rated amp-hour is usable. The inputs, however, remain personal: your daily watt-hours from your audit, your DoD from your battery’s documentation.
12V vs 24V Battery Banks
System voltage does not change how much energy you store — a given number of watt-hours is the same energy at 12V or 24V. What changes is current, and current drives nearly every practical consequence in the installation.
For the same power, doubling the voltage halves the amps. Since watts = volts × amps, a load drawn at 24V pulls half the current it would at 12V. Lower current means thinner, cheaper, lighter cables for the same voltage-drop target; smaller and less expensive fuses, busbars, and disconnects; and lower resistive losses throughout the system. Large inverters are where this matters most: a big inverter at full output on a 12V bank can demand very high DC current, requiring massive cable, careful crimping, and short cable runs. The same inverter powered at 24V cuts that current in half, which is why installations with substantial inverter loads increasingly favor 24V (or 48V in the largest builds).
So why does 12V remain the RV default? Compatibility. Virtually every factory-installed RV DC appliance — water pumps, lights, vent fans, furnace controls, slide and jack motors, LP detectors — expects 12V. A 24V bank feeding a 12V rig needs a DC-DC converter sized for the combined 12V load, which adds cost, another conversion loss, and a single point of failure. Charging sources must also match: your solar charge controller, converter/charger, and any alternator charging (typically via a DC-DC charger) all need to support the bank voltage you choose.
A reasonable rule of thumb: modest banks serving mostly native 12V loads are simplest at 12V. Large banks with big inverters, long cable runs, or high solar input tip the economics toward 24V, with a quality DC-DC converter handling the legacy 12V circuits.
One more note on the sizing formula: system voltage sits in the denominator, so a 24V bank needs half the amp-hours of a 12V bank for the same watt-hours. Don’t let that fool you — the energy, weight, and cost of the bank are comparable. Compare banks in watt-hours (voltage × amp-hours), never in amp-hours alone, when weighing 12V against 24V options.
Days of Autonomy
Days of autonomy is the number of consecutive days your bank must carry your full daily load with little or no recharging. It is the multiplier that turns a “one good day” bank into a bank that survives real-world boondocking.
Why does it matter? Because charging sources fail you at inconvenient times. Solar output collapses under heavy overcast, in deep tree cover, and during short winter days — and solar panels produce nothing at night, which is precisely why the battery bank exists. Generators run out of fuel or violate quiet hours; alternator charging only works when you drive. Autonomy is your buffer against all of it.
- 1 day: Reasonable if you move frequently, camp mostly with hookups, or have a generator you’re willing to run whenever needed.
- 2 days: A common target for fair-weather boondockers with solid solar in sunny regions.
- 3–5 days: Appropriate for full-timers, forested or northern camping, shoulder-season travel, and anyone who treats the generator as a last resort.
Apply it as a straight multiplier on the single-day result from the sizing formula: Bank size = Required Ah × days of autonomy. Both worked examples above show this step.
Two caveats. First, autonomy interacts with charging capacity — a deeply discharged large bank takes proportionally longer to refill, so more autonomy usually implies more solar or a stronger charger, not just more batteries. Charging is never lossless, so plan replacement capacity above your daily consumption. Second, autonomy is not a license to abuse DoD: the multiplier assumes the full autonomy period, taken together, still respects the manufacturer’s recommended discharge depth by its end. If you’d rather define autonomy as “days before hitting recommended DoD,” size accordingly and be honest about which definition you’re using.
Safety and Common Mistakes
A battery bank stores enough energy to start fires and weld tools to busbars. Treat the electrical design with the same seriousness as the sizing math.
- Fuse or breaker on every positive conductor leaving the bank, as close to the battery as practical. The overcurrent device protects the wire, so size it to the cable’s ampacity per its insulation rating and installation method, and confirm it comfortably exceeds the maximum continuous load current on that circuit. Large inverter feeds typically warrant a Class T or similarly high-interrupt-rated fuse, because a short across a large bank — especially lithium — can deliver enormous fault current that lesser fuses cannot safely break.
- Fuse each parallel string independently. In a parallel bank, a fault inside one battery lets every other string dump current into it. Per-string fusing contains that failure.
- Wire parallel banks symmetrically. Take the positive feed from one end of the bank and the negative from the opposite end (or use equal-length leads to a common busbar) so every battery sees similar resistance and shares load and charge evenly. Unbalanced wiring quietly overworks the closest battery.
- Series connections must use identical batteries. Batteries in series must match in model, capacity, age, and state of charge; a weak battery in a series string gets driven into over-discharge or overcharge by its partners.
- Never mix chemistries or significantly different ages in one bank. Different charge voltages, internal resistances, and discharge curves mean the batteries fight each other, degrading capacity and creating safety risk.
- LiFePO4 requires a BMS and a compatible charge profile. The battery management system protects cells from over-voltage, under-voltage, over-current, and out-of-range temperatures — including blocking charge below freezing unless the battery has heating. Your converter/charger, solar controller, and DC-DC charger must all support a lithium-appropriate profile; legacy lead-acid chargers can chronically undercharge or mistreat lithium.
- Ventilate flooded lead-acid batteries. Charging produces hydrogen gas; batteries belong in a vented compartment away from ignition sources, with electrolyte levels checked on schedule.
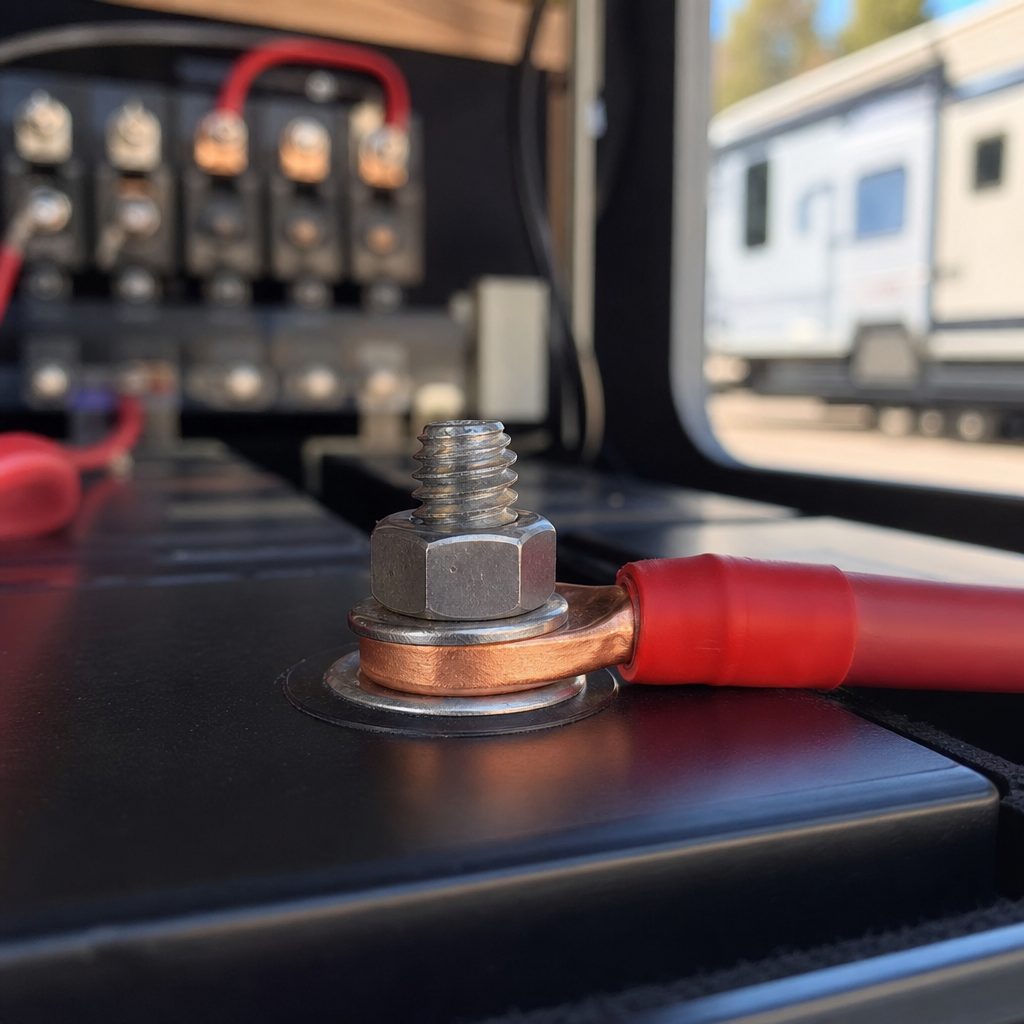
- Install a master disconnect and torque every connection. Loose high-current terminals generate heat and are a leading cause of RV electrical fires. Recheck torque after the first trips and periodically thereafter.
This guidance is general in nature; follow your battery and equipment manufacturers’ instructions and applicable electrical codes, and consult a qualified installer when in doubt.
One sizing-adjacent mistake deserves its own callout: buying batteries before doing the audit. The order is always audit → chemistry and DoD → formula → autonomy multiplier → hardware.
FAQs
- Do solar panels work at night without a battery? No. Panels generate power only under light, and RV solar systems are built to charge a battery bank that carries the loads after dark. Without a battery, an RV solar setup has nothing to store into and nothing to run overnight loads from.
- How much solar do I need to keep the bank charged? Enough to replace your full daily watt-hour consumption plus system losses within your available sun hours — charging is never lossless, so budget above your audit total. If solar can’t fully replace a day’s use, your autonomy days become a countdown rather than a buffer.
- How do I stop my RV battery from draining overnight? First identify the parasitic loads — LP detectors, radio memory, inverter standby, and control boards all draw around the clock. Add them to your audit, use the master disconnect during storage, and size the bank so a normal night’s draw stays within your battery’s recommended DoD.
- Do I still need a battery on shore power? In most RVs, yes. The converter powers 12V circuits through the battery, and the battery smooths surges from pumps and slides while covering momentary outages. Many systems behave erratically with a dead or absent battery even when plugged in.
- Can I mix lead-acid and lithium batteries in one bank? No. Their charge voltages and discharge curves are incompatible; paralleling them causes uncontrolled current flow between chemistries, damage, and safety risk. One chemistry, one model, similar age — per bank.
- How do I know my bank is too small? If you routinely reach your manufacturer’s recommended DoD before your next recharge opportunity, or voltage sags badly under normal loads, the bank is undersized for your actual usage. Re-run the audit with measured data before adding capacity — sometimes the fix is trimming a load instead.
Conclusion
Battery bank sizing reduces to four decisions made in order. First, establish your daily Wh total from a genuine audit of your own appliances — nameplates, datasheets, and clamp-meter measurements, never borrowed “typical” figures — including inverter and standby losses. Second, pick a chemistry and read the manufacturer-recommended DoD for your specific model at your cycle-life target; lead-acid demands conservative discharge depths, LiFePO4 permits deeper ones, and neither delivers 100% of its rated label. Third, run the formula — Required Ah = (Daily Wh ÷ System Voltage) ÷ DoD — choosing 12V for simple, compatible builds or 24V to cut current and cable size on larger systems. Fourth, multiply by your days of autonomy to cover sunless days and quiet hours. Round up to a practical battery configuration, fuse every string, match your chargers to the chemistry, and the bank will be exactly as big as your camping actually requires — no bigger, no smaller.