Best Portable RV Solar Panels: Top Picks & Buyer Guide
On this page
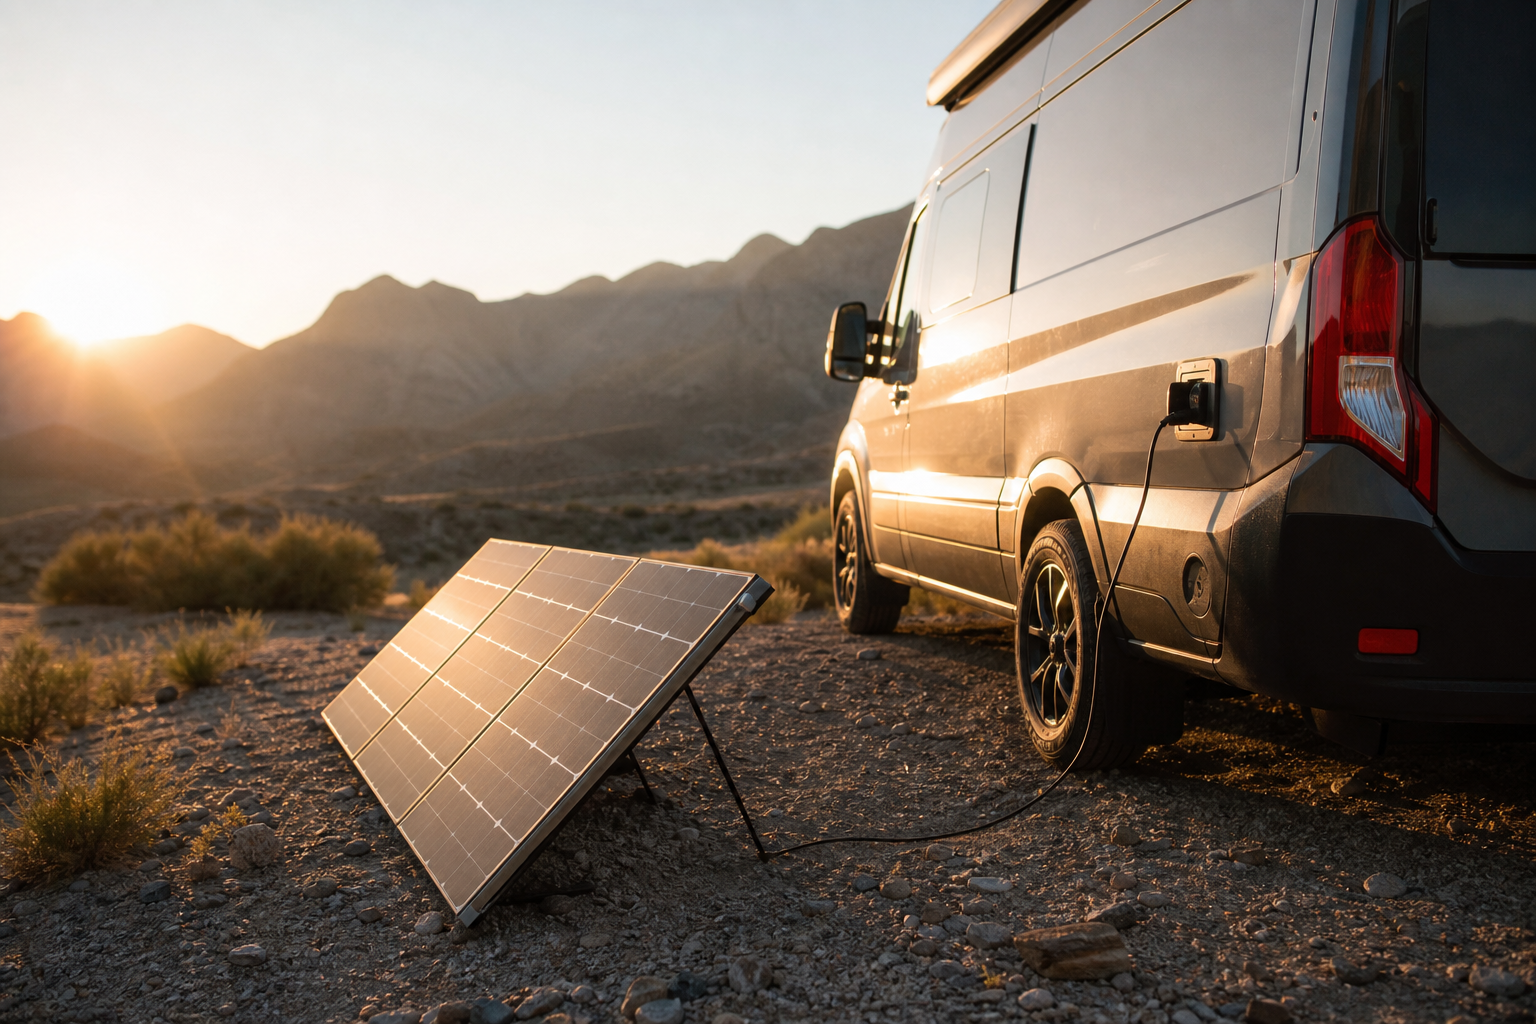
If you camp in shaded state-park loops but want your batteries topped off by sundown, a portable solar panel solves the problem a roof array can’t: you park the RV in the shade and drag the panel into the sun. The six picks below cover the jobs RVers actually buy them for: charging a house battery, plugging into a factory solar port, feeding a power station, saving weight or money, and getting the most watts from a single panel.
TL;DR
- Best complete kit for house batteries: Renogy 200W N-Type Solar Suitcase, a glass-faced 200 W panel with an IP65 PWM controller and fused battery clamps in the box.
- Best for Zamp-ported RVs: Zamp Legacy Series 150W Regulated Kit, built to plug into the Zamp sidewall port many RVs leave the factory with.
- Best lightweight: Jackery SolarSaga 100W Air, a 7 lb bifacial panel for Jackery power stations.
- Best budget: DOKIO 200W Foldable Kit, 200 W and a PWM controller in a 9.7 lb fabric folder.
- Best bifacial: EcoFlow NextGen 220W Bifacial, with a built-in kickstand and a rear face that adds reflected light.
- Best high output: BLUETTI PV350, 350 W from one folding panel for stations and MPPT controllers that accept its higher voltage.
- What to expect: 200 W of portable panel makes about 600 Wh on a 4-sun-hour day with an MPPT controller, roughly a third of what our example couple uses in a day.
Best Portable RV Solar Panels Compared
We picked these six on their published specifications and included equipment, not on field tests of our own, and each one covers a different job. Weight and the controller or connector that comes with the panel tell you most of what you need to know, so the table puts them up front.
As an Amazon Associate I earn from qualifying purchases.
Scroll sideways to see every column.
| Panel | Watts | Weight | Controller / Connection | Best For | Where to Buy |
|---|---|---|---|---|---|
| Renogy 200W N-Type Solar Suitcase | 200 W | 28.5 lb | 20 A PWM controller, battery clamps | House batteries, no wiring | Amazon ↗ |
| Zamp Legacy Series 150W Kit | 150 W | 33 lb | 10 A controller, Zamp port adapter | RVs with a Zamp solar port | Amazon ↗ |
| Jackery SolarSaga 100W Air | 100 W | 7 lb | DC8020 cable to Jackery stations | Light travel with a Jackery | Amazon ↗ |
| DOKIO 200W Foldable Kit | 200 W | 9.7 lb | PWM controller, SAE, XT60 and clamps | Budget battery charging | Amazon ↗ |
| EcoFlow NextGen 220W Bifacial | 220 W | 15.4 lb | MC4, XT60i cable, no controller | Power stations, bright ground | Amazon ↗ |
| BLUETTI PV350 | 350 W | 30.6 lb | MC4, 46.5 V open circuit | Big stations, MPPT systems | Amazon ↗ |
Our Picks in Detail
Renogy 200W N-Type Solar Suitcase: Best Complete Kit for House Batteries
This kit goes from the box to your house battery with nothing else to buy: a 200 W glass-faced suitcase on an adjustable kickstand, Renogy’s Voyager 20 A PWM controller already mounted on the back, and a cable with alligator clamps and a 15 A fuse. The Voyager is IP65-rated and has settings for gel, AGM, flooded and lithium batteries, so a later LiFePO4 upgrade doesn’t mean a new controller.
- Key specs: 200 W, 18.65 V at maximum power (21.47 V open circuit), Voyager 20 A PWM controller, fused battery clamps, 34.3 × 22.8 × 3.2 in folded, about 28.5 lb.
- Choose it for: charging a 12V house battery while the RV sits in the shade, without wiring a controller yourself.
- Know before you buy: a PWM controller harvests less than an MPPT one, so plan on less than the MPPT numbers further down. For a 12V lithium battery, select lithium mode, set the system voltage to 12V and match the charging voltage to the battery maker’s spec. At about 28.5 lb, the case is heavy to carry far from the rig and takes real storage space.
Check the Renogy 200W N-Type Solar Suitcase on Amazon
Zamp Legacy Series 150W Kit: Best for Zamp-Ported RVs
Many RVs leave the factory with a Zamp solar port on the sidewall, and this kit is made to plug into it. You get two 75 W panels in a folding frame, a 10 A five-stage controller on the hinge, a 15 ft extension cable, an adapter for the Zamp port and fused clamps for a direct battery hookup. “Solar ready” only pays off when the port is wired the way the kit expects, so find out what sits behind yours before you order. A Zamp port doesn’t tie you to Zamp panels, since other kits work with the right adapter, polarity and controller setup; what this kit adds is a connection that’s ready out of the box.
- Key specs: 150 W (two 75 W panels), 24.6 V open circuit, 10 A five-stage controller, 15 ft extension cable, Zamp port adapter and fused battery clamps, 32.4 × 21.5 × 3.1 in folded, about 33 lb.
- Choose it for: RVs whose Zamp port runs straight to the battery, where you want to plug in and charge with no crimping or clamping.
- Know before you buy: the port’s polarity and current limit have to match the kit, and generic SAE cables don’t always follow Zamp’s polarity. If your port already feeds an onboard controller, the kit’s controller would be a second one in line; Zamp sells unregulated kits for that setup. At 33 lb for 150 W, it’s also the heaviest panel here.
Check the Zamp Legacy Series 150W Kit on Amazon
Jackery SolarSaga 100W Air: Best Lightweight Panel
At about 7 lb, the 100W Air weighs a quarter as much as the Renogy suitcase and folds to roughly 17 × 17 inches. Its bifacial cells also use light that reaches the back, a built-in stand props it up, and USB-A and USB-C outputs can top up a phone straight from the sun. The included cable plugs into Jackery stations with a DC8020 solar input, a DC7909 adapter in the box covers older models, and the station handles the charge regulation.
- Key specs: 100 W, bifacial, 25.4 V at maximum power (29.7 V open circuit), DC8020 output with DC7909 adapter, USB-A and USB-C outputs, 17.1 × 16.7 × 1.9 in folded, about 7 lb.
- Choose it for: vans and small rigs that run a Jackery power station, and anyone who has to carry the panel a long way to find sun.
- Know before you buy: Jackery lists it as incompatible with the Explorer 300, 300 v2, 300D and 240D, and stations that take solar through USB-C need Jackery’s DC8020-to-USB-C adapter, sold separately. 100 W refills a large station slowly, and Jackery advises against leaving the panel out in the rain. Charging a house battery would take a separate controller and an adapter cable.
Check the Jackery SolarSaga 100W Air on Amazon
DOKIO 200W Foldable Kit: Best Budget Pick
DOKIO puts 200 W into a 9.7 lb fabric folder that packs down to about 20 × 27 inches, roughly a third of the weight of the Renogy suitcase. The kit includes a standalone PWM controller with two USB ports, a 9.8 ft cable and SAE, XT60 and alligator-clip connections, so it can charge a 12V battery or feed a power station’s solar input. It’s an inexpensive way to get 200 W you can carry with one hand.
- Key specs: 200 W, standalone PWM controller with dual USB, 9.8 ft cable, SAE, XT60 and alligator connectors, 20 × 27 × 1.1 in folded, 9.7 lb.
- Choose it for: occasional dry camping, small battery banks and power stations, and anyone who wants 200 W without a heavy case.
- Know before you buy: the controller hangs loose on the cable rather than mounting to the panel, so give it a dry, shaded spot. On a power station, plug the panel in without the controller; the station’s input limit then decides how many watts you actually get. A thin fabric panel needs more care in wind than a framed suitcase.
Check the DOKIO 200W Foldable Kit on Amazon
EcoFlow NextGen 220W Bifacial: Best Bifacial Panel
EcoFlow’s 220 W panel uses N-type cells on both faces, folds to about 24 × 23 inches and weighs 15.4 lb, with a built-in adjustable kickstand and an angle guide. The back is rated at 175 W on its own, but that doesn’t make this a 395 W panel. In the field, the rear adds only what the ground reflects back, and EcoFlow puts the gain at up to 28 percent. Plan on the 220 W front rating and count the rest as a bonus on sand, snow or light gravel.
- Key specs: 220 W front (175 W rear rating), 18.4 V at maximum power (21.5 V open circuit, 12.4 A short circuit), MC4 connectors with an XT60i cable, IP68, 24.2 × 23.2 × 1.3 in folded, about 15.4 lb.
- Choose it for: power-station setups, bright campsites, and anyone who wants more than 200 W in a panel under 16 lb.
- Know before you buy: it has no controller. For a 12V house battery, use a suitable PWM or MPPT controller, check its PV input limits and set it for your battery chemistry. The included XT60i cable connects it to compatible EcoFlow stations; other stations may need a different adapter. A folder this size catches wind, so stake it down.
Check the EcoFlow NextGen 220W Bifacial on Amazon
BLUETTI PV350: Best High-Output Panel
When 200 W isn’t enough and you’d rather not carry two panels, the PV350 gives you 350 W from a single folding panel, 75 percent more than the 200 W picks, for about 30.6 lb and a folded size of 35.6 × 24.1 inches. It uses MC4 connectors and runs at 46.5 V open circuit, more than twice the Renogy’s, so it belongs on a power station with a wide solar input or, on a 12V battery bank, an MPPT controller rated comfortably above that.
- Key specs: 350 W, 37.5 V at maximum power (46.5 V open circuit, 10.8 A short circuit), MC4 connectors, 23.4 percent cell efficiency, kickstand, 35.6 × 24.1 × 2.5 in folded, about 30.6 lb.
- Choose it for: larger power stations and MPPT-based house systems that need more watts from one setup, especially on short winter days.
- Know before you buy: on a 12V bank, a PWM controller would waste more than half its output, and stations whose solar input tops out around 30 V can’t use it. Cold mornings push its open-circuit voltage higher still, so leave headroom. BLUETTI advises against leaving it out in rain or snow. Unfolded, it’s nearly 8 ft long, so it needs room to set up and solid anchoring.
How to Choose a Portable RV Solar Panel
Start with what you’re charging. A house battery needs a suitable charge controller; a power station already has one. Then choose the panel format you can comfortably carry, store and set up.
House Battery or Power Station?
House battery. The panel needs a controller between it and the battery, set to your battery’s chemistry. A kit like the Renogy or DOKIO brings one along; a bare panel like the EcoFlow or BLUETTI needs one you supply, sized as our charge controller sizing guide explains. MPPT controllers turn more of a panel’s output into charge than PWM ones, and on a 12V bank they’re the right match for a high-voltage panel like the PV350; our MPPT vs. PWM comparison covers the difference.
Factory solar port. Ports come from different brands, and their plugs and polarity aren’t standardized. Before you plug in, find out whether the port runs straight to the battery or into an onboard controller, and what current it’s rated for.
Power station. The station regulates charging itself, but the right plug alone isn’t enough: check the panel’s voltage, current and watts against the station’s solar input limits. If the station’s manual allows it, a panel rated above the input’s watt limit works as long as voltage and current stay in range; the station simply takes no more than its limit. Voltage is the strict one: a panel above the input’s voltage range won’t charge the station and can damage the input. Our portable power station guide compares the stations themselves.
Suitcase, Folder or Flexible?
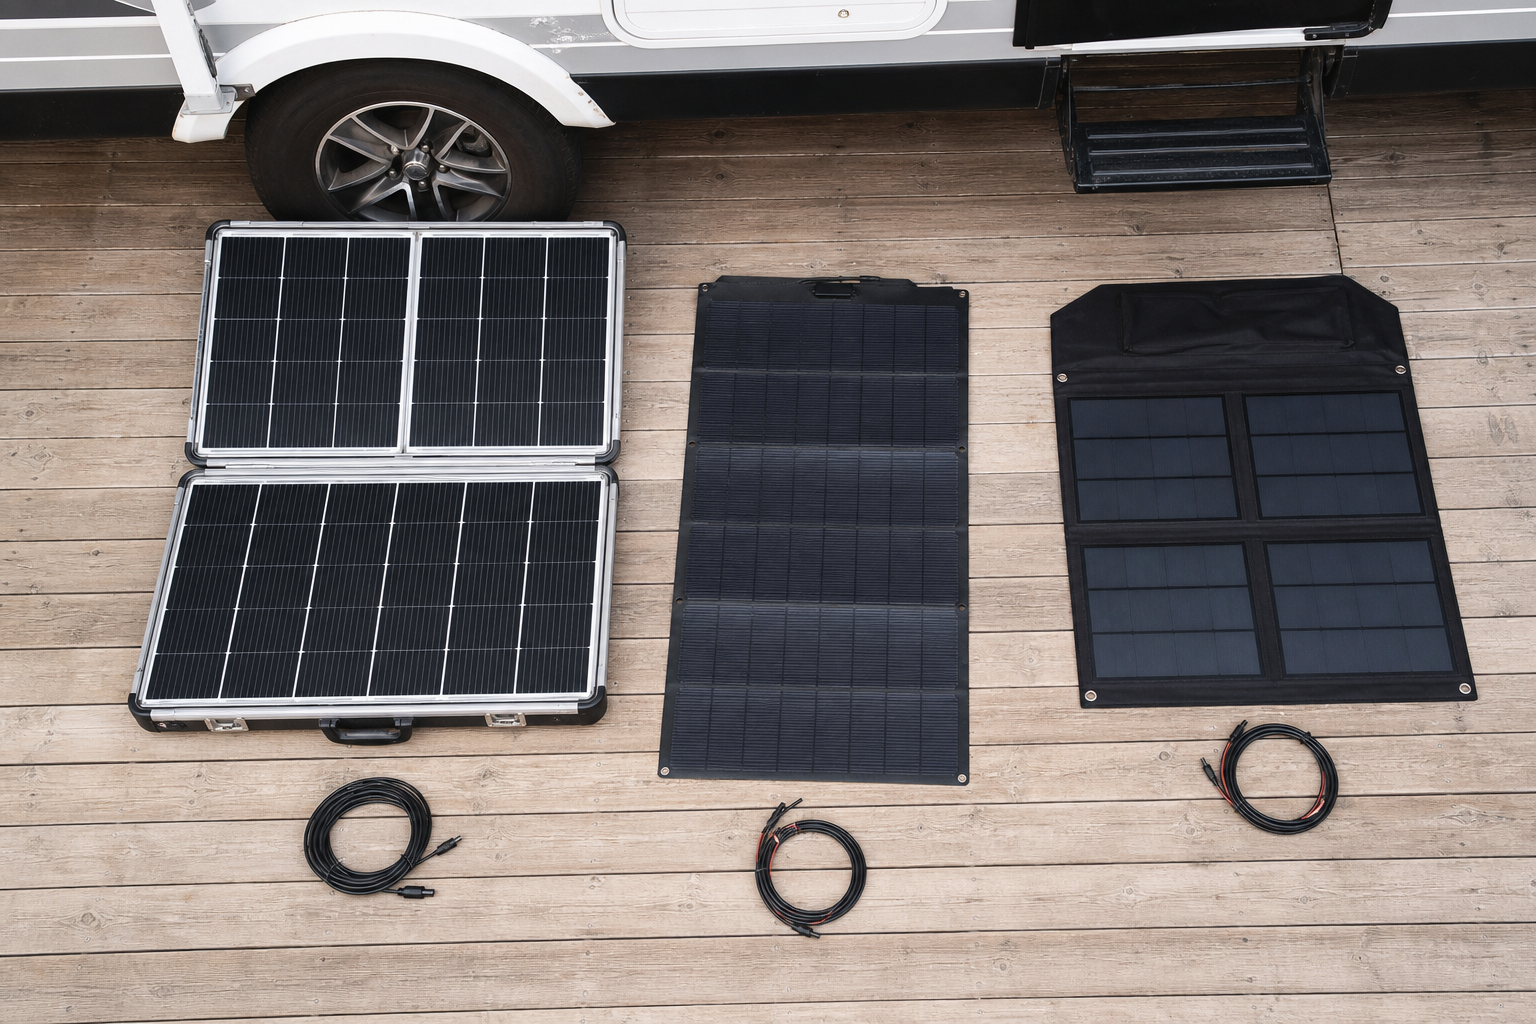
A framed suitcase like the Renogy or Zamp stands steady on its legs and holds its shape in wind, but it’s heavy and bulky. A fabric folder like the Jackery or DOKIO weighs about a third as much or less and packs flat, but a gust moves it more easily and it needs a dry, flat spot in storage. Large folders like the EcoFlow and BLUETTI bring more watts per trip to the campsite, and more sail area once they’re up. Flexible panels are mostly made for mounting, so they make awkward ground panels.
Size, Weight and Storage
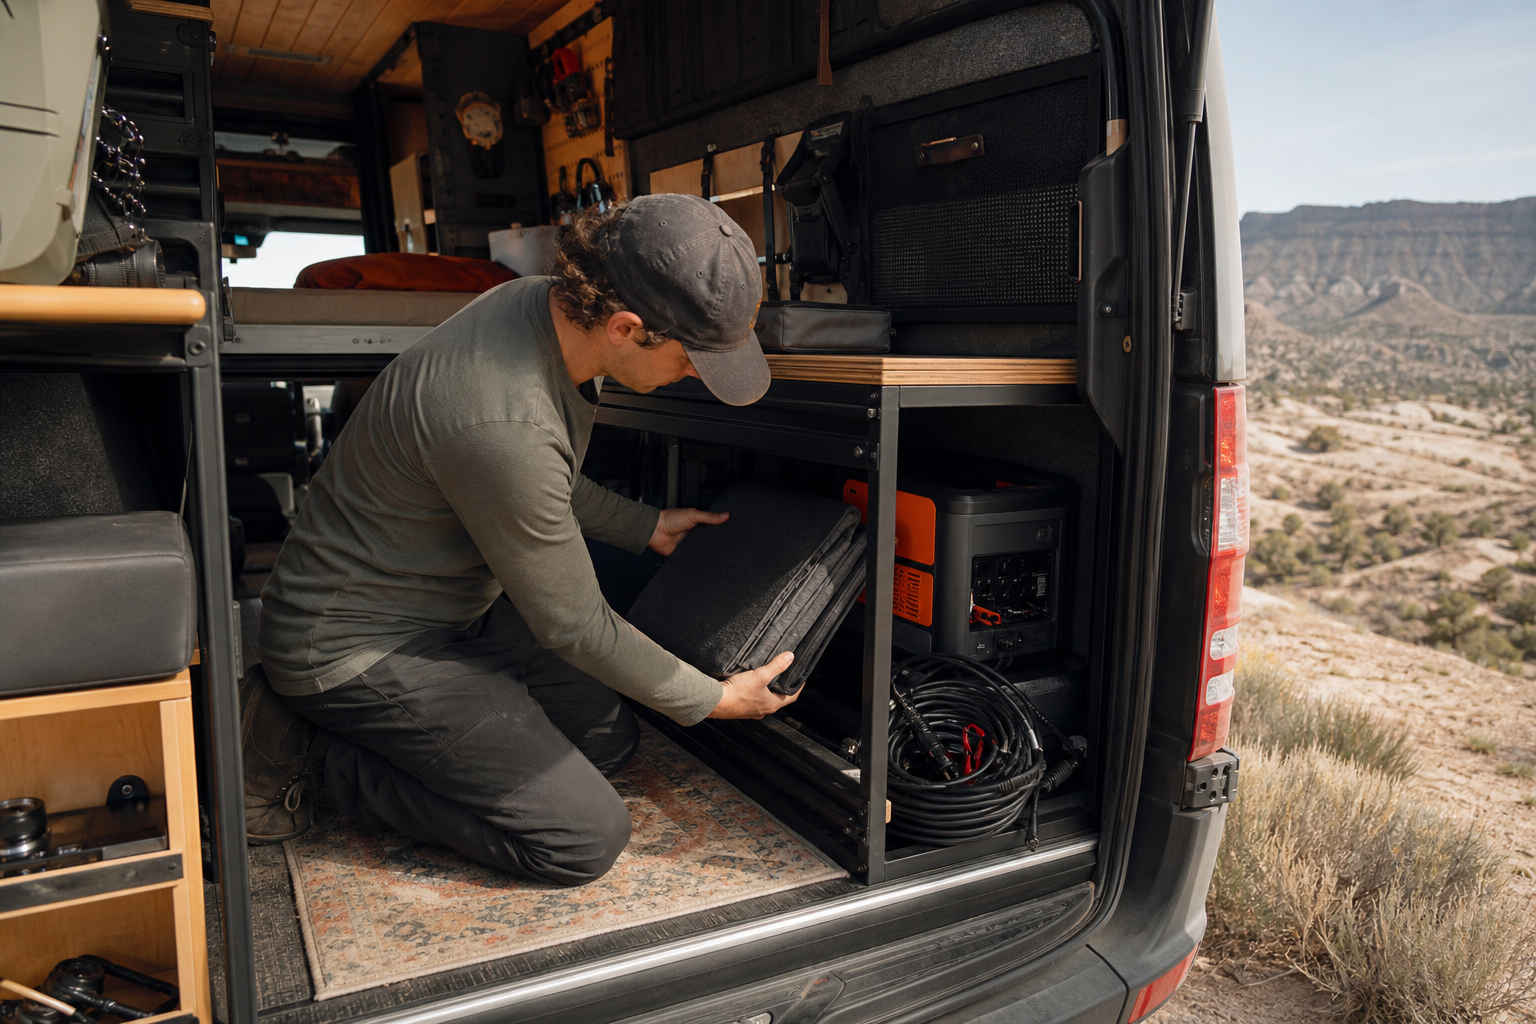
Measure the bay or closet where the panel will ride and compare it with the folded sizes above. Weight matters most if you’ll carry the panel any distance to find sun: 7 lb goes anywhere, while a 30 lb suitcase tends to stay close to the RV.
How Much Power Will a Portable Panel Make?
For planning, multiply the panel’s watts by your sun-hours and by 0.75, the factor our RV solar sizing guide uses for an MPPT system in open sun:
Sun-hours here are peak sun-hours: the day’s sunlight added up and expressed as hours at full strength, not the hours the sun is up. Assuming 4 of them, that gives these planning numbers:
Scroll sideways to see every column.
| Panel Size | Energy per Day at 4 Sun-Hours |
|---|---|
| 100 W | About 300 Wh |
| 150 W | About 450 Wh |
| 200 W | About 600 Wh |
| 220 W | About 660 Wh |
| 350 W | About 1,050 Wh |
Your own sun-hours depend on place and season, and the sizing guide shows how to look them up. With a PWM controller, plan on less. Then set the numbers against your daily use from an RV energy audit. If you use about 400 Wh a day, a 200 W panel’s estimated 600 Wh covers the day with 200 Wh to spare. For the couple in our example, at about 1,750 Wh a day, the same panel covers only about a third and stretches the battery between charges rather than carrying the whole day.
Setup and Safety
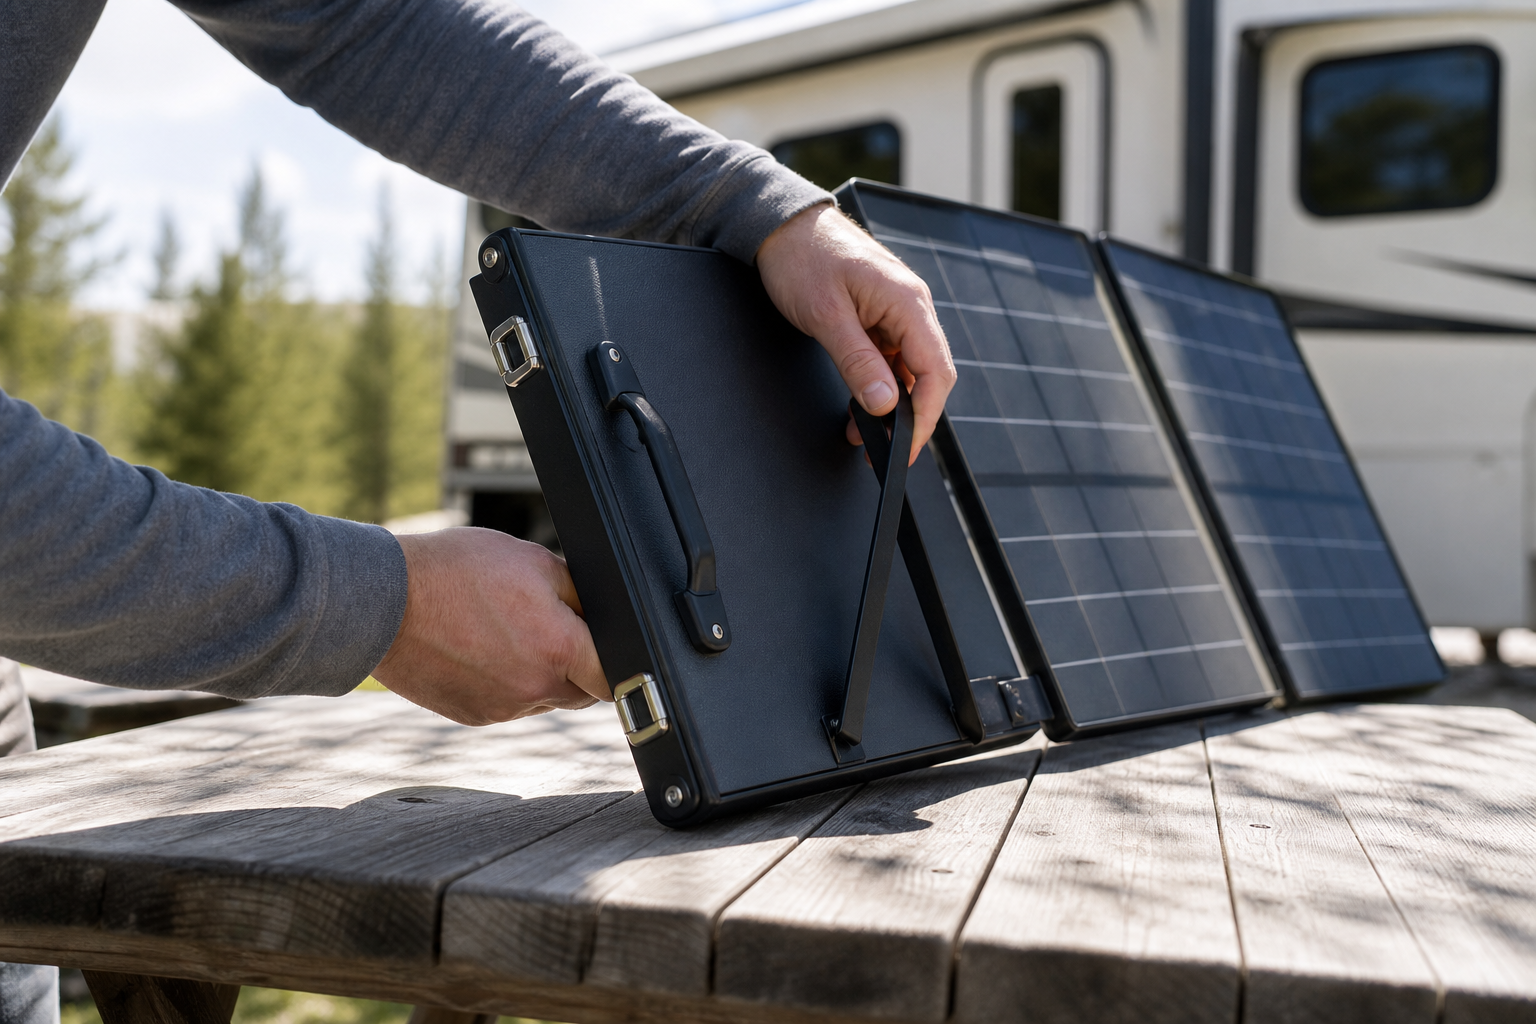
- Aim it and move it. Face the panel toward the sun, tilt it up, and shift it as shade moves across the site. Our guide to solar panel tilt shows how much the angle matters by season.
- Never connect a bare panel straight to a battery. A battery needs a controller in between; a power station has one built in.
- One controller per panel path. Feed the panel’s unregulated output into a power station or an onboard solar controller, rather than through the kit’s controller first. Separate panels, each with its own controller, can charge the same battery bank when every controller is set for that battery and their combined current stays within its charge limit.
- Check polarity before plugging into a port. If you’re unsure, test the port and the cable with a multimeter first.
- Anchor against wind. A folding panel on a stand acts like a sail, so stake it, weight it or tie it down.
- Keep cables short and thick enough. A long, thin extension cable turns charging power into heat; use the gauge the kit maker specifies or heavier.
- Protect the electronics, not just the panel. A panel face can carry a high waterproof rating while its controller, junction box and connectors don’t, so keep connections off wet ground and bring them in before a storm.
FAQs
- How many watts of portable solar do I need? Work from your daily use. At 4 sun-hours, every 100 W of panel gives about 300 Wh with an MPPT controller, so covering the example couple’s 1,750 Wh a day, plus a 20 percent reserve, takes around 700 W. That’s more than most people carry, which is why a portable panel usually works alongside roof solar, a generator or charging while driving.
- Do portable solar panels need a charge controller? For a battery, yes, and its settings have to suit the chemistry, whether lead-acid, AGM or lithium. A power station has the controller built in, so the panel plugs straight into its solar input.
- Can a portable solar panel run an RV air conditioner? Not on its own. Our solar sizing guide puts a typical 13,500 BTU rooftop unit at roughly 1,700 W while cooling, several times what even the 350 W BLUETTI produces at its peak. A battery bank and inverter sized for it can run the AC for a while, with the panel adding some charge.
- Do portable panels work in clouds or partial shade? They keep producing, but heavy overcast can cut output by three quarters or more, and shade over part of the panel costs far more than its share of the area. The portable advantage is that you can move the panel to the best light.
- Portable or roof-mounted panels? Roof panels charge with no setup but only where you park. Portable panels let the RV sit in the shade while the panel finds the sun, at the cost of setup time and storage space. Plenty of rigs use both.
- Can I plug a portable panel into my RV’s solar port? Yes, if the plug, polarity and current rating match and you know whether the port leads to an onboard controller. If it does, use a panel without its own controller; if it runs straight to the battery, the kit needs one, like the Zamp kit for Zamp ports.
Conclusion
For a house battery, the Renogy 200W N-Type Solar Suitcase is the complete answer with nothing to wire, and RVs with a Zamp port should start with the Zamp Legacy kit. Power-station campers who travel light will like the 7 lb Jackery SolarSaga 100W Air, while the EcoFlow NextGen 220W adds watts and pays off on bright ground. The BLUETTI PV350 brings 350 W to stations and MPPT controllers that can take its voltage, and on a budget, the DOKIO puts 200 W in a 9.7 lb folder. Whichever you choose, start from your daily watt-hours, match the panel to what it charges, and set it up where it gets clear sun.
Spot an error or an outdated detail in this guide?
Report it