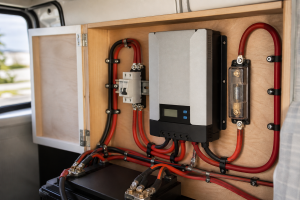
How to Size a DC-DC Charger for Your RV Alternator
On this page
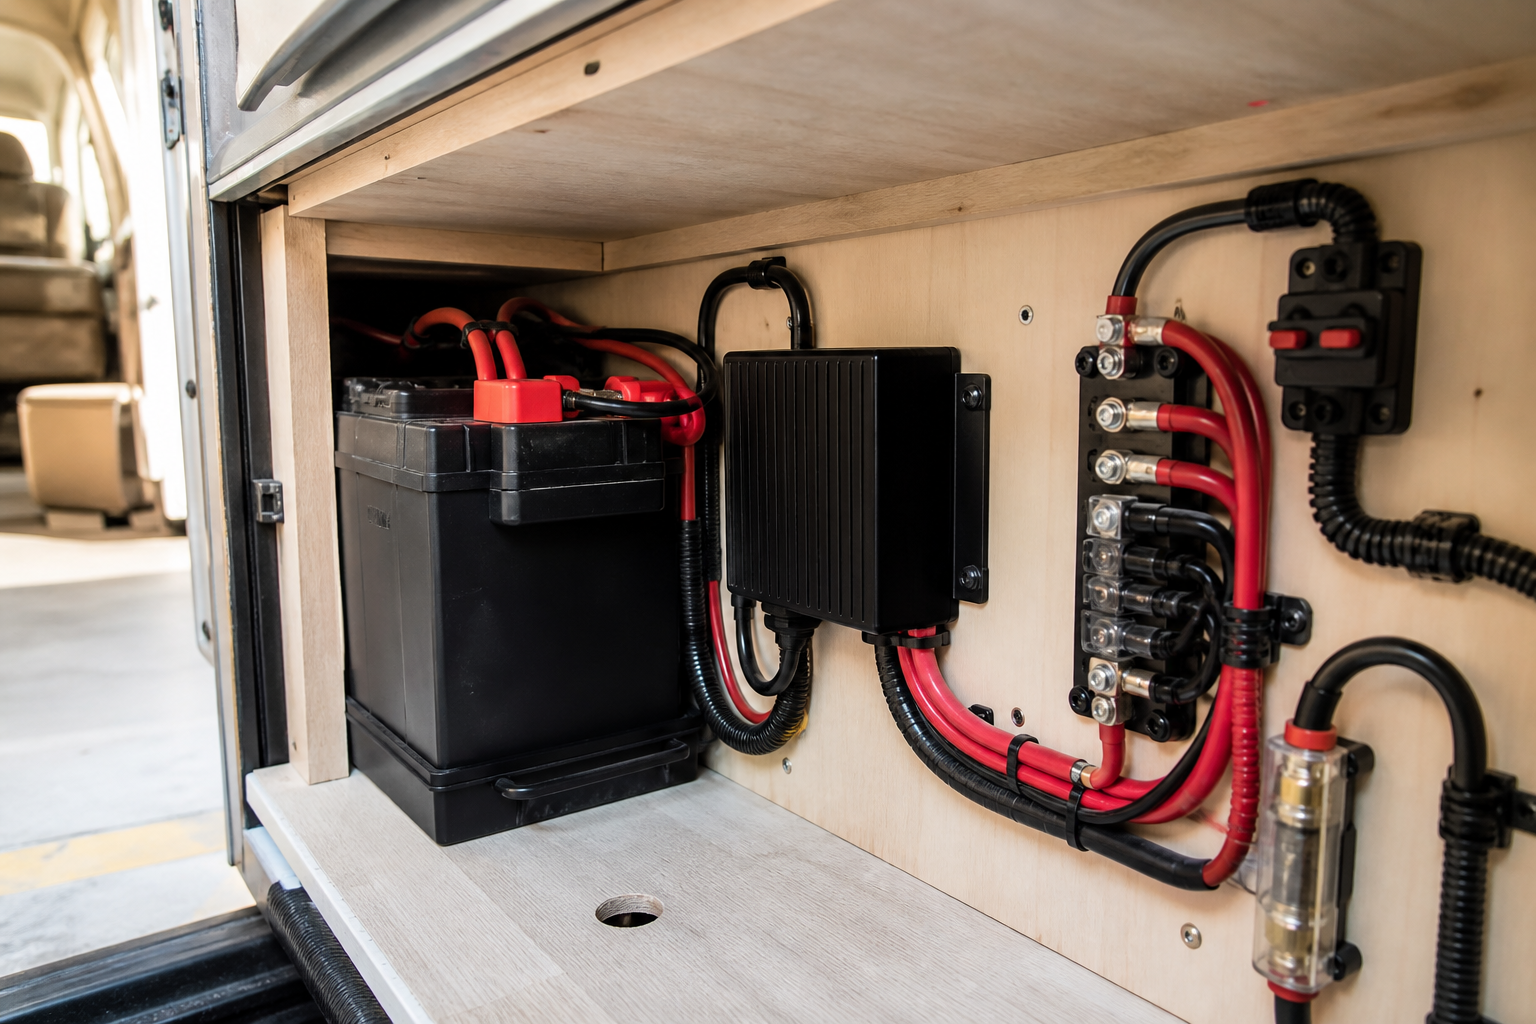
TL;DR
- Start: Find your alternator’s rated output.
- Then: Verify charger input current, not just output.
- Finish: Sanity-check the final selection and watch for warning signs after installation.
Introduction
A 40A DC-DC charger paired with a 130A alternator claims at least 31% of that alternator’s rated output every minute the engine runs — before conversion losses, and before the vehicle’s own electrical systems take their share. Get the sizing right and your house batteries recharge reliably on every drive. Get it wrong in one direction and your alternator overheats climbing a grade in summer; get it wrong in the other and a full day of driving leaves your lithium bank barely topped up. Sizing a DC-DC charger for RV alternator charging is fundamentally an exercise in balancing three numbers: what your alternator can spare, what your battery bank can accept, and what your cable run can deliver without excessive voltage drop.
The sections below explain how to size a DC-DC charger for your RV alternator, with the key decision points and checks along the way.
A DC-DC charger (also called a battery-to-battery or B2B charger) sits between your vehicle’s starter battery circuit and your house battery bank. Unlike a simple isolator or voltage-sensing relay, it actively regulates current and voltage, delivering a multi-stage charge profile matched to your battery chemistry. That regulation is exactly why sizing matters: the charger pulls its rated input current from the alternator continuously, for hours at a time, regardless of engine RPM or ambient temperature. Most alternators were built around intermittent automotive loads, not sustained full-rated output — so a charger that looks “big and fast” on paper can quietly cook an alternator that was never given headroom.
The method below covers finding your alternator’s true rating, subtracting vehicle loads, applying a conservative headroom rule, matching charger amperage to your battery chemistry and capacity, and verifying the cable run can carry the current. Rather than handing you generic numbers to copy, the table below shows where to find your numbers, because every vehicle, alternator, and battery bank combination is different.
Scroll sideways to see every column.
| Factor | How to Determine It | Why It Matters |
|---|---|---|
| Alternator rated output (A) | Read the label stamped on the alternator case, check the vehicle spec sheet or owner’s manual, run a VIN lookup with the dealer, or consult the manufacturer’s build sheet | This is the ceiling for everything else; the charger’s input draw must fit inside it with margin |
| Alternator output at idle | Manufacturer curve if available, or measure with a DC clamp meter on the alternator output cable at idle RPM | Many alternators produce only a fraction of rated output at idle; sustained idle charging can starve or overheat the system |
| Vehicle baseline electrical load | Measure with a DC clamp meter on the alternator output lead with the engine running, headlights, HVAC blower, and accessories in their normal driving state | Whatever the vehicle consumes is unavailable to the charger; you must subtract it, not guess it |
| House battery bank capacity (Ah) and chemistry | Battery nameplate, manufacturer datasheet, or BMS app for lithium banks | Determines the maximum recommended charge current and the realistic recharge time per hour of driving |
| Battery maximum charge current | Manufacturer datasheet (often expressed as a C-rate for lithium, or a percentage of Ah capacity for lead-acid) | A charger larger than the bank’s acceptance limit wastes alternator capacity and may violate battery warranty terms |
| Cable run length (one way) | Measure the actual routed path from starter battery to charger and charger to house bank with a tape measure — not the straight-line distance | Voltage drop scales with length and current; undersized cable throttles the charger and creates heat |
| Alternator type (smart/variable-voltage vs. fixed) | Owner’s manual, VIN lookup, or observe charging voltage behavior with a multimeter — smart alternators vary output voltage significantly while driving | Smart alternators require a charger with an ignition-trigger (D+) input so it only runs with the engine on |
| Charger input current (not just output) | Charger manufacturer datasheet — input draw exceeds rated output due to conversion losses and voltage boosting | Sizing against output amps alone understates the real load placed on the alternator |
What You’ll Need
- Your vehicle’s alternator specification — from the alternator case label, owner’s manual, dealer VIN lookup, or manufacturer build sheet
- Your house battery datasheet showing capacity (Ah), chemistry, and maximum recommended charge current
- A DC clamp meter capable of reading at least 200A DC (for measuring alternator output and vehicle baseline loads)
- A digital multimeter for checking charging voltage at the starter battery with the engine running
- A tape measure for the actual routed cable path between the starter battery and the planned charger location, and from the charger to the house bank
- The candidate DC-DC charger’s datasheet, specifically the input current specification and recommended wire gauge (AWG) table
- A voltage-drop calculation method: the formula in Step 7 below, a wire resistance chart, or an online calculator
- Pen and paper or a spreadsheet to record each measurement as you go
Calculating Your DC-DC Charger Size: From Alternator Rating to Final Amperage
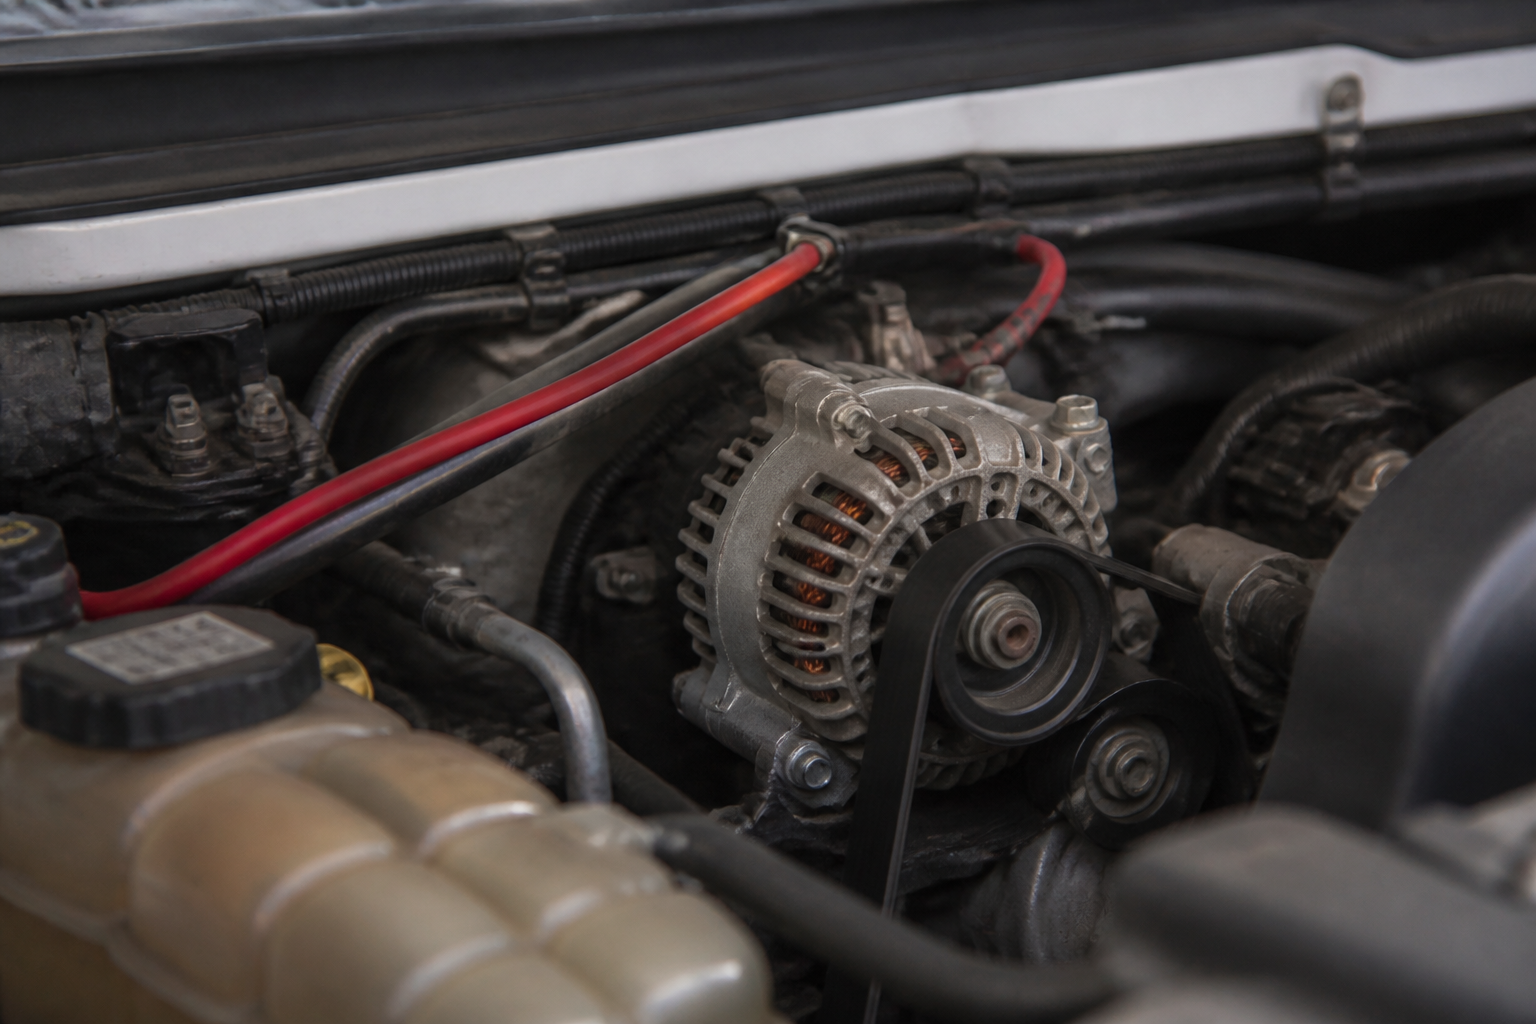
- Find your alternator’s rated output. Locate the amperage rating stamped or printed on the alternator case itself — this is the most authoritative source. If the label is inaccessible, check the vehicle spec sheet, ask a dealer to run your VIN, or consult the manufacturer’s build documentation. Be careful with aftermarket or replacement alternators: the unit in your vehicle may not match the factory spec. Write down the rated output in amps. If your vehicle offers a high-output alternator option and you’re unsure which you have, physically verify rather than assume — the two versions can differ dramatically.
- Understand rated output versus idle output. The number on the label is typically the alternator’s output at a specified test RPM, not what it delivers at idle. Most alternators produce substantially reduced current at idle speed, and the exact idle curve varies by design. If you plan to charge while idling — common for RVers stuck in campsites or traffic — measure it: clamp a DC clamp meter around the alternator’s main output cable at idle with normal accessories running and record the reading. This idle figure, not the label rating, is your real ceiling for stationary charging. If your use case involves significant idle charging, size conservatively against the idle number.
- Measure your vehicle’s baseline electrical load. With the engine running and the vehicle configured the way you actually drive — headlights on if you drive at night, HVAC blower at your usual setting, radio and accessories active — clamp the meter on the alternator output lead and record the current. This is what the vehicle itself consumes before your charger takes anything. Do not guess this number or copy one from a forum; it varies enormously between a compact van and a diesel motorhome with electric cooling fans. Take a second reading with high-demand items active (defroster, seat heaters, electric fans cycling) so you know your worst case.
- Calculate available alternator capacity using the headroom rule. Keep the charger’s input draw well inside what the alternator can spare — most installers cap it around half the rated output. Two ways to express this:Method A (simple 50% rule): Maximum charger input ≈ Alternator rated output × 0.5
Method B (subtraction method): Maximum charger input ≈ (Alternator rated output − measured vehicle baseline load) × safety factor of 0.6–0.7
Worked example — assumed values for illustration only, not defaults: Suppose your alternator label reads 180A and your clamp meter shows the vehicle drawing 45A while driving with normal accessories. Method A gives 180 × 0.5 = 90A maximum charger input. Method B gives (180 − 45) × 0.65 ≈ 88A. Whichever method yields the lower number is your ceiling — here, roughly 88A of input current. Your numbers will differ; run both calculations with your own measurements.
- Match charger output to your battery bank’s acceptance limit. The alternator ceiling from Step 4 is only half the equation — the battery bank sets its own limit. Pull your battery datasheet and find the maximum recommended continuous charge current. For lithium (LiFePO4) banks this is usually expressed as a C-rate; many manufacturers recommend charging at a moderate fraction of capacity for longevity even when the cells can technically accept more, so check your datasheet rather than relying on a generic rule. For AGM and flooded lead-acid, manufacturers commonly recommend charge currents in the range of roughly 10–20% of the bank’s amp-hour capacity, and exceeding that can cause gassing, heat, and shortened life. Note also that lead-acid absorption tapers current sharply as the battery fills, so an oversized charger buys less time savings than the math suggests.
Worked example — assumed values for illustration only: Say you have a 200Ah lithium bank whose datasheet allows up to 0.5C (100A) charge current but whose manufacturer recommends 0.2–0.3C (40–60A) for daily use. If your alternator ceiling from Step 4 was 88A of input, a 50A-output charger fits comfortably under both the battery’s recommended rate and the alternator’s headroom. Recharge time estimate: energy to replace ÷ charge current. If you typically deplete 100Ah of that bank, 100Ah ÷ 50A = about 2 hours of driving to substantially recharge (charging tapers near full, so treat this as an estimate, not a guarantee). - Verify charger input current, not just output. DC-DC chargers are not perfectly efficient, and many boost voltage from a lower alternator-side voltage to a higher lithium charging voltage. That means input current always exceeds output current. Check the charger datasheet for the specified maximum input draw and use that figure against your Step 4 ceiling. As a formula: Input current ≈ (Output current × Output voltage) ÷ (Input voltage × Efficiency). If the datasheet publishes the input figure directly, use it — it accounts for the manufacturer’s real-world efficiency. A charger whose input draw exceeds your alternator ceiling should be ruled out or stepped down, regardless of how attractive the output rating looks.
- Size the cable run for voltage drop. Measure the actual routed cable path from the starter battery to the charger location — under carpets, around bulkheads, through grommets — not the straight-line distance. Voltage drop is calculated as:
Vdrop = 2 × L × I × R
where L is the one-way length in feet, I is the current in amps, R is the wire’s resistance per foot (from a standard AWG resistance chart), and the factor of 2 accounts for the round trip through positive and negative conductors. Aim to keep drop under about 3% of system voltage on the input side; excessive drop on a boost-type charger forces it to pull even more current to compensate, compounding heat and losses. Most charger manufacturers publish a wire gauge table by run length in the manual — follow it, and when your measured length falls between two rows, round up to the thicker gauge. Longer runs common in Class A motorhomes and travel trailers frequently demand surprisingly heavy cable; budget for it before committing to a high-amperage charger. - Account for smart (variable-voltage) alternators and ignition wiring. Many modern vehicles use smart alternators that vary output voltage for fuel economy and regenerative braking. Two consequences: first, a voltage-sensing charger may fail to activate reliably or may drain the starter battery when the alternator drops voltage; second, the charger must be wired to an ignition-switched trigger (often labeled D+ or IGN) so it only runs with the engine on. Confirm whether your vehicle has a smart alternator via the owner’s manual, a VIN lookup, or by watching charging voltage with a multimeter while driving — significant voltage swings indicate a smart system. Choose a charger with an ignition-trigger input and plan the trigger wire into your installation.
- Decide between one charger and a dual-charger setup. For large lithium banks, two smaller chargers in parallel can be attractive: they distribute heat, allow one to be switched off when full charging speed isn’t needed, and provide redundancy. But the sizing math is unchanged — the combined input draw of both units must still fit under your Step 4 alternator ceiling. Never stack chargers to “use up” all remaining alternator capacity; sustained near-maximum output is precisely the condition that shortens alternator life. Dual setups make the most sense on vehicles with genuinely high-output or dual alternators, verified against documentation rather than assumed.
- Sanity-check the final selection and watch for warning signs after installation. Before buying, confirm: charger input draw ≤ alternator ceiling (Step 4), charger output ≤ battery recommended charge current (Step 5), and cable gauge meets the manufacturer table for your measured run (Step 7). After installation, monitor for symptoms of a mismatch. Signs the charger is too big: a hot or burning-smell alternator after long drives, dimming headlights at idle, battery warning lights, or premature alternator failure. Signs it’s too small: the house bank never approaches full even after long driving days, or recharge time consistently exceeds your calculated estimate by a wide margin. A clamp meter reading on the alternator output during a real drive — with the charger running at full output — is the definitive verification that your paper math matches reality.
Safety Considerations
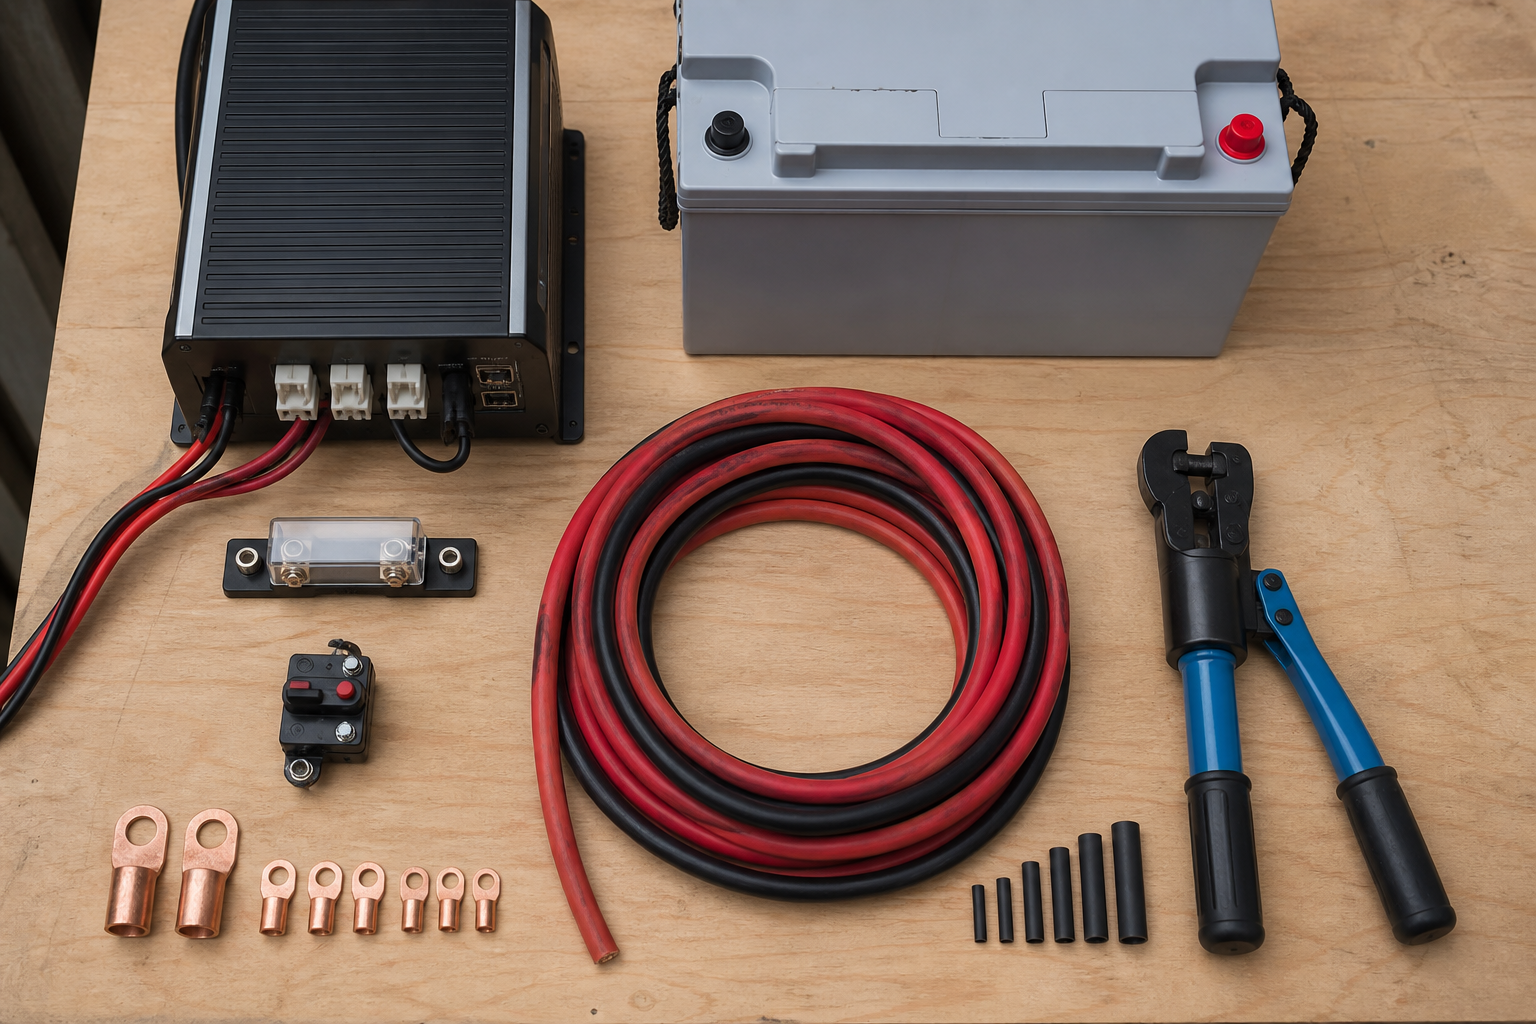
- Always install an appropriately rated fuse or circuit breaker at both ends of the cable run — within inches of the starter battery positive terminal and near the house bank — sized to protect the wire, per the charger manufacturer’s instructions.
- Disconnect the negative terminals of both battery systems before making any wiring connections, and reconnect them last.
- Never exceed the battery manufacturer’s maximum charge current or charge lithium batteries below their minimum temperature rating; use a charger or BMS with low-temperature charge protection if you travel in cold climates.
- Mount the charger in a ventilated location away from battery vents, fuel lines, and heat sources — DC-DC chargers dissipate real heat at full output and will derate or fail if enclosed without airflow.
- Use marine-grade or automotive-grade stranded copper cable with proper crimped lugs and strain relief; loose or undersized connections at high current are a fire risk.
- If any part of the alternator assessment is uncertain — especially on newer vehicles with smart charging systems — consult the vehicle manufacturer or a qualified auto electrician before loading the charging circuit.
FAQs
- How do I know my alternator’s output rating? Check the label stamped on the alternator case first, since replacement units may differ from factory spec; otherwise consult the vehicle spec sheet, ask a dealer to run your VIN, or request the manufacturer’s build documentation. For idle output, measure directly with a DC clamp meter on the alternator’s main output cable.
- What’s the general rule for how big a DC-DC charger can be? Most installers cap the charger’s input draw at roughly half the alternator’s rated output. Always compare that ceiling against a measured baseline vehicle load rather than a guess.
- Can an oversized DC-DC charger damage my alternator? Yes. A DC-DC charger pulls its full input current continuously for hours, a duty cycle most automotive alternators were never designed for; sustained heavy draw causes heat buildup that degrades the alternator’s windings, diodes, and bearings and can lead to premature failure.
- What size charger do I need for a 200Ah lithium battery? It depends on both sides of the equation: your battery datasheet’s recommended charge current and your alternator’s available headroom after vehicle loads. Work the math from your own documents — a charger sized to the manufacturer’s recommended daily charge rate that also fits under half your alternator’s rated output is the safe intersection.
- Do lead-acid and AGM banks need a smaller charger than lithium? Generally yes. Lead-acid manufacturers commonly recommend charge currents around 10–20% of the bank’s amp-hour capacity, and lead-acid acceptance tapers sharply during absorption, so a large charger delivers diminishing returns while risking gassing and heat.
- Does cable length affect what charger size I can use? Absolutely. Voltage drop grows with both run length and current, so a high-amperage charger at the back of a long RV may require very heavy cable to deliver its rated performance; if the required gauge is impractical, a smaller charger or a shorter routing path is often the better engineering choice.
Conclusion
Sizing a DC-DC charger for RV alternator charging comes down to three ceilings, and your final choice must fit under all of them: the alternator’s available capacity after vehicle loads (conservatively, about half its rated output), the battery bank’s recommended charge current from its own datasheet, and the cable run’s ability to deliver the current without excessive voltage drop. The critical discipline is measuring rather than assuming — read the alternator label yourself, clamp-meter the vehicle’s real baseline load, pull the battery datasheet, and tape-measure the actual routed cable path. The charger’s input draw, not its advertised output, is what the alternator experiences, so always size against the datasheet input figure.
Once installed, verify the paper math with a clamp meter during a real drive at full charger output, and stay alert for the warning signs of a mismatch: alternator heat and dimming lights point to an oversized charger, while chronically undercharged house batteries point to an undersized one. A correctly sized DC-DC charger disappears into the background of your RV’s electrical system — quietly refilling the bank on every drive, keeping the alternator comfortably within its design limits, and pairing cleanly with solar for the days the wheels aren’t turning. Work through the ten steps above with your own numbers, and the right amperage falls out of the math rather than a guess.
Spot an error or an outdated detail in this guide?
Report it