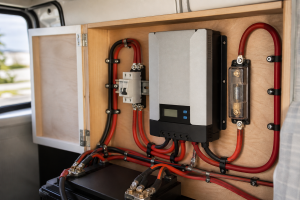
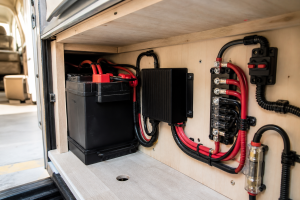
Charge RV Batteries While Driving & with Solar
On this page
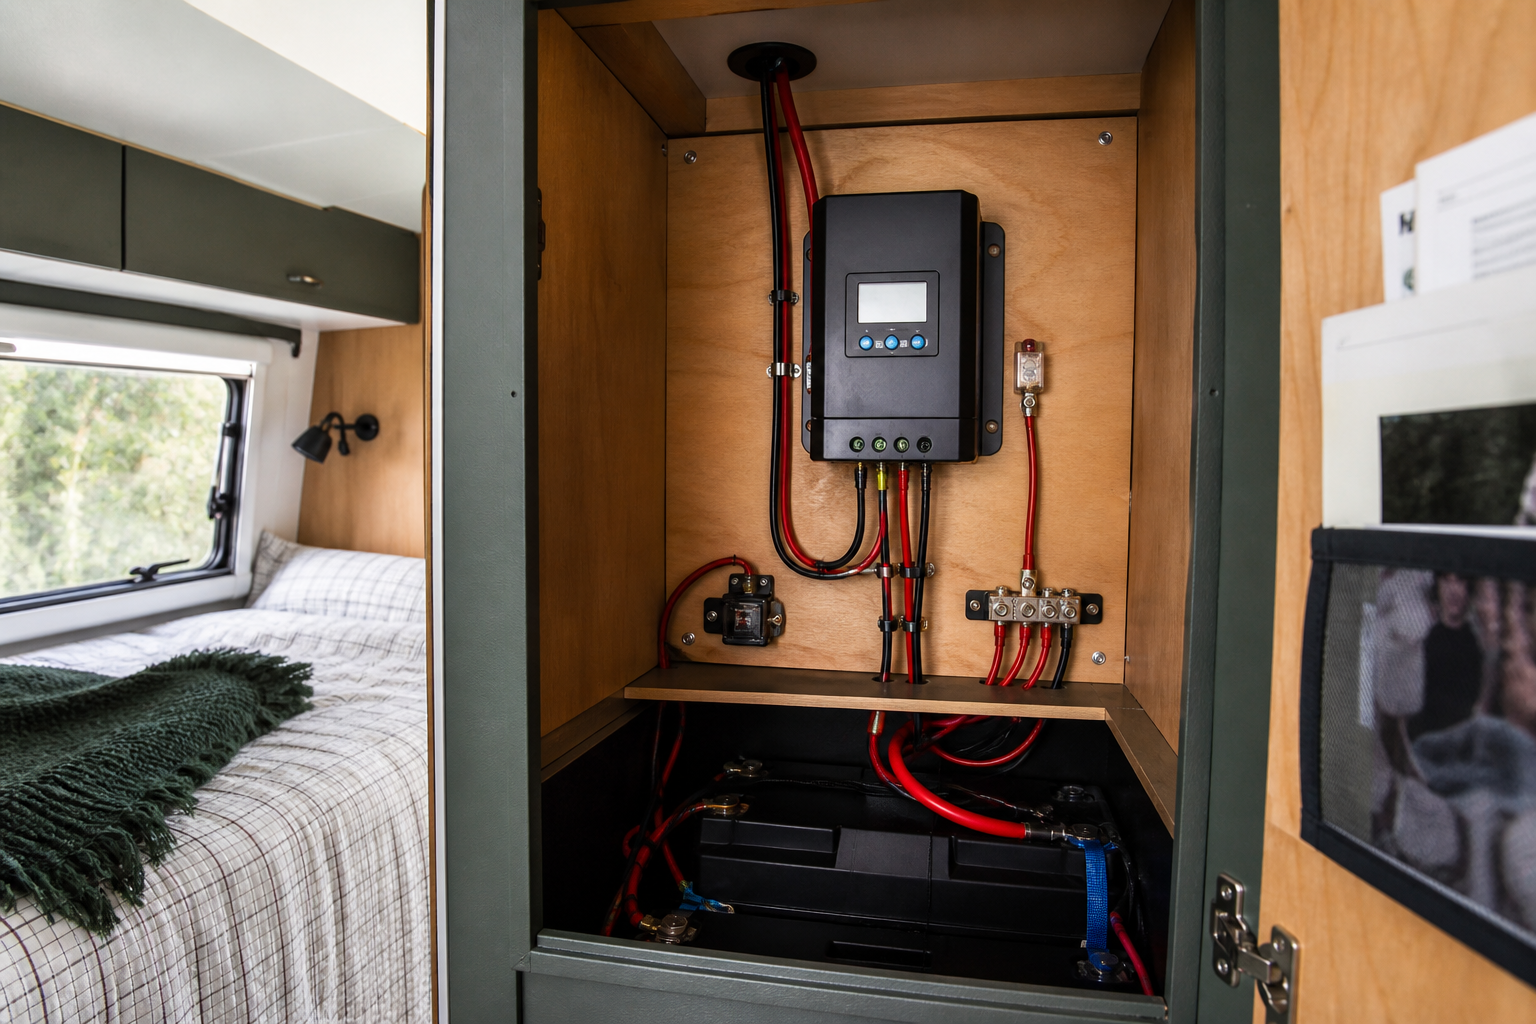
TL;DR: Quick Summary
- Yes — both work at once: A DC-to-DC charger handles the alternator side while a solar controller handles the panels; both can feed the same bank.
- The 7-pin line won’t cut it: Factory trailer wiring only trickle-charges — a DC-to-DC charger with properly sized cable does the real work.
- Size with your own numbers: Measure daily consumption, cable length, and alternator capacity before buying anything.
Introduction
A 12 V charging circuit that sags to 12.6 V at the battery terminals will barely charge anything: charge current is driven by the voltage difference between source and battery, and a lead-acid bank resting at 12.4 V sees almost no push from a 12.6 V wire. That single constraint explains why the question “Can I charge RV batteries while driving and with solar?” has a two-part answer. Yes, you absolutely can charge from both the tow vehicle’s alternator and rooftop solar at the same time — but only if each charging path delivers enough voltage, through thick enough wire, with its own regulation. Get the voltage and wire sizing wrong and you’ll drive for six hours and arrive at camp with batteries barely above where they started.
The good news: modern equipment makes dual charging straightforward. A DC-to-DC charger takes whatever the alternator circuit delivers and boosts it to a proper charge profile for your house batteries. A solar charge controller does the same for your panels. Both devices regulate independently, both taper as the battery fills, and both can feed the same bank simultaneously without conflict. Roof-mounted panels do not care whether the RV is parked or rolling down the interstate — they produce power any time sunlight hits them.
Every RV differs in alternator capacity, cable run length, battery chemistry, panel orientation, and daily energy use, so generic “typical” numbers are useless for sizing. The approach here uses formulas plus your own measured values. Start by filling in the worksheet below with numbers from your own equipment.
Scroll sideways to see every column.
| Factor | How to Determine It | Why It Matters |
|---|---|---|
| House battery bank capacity (Ah) and chemistry | Read the battery label or manufacturer datasheet; note whether it is flooded lead-acid, AGM, or LiFePO4 | Capacity sets how long charging takes; chemistry sets the required charge voltage profile and the maximum safe charge current |
| Alternator rated output | Check the vehicle owner’s manual, the alternator’s own label, or the dealer’s build sheet | Your DC-to-DC charger must draw well below this rating so the alternator can still run the vehicle’s own loads without overheating |
| Cable run length, tow vehicle battery to house battery | Measure the actual routed path with a tape measure — through the frame, around the hitch, into the battery bay — not the straight-line distance | Voltage drop is proportional to length; long runs demand thicker cable or a charger that tolerates low input voltage |
| Existing charge-line wire gauge | Read the printed gauge on the cable jacket, or measure conductor diameter with calipers and compare to an AWG chart | Thin factory wiring (common on 7-pin charge circuits) limits current and causes severe voltage drop |
| Solar array rated output and panel voltage | Read each panel’s nameplate sticker for rated watts, Vmp, and Voc | Determines charge controller sizing and how much energy solar contributes per day of driving or camping |
| Charge controller type and rating | Check the controller’s label or manual for maximum PV input voltage and output current | MPPT and PWM controllers behave differently; the controller must match both your array and your battery chemistry |
| Daily energy consumption (Ah/day) | Measure it: install a battery monitor with a shunt, or log state of charge over several typical days; alternatively sum nameplate data for each device you actually run and the hours you run it | Your combined charging must replace what you use, or the bank slowly walks downward day after day |
| Typical drive duration and sun exposure | Review your travel habits: hours behind the wheel per travel day, and hours of usable sun at your usual destinations | Charging energy = charge rate × time; short drives and shaded campsites change the sizing math completely |
What You’ll Need
- Digital multimeter capable of reading DC voltage to two decimal places (essential for diagnosing voltage drop)
- DC clamp meter, for measuring actual charge current in a live circuit without breaking connections
- Battery monitor with a shunt, or at minimum access to your battery’s state-of-charge readout
- DC-to-DC (battery-to-battery) charger rated appropriately for your alternator and battery bank
- Solar charge controller (MPPT strongly preferred) matched to your panel array and battery chemistry
- Appropriately sized copper cable for the alternator-to-charger run (determined in the procedure below), plus lugs and heat-shrink
- Fuses or circuit breakers rated for the cable, one at each battery end of every new power run
- Anderson-style or equivalent high-current connector if the charge line must cross a trailer hitch
- Ignition-sense wire or a charger with smart voltage detection, so charging stops when the engine is off
- Battery and panel datasheets, your vehicle owner’s manual, and a tape measure for cable routing
- Basic hand tools, cable crimper suited to large lugs, wire strippers, and cable-routing hardware (clamps, grommets, loom)
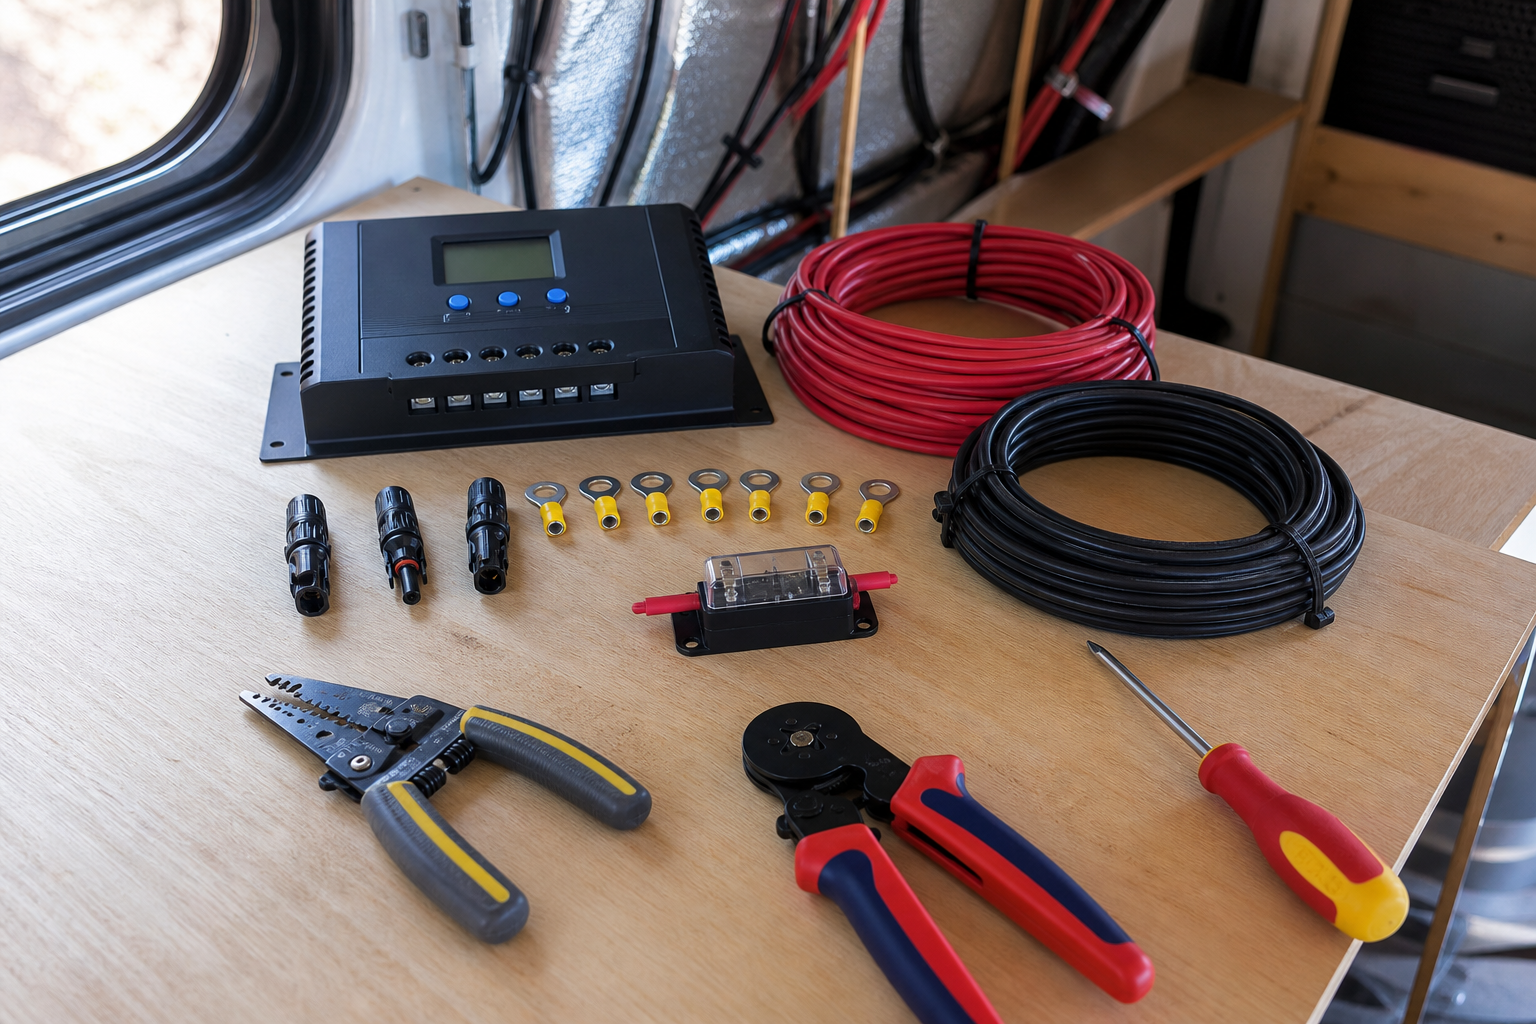
Designing and Installing a Dual Alternator-Plus-Solar Charging System
- Establish your daily energy budget by measurement, not guesswork. Install a shunt-based battery monitor and live normally for two or three days off-grid, recording amp-hours consumed per day. If you can’t measure yet, build an inventory: for each device you actually use, read its nameplate or datasheet for watts or amps, multiply by your real daily run-time, and sum the results. Use the formula Ah/day = Σ (device watts × hours per day) ÷ system voltage. Resist the urge to copy someone else’s numbers — a rig with a residential-style fridge lives in a different energy world than one with a propane absorption fridge, and only your own nameplate data and run-times tell the truth.
- Confirm what your existing 7-pin charge line can actually do. Most trailers wired through the standard 7-pin connector receive only a trickle on the auxiliary charge pin, because the factory circuit uses thin wire over a long run and has no voltage boosting. Test it: with the tow vehicle running and connected, use your clamp meter on the charge wire at the trailer battery and record the current, then measure voltage at the battery terminals. If you see only a low single-digit current and a terminal voltage barely above resting voltage, you’ve confirmed the well-known limitation — the 7-pin line is fine for maintaining a battery but far too weak to recharge a depleted bank during a day’s drive. This measurement is your baseline and your justification for the DC-to-DC charger.
- Size the DC-to-DC charger against three limits. The charger’s output rating must satisfy all of the following: (a) it must not exceed your battery manufacturer’s maximum recommended charge current — check the datasheet, since many lead-acid batteries want charge current limited to a fraction of capacity while most LiFePO4 banks accept much higher rates; (b) its input draw should leave generous headroom below your alternator’s rated output after the vehicle’s own loads are accounted for — a common conservative practice is to keep the charger’s input draw to a modest fraction of alternator capacity, especially on smaller alternators; and (c) it must fit the recharge time you need. Use recharge hours ≈ Ah to replace ÷ charger output amps to sanity-check. Worked example — assumed values for illustration only, not defaults: suppose your measured deficit after a night of camping is 60 Ah and you choose a 30 A DC-to-DC charger; 60 ÷ 30 = 2 hours of driving to replace it from the alternator alone, before counting any solar contribution or charge-taper effects near full.
- Measure the cable run and calculate voltage drop before buying wire. Voltage drop is the silent killer of alternator charging. Measure the full routed distance from the tow vehicle battery to the DC-to-DC charger input, then apply Vdrop = 2 × L × I × R, where L is the one-way length in feet, I is the charger’s input current in amps, and R is the cable’s resistance per foot (from any AWG copper resistance table; for example, 10 AWG copper is roughly 0.001 Ω per foot, 6 AWG roughly 0.0004 Ω per foot, 4 AWG roughly 0.00025 Ω per foot — these are properties of copper wire, not of any device). Worked example — assumed values for illustration only: a 30 A input current over a 25-foot one-way run in 10 AWG gives Vdrop = 2 × 25 × 30 × 0.001 = 1.5 V — a disastrous drop on a nominal 12 V circuit. The same run in 4 AWG gives 2 × 25 × 30 × 0.00025 ≈ 0.38 V, which is acceptable. Aim to keep total drop under roughly 3% of system voltage on the charger’s input side, and remember that many DC-to-DC chargers compensate for input sag by drawing more current, which makes undersized cable run even hotter.
- Install the DC-to-DC charger close to the house batteries, fused at both ends. Mount the charger within a short cable run of the house bank so its regulated output arrives with minimal drop. Run the heavy input cable from the tow vehicle’s starting battery (or a distribution point near it), through a fuse or breaker within inches of that battery, along a protected route through the frame, across the hitch via a high-current connector, and to a second fuse near the charger. Fuse ratings should protect the cable, sized per the cable’s ampacity, not merely the charger’s draw. Connect the ignition-sense wire to a circuit that is live only when the engine runs, or configure the charger’s engine-detection voltage threshold, so the charger can never flatten your starting battery overnight.
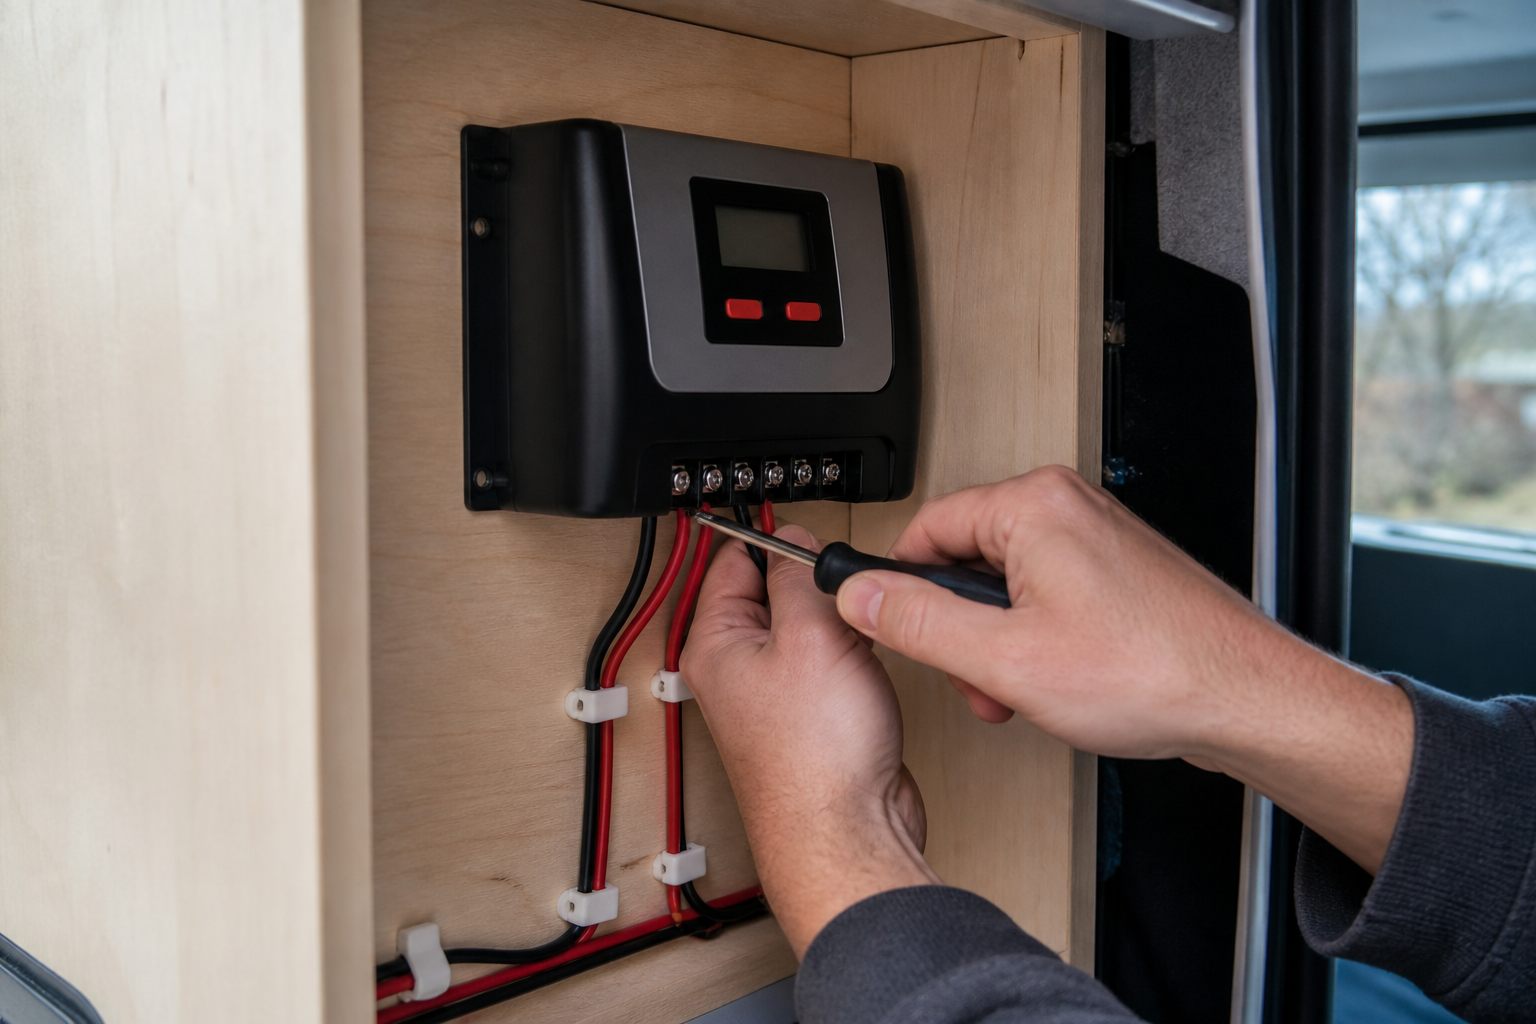
- Configure the solar side: controller selection and settings. Read your panels’ nameplate values — rated watts, Vmp (voltage at maximum power), and Voc (open-circuit voltage). Sum Voc for series-wired panels and confirm the total stays below your controller’s maximum PV input voltage, including a cold-weather margin since Voc rises as temperature falls (use the panel datasheet’s temperature coefficient). Choose MPPT over PWM whenever your panel voltage is meaningfully higher than battery voltage or when harvest efficiency matters — MPPT converts excess panel voltage into additional charge current, while PWM simply clamps the panel to battery voltage and discards the difference. Then set the controller’s battery-chemistry profile exactly to your battery manufacturer’s specified absorption and float voltages; the datasheet, not a generic preset, is the authority.
- Verify both sources charge the same bank without conflict. This is the part that worries people most, and the answer is reassuring: a DC-to-DC charger and a solar charge controller each regulate their own output independently, and both taper current as battery voltage rises. Wire both outputs to the house bank (ideally through a common bus bar with each source individually fused). When both are active, the battery simply accepts the sum of their currents up to its own acceptance limit. As the bank approaches full, whichever source is set to the higher absorption voltage carries the finish; the other tapers back naturally. There is no fight, no overcharge, and no damage — provided both devices are configured for the same battery chemistry and sensible, matching voltage setpoints.
- Commission the system with live measurements. With the engine running and panels in sun, clamp each charging leg separately. Record DC-to-DC output current, solar controller output current, and battery terminal voltage. Confirm the DC-to-DC charger drops out within moments of engine shutdown. Check every lug and connector for warmth after fifteen minutes of full-current operation — a warm connection is a high-resistance connection that needs re-crimping. Then take a real drive: log state of charge before departure and after two hours on the road, and compare against your prediction from the formula Ah replaced ≈ (DC-to-DC amps + average solar amps) × hours, remembering that taper near full charge will slow the last portion.
- Balance the whole energy equation and adjust. Your system succeeds when daily charging input ≥ daily consumption across your actual travel pattern. If you drive infrequently and camp long, solar must carry more of the load — consider more panel capacity or better panel placement. If you drive most days, the alternator leg dominates and solar becomes a valuable parked-time supplement that also charges while you roll, since roof panels harvest any time light hits them. Revisit your battery monitor’s logs after the first few trips and resize whichever leg falls short, using the same formulas from steps 3 and 4.
- Address lithium-specific settings if you run LiFePO4. Never connect a lithium bank directly to the alternator circuit without a DC-to-DC charger: lithium’s low internal resistance lets it pull heavy, sustained current that can overheat an alternator, and conversely the alternator’s voltage may never satisfy lithium’s required charge profile, leaving the bank chronically undercharged. Set the DC-to-DC charger and solar controller to a genuine LiFePO4 profile per the battery maker’s documentation, disable equalization stages (a lead-acid maintenance mode that lithium must never see), and confirm your battery’s internal BMS charge-current limit exceeds the combined output of both charging sources. If you camp or drive in freezing weather, verify the batteries have low-temperature charge protection, since charging LiFePO4 below freezing causes permanent damage.
Safety Considerations
- Fuse every unswitched power run at the source. A heavy charge cable that chafes through against the frame becomes an arc-welding hazard; place a fuse or breaker within inches of each battery it connects to, rated to protect the cable’s ampacity.
- Disconnect batteries and cover panels before working. Solar panels are live whenever light hits them — cover them with an opaque blanket and disconnect the array before touching controller wiring, and remove the negative battery lead first when opening the battery circuit.
- Respect battery chemistry hazards. Flooded lead-acid batteries vent explosive hydrogen while charging — ensure ventilation and keep sparks away. Lithium banks store enormous energy in a small package; a dropped wrench across the terminals can weld itself in place.
- Protect the tow vehicle’s electrical system. Use ignition-sensing or correct engine-detection settings so the DC-to-DC charger cannot drain the starting battery, and keep the charger’s draw well within alternator headroom to avoid overheating it on long climbs in hot weather.
- Route and secure cables properly. Use grommets through metal penetrations, loom in abrasion zones, and strain relief across the hitch articulation point where the cable flexes on every turn.
- Match all voltage setpoints to the battery datasheet. Mismatched or generic charger profiles are the most common cause of chronic undercharging and premature battery failure; never guess absorption or float voltages.
Electrical work on high-current DC systems carries fire and shock risks — if any step is beyond your experience, have a qualified RV technician perform or inspect the installation.
FAQs
- Can I charge RV batteries while driving and with solar at the same time? Yes, and it is one of the most effective off-grid charging strategies available. A DC-to-DC charger regulates the alternator’s contribution while a solar charge controller regulates the panels, and both can feed the same battery bank simultaneously; each device tapers independently as the battery fills, so there is no conflict between the two sources.
- Does the 7-pin trailer connector charge my house batteries while towing? It provides only a small maintenance-level trickle in most installations, because the factory circuit uses thin wire over a long run with no voltage regulation or boosting. Measure yours with a clamp meter to confirm, but expect that it cannot meaningfully recharge a depleted bank during a normal day’s drive — that is precisely the problem a DC-to-DC charger solves.
- Do solar panels keep working while the RV is moving? Yes. Roof-mounted panels generate power whenever sunlight strikes them, regardless of whether the rig is parked or in motion, so your solar controller continues charging on the highway. Output will fluctuate with shade from trees, overpasses, and cloud cover along the route, but every hour of driving in sun still contributes harvest.
- Will charging from two sources at once overcharge or damage my batteries? No. Modern DC-to-DC chargers and solar charge controllers each monitor battery voltage independently and reduce their output as the bank approaches its absorption setpoint. As long as both devices are configured for your battery’s chemistry with correct voltage settings from the manufacturer’s datasheet, the battery simply accepts current from both until it is full.
- Do I need a DC-to-DC charger for lithium (LiFePO4) batteries? Yes, treat it as mandatory. Lithium’s low internal resistance can draw sustained heavy current directly from an alternator and overheat it, while the alternator’s native voltage often fails to complete a proper lithium charge profile. A DC-to-DC charger limits the draw to a safe level and delivers the correct voltage stages.
- Which is faster, alternator charging or solar? Neither is universally faster — it depends entirely on your charger rating, array size, drive time, and sun conditions. Alternator charging through a properly sized DC-to-DC charger delivers steady, predictable current whenever the engine runs, while solar output varies with weather and season but works all day whether you drive or not. Combining both gives the shortest recharge times and the most resilient off-grid system.
Conclusion
The answer to “Can I charge RV batteries while driving and with solar?” is an unambiguous yes — the two sources coexist happily, and together they form the backbone of a reliable off-grid power system. The alternator leg, done properly through a DC-to-DC charger with correctly sized cable, delivers strong and predictable charging on every travel day. The solar leg works whether you’re rolling or parked, quietly topping the bank and carrying the load during multi-day stays. Each side regulates itself, tapers as the battery fills, and never fights the other.
The real work is in the numbers — your numbers. Measure your daily consumption with a shunt monitor, read your battery and panel datasheets, measure your actual cable route, and run the voltage-drop math before cutting a single wire. Size the DC-to-DC charger against your battery’s charge-current limit and your alternator’s headroom, choose an MPPT controller matched to your array, and set every voltage profile from the manufacturer’s documentation rather than generic presets. If you run lithium, treat the DC-to-DC charger as non-negotiable and confirm cold-weather charge protection.
Commission the system with a clamp meter in hand, verify both legs deliver what the math predicts, and log a few real trips against your energy budget. Once the daily charging input reliably exceeds daily consumption, you’ve built a rig that arrives at every campsite with full batteries — no generator, no shore power, and no anxiety about the next cloudy morning.
Spot an error or an outdated detail in this guide?
Report it