How to Store RV Lithium Batteries for Winter: 10-Step Guide
On this page
TL;DR
- Start: Set the bank to your manufacturer’s storage charge; brands range from about 50% to full.
- Then: Shut off every charging source, including solar, and open the battery disconnect so nothing can charge cold cells or drain the pack.
- Verify before calling it done: Confirm near-zero current with a clamp meter or shunt, store the batteries within their rated temperature range, and check the SOC every one to three months.
Introduction
Most LiFePO4 manufacturers say not to charge their cells below roughly 32°F (0°C), yet many of the same batteries can be stored safely down to around -4°F (-20°C). A lithium iron phosphate (LiFePO4) RV battery can usually sit through a hard freeze without harm. Charging it below freezing is the problem.
That distinction shapes how to store RV lithium batteries for winter: the cold itself is rarely what damages a lithium battery over the off-season. The usual causes are a charger, solar controller, or converter that keeps pushing current into cold cells, or small hidden loads that slowly drain the pack until the battery management system (BMS) shuts it off.
Lithium storage is simpler than lead-acid storage in most ways. Lithium batteries self-discharge slowly, so they don’t need a trickle charger. They also don’t sulfate when left partially charged, and you don’t add water or equalize them. The trade-off is that three things matter more than they did with lead-acid: the state of charge you leave them at, the temperature during any charging, and full isolation from parasitic draws.
By the end of this guide, you will have:
- Set your battery bank to a sensible storage state of charge.
- Isolated the batteries from every load and charging source in the RV.
- Decided whether to leave the batteries installed or move them to a garage or other sheltered space.
- Confirmed the storage location stays within your battery’s rated range.
- Set up a simple check-in routine for the winter.
- Learned how to bring the batteries back into service safely in spring.
The procedure covers drop-in 12V LiFePO4 batteries and larger multi-battery banks. It also includes the RV-solar details that catch many owners off guard, such as a roof-mounted panel that can still charge the bank on a sunny January day.
What You’ll Need
You don’t need specialized equipment to winterize RV lithium batteries. A meter, basic hand tools, and your battery documentation cover nearly everything.
Tools and Materials
Gather the following before you start. The clamp meter and torque wrench are optional, but both make the job noticeably easier.
- ☐ Your battery’s manual or datasheet, open to the sections on storage temperature, charge temperature, recommended storage state of charge, and terminal torque.
- ☐ Digital multimeter for checking resting voltage and confirming that circuits are dead after you disconnect them.
- ☐ DC clamp meter (optional but very useful) for measuring parasitic draw without breaking into a circuit.
- ☐ Battery monitor or shunt, or the battery’s Bluetooth app, if your system has one. These give a far more accurate state-of-charge reading than voltage alone.
- ☐ A lithium-compatible charger with a LiFePO4 profile, for topping up during storage if needed.
- ☐ Insulated wrenches or socket set sized to your terminal hardware.
- ☐ Torque wrench (recommended) so you can re-tighten terminals to the manufacturer’s spec in spring.
- ☐ Terminal caps or electrical tape to cover exposed cable ends and battery posts.
- ☐ Wire brush, baking soda solution, and clean rags for cleaning terminals and cable lugs.
- ☐ Masking tape and a marker to label cables before you remove anything.
- ☐ Phone camera to photograph wiring before you touch it.
- ☐ Min/max thermometer to record the coldest and warmest temperatures the storage location reaches.
- ☐ Non-conductive shelf, wooden board, or plastic bin if you plan to store batteries off the vehicle.
- ☐ Gloves and safety glasses.
Before You Start: Preparation Checklist
Collect these facts first. Most storage mistakes come from not knowing a battery’s limits or not knowing every charging source in the rig.
- ☐ Confirm your batteries are LiFePO4 (or another lithium chemistry) and note the exact model numbers.
- ☐ Write down the manufacturer’s storage temperature range and charging temperature range. They are different numbers.
- ☐ Write down the recommended storage state of charge. Brands differ here: Renogy recommends around 50%, while Battle Born and Victron recommend storing their batteries full or nearly full.
- ☐ Find out whether your batteries have internal self-heating and, if so, what powers the heater and when it activates.
- ☐ Find every charging source in your RV: shore-power converter or inverter/charger, solar charge controller, DC-DC charger or alternator connection, and any portable or auxiliary charger.
- ☐ Find your main battery disconnect switch and confirm what it actually isolates. Some switches leave certain circuits connected directly to the battery.
- ☐ Check the long-range forecast and the typical winter lows for where the RV will be parked.
- ☐ Decide on a check-in schedule and set calendar reminders. Every one to three months is a common interval.
- ☐ Plan the RV’s freshwater and plumbing winterization separately. Battery storage does not protect your water lines.
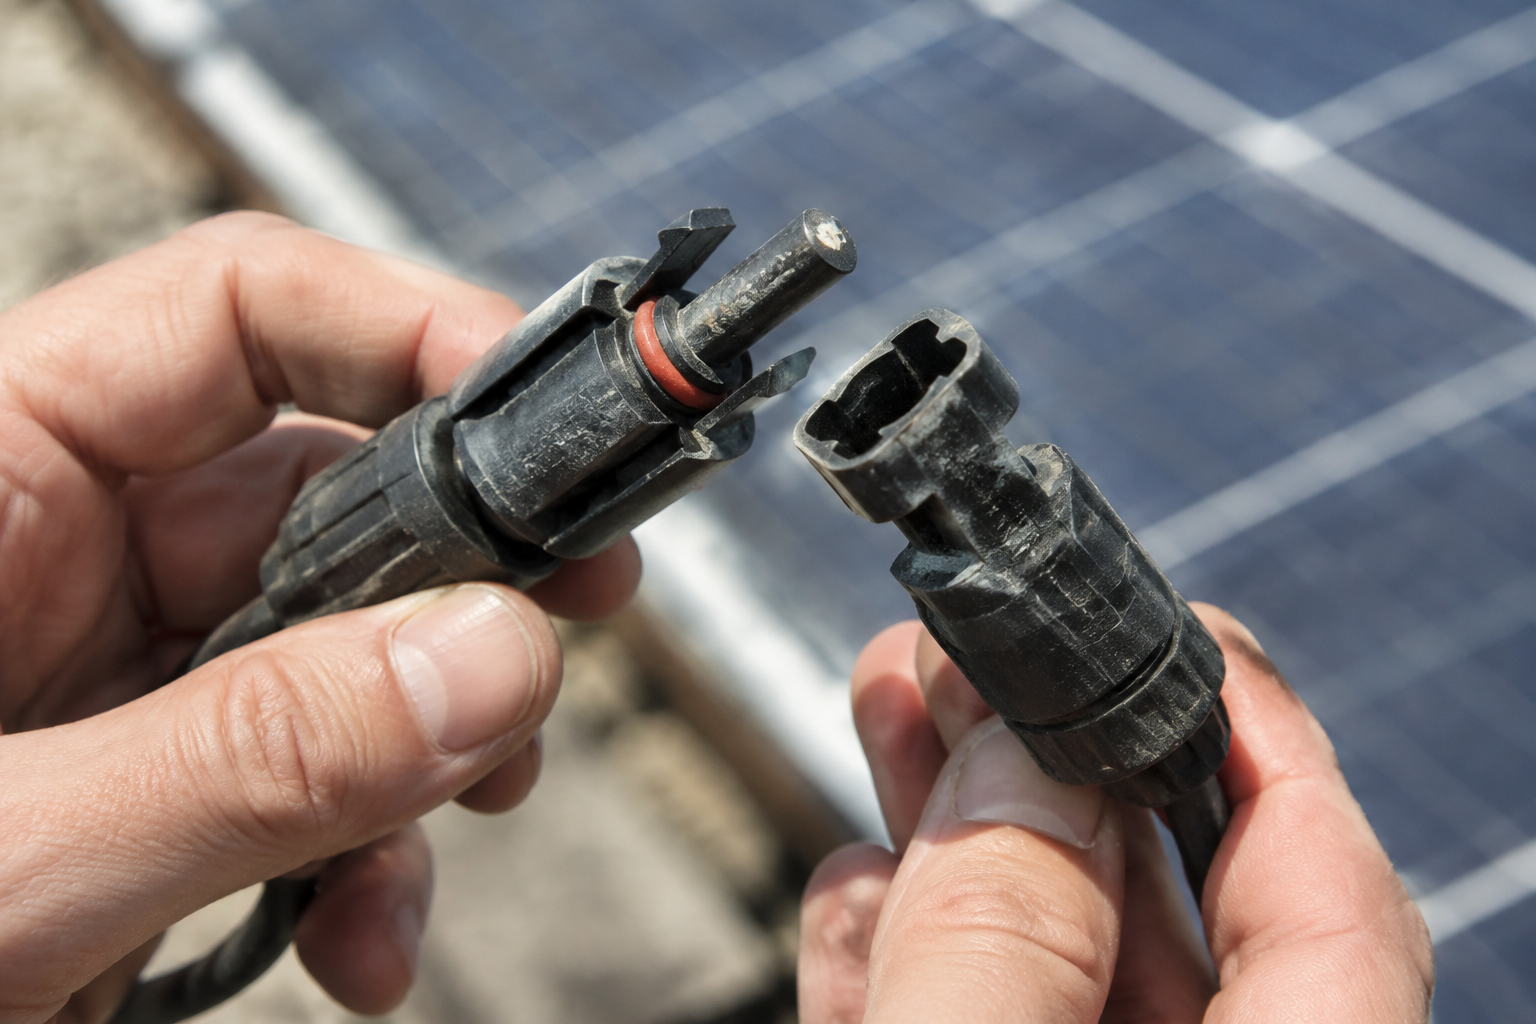
Measuring Your Parasitic Draw (Reader-Fill Worksheet)
Even with the lights and appliances off, an RV often has small, constant loads: propane/CO detectors, stereo memory, control boards, inverter standby, monitoring systems, and similar electronics. These loads vary widely between RVs, so measure yours instead of assuming a number.
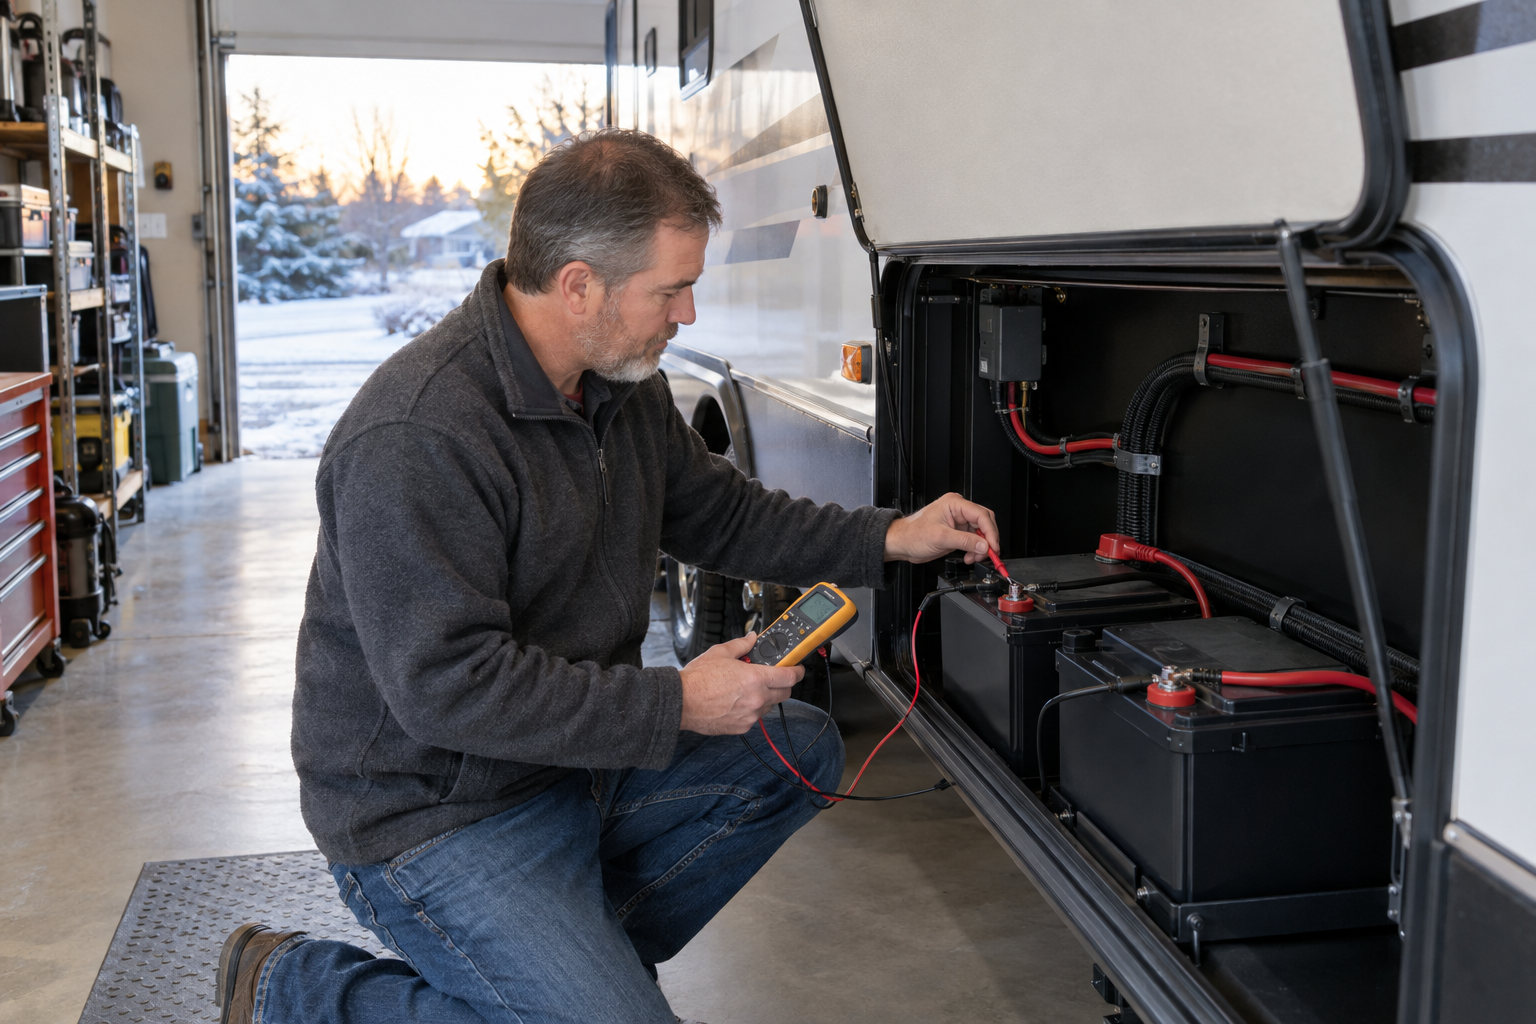
With everything switched off as it would be in storage (but before you open the disconnect), clamp a DC clamp meter around the main battery negative cable, or read the current from your shunt or battery app.
Scroll sideways to see every column.
| Item | Value | Where to get it |
|---|---|---|
| Total battery bank rated capacity (Ah) | (your value) | Battery label or datasheet; add the capacities of parallel batteries |
| Starting state of charge (%) | (measure) | Battery monitor, shunt, or BMS app |
| Lowest state of charge you will allow (%) | (your choice) | Manufacturer guidance; many owners top up near 20–30% |
| Measured parasitic current with loads off (A) | (measure) | DC clamp meter on the main negative, or shunt reading |
| BMS self-consumption (A) | (look up) | Battery datasheet, if listed |
Formula: Days until you reach your minimum = (Capacity Ah × (Starting % − Minimum %) ÷ 100) ÷ (Parasitic A + BMS A) ÷ 24
Worked example: Suppose a 200 Ah bank starts at 70% and you want to top it up before it falls below 30%. That leaves 200 × 0.40 = 80 Ah to use. If your measured draw (parasitic plus BMS) is 0.5 A, then 80 ÷ 0.5 = 160 hours, or about 6.7 days. A small, overlooked load can drain the bank to your minimum in about a week, which is why the disconnect step matters. Your own draw could be much higher or lower, so plug in your measured numbers.
Preparing, Isolating, and Storing Your RV Lithium Batteries
Do these steps in order. You set the state of charge while the charging sources are still connected, then shut those sources off before isolating the batteries. That way nothing can sneak a charge into cold cells after you walk away.
- Check the current state of charge and condition. Before changing anything, read the state of charge (SOC) from your battery monitor, shunt, or BMS app. If you only have a multimeter, let the battery rest with no charge or load for a few hours, then measure the voltage at the terminals. LiFePO4 has a very flat voltage curve, so resting voltage gives only a rough SOC estimate; compare it against your manufacturer’s voltage-to-SOC chart, not a lead-acid chart. While you’re there, look for swelling, cracks, heat discoloration, or loose hardware.
Troubleshooting: If the app shows a BMS fault or cell imbalance warning, or one battery in a parallel bank reads very differently from the others, sort that out before storage. A pack that is already out of balance will usually get worse over months of sitting. - Charge or discharge to your target storage SOC. Use the figure in your battery’s manual, because this is where brands disagree: Renogy recommends storing around 50%, while Battle Born and Victron recommend storing their batteries full or nearly full. If your manual gives no figure, around 50% is a common choice. How long that reserve lasts depends on what is still connected: self-discharge alone takes months to use it up, but a small leftover load can drain it in about a week, as the worksheet example shows, so the isolation steps below matter as much as the starting charge. If you’re below your target, charge with a LiFePO4-compatible profile while the battery itself is above its minimum charging temperature (usually 32°F, 41°F for some models). If you’re well above it, run normal RV loads (lights, a fan, the furnace blower) until you reach the target.
Troubleshooting: If the battery won’t accept a charge in cold weather, the BMS may be blocking charging because of low cell temperature. That is normal protective behavior, not a defect. Warm the battery above its minimum charging temperature, or charge on a milder day, then try again. - Shut off or disconnect every charging source. This step protects your batteries from charging below freezing, and it’s the one most often missed. Unplug shore power and turn off the converter or inverter/charger.
Then deal with solar. As long as the panels stay connected, the controller can start charging the bank on any day the panels produce enough power, including clear winter days after freezing nights. A BMS with low-temperature protection will block that charge, but not every battery has one, so don’t rely on it. Turn off the PV disconnect or breaker between the panels and the controller, or follow your controller manufacturer’s shutdown sequence; many specify disconnecting the PV input first, then the battery. Also isolate any DC-DC charger or alternator charging circuit, and remove any portable maintainer on the chassis battery that also feeds the house bank.
Troubleshooting: If the battery monitor still shows incoming current after you think everything is off, look for a second solar circuit (such as a portable panel port), a combiner, or a battery isolator that links the chassis and house batteries. - Turn off loads and open the battery disconnect. Switch off the inverter (standby modes can draw meaningful current), the water pump, interior lighting, entertainment systems, and any monitoring or Wi-Fi equipment. If you have heated batteries, set the heater the way the manufacturer specifies for storage; Battle Born, for example, says to turn off or disconnect the heat-enable wire on its heated models. Then open your main battery disconnect switch and verify the bank is truly isolated: a clamp meter on the battery cables or the shunt should read zero or very close to it, and a multimeter should show the 12V distribution panel is dead.
Troubleshooting: Many RV disconnect switches don’t isolate everything. Propane/CO detectors, steps, or certain control boards are sometimes wired straight to the battery. If you still see current after opening the switch, the most reliable fix is to remove the main negative cable at the battery, or open the battery-side main fuse or breaker if your system has one. - Decide whether to leave the batteries installed or remove them. You don’t have to remove lithium batteries for winter. If the battery compartment will stay within the manufacturer’s storage range and the bank is fully isolated, leaving them in place is fine.
Removal makes sense when the RV is parked somewhere that regularly drops below the battery’s storage minimum, when you can’t fully isolate a stubborn circuit, when you want to check on the batteries without visiting a storage lot, or when theft is a concern. If you remove them, photograph the wiring first, label every cable, and always disconnect the negative cable first and reconnect it last.
Troubleshooting: If the terminal hardware is seized or corroded, don’t force it with a long breaker bar near the battery case. Clean it, apply a penetrating product to the bolt (not the battery), and use the correct tool size to avoid rounding the bolt or cracking the post. - Choose and verify the storage location and temperature. Storage temperature limits are typically wider than charging limits: many LiFePO4 batteries can be stored down to around -4°F but shouldn’t be charged until their cells are above about 32°F. A dry, attached or insulated garage that stays roughly between 32°F and 77°F (0–25°C) is the easiest place to get this right; Renogy, for example, gives exactly that range as ideal for storing its LiFePO4 batteries. It keeps them out of hard freezes and away from heat that speeds up aging, and on milder days it’s warm enough to top them up.
Store batteries off bare concrete on a wooden board, plastic shelf, or non-conductive bin. Keep them upright unless the manufacturer allows otherwise, leave space around them, and keep them away from furnaces, water heaters, fuel cans, moisture, road salt, falling objects, and kids or pets. Put a min/max thermometer in the spot so you know what temperatures the batteries actually saw.
Troubleshooting: If the thermometer shows the space dropped below your battery’s storage minimum, move the batteries somewhere warmer. If it shows high temperatures (for example, near a heater vent), relocate them; long periods in heat shorten lithium life more than cool storage does. - Confirm that no float or trickle charger is connected. Lithium batteries don’t need a maintainer for the winter. Keeping one on a constant float or trickle charger is unnecessary and may shorten its life, especially if the charger isn’t designed for LiFePO4 or ignores low-temperature charging limits. Some “smart” lead-acid maintainers include desulfation or equalization modes that are not appropriate for lithium at all.
Troubleshooting: If a storage facility or a well-meaning family member insists on “keeping the battery on a charger,” leave a written note on the battery or battery box saying it is lithium and should not be connected to a trickle charger. - Clean, inspect, and protect terminals and cables. With the bank isolated, inspect each terminal, lug, and cable. Clean any residue or corrosion with a wire brush and a mild baking soda solution, then dry everything thoroughly. Lithium batteries don’t vent acid the way flooded lead-acid batteries do, so heavy corrosion usually points to moisture, a loose connection that has been heating up, or residue from previous lead-acid batteries. Check for cracked insulation, crushed sections, and heat-discolored lugs, then cap exposed posts and cable ends so nothing metal can bridge them.
Troubleshooting: If a lug or terminal shows heat discoloration or melted plastic nearby, treat it as a loose or undersized connection. Replace the damaged lug or cable before spring, and torque the connection to the manufacturer’s spec when you reconnect. - Check charge periodically through the winter. Every one to three months, check the SOC. For batteries left in the RV, use the BMS app over Bluetooth (many work without reconnecting the RV loads) or close the disconnect briefly. If the SOC has fallen near 20–30%, or below your chosen minimum, top up with a LiFePO4-compatible charger, but only when the battery itself is above its minimum charging temperature. Bring a removed battery indoors to warm up first if it has been in a cold space, charge it back to your storage target (not necessarily 100%), then isolate it again.
Troubleshooting: If the SOC drops much faster than your worksheet predicted, something is still drawing current; recheck isolation with a clamp meter. If the battery has entered BMS low-voltage protection and shows no voltage at the terminals, follow your manufacturer’s procedure for waking the BMS. Many chargers have a dedicated “wake-up” mode, but the method varies by brand. - Record what you did. Write the date, the SOC at storage, the storage location, and your measured parasitic draw on a card or in a notes app. Tape a short summary inside the battery compartment, such as “Stored at 60% on (date); solar and shore charging off; disconnect open.” In spring, these notes tell you whether your isolation worked and help anyone bring the system back online in the right order.

Safety Considerations
Lithium batteries are safe to store when handled correctly, but a short circuit, cold charging, or a damaged case can cause permanent damage or a fire. Follow these rules throughout the procedure.
- Never charge a lithium battery below its minimum charging temperature. For most LiFePO4 batteries without self-heating, that limit is around 32°F (0°C); a few, such as Victron’s Lithium Smart batteries, need 41°F (5°C). Charging cold cells can cause lithium plating, which permanently reduces capacity and can create internal faults. Self-heating batteries handle this internally, but confirm how your heater is powered and when it turns on.
- Prevent short circuits. Lithium batteries can deliver very high current into a short. Use insulated tools, remove rings and watches, cap terminals during storage, and never lay a wrench across the battery top. Disconnect the negative first and reconnect it last.
- Lift correctly and secure batteries when moving them. Even lightweight lithium batteries are dense and awkward. Carry them by the handles and strap them down in transport so they can’t tip or slide.
- Store away from heat, fuel, and flammables. Keep batteries clear of furnaces, space heaters, gasoline, propane cylinders, and solvent cans. A damaged lithium battery is a fire risk, and stored fuel makes any incident much worse.
- Do not store or charge a damaged battery. If a battery is swollen, cracked, or leaking, stop using it, disconnect it if you can do so safely (wear gloves), keep it away from anything flammable, and contact the manufacturer about inspection or recycling. If it is hot, hissing, smoking, or smells of burning, don’t try to move it: get everyone away and call 911 or your local emergency number. Don’t try to open the case or repair the BMS yourself.
- Use only lithium-compatible chargers and settings. Lead-acid profiles with equalization or desulfation modes can overcharge or stress lithium cells. Confirm the charge profile on your converter, solar controller, and any portable charger before using it on your bank.
Troubleshooting Common Winter Storage Problems
Use this table when something looks off during your check-ins or when you bring the batteries out of storage. Most problems trace back to one of two causes: a charging source that was never fully isolated, or a load that is still connected.
Scroll sideways to see every column.
| Symptom | Likely cause | What to check or do |
|---|---|---|
| SOC dropped much faster than expected | Remaining parasitic draw; disconnect doesn’t isolate everything | Clamp the battery cables with everything off; remove the main negative if current persists |
| Battery shows 0V or won’t show up in the app | Often BMS low-voltage protection | Follow your manufacturer’s wake-up procedure; charge only above the minimum charging temperature |
| Battery won’t accept charge in cold weather | BMS low-temperature charge protection | Normal behavior; warm the battery above its minimum charging temperature and retry |
| SOC went up during storage | Solar controller or other source still connected | Open the PV disconnect; check for portable solar ports or isolators |
| Parallel batteries show very different SOC | Imbalance or a loose interconnect | Charge each battery individually to full per the manufacturer’s instructions, then reconnect and torque terminals |
| Discoloration or corrosion on terminals | Loose connection, moisture, or old lead-acid residue | Clean, inspect for heat damage, replace damaged lugs, torque to spec |
Bringing the Batteries Out of Winter Storage
Spring recommissioning reverses the procedure. Let removed batteries reach room temperature before charging, then check SOC and inspect the case again. Reinstall using your photos and labels, connecting the positive first and the negative last, and torque terminals to the manufacturer’s specification. Restore battery power to the solar charge controller before you switch the PV input back on, the reverse of the shutdown sequence; many controllers, including Victron’s, require battery first, then PV. If the controller’s battery feed runs through your main disconnect, that means closing the disconnect first. Then restore shore power and charge the bank to full with a LiFePO4 profile; a full charge with enough absorption time also lets many BMS units balance the cells after a long rest. Finally, run a few loads and watch the monitor to confirm that current, voltage, and SOC behave normally.
Using Lithium Batteries During Winter Camping
If you camp through the winter instead of storing the RV, the same temperature rule applies differently. Discharging in the cold is generally allowed within the manufacturer’s discharge range, but charging is not allowed below the low-temperature limit unless the cells are first warmed above it, either by the battery’s built-in heating or by an external heat source. Owners who camp in the cold often install self-heating batteries, mount the batteries inside the heated living space or an insulated compartment, or add a manufacturer-approved heating pad. On cold mornings, solar charging may stall until the BMS sees the cells warm above its cutoff, so plan your energy use accordingly. Track usable energy with your battery monitor rather than voltage, since cold cells and a flat voltage curve make voltage readings misleading.
FAQs
- What state of charge is best for winter storage? It depends on the brand. Renogy recommends around 50%, while Battle Born and Victron recommend storing their batteries full or nearly full. Follow your battery’s manual; if it gives no figure, around 50% is a common choice.
- Is it bad to store lithium batteries in the cold? Generally no, as long as you stay within the manufacturer’s storage range, which for many batteries reaches down to about -4°F. The real risk is charging cold cells, so keep every charging source off while the batteries are in cold storage.
- Can lithium batteries freeze in storage? Not the way flooded lead-acid batteries do. LiFePO4 batteries have no water-based electrolyte, so they don’t freeze and crack at normal winter temperatures. Stay above the storage minimum on your datasheet; Battle Born, for example, rates its batteries for storage down to -15°F.
- Should I remove my RV lithium battery for winter? Not necessarily. Leave it installed if the compartment stays within the storage range and the bank is fully isolated; remove it if the RV sits somewhere colder than the rated minimum, you can’t isolate a circuit, or you want easy access for check-ins.
- Can you store lithium batteries in the garage in winter? Yes. A dry garage that stays roughly between 32°F and 77°F works well, with batteries on a non-conductive surface, away from fuel and heaters, and with terminals capped.
- Do lithium batteries need a trickle charger in winter? No. Lithium batteries self-discharge slowly (Battle Born puts its rate at about 2–3% a month), so a constant float or trickle charger is unnecessary, and one that isn’t set up for LiFePO4 can shorten their life. Periodic checks and top-ups with a LiFePO4 charger work better.
Conclusion
Winterizing an RV lithium battery comes down to three things: leave the bank at your manufacturer’s storage charge, make sure nothing can charge it while it’s cold, and make sure nothing can quietly drain it while it sits. That means shutting off solar, shore, and alternator charging, isolating parasitic loads with a verified disconnect or by pulling the negative cable, and keeping the battery within its storage temperature range. A short check every one to three months covers the rest.
Before you close the battery compartment or walk away from the shelf, run through this checklist:
- ☐ SOC confirmed at your manufacturer’s storage target using a monitor, shunt, or BMS app.
- ☐ Shore power unplugged and converter or inverter/charger turned off.
- ☐ Solar PV input disconnected from the charge controller.
- ☐ DC-DC charger, alternator link, and any portable charger isolated.
- ☐ Inverter and all 12V loads switched off.
- ☐ Main disconnect opened and confirmed with a meter showing zero or near-zero current.
- ☐ No trickle or float charger attached to any lithium battery.
- ☐ Terminals cleaned, inspected for heat damage, and capped.
- ☐ Storage location verified dry and within the rated storage temperature range, with a min/max thermometer in place.
- ☐ Batteries on a non-conductive surface, upright, away from heat sources and flammables.
- ☐ Calendar reminders set for check-ins every one to three months.
- ☐ Storage notes recorded (date, SOC, location, measured parasitic draw) and a summary left in the battery compartment.
Once every box is checked, your lithium bank is ready for the off-season and should come back in spring with its capacity intact.
Spot an error or an outdated detail in this guide?
Report it