Can Your RV Converter Charge Lithium? How to Check
On this page
You plug in at the campground, the lights come on, and the battery monitor shows 13.6 V. Can you keep the converter when you switch to lithium? You can if its whole charging program suits the new battery, and that reading can’t tell you. The Progressive Dynamics PD9300, for one, can sit at 13.6 V in any of its four charging profiles. Its model number tells you which profiles it has, its indicator shows the active one, and a current reading at the battery shows whether any charge is going in. Steps 1 and 2 work before you buy a battery. Steps 3 to 6 need the lithium bank installed.
TL;DR
- Before plugging in: match the converter model, active setting and entire charge cycle to the limits for your particular 12V LiFePO4 bank.
- On shore power: test with other charging sources off. Record the voltage across the battery posts and the net amps flowing into the bank.
- Before buying a replacement: check the selected mode and voltage loss in the charging path. Some power centers accept a replacement charging module.
What 13.6 V can tell you
A converter supplies the RV’s DC circuits from shore power. Current left over after the lights, fans and other house loads have taken their share can flow into the battery. That’s why working lights tell you little about how well the battery is charging.
Take the Progressive Dynamics PD9300. All four of its charging profiles can hold 13.6 V. The lithium profile charges at 14.4 V, idles at 13.6 V and adds a one-hour 14.4 V refresh every three weeks. The flooded profile, the factory setting, also boosts at 14.4 V and runs at 13.6 V, but it drops to 13.2 V in storage and equalizes at 14.4 V for 15 minutes every 21 hours. The AGM profile reaches 14.7 V, and a fourth setting holds 13.6 V. Progressive Dynamics says to change the profile only when installing new batteries, so set lithium during the upgrade, with the battery disconnected as its instructions require.
A light behind a hole in the right side of the case shows the profile for 30 seconds after power is connected: blue for lithium, green for flooded, white for AGM and magenta for the fixed setting. White can look slightly blue, and 14.7 V is above the Battle Born absorption range in step 2. A remote pendant stays green in every profile. Other models differ.
What you’ll need
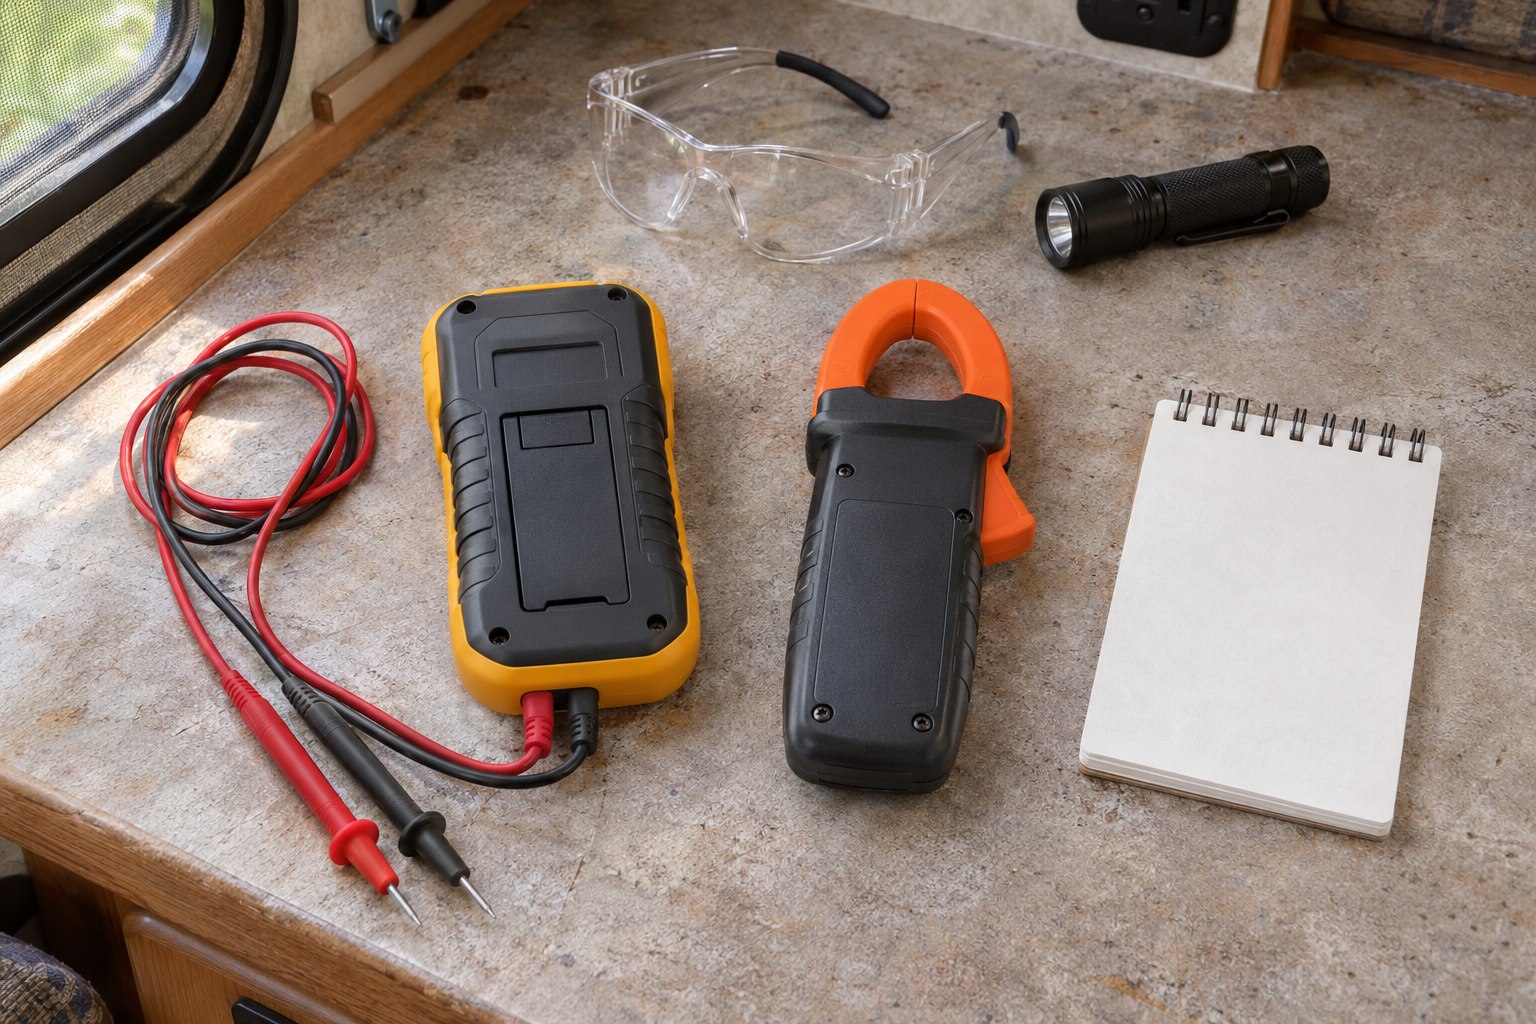
Have the converter manual, the battery maker’s charging specifications and a digital multimeter with probes in good condition. A phone photo often captures a model label more easily than reading it under a dinette. To measure current, use an installed battery monitor or a clamp meter that reads DC amps. With volts alone you can follow the charge voltage at the battery, but not the current going in. You can complete the paperwork check with just the labels and manuals.
Check the paperwork, then test on shore power
1. Read the converter label without exposing live parts
Begin with shore power unplugged, the generator stopped, automatic generator start disabled and any inverter supplying AC switched off. Read the visible label on the converter or inside the normal user-access door, with its electrical guards in place. Record the full model number, including suffix letters, rated DC output and any installed replacement module. The number on a distribution-panel door can identify a different part from the charger behind it.
If a guard must come off to find a label, reach a jumper or expose a test point, leave that part to a qualified RV technician. A battery can still feed DC wiring and an inverter can feed the AC panel. A branch breaker and the house disconnect alone do not establish that the enclosure is safe to open.
2. Match the whole program to the battery
Use the converter’s manual to identify the program it actually runs. Look for a fixed profile, a user-selectable setting or automatic detection. Change an accessible selector only in the power state its instructions specify. A base number shared with a lithium model is only a clue. For example, the WFCO WF-8955-AD detects chemistry over a charge cycle and checks again at the end of each one. Heavy loads during bulk charging, or solar left on, can make it pick the wrong type. On versions with a three-color light, red means bulk charging, blue marks lithium and green marks lead-acid. Check the indicator chart for your unit. A near-full battery can also leave the result unclear.
Scroll sideways to see every column.
| Look up | Check against your battery |
|---|---|
| Charge voltage and finish | Compare the absorption voltage, how long the converter holds it or the current at which it leaves absorption, and what it does afterward. Check float, idle and storage settings individually if it has them. |
| Maintenance cycles | Look up the actual voltage, duration and trigger for boost, equalization or desulfation, including automatic cycles that happen days later. Check whether the battery maker permits that behavior. |
| Current and temperature | Compare the converter’s rated output, or the lower limit you set if it has one, with the charge current the bank permits at its cell temperature. Check how charging is blocked in the cold and whether temperature compensation, which adjusts the charge voltage for temperature, must be switched off. |
For one concrete example, Battle Born’s BB10012 manual specifies 14.2–14.6 V absorption and 13.4–13.8 V float. It lists 14.4 V, or disabled, for equalization, and 14.4 V sits inside its absorption range, so the boost voltage itself fits this battery. The boost’s hold time, its current and the rest of the program still have to pass the table above. A maintenance cycle can start days after the test, so check the manual’s charge chart even if the meter looks fine all afternoon. If any automatic stage is prohibited, exceeds a battery limit or is undocumented, change the setting, get both makers to confirm the combination or plan a replacement. If the bank is already in, switch off the converter’s own breaker in the AC panel until then. If you can’t tell which breaker feeds it, unplug shore power or shut down the generator supplying AC, and have the circuit identified. A charged, connected bank keeps the 12 V circuits running meanwhile.
3. Set up a converter-only test
Check the cell temperature and any battery-management system (BMS) alarms, using the battery’s app where there is one. Cold cells have to warm into their charging range before the test, self-heated batteries included. A healthy bank partly discharged by normal camping loads is a good test subject. Lithium’s resting voltage changes little through much of its usable range, so judge its charge from the app or a monitor that was reset to 100% at the bank’s last full charge. There is no need to run the bank down to its BMS cutoff.
Leave shore power unplugged and switch off solar charging with the controller’s own controls. If a full shutdown is required, follow the model’s sequence. For example, the Victron SmartSolar 100/30 and 100/50 require PV off before the battery side and battery power back before PV. Keep the engine off. On a trailer, unplug the 7-way cord and any separate charging lead from the tow vehicle. Disable other chargers, including a separate inverter/charger, and keep essential safety devices in service. Check that the battery disconnect is on, the BMS allows charging and any fuse indicator you can see without removing a cover shows no fault. Leave bolted fuses and panel covers in place during the test. Reduce discretionary DC loads and record what is still running.
4. Watch volts and amps at the battery
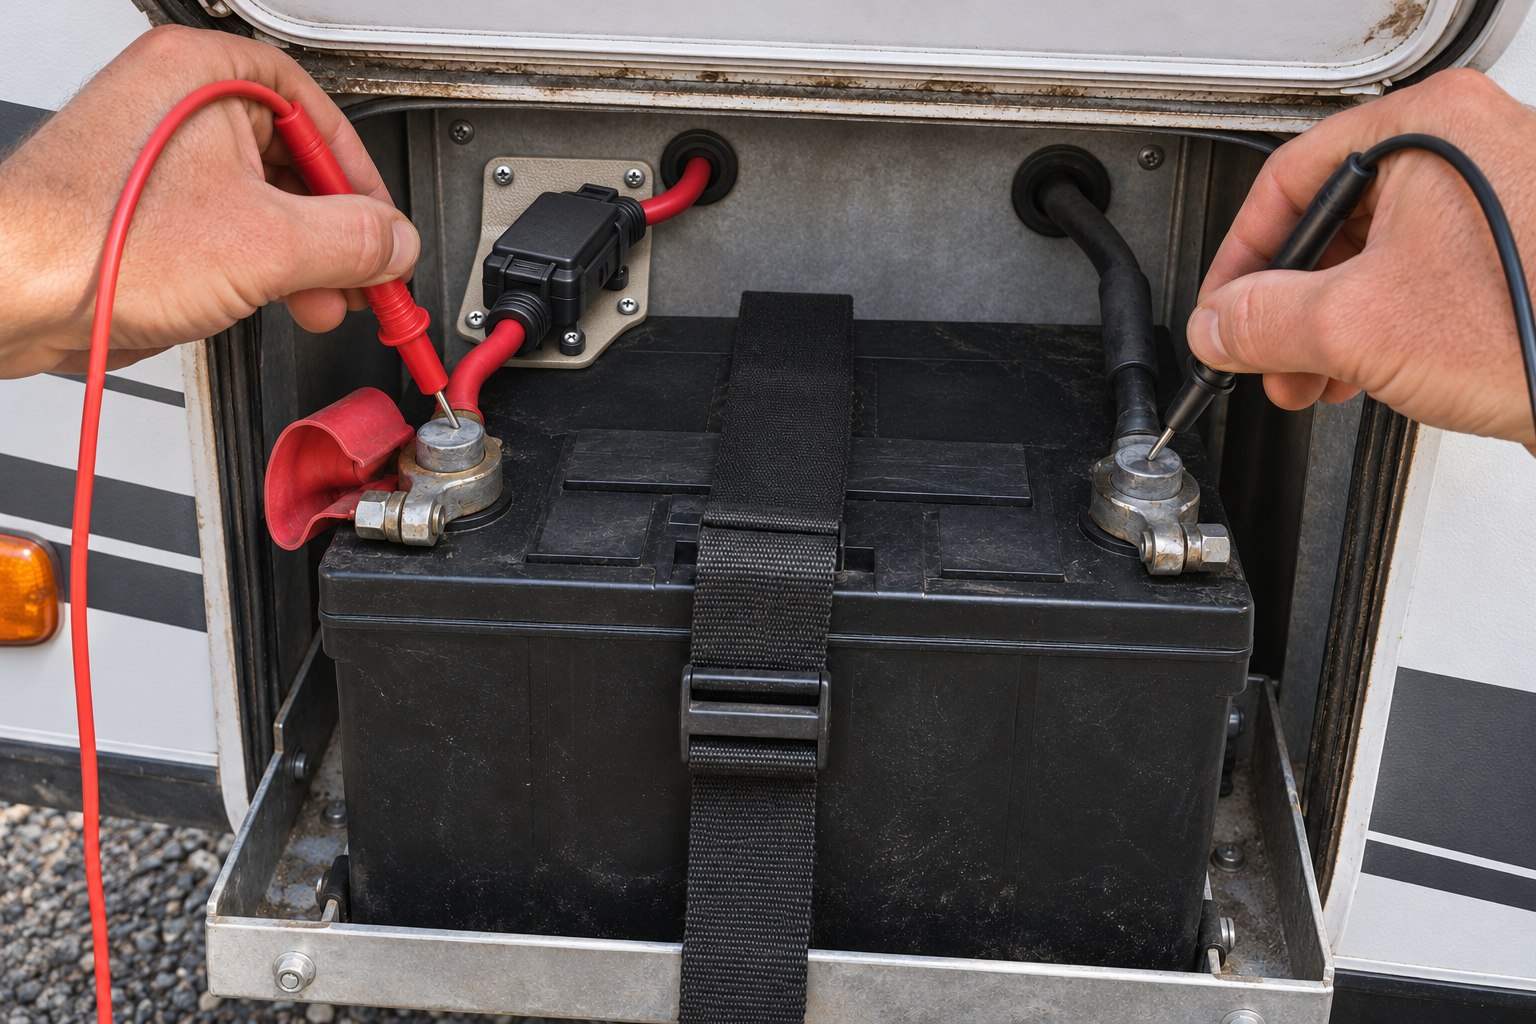
For a voltage reading, plug black into COM and red into the jack marked V. Select DC volts. At safely accessible battery posts, touch black to negative and red to positive. Lift a terminal boot only as far as the probe needs, and refit it afterward. Keep the tips clear of adjacent metal. A meter in its amps setting placed across a battery can short the terminals. Fluke’s illustrated voltage check shows the lead positions.
Record the baseline with shore power off. Then connect shore power through the RV’s normal hookup, with the converter’s breaker on and every cover on the converter and power center in place. Away from hookups, an installed generator can supply the same converter through the RV’s normal transfer system. Start it only at this powered-test stage, following its operating instructions. Use just one AC supply for the test and keep other DC charging paths off. Log the time, converter mode or indicator, battery voltage, battery current and any change in house loads. Take another set while the bank accepts charge and again if the converter changes stage. Early in the charge, the voltage can sit below the target and climb as the bank fills.
A battery monitor’s shunt shows the net effect of charging and house loads at the battery. With the converter as the only charger, a reading in the charging direction tells you the bank is gaining charge at that moment. For a DC clamp, zero it with its jaws closed away from the cable, then clamp one conductor and check the meter’s direction marking. On the main battery cable that every charger and load shares, it gives the same net figure. The converter’s own output lead also carries the current going to house loads. For a diagram, see how a shunt is wired to measure the whole bank (opens in a new tab).
5. If the readings disagree, check where the voltage went
If the converter offers safely accessible external DC test points, measure across its output pair and across the battery posts close together in time, with charging current and loads steady. If the output is inside the electrical enclosure, skip that measurement and have a technician make it. Leave the battery connected for this comparison.
Suppose the converter reads 14.40 V and the battery reads 14.10 V at the same steady load. The path accounts for 0.30 V at that moment. Cable length and gauge, connections, a disconnect or a fuse holder can contribute. The difference normally shrinks as the charge current tapers, so watch both ends. For the posts to reach 14.2 V, the bottom of Battle Born’s absorption range, the drop has to fall to 0.20 V or less while the converter holds 14.40 V. The posts then also have to stay there for the finish the battery maker specifies, such as a hold time or an end current.
If the drop keeps the posts below that voltage, or gets them there too late to finish, fix the wiring before blaming the converter. While it charges, hold the probes across one reachable connection at a time, such as a battery post and its cable lug. The connection with the highest reading is losing the most. Before loosening a connection, isolate it from the battery and all other power sources and verify that it is de-energized. If you cannot isolate it safely or the connection is behind a protective cover, leave the repair to a technician. If both ends read 13.6 V, there is little measurable drop at that load. Use the indicator, the charge stage and the measured battery current to interpret that voltage. A light-load test can hide a poor connection that shows up at higher current.
6. Use net amps to estimate charge time
Say a correctly configured monitor reports 50% on a bank rated at 200 Ah. The estimated deficit is 100 Ah. With other chargers off and the same loads running, the monitor shows 6 A leaving the bank before you plug in and 34 A going in after. The converter is then delivering about 40 A: 6 A to the loads and 34 A to the battery. Use the 34 A as it is; subtracting the loads again would count them twice. If the output lead is safely accessible with the covers in place, a DC clamp around that lead alone would read the full 40 A, and only that figure needs the 6 A taken off.
That is a constant-current estimate. The finishing stage, changing house loads and a current limit imposed by the charger or battery can extend the time. Judge completion by the battery maker’s finish criteria and the converter’s documented behavior. Current normally falls as the battery fills. While the battery voltage is still below the charge target, a net current well below the converter’s rating minus the loads points to the wrong mode, a current limit or a wiring loss.
What your result means
Scroll sideways to see every column.
| What you found | What to do |
|---|---|
| The complete program matches the battery, the correct mode is active and the battery takes net charge when partly discharged and reaches the finish its maker specifies. | Keep the converter. Save the model, setting and readings for comparison after a reset or battery change. |
| A suitable program exists, but a selector or auto-detect indicator shows another mode. | Configure and retest. Use the exact model’s instructions for an accessible control. Have a technician handle a selector behind a protective cover. For auto-detection, retest with heavy loads and solar off. |
| All stages are permitted, but the converter stops short of the battery maker’s full-charge voltage or hold time, and the bank needs a separate opportunity to finish charging or balance as its maker specifies. | Keep it only if something else finishes the charge. If the battery maker allows partial charging, a solar controller or charger set for the battery can do that. Otherwise replace the charging module or converter. |
| A prohibited mode cannot be disabled, or a voltage or current limit would be exceeded. | Stop charging the lithium bank with it. For a power center, which also holds the RV’s breakers and fuses, use a replacement charging module its maker lists for that model. For a standalone unit, choose a converter with a lithium profile that fits the battery and an output the bank, wiring and fuses can take. |
| Mode unknown, battery already full, or charging ends early. | Find the cause, then retest. No indicator: compare the post voltages through one charge with the manual’s chart. If two profiles share those voltages, confirm the model and setting with the maker. Battery full: retest after normal use. Charging stopped: check the battery’s app for a BMS event, then the converter’s breaker and fuses. Still unclear: ask an RV technician. |
| Converter voltage is on target, but the drop keeps the posts from reaching and holding the battery’s absorption voltage. | Fix the DC path, not the converter. Trace the drop under load as in step 5, with a technician behind covers. Repair the connection or cable shown to be responsible, then repeat the test. |
Before restoring the other chargers
If the pack trips, a connection heats abnormally or battery voltage exceeds a permitted limit, switch off the converter’s breaker, or, if you can’t identify it, unplug shore power or shut down the generator supplying AC. Note the time and mode indicator, then read any available BMS events, cell voltages and temperatures. During Victron Lithium NG’s managed rebalancing procedure, the external BMS may pause the charger and later enable it again. Battle Born says a battery whose cells have drifted apart can stop accepting charge early while it keeps powering the loads, and that the cells rebalance over several full charges. If the battery stops powering the 12 V system, or charging keeps stopping, find the cause before another test.
Once the converter passes, check and restore each other source using its prescribed sequence. Plan for the highest current that can reach the bank when sources run together. A 40 A converter and 30 A of solar could supply 70 A when the house loads switch off. If the bank allows 50 A, limit an adjustable solar controller to 10 A for this example, or disable solar charging while the converter runs. A generator feeding this same converter supplies its AC input. Count the converter’s DC output once.
Questions that come up at the campground
- Can I keep an older lead-acid converter when adding lithium? Sometimes. Match all its modes to the battery manual, including anything the converter does automatically in storage. If it charges safely but can’t finish a full charge, keep it only with another source that can, such as a solar controller set for the battery, or replace its charging section.
- Why is the battery discharging even though shore power is connected? The house loads can draw more than the converter supplies. With other chargers off, lower a discretionary load and watch the net amps. If the battery still delivers current under a light load, check the converter’s breaker and indicator, the battery disconnect and any accessible fuse indicators. Have a technician test a fuse that would require removing a guard or touching bolted hardware.
- Can I leave a lithium battery plugged in between trips? Between trips, yes, if what the converter does over weeks suits the battery. The PD9300’s lithium profile, for example, idles at 13.6 V, inside the Battle Born float range, and tops up at 14.4 V for an hour every three weeks. For storage, such as over the winter, Battle Born says to charge fully and then disconnect, even if the converter’s idle voltage would suit the battery. Direct-wired loads can continue draining a bank after the house switch is opened.
- Can I add a separate charger and keep the converter for lights? Only if the design keeps every active charge path within the battery’s limits. On a common DC bus the old converter still has a path to the battery. A second charger cannot cancel an incompatible maintenance cycle. A qualified installer can determine whether the original charging path can be isolated while keeping the house circuits supplied.
Keep the reading that settled it
Photograph the model label and mode indicator, then write down the battery voltage and net charge current from one ordinary shore-power session. If the shop later suggests a replacement, you can ask exactly which requirement the old unit misses. For a broader battery swap, our RV lithium upgrade guide (opens in a new tab) covers the rest of the installation.
Spot an error or an outdated detail in this guide?
Report it