Best RV Solar Panel Kits for Beginners: Easy Guide
On this page
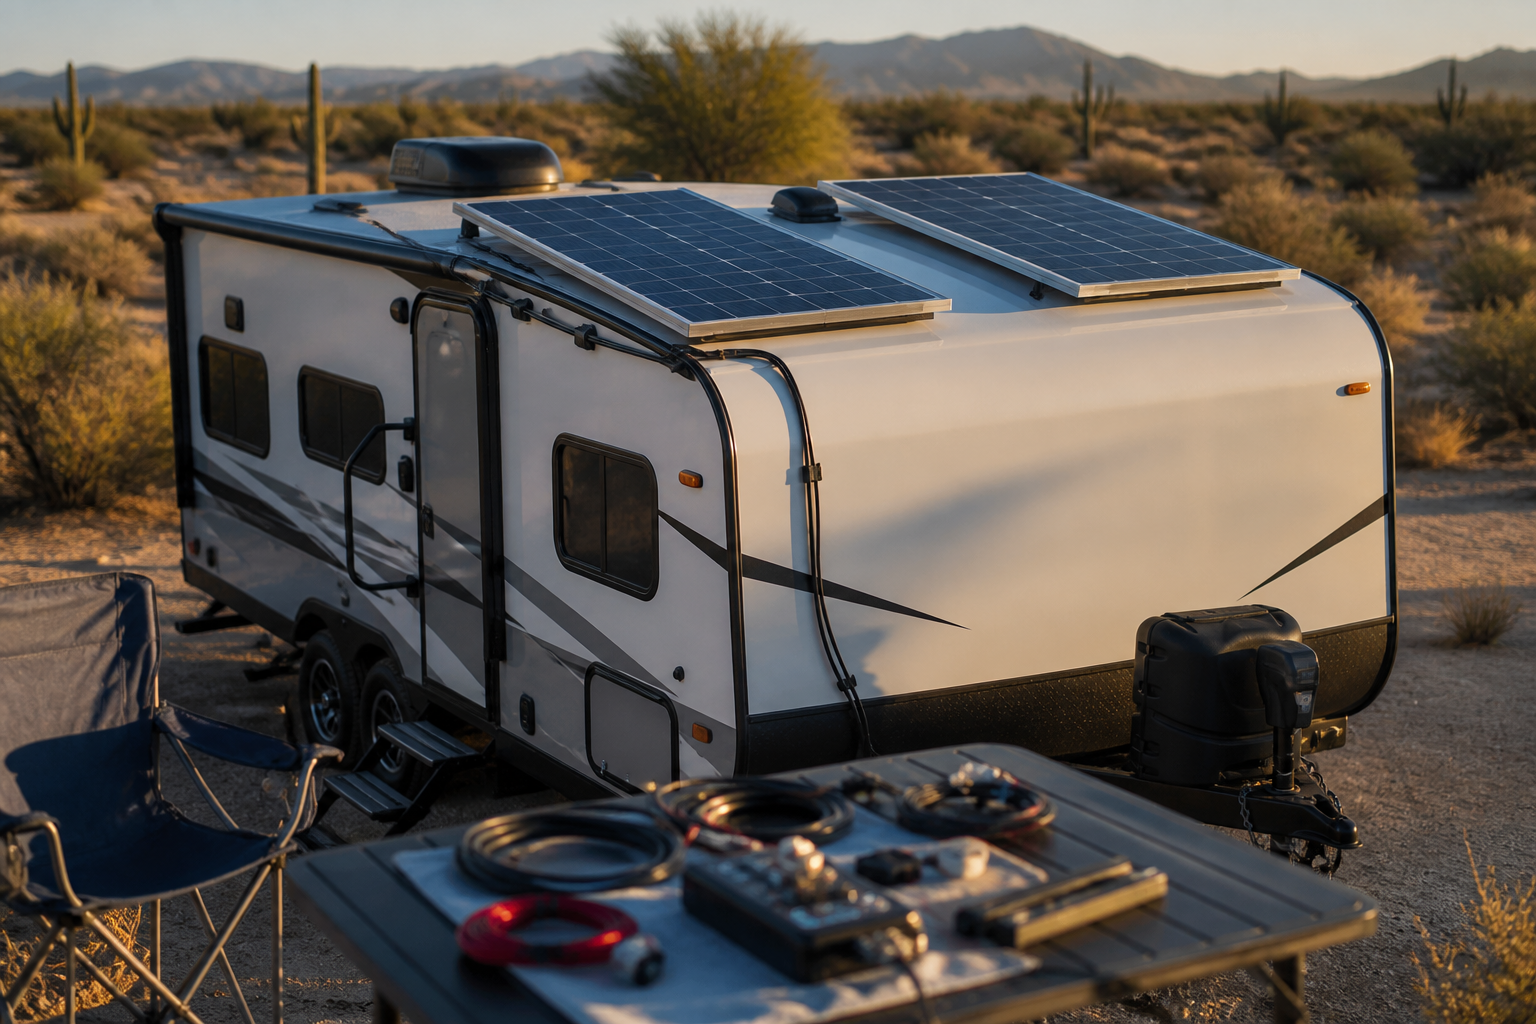
A typical RV roof offers a limited, obstruction-heavy mounting surface, and a typical beginner has never crimped a lug or sized a fuse — which means the right first solar purchase is a pre-matched kit, not a pile of individually chosen components. This guide compares the beginner-friendly RV solar panel kit lines that dominate the DIY conversation, and explains how to size, verify, and install one without expensive mistakes.
TL;DR
- Best Overall: Renogy Solar Starter Kit — First-time installers who want the widest documentation and community support
- Best Budget: HQST Solar Panel Kit — Cost-conscious buyers building a small weekend system
- Best for Portability: DOKIO Foldable Solar Panel Kit — Campers who park in shade and want ground-deploy charging
- Best for Off-Grid Builds: ECO-WORTHY Off-Grid Solar Kit — Buyers who want one vendor for panels, storage, and expansion
- Best Expandable: WindyNation Solar Panel Kit — Owners planning to grow the array over time
Product Details
All six picks below are established, widely sold RV solar kit lines rather than one-off no-name bundles. That matters for beginners: established lines have installation videos, forum threads, and replacement-part availability that generic kits lack. Exact kit contents, wattage configurations, and bundled hardware vary by seller and by the specific configuration you select, so treat the descriptions below as line-level guidance. Marketplace prices also shift frequently, so compare the per-watt cost of the exact configuration you’re considering rather than the headline kit price.
Renogy Solar Starter Kit
Renogy is the default recommendation in most RV and van-build communities, and its starter kit line is the reason. The kits are sold in multiple wattage configurations, from small single-panel setups suitable for battery maintenance up to multi-panel arrays sized for weekend boondocking. Verify the relevant specification against the product manual, array layout, and applicable installation guidance before buying or wiring the system.
The supporting ecosystem is the real differentiator. Renogy publishes detailed installation documentation, and because the kits are so widely installed on RV roofs, nearly any question you hit mid-install has already been answered publicly. Community feedback is not uniformly glowing — some experienced DIYers argue you can assemble equivalent components separately for less — but for a first system, the pre-matched approach and documentation depth are worth the convenience premium. Check the manufacturer specification for charge-controller requirements on the model you are considering.
HQST Solar Panel Kit
HQST occupies the value tier of the RV solar kit market. The brand sells monocrystalline panel kits that follow the same basic formula as the bigger names — panels plus charging hardware in beginner-oriented configurations — at a consistently lower price point. For a buyer whose goal is a modest system to keep house batteries topped up, run lights, fans, and device charging, HQST is a rational way to get into solar without committing premium money to a first experiment.
Charge-controller type and pairing varies by kit. Check the manufacturer specification for the model you are considering. None of those are disqualifying for a small starter system. A sensible approach is to buy an HQST kit for the panels and basic hardware, learn the fundamentals on a small array, and upgrade the controller later if you expand. Verify the controller type and battery-chemistry settings in the specific configuration you order, since these vary across the line.
DOKIO Foldable Solar Panel Kit
DOKIO’s foldable kits answer a different question than roof-mount systems: how do you charge when you deliberately park the RV in shade? The kits use a thin, fabric-backed folding panel design that stows flat, deploys on the ground or against the rig, and points at the sun while the RV itself stays cool under tree cover. For beginners, portable kits also eliminate the two scariest parts of a roof install — drilling holes in the roof membrane and routing cable through the roof penetration — because there is no permanent mounting at all.
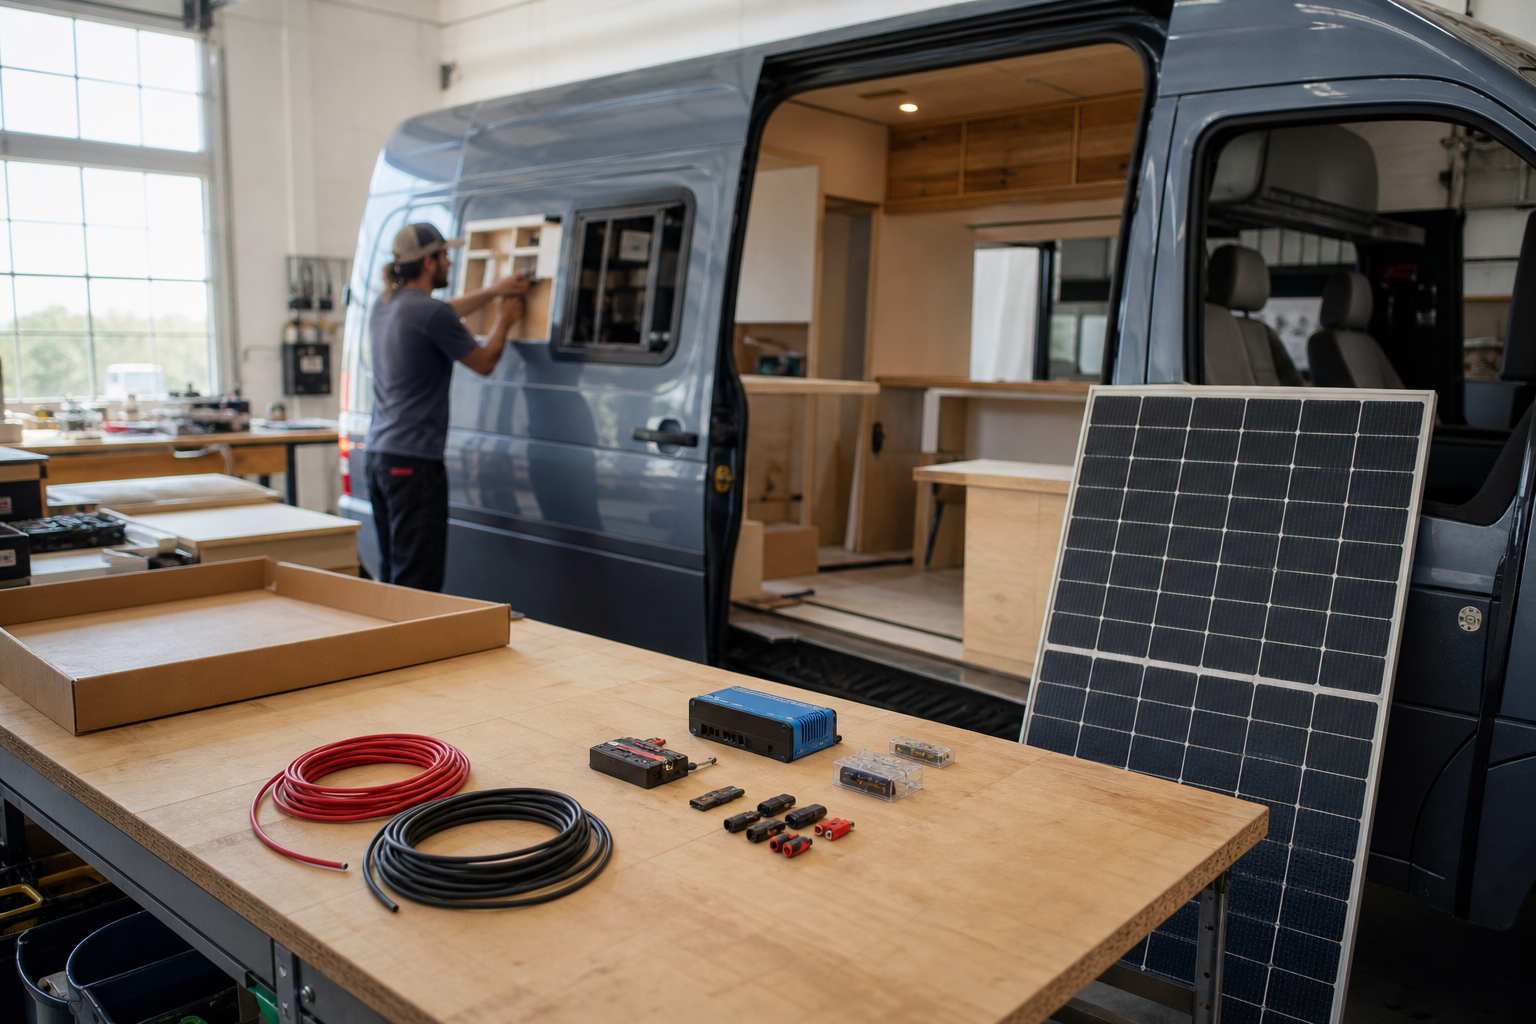
Theft is also a consideration at busy campgrounds; a simple locking cable deters casual grab-and-go theft. DOKIO’s line works best as a primary system for occasional campers, or as a shade-season supplement to a roof array. Required accessories vary by model and setup.
ECO-WORTHY Off-Grid Solar Kit
ECO-WORTHY targets the buyer who wants a complete off-grid system from a single vendor rather than a panels-only starting point. The brand’s kit lineup spans small starter bundles up to larger off-grid configurations, and its catalog extends into batteries and inverters, which makes it easier to build a coherent system where every component was designed to be sold alongside the others. For a beginner planning genuine off-grid camping — not just battery maintenance — that one-vendor coherence reduces the compatibility research burden significantly.
Pricing sits between the budget and premium tiers, and community feedback generally describes the hardware as solid value with less polished documentation than Renogy. The most important pre-purchase step with this line is mapping exactly which configuration you’re buying: the difference between a panels-and-controller bundle and a full off-grid bundle with storage is large, and listings for multi-configuration product lines are easy to misread. Decide first whether you need storage in the same purchase, then match the configuration to that decision rather than to the headline price.
WindyNation Solar Panel Kit
WindyNation’s kits have been a fixture in the RV and off-grid DIY space for years, and the line’s strongest argument is expandability. The kits are commonly structured so that the charging hardware and wiring approach leave headroom for additional panels, which suits the extremely common beginner trajectory: start small, discover you love boondocking, and double the array a season later. Controller and component choices vary by kit and model.
As with any expandable system, the details determine whether the promise holds. Confirm the specification in the product documentation for the exact model before making a buying or wiring decision. WindyNation’s documentation is serviceable rather than exceptional, so budget some time with general RV solar install guides alongside the kit instructions. For a buyer who knows growth is coming, this line is a strong foundation.
BougeRV Solar Panel Kit
BougeRV is a newer entrant that has built a following specifically among RV and van owners, with a kit lineup that includes conventional rigid-panel bundles and unusual form factors such as flexible panels suited to curved or weight-sensitive roofs. For beginners with a fiberglass roof, a teardrop trailer, or a pop-up where standard rigid-panel mounting is awkward, BougeRV’s breadth of form factors is the reason to shortlist the brand.
The trade-off profile mirrors the brand’s age: pricing is competitive and the product range is genuinely RV-focused, but the long-term track record is shorter than Renogy’s or WindyNation’s, and flexible panels as a category tend to run hotter and age faster than rigid glass panels regardless of brand. If your roof supports standard rigid mounting, rigid panels remain the durability-per-dollar winner; reach for flexible options only when the roof geometry demands it.
What Wattage Do You Need?
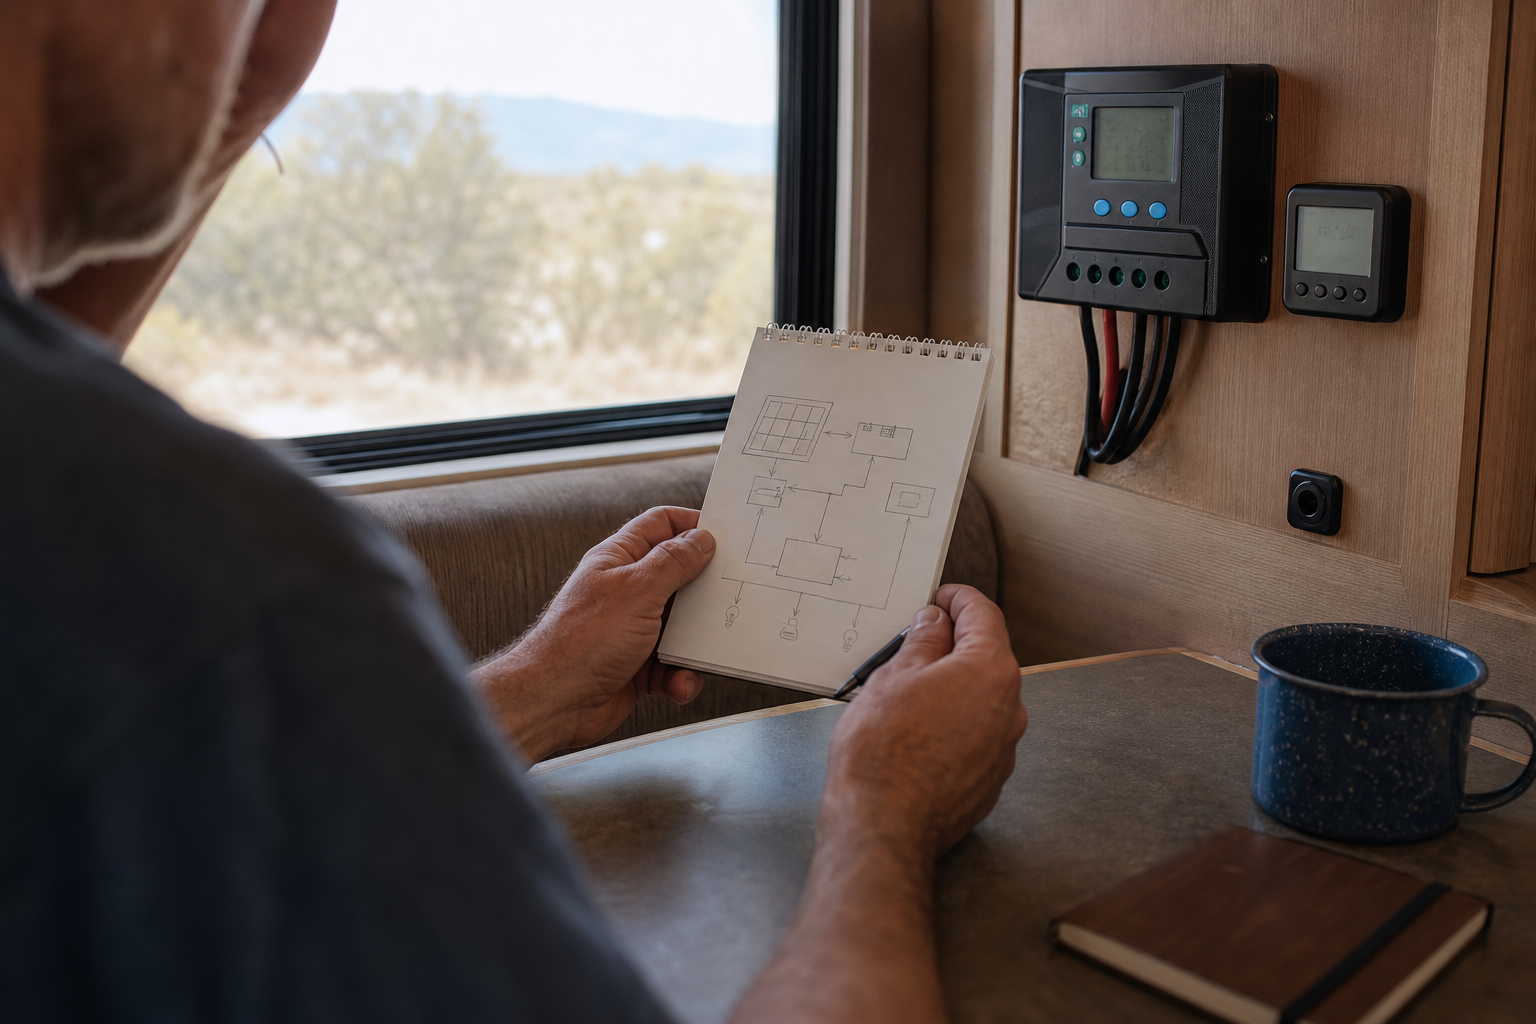
Start with a load audit, not a product page. List every 12V device you run in a typical day — lights, roof fan, water pump, phone and laptop charging, a 12V compressor fridge if you have one — and estimate the hours each runs. Use this formula: daily watt-hours = sum of (device watts × hours of daily use) across every device. Divide that total by the realistic peak-sun hours for where you camp to get a minimum array wattage, then add margin for weather, panel angle, and system losses.
Many RVers are better served by sizing around a simple load budget: daily watt-hour use, battery capacity, sun exposure, and how many cloudy days they want in reserve. If your load list includes a residential fridge, an induction cooktop, or air conditioning ambitions, you’re outside beginner-kit territory and should plan a larger system from the start.
Then translate the audit into a shortlist. If you want a proven middle-of-the-road first system, choose a Renogy starter configuration sized to your audit. If your audit came out small — battery maintenance plus lights and charging — a budget HQST kit covers it without overspending. If your audit is small now but you expect it to grow, take the WindyNation or ECO-WORTHY route with expansion headroom, because upgrading a maxed-out controller later costs more than buying headroom today. Remember that panels rarely produce their nameplate rating in real conditions — heat, panel angle, partial shade, and short winter days all cut output — so size with margin rather than to the exact number your audit produced.
Controller Type: PWM vs. MPPT
The charge controller sits between the panels and the battery and is the component beginners most often under-buy. MPPT (maximum power point tracking) controllers actively convert excess panel voltage into additional charging current, which means they harvest meaningfully more energy from the same panels — especially in cold weather, in partial sun, and on larger or higher-voltage arrays.
One caveat: budget listings sometimes describe controllers ambiguously. If the listing doesn’t state MPPT explicitly, assume PWM.
Roof-Mounted vs. Portable Panels
Roof-mounted panels win on convenience: once installed, they charge every daylight hour with zero setup. The costs are a more involved one-time install (drilling, sealing, cable routing) and the constraint that your panels get whatever sun your parking spot gets. One detail flat roof mounts hide: panels laid flat harvest noticeably less in winter, when the sun sits low, and tilt-capable mounting brackets recover some of that loss when parked at the cost of an extra setup step.
Match the form factor to your actual camping pattern. If you’re a weekender who parks under trees, camps at a mix of powered and unpowered sites, or rents storage where a roof array would just bake unused, a portable kit delivers more usable value. Many experienced RVers eventually run both — a modest roof array for baseline charging plus a portable panel for shaded sites — and starting with either one leaves that path open.
Comparison Table
Scroll sideways to see every column.
| Search Target | Best Fit | What to Confirm Before Buying | Why It Might Fit | Watchouts | Where to buy |
|---|---|---|---|---|---|
| Renogy Solar Starter Kit | Best for a permanent roof-mounted array that works every day without setup | Confirm your roof has the free space and a mounting method that suits its construction | Fits owners who prefer a set-and-forget system over daily panel handling | Roof penetrations need careful sealing, and shade on a fixed array cuts harvest. | Amazon ↗ |
| HQST Solar Panel Kit | Best for weekend and occasional off-grid trips at a lower entry cost | Confirm what the kit includes — controller, cables, and stand — before you order | Fits budget-minded owners who want capable charging without paying for extras | Check the included controller and cables actually match your battery chemistry. | Amazon ↗ |
| DOKIO Foldable Solar Panel Kit | Best when you want a light, foldable panel that packs flat for vans and small trailers | Confirm the folded size, weight, and connectors suit how you pack and charge | Fits owners who prioritize portability and easy storage over peak output | Lighter foldable panels trade some ruggedness and output for packability. | Amazon ↗ |
| ECO-WORTHY Off-Grid Solar Kit | Best one-vendor path to a complete off-grid bundle with storage | Confirm exactly which configuration you’re buying — panels-only and full bundles differ widely | Fits buyers planning genuine off-grid camping who want components sold to work together | Multi-configuration listings are easy to misread — match the bundle to your storage decision. | Amazon ↗ |
| WindyNation Solar Panel Kit | Best foundation for arrays you plan to expand over time | Confirm the charging hardware leaves headroom for the panels you’ll add later | Fits owners who start small and expect to grow the system a season later | Documentation is serviceable, not exceptional — budget time with general install guides. | Amazon ↗ |
| BougeRV Solar Panel Kit | Best when you want install-once power that charges wherever the rig is parked | Confirm the mounting hardware and cable entry suit your roof before drilling anything | Suits rigs that camp often enough that permanent rooftop charging pays off | Plan the layout before drilling — moving a mounted panel later is a project. | – |
As an Amazon Associate I earn from qualifying purchases.
Which One Should You Buy
The right kit follows from three decisions, in order: how much daily energy you consume, what kind of charge controller that array size justifies, and whether your camping style favors roof-mounted or portable panels. Get those three right and any of the lines above will serve you well; get them wrong and even a premium kit will disappoint. Work through the subsections below before opening a product page.
Use the final buying decision to compare how the battery will be installed, how easy it will be to access later, and how well the option fits the way the RV is actually used. A good shortlist should leave enough room for practical installation details, support expectations, return policy review, and future service access without depending on a single headline feature. Before publishing a final shortlist, separate must-have needs from nice-to-have features. For most RV owners, the better choice is the option that fits the available space, can be installed cleanly, and leaves a clear path for maintenance, replacement, and troubleshooting later.
Safety & Common Mistakes
RV solar systems run currents high enough to melt undersized wiring; the mistakes below account for most first-install failures.
- Skipping fuses and breakers. Select overcurrent protection placement and ratings based on your kit’s installation manual, the battery and controller manufacturer documentation, and applicable electrical codes. Kits don’t always emphasize this; an unprotected battery-side fault can be a fire risk, not an inconvenience.
- Connecting things in the wrong order. Connect the controller to the battery before connecting the panels, and reverse that order when disconnecting. Wiring panels to a controller with no battery attached can damage the controller.
- Undersealing roof penetrations. Every screw and cable gland through an RV roof is a future leak unless sealed with an appropriate self-leveling or roof-compatible sealant. Water damage costs far more than the kit did.
- Sizing the system to the panel’s nameplate wattage. Real-world output is reduced by heat, angle, shading, and season. Budget conservatively and treat nameplate watts as a best-case ceiling.
- Mismatching controller settings to battery chemistry. Charging a lithium bank on a lead-acid profile (or vice versa) shortens battery life and can be unsafe. Set the chemistry profile before the first charge.
- Ignoring cable gauge (AWG) on long runs. Ground-deploy portable panels and rear-roof arrays often need longer cable runs than kits anticipate; undersized cable over distance wastes power as heat and can create a hazard at higher currents.
This list is general guidance, not a substitute for your kit’s instructions or applicable electrical codes.
FAQs
- What is the best RV solar panel kit for beginners? For most first-time installers, a Renogy starter configuration is the safest pick thanks to its documentation depth and community support — but size it to your daily watt-hours before choosing a configuration.
- Is 400W of solar enough for an RV? For lights, fans, device charging, and a 12V compressor fridge, 400W typically covers weekend trips and light full-time use. It is not enough for air conditioning, residential fridges, or heavy inverter loads — those require a substantially larger system and battery bank.
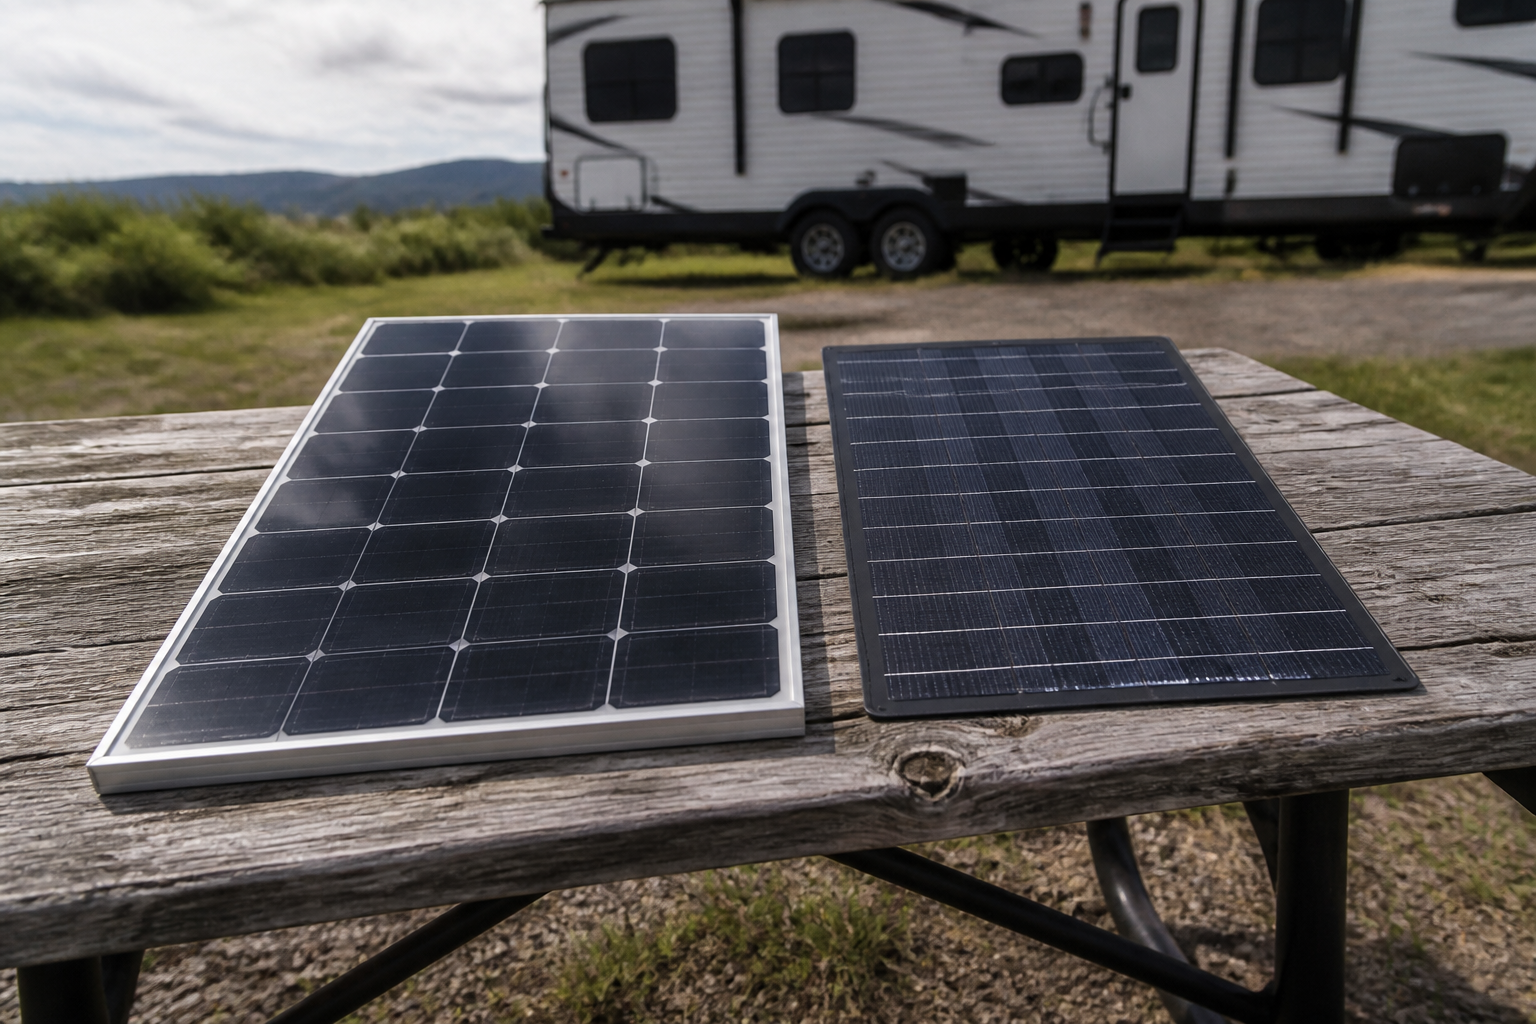
- What type of solar panel is best for an RV? Monocrystalline panels are the standard recommendation because they deliver more power per square foot than polycrystalline alternatives, and RV roof space is the binding constraint. Rigid glass panels are the durability winner; flexible panels are worth it only when roof geometry or weight rules rigid panels out.
- Can a beginner install an RV solar kit themselves? Yes — most beginner kits are designed for DIY installation with basic hand tools, and a careful first-timer can complete a small roof install in a day. The non-negotiables are proper fusing, correct connection order, and sealing every roof penetration; if any of those feel beyond you, have a shop handle the roof work and do the rest yourself.
- Do RV solar kits come with a battery? Frequently not — many kits bundle panels and charging hardware but leave the battery as a separate purchase, and configurations vary widely even within one product line. Check the specific listing’s contents before ordering so you’re not surprised on delivery day.
- Are portable solar panels worth it for RVs? Yes, for the right camper. Portable kits let you park in shade while the panels sit in sun and require no installation, but they demand daily setup and are typically packed away while you drive, so they don’t produce in transit. Roof-mounted kits win on convenience; portables win on flexibility.
Conclusion
The buying decision comes down to matching a kit line to your camping pattern rather than hunting for a single “best” product. Shortlist by form factor first: roof-mounted for set-and-forget charging (Renogy for support depth, HQST for budget, WindyNation or ECO-WORTHY for expansion, BougeRV for tricky roofs), or the DOKIO foldable if shade parking and zero installation matter more. Then size the configuration to a real load audit, and prefer MPPT charging once you’re past the smallest arrays.
Your concrete next step: spend twenty minutes listing every device you’ll run off-grid and its daily hours, convert that to watt-hours, and pick the kit configuration whose array and controller cover that number with margin.
Spot an error or an outdated detail in this guide?
Report it